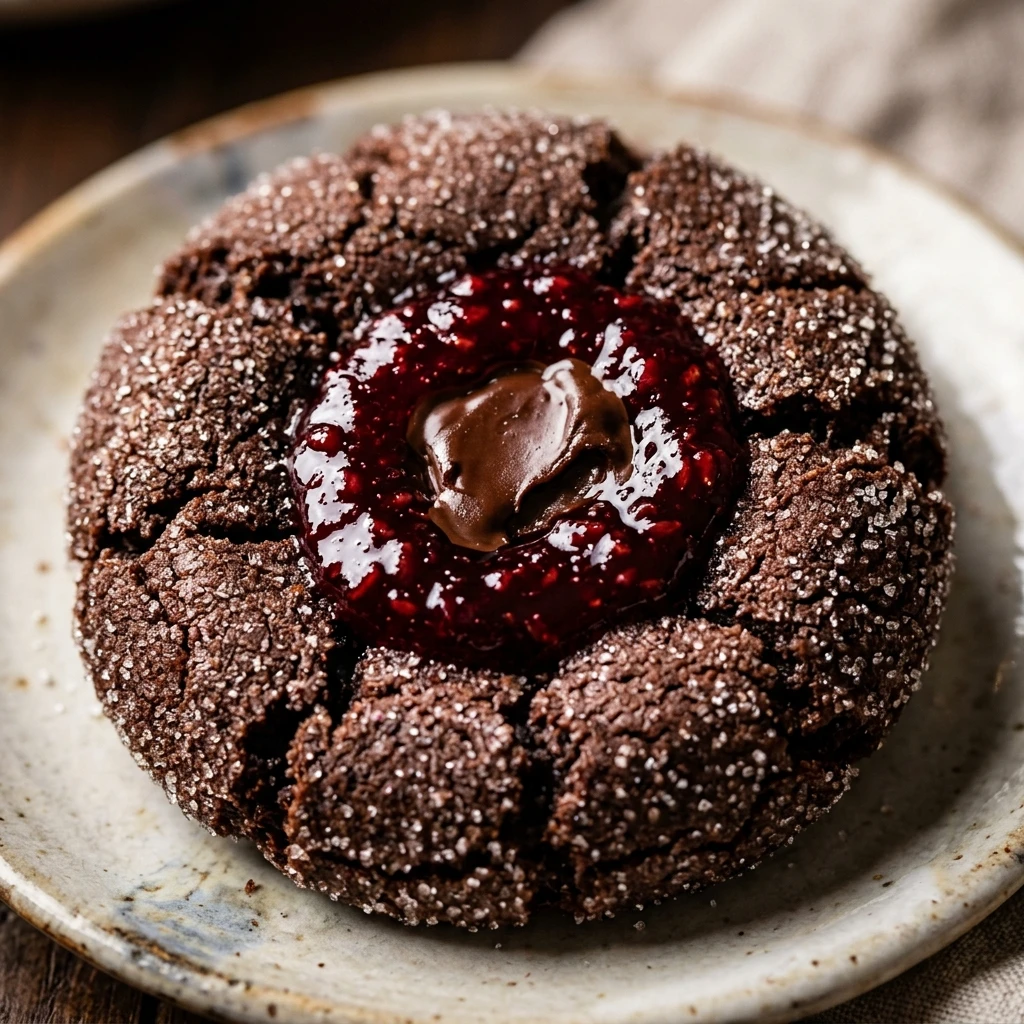

Sink your teeth into something spooky and sweet this Halloween season. These Vampire Kiss Cookies are the perfect blend of dark, rich chocolate and a sparkling red finish that looks just as good as it tastes. Whether you are hosting a costume party or looking for a fun kitchen project with the kids, these cookies are guaranteed to be the star of the dessert table.
The beauty of this recipe lies in its simplicity. We use a deep cocoa base rolled in ruby-red sanding sugar to create a striking visual contrast. Topped with a classic chocolate kiss, they look like a sophisticated treat but take very little effort to assemble. Get ready to bake a batch that will vanish faster than a vampire at sunrise!
Recipe Information
- Prep Time: 20 minutes
- Cook Time: 10 minutes
- Total Time: 30 minutes
- Servings: 24 cookies
- Difficulty Level: Easy
Nutrition Information
- Calories per serving: 145 kcal
- Protein: 2g
- Carbohydrates: 19g
- Fat: 7g
- Fiber: 1g
- Sugar: 13g
- Sodium: 85mg
Why Make This Vampire Kiss Cookies Recipe
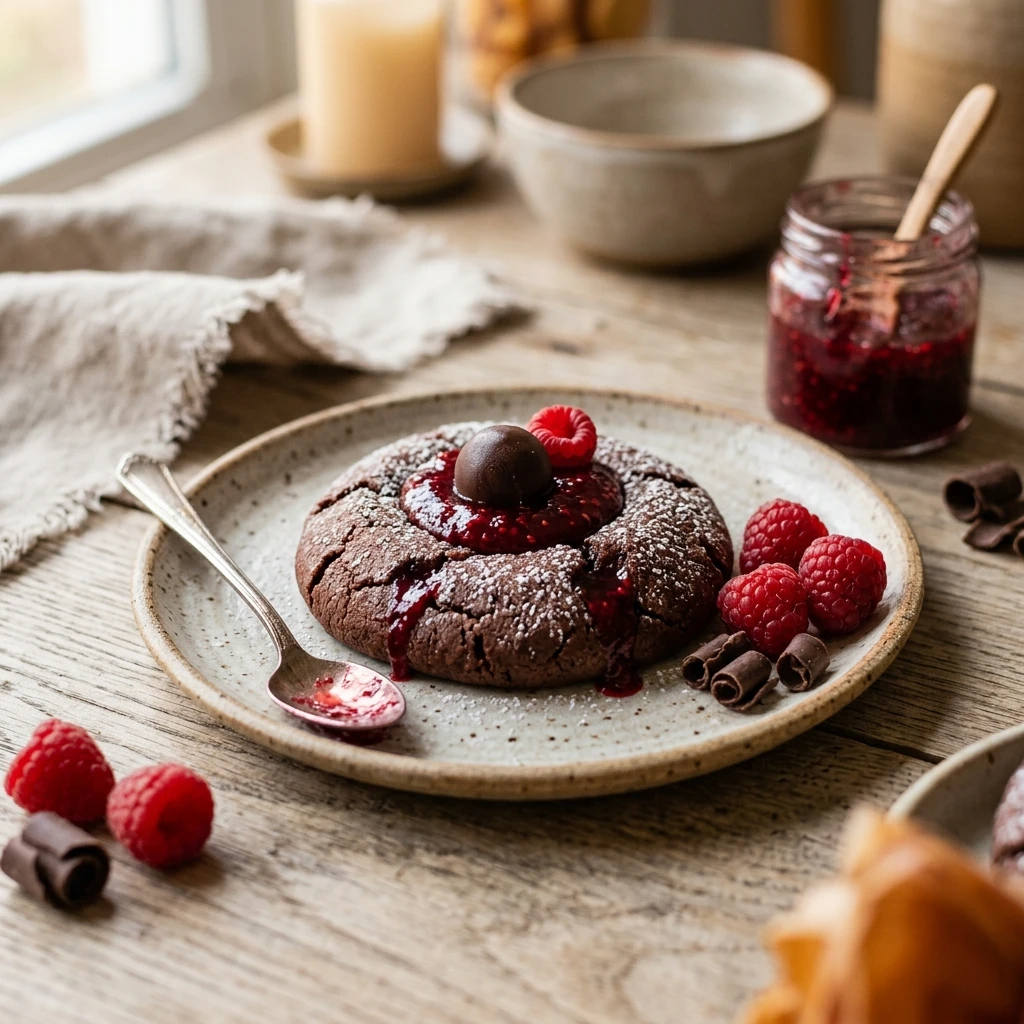
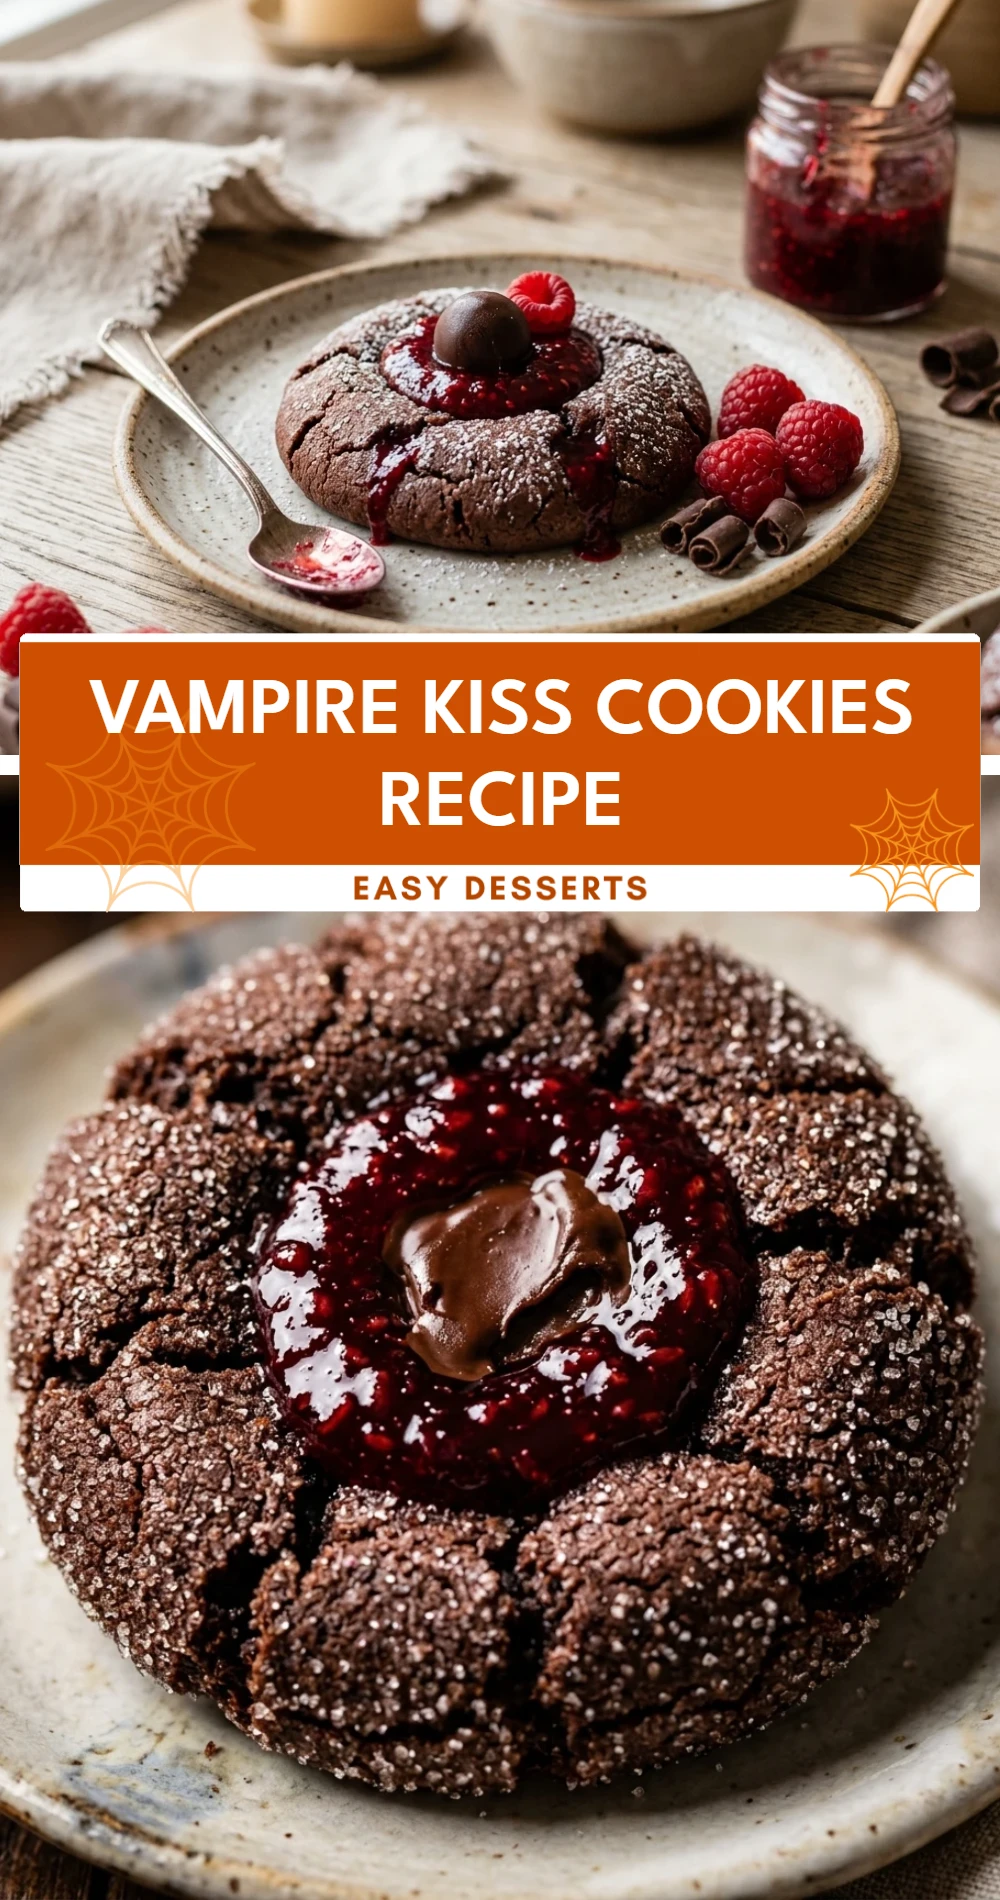
This recipe is a must-try because it strikes the perfect balance between festive and delicious. While many Halloween treats rely heavily on food coloring or complex decorating, these cookies use simple ingredients like red sanding sugar to get that “vampire” aesthetic. They are visually stunning with their deep black-cocoa center and glittering red edges.
Beyond the looks, the flavor is a crowd-pleaser. The soft, brownie-like texture of the cookie paired with the solid chocolate kiss creates a double-chocolate experience that satisfies any sweet tooth. Plus, they are incredibly sturdy, making them the ideal treat to bring to school potlucks or office parties without worrying about them breaking.
How to Make Vampire Kiss Cookies Recipe
Creating these festive treats is a straightforward process that involves making a simple chocolate dough, coating it in sugar, and finishing with a chocolate candy. Follow these easy steps to get perfect results every time.
Ingredients
- 1/2 cup unsalted butter, softened
- 3/4 cup granulated sugar
- 1 large egg
- 1 teaspoon vanilla extract
- 1 1/4 cups all-purpose flour
- 1/2 cup unsweetened dark cocoa powder
- 1/2 teaspoon baking soda
- 1/4 teaspoon salt
- 1/2 cup red sanding sugar (for rolling)
- 24 Hershey’s Kisses (milk chocolate or dark chocolate), unwrapped
Directions
Step 1: Preparation and Preheating
Start by preheating your oven to 350°F (175°C). Line two large baking sheets with parchment paper or silicone baking mats to prevent the cookies from sticking and to ensure an easy cleanup.
Step 2: Creaming the Butter and Sugar
In a large mixing bowl, beat the softened butter and granulated sugar together using a hand mixer or stand mixer. Continue mixing for about 2-3 minutes until the mixture is light, fluffy, and pale in color.
Step 3: Adding Wet Ingredients
Add the egg and vanilla extract to the butter mixture. Beat on medium speed until fully combined, scraping down the sides of the bowl with a spatula as needed to ensure everything is incorporated.
Step 4: Mixing the Dry Ingredients
In a separate bowl, whisk together the flour, dark cocoa powder, baking soda, and salt. Gradually add the dry ingredients to the wet ingredients, mixing on low speed just until a soft dough forms. Do not overmix, as this can make the cookies tough.
Step 5: Shaping and Rolling
Scoop about one tablespoon of dough at a time and roll it into a 1-inch ball between your palms. Roll each ball into the red sanding sugar until it is completely and evenly coated in sparkly red sugar.
Step 6: Baking the Cookies
Place the sugar-coated dough balls onto the prepared baking sheets, spacing them about 2 inches apart. Bake for 8 to 10 minutes. The cookies will look slightly soft but will set as they cool.
Step 7: Adding the Vampire Kiss
Immediately after removing the cookies from the oven, press a chocolate kiss firmly into the center of each warm cookie. This will cause the cookie to crack slightly around the edges, creating a beautiful “blossom” look. Let them cool on the pan for 5 minutes before moving them to a wire rack to cool completely.
How to Serve Vampire Kiss Cookies Recipe
These cookies look amazing when served on a black or silver platter to make the red sugar pop. For a truly “vampire” themed party, you can serve them alongside a “blood orange” punch or red berry smoothies. If you want to get extra creative, use a bit of red decorating gel to create “fang drips” coming off the chocolate kiss. They also pair perfectly with a cold glass of milk for a classic midnight snack.
How to Store Vampire Kiss Cookies Recipe
To keep your cookies fresh, store them in an airtight container at room temperature for up to 5 days. If you need to stack them, place a piece of parchment paper between the layers so the chocolate kisses don’t smudge the cookies below. You can also freeze the baked cookies for up to 3 months; just be sure to thaw them at room temperature before serving so the chocolate doesn’t “bloom” or turn white.
Expert Tips for Perfect Vampire Kiss Cookies Recipe
For the best results, chill your Hershey’s Kisses in the freezer for 15 minutes before pressing them into the hot cookies. This prevents the chocolate from melting too much and losing its shape. Also, make sure your butter is truly at room temperature—if it’s too cold, the dough won’t be soft enough, and if it’s melted, the cookies will spread too thin. Using dark cocoa powder (sometimes labeled “Dutch-processed”) is the secret to getting that deep, spooky black color that contrasts so well with the red sugar.
Delicious Variations
If you want to change things up, try using “Hugs” (striped white and milk chocolate) for a different look. You can also swap the red sanding sugar for orange or purple sugar for a different Halloween vibe. For a surprise center, you can use Kisses with caramel or cherry filling. Another fun variation is to add a half-teaspoon of peppermint extract to the dough for a “chilled” vampire mint flavor.
Frequently Asked Questions
Q: Can I use regular cocoa powder instead of dark cocoa?
Yes, you can use regular unsweetened cocoa powder. The cookies will be a lighter brown color rather than the deep dark chocolate look, but they will still taste delicious.
Q: Why did my chocolate kisses melt?
The cookies are very hot when they come out of the oven. If the kisses melt too much, try waiting 1-2 minutes before pressing them in, or freeze the candies beforehand as mentioned in the tips section.
Q: Where can I find red sanding sugar?
Red sanding sugar is usually available in the baking aisle of most grocery stores, especially during the holiday or Halloween seasons. You can also find it at craft stores or online.
Q: Can I make the dough in advance?
Absolutely! You can make the dough, wrap it tightly in plastic wrap, and keep it in the fridge for up to 48 hours. Let it sit on the counter for a few minutes before rolling so it’s easier to work with.
Q: Do I need to flatten the cookies before baking?
No, you should leave them as balls. When you press the chocolate kiss into the center after baking, it will naturally flatten the cookie into the perfect shape.
Conclusion
Vampire Kiss Cookies are a festive, fun, and flavorful way to celebrate the spooky season. With their striking red and black appearance and rich chocolate taste, they are sure to be a hit with ghouls and ghosts of all ages. Happy baking, and may your Halloween be filled with more treats than tricks!
Vampire Kiss Cookies Recipe
- Cook Time: 30 minutes
- Total Time: 30 minutes
- Diet: Vegetarian
Ingredients
- 1/2 cup unsalted butter, softened
- 3/4 cup granulated sugar
- 1 large egg
- 1 teaspoon vanilla extract
- 1 1/4 cups all-purpose flour
- 1/2 cup unsweetened dark cocoa powder
- 1/2 teaspoon baking soda
- 1/4 teaspoon salt
- 1/2 cup red sanding sugar (for rolling)
- 24 Hershey’s Kisses (milk chocolate or dark chocolate), unwrapped
Instructions
- Start by preheating your oven to 350°F (175°C). Line two large baking sheets with parchment paper or silicone baking mats to prevent the cookies from sticking and to ensure an easy cleanup.
- In a large mixing bowl, beat the softened butter and granulated sugar together using a hand mixer or stand mixer. Continue mixing for about 2-3 minutes until the mixture is light, fluffy, and pale in color.
- Add the egg and vanilla extract to the butter mixture. Beat on medium speed until fully combined, scraping down the sides of the bowl with a spatula as needed to ensure everything is incorporated.
- In a separate bowl, whisk together the flour, dark cocoa powder, baking soda, and salt. Gradually add the dry ingredients to the wet ingredients, mixing on low speed just until a soft dough forms. Do not overmix, as this can make the cookies tough.
- Scoop about one tablespoon of dough at a time and roll it into a 1-inch ball between your palms. Roll each ball into the red sanding sugar until it is completely and evenly coated in sparkly red sugar.
- Place the sugar-coated dough balls onto the prepared baking sheets, spacing them about 2 inches apart. Bake for 8 to 10 minutes. The cookies will look slightly soft but will set as they cool.
- Immediately after removing the cookies from the oven, press a chocolate kiss firmly into the center of each warm cookie. This will cause the cookie to crack slightly around the edges, creating a beautiful “blossom” look. Let them cool on the pan for 5 minutes before moving them to a wire rack to cool completely.