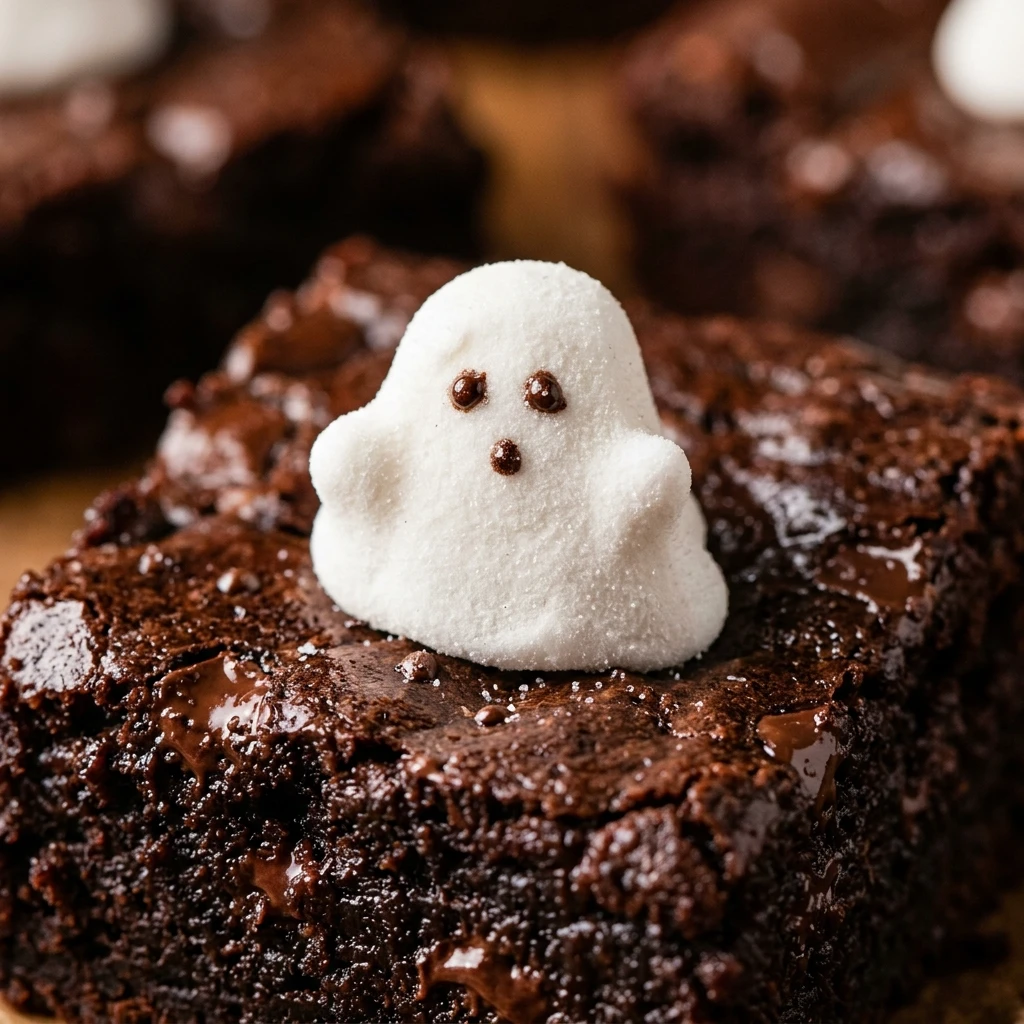

Get ready to bring some spooky charm to your dessert table with this Ghost Brownies Recipe. These adorable treats combine rich, fudgy chocolate with soft, gooey marshmallow ghosts. They are perfect for Halloween parties, school bake sales, or just a fun afternoon activity with the kids.
Making themed treats doesn’t have to be complicated. This recipe uses simple pantry staples to create a dessert that looks professionally decorated but is actually very easy to assemble. The contrast between the dark brownie and the bright white ghost makes these a standout addition to any festive spread.
Recipe Information
- Prep Time: 15 minutes
- Cook Time: 25 minutes
- Total Time: 40 minutes
- Servings: 16
- Difficulty Level: Easy
Nutrition Information
- Calories per serving: 245
- Protein: 3g
- Carbohydrates: 34g
- Fat: 12g
- Fiber: 2g
- Sugar: 26g
- Sodium: 95mg
Why Make This Ghost Brownies Recipe
This Ghost Brownies Recipe is the ultimate Halloween treat because it balances flavor and fun perfectly. While many holiday desserts focus only on looks, these brownies are genuinely delicious. They are chewy, chocolatey, and have that classic crinkle top that every brownie lover craves.
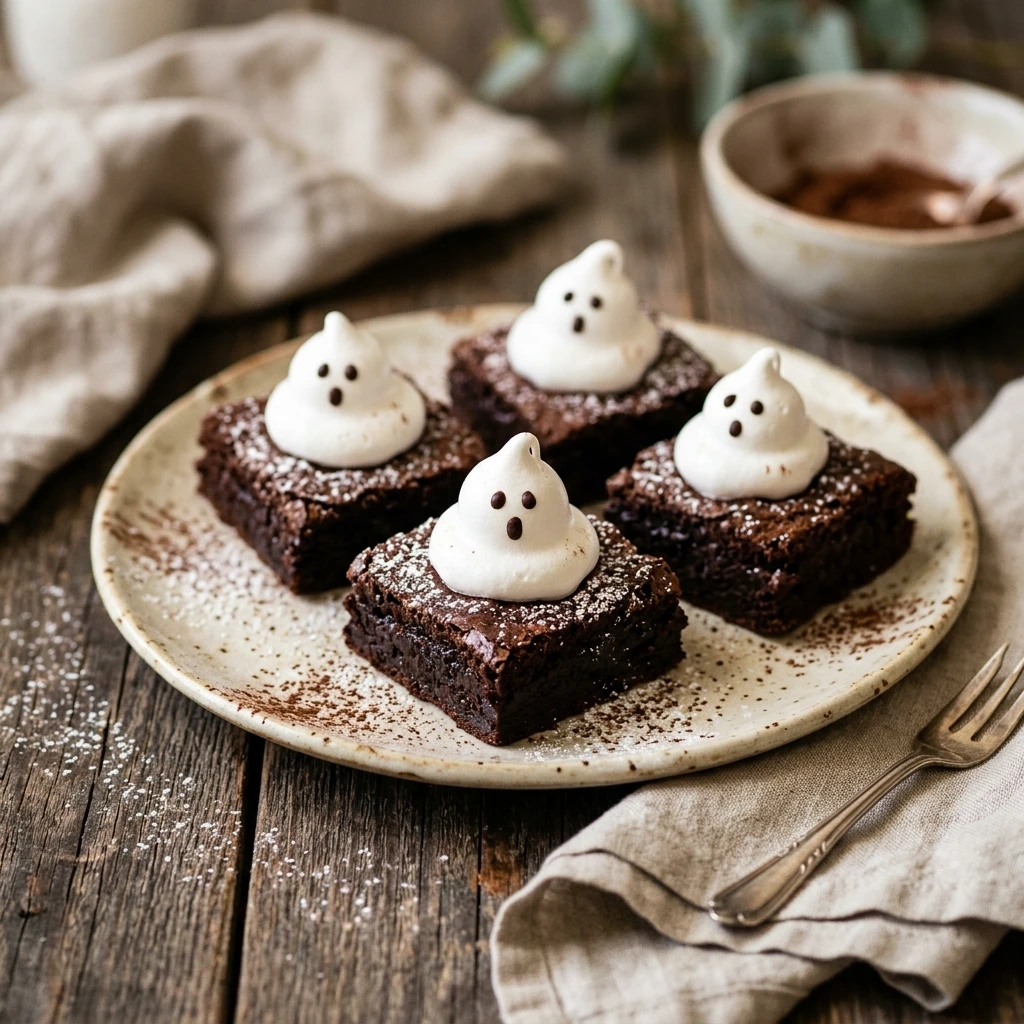
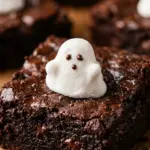
Beyond the taste, these are incredibly Instagram-worthy. The melting white chocolate “ghosts” draped over large marshmallows create a 3D effect that is sure to impress your guests. It is a fantastic way to get creative in the kitchen without needing advanced cake-decorating skills.
How to Make Ghost Brownies Recipe
Making these brownies is a straightforward process involving a simple homemade batter and a clever decorating technique. Follow these steps to ensure your ghosts look perfectly spooky and your brownies stay moist and fudgy.
Ingredients
- 1/2 cup unsalted butter, melted
- 1 cup granulated sugar
- 2 large eggs
- 1 teaspoon vanilla extract
- 1/3 cup unsweetened cocoa powder
- 1/2 cup all-purpose flour
- 1/4 teaspoon salt
- 1/4 teaspoon baking powder
- 1/2 cup semi-sweet chocolate chips
- 16 large marshmallows
- 1 cup white chocolate melting wafers
- Black edible ink marker or black decorating gel
Directions
Step 1: Preheat and Prep
Preheat your oven to 350°F (175°C). Grease an 8×8 inch baking pan or line it with parchment paper, leaving an overhang on the sides for easy removal later.
Step 2: Mix the Wet Ingredients
In a large mixing bowl, combine the melted butter and granulated sugar. Whisk them together until smooth. Add the eggs and vanilla extract, beating well until the mixture is slightly lightened in color.
Step 3: Combine Dry Ingredients
Sift the cocoa powder, flour, salt, and baking powder into the wet mixture. Gently stir with a spatula until just combined. Do not overmix, as this can make the brownies tough. Fold in the chocolate chips.
Step 4: Bake the Brownies
Pour the batter into the prepared baking pan and spread it evenly. Bake for 20 to 25 minutes, or until a toothpick inserted into the center comes out with just a few moist crumbs. Let the brownies cool in the pan for about 10 minutes.
Step 5: Prepare the Ghost Base
While the brownies are still slightly warm, cut them into 16 squares. Place one large marshmallow in the center of each brownie square. The residual heat will help the marshmallow stick to the brownie.
Step 6: Create the Ghost Cloak
Melt the white chocolate wafers in the microwave in 30-second intervals, stirring until smooth. Spoon a generous amount of melted chocolate over each marshmallow, allowing it to drip down the sides to create a “sheet” effect. Let the chocolate set completely.
Step 7: Add the Faces
Once the white chocolate is firm, use a black edible marker or black decorating gel to draw two eyes and a mouth on each ghost. Your spooky treats are now ready to serve!
How to Serve Ghost Brownies Recipe
Serve these brownies on a large platter to showcase the “graveyard” of ghosts. They look great when paired with other Halloween-themed snacks like candy corn or orange-colored popcorn. For an extra touch, you can sprinkle crushed chocolate cookies around the base of the ghosts to look like dirt.
How to Store Ghost Brownies Recipe
Store your ghost brownies in an airtight container at room temperature for up to 3 days. If your kitchen is very warm, you may want to keep them in the refrigerator to prevent the white chocolate from softening. If you stack them, place a layer of wax paper between the layers to protect the ghost faces.
Expert Tips for Perfect Ghost Brownies Recipe
To get the best results, ensure your brownies are not completely cold when you add the marshmallows; a little warmth acts like glue. If the melted white chocolate is too thick to drizzle, add a teaspoon of coconut oil to thin it out for a smoother “drip” look. Also, wait until the white chocolate is fully hardened before drawing the faces to prevent smudging.
Delicious Variations
You can easily customize this recipe by adding chopped walnuts or pecans to the batter for extra crunch. If you prefer a shortcut, feel free to use a boxed brownie mix instead of making them from scratch. For a different flavor profile, try using peanut butter chips inside the brownie or adding a layer of orange frosting before placing the marshmallows.
Frequently Asked Questions
Q: Can I use small marshmallows instead?
Large marshmallows work best because they provide the height needed for the ghost shape, but you could stack a few mini marshmallows if that is all you have available.
Q: How do I prevent the marshmallows from melting completely?
Make sure the brownies have cooled for at least 10 minutes. They should be warm to the touch, not hot, when you place the marshmallows on top.
Q: Can I freeze these brownies?
It is best to freeze the brownies before adding the marshmallows and chocolate decorations. Once decorated, the texture of the marshmallow and white chocolate may change upon thawing.
Q: What if I don’t have an edible marker?
You can melt a small amount of dark chocolate or use black icing in a piping bag with a very small tip to draw the faces.
Q: Can I make these gluten-free?
Yes, you can substitute the all-purpose flour with a 1:1 gluten-free baking flour blend. Most marshmallows and chocolate chips are naturally gluten-free, but always check the labels.
Conclusion
These Ghost Brownies are a delightful way to celebrate the Halloween season. With their fudgy base and sweet marshmallow topping, they are guaranteed to be a hit with ghouls and goblins of all ages. Happy baking and stay spooky!
Ghost Brownies Recipe
- Cook Time: 40 minutes
- Total Time: 40 minutes
- Diet: Vegetarian
Ingredients
- 1/2 cup unsalted butter, melted
- 1 cup granulated sugar
- 2 large eggs
- 1 teaspoon vanilla extract
- 1/3 cup unsweetened cocoa powder
- 1/2 cup all-purpose flour
- 1/4 teaspoon salt
- 1/4 teaspoon baking powder
- 1/2 cup semi-sweet chocolate chips
- 16 large marshmallows
- 1 cup white chocolate melting wafers
- Black edible ink marker or black decorating gel
Instructions
- Preheat your oven to 350°F (175°C). Grease an 8×8 inch baking pan or line it with parchment paper, leaving an overhang on the sides for easy removal later.
- In a large mixing bowl, combine the melted butter and granulated sugar. Whisk them together until smooth. Add the eggs and vanilla extract, beating well until the mixture is slightly lightened in color.
- Sift the cocoa powder, flour, salt, and baking powder into the wet mixture. Gently stir with a spatula until just combined. Do not overmix, as this can make the brownies tough. Fold in the chocolate chips.
- Pour the batter into the prepared baking pan and spread it evenly. Bake for 20 to 25 minutes, or until a toothpick inserted into the center comes out with just a few moist crumbs. Let the brownies cool in the pan for about 10 minutes.
- While the brownies are still slightly warm, cut them into 16 squares. Place one large marshmallow in the center of each brownie square. The residual heat will help the marshmallow stick to the brownie.
- Melt the white chocolate wafers in the microwave in 30-second intervals, stirring until smooth. Spoon a generous amount of melted chocolate over each marshmallow, allowing it to drip down the sides to create a “sheet” effect. Let the chocolate set completely.
- Once the white chocolate is firm, use a black edible marker or black decorating gel to draw two eyes and a mouth on each ghost. Your spooky treats are now ready to serve!