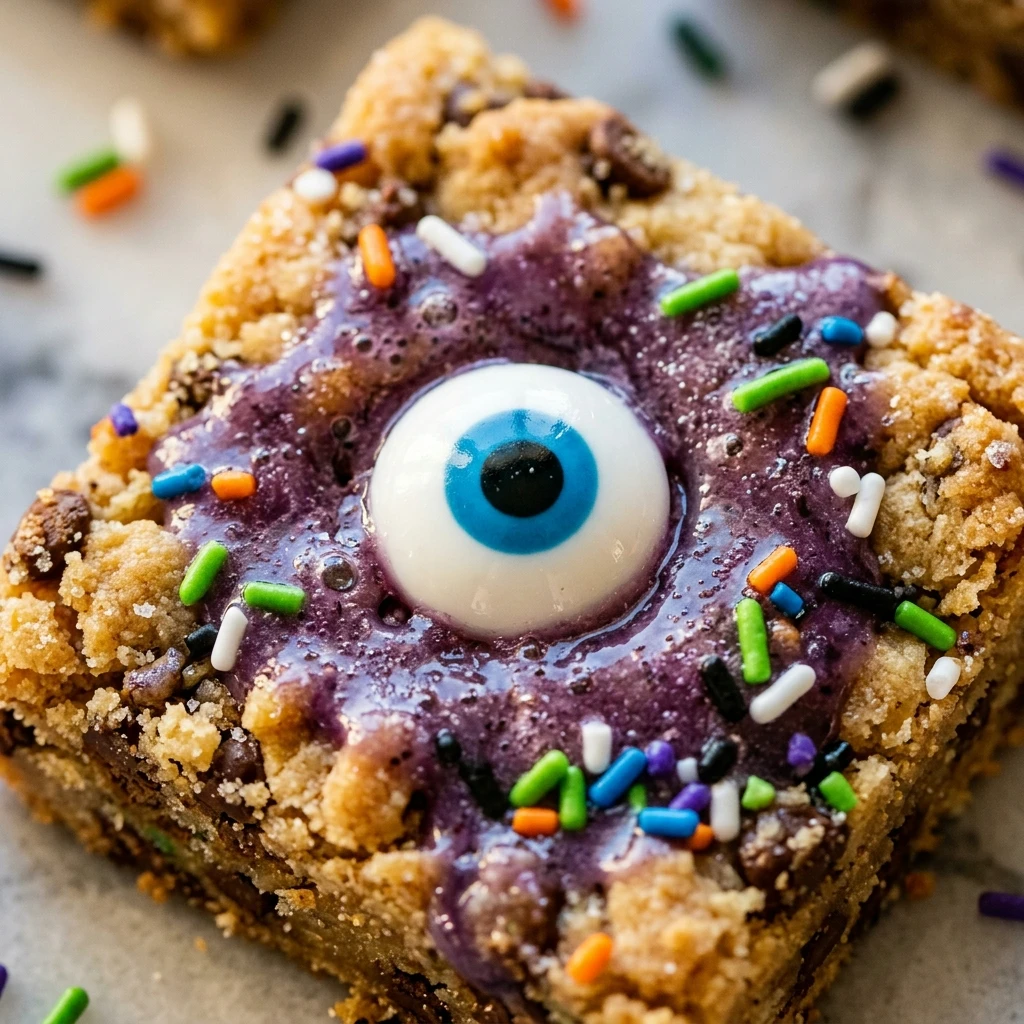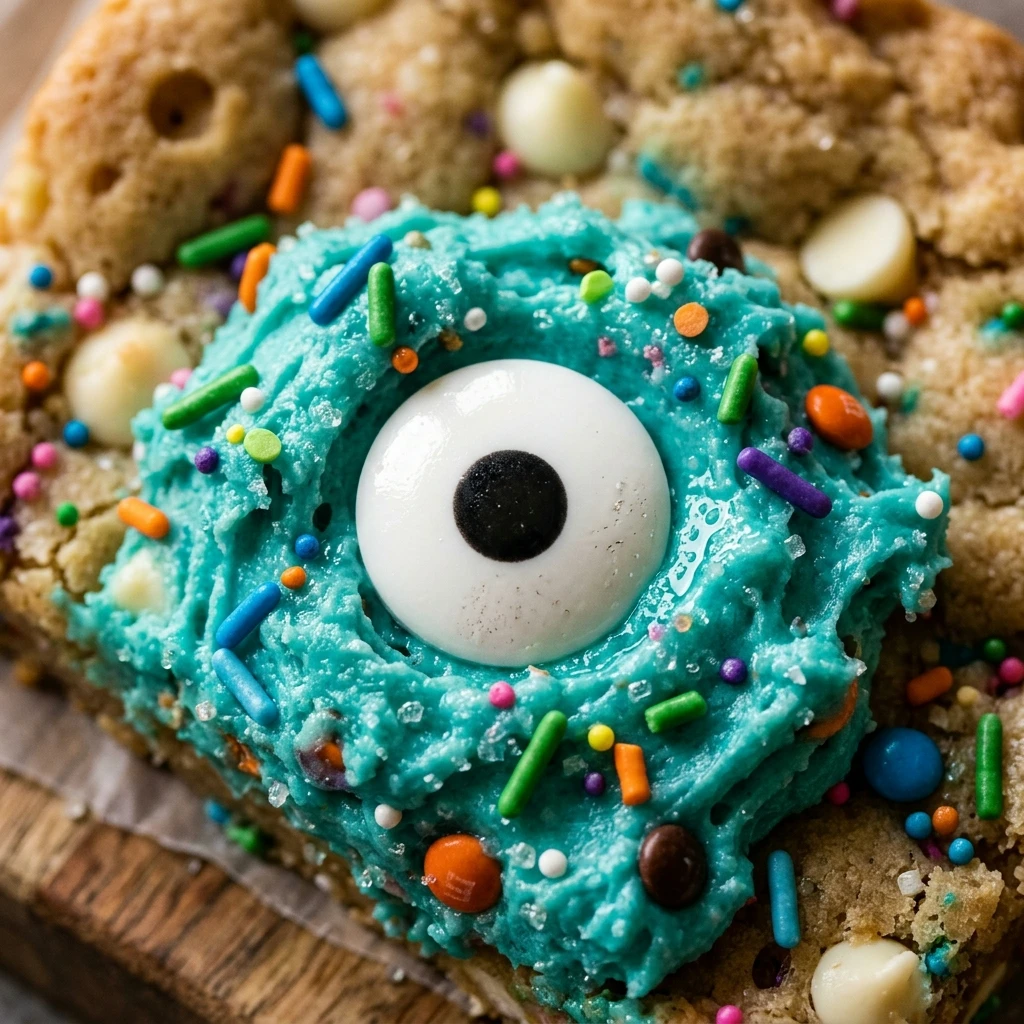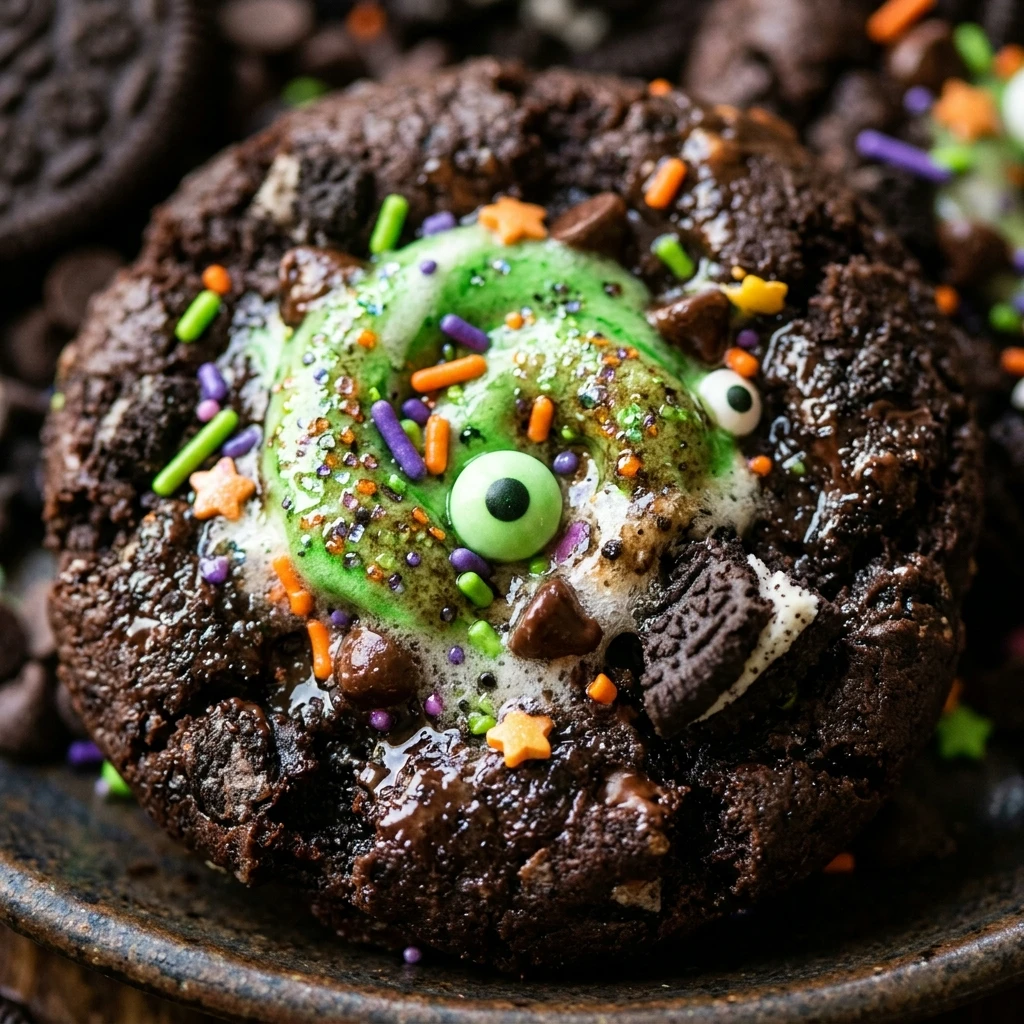

Get ready for a spooky snack that everyone will love! These Monster Mash Oreo Cookies are a festive and fun way to celebrate the Halloween season without spending hours in the kitchen. They take the classic sandwich cookie and give it a colorful, monstrous makeover that is as delicious as it is adorable.
With just a few simple ingredients, you can transform a basic pantry staple into a colorful, googly-eyed masterpiece. They are perfect for school parties, trick-or-treat bags, or a cozy movie night at home watching your favorite scary films. Kids will especially enjoy helping you decorate these little monsters with bright colors and funny faces.
Recipe Information
- Prep Time: 20 minutes
- Cook Time: 0 minutes
- Total Time: 20 minutes (plus 30 minutes for setting)
- Servings: 12 cookies
- Difficulty Level: Easy
Nutrition Information
- Calories per serving: 185 kcal
- Protein: 1.5g
- Carbohydrates: 25g
- Fat: 9g
- Fiber: 0.8g
- Sugar: 19g
- Sodium: 95mg
Why Make This Monster Mash Oreo Cookies Recipe
This recipe is a must-try because it is completely no-bake. On busy holiday weekends, the last thing you want to do is hover over a hot oven. These cookies come together quickly and only require a microwave for melting the chocolate. It is a stress-free way to produce a high-impact treat that looks like it came from a professional bakery.
Furthermore, these cookies are incredibly customizable. You can use any colors you like to match your specific party theme. They are sturdy enough to be wrapped in individual cellophane bags, making them the ultimate party favor or classroom gift. Plus, who doesn’t love the combination of crunchy Oreos and smooth, sweet candy coating?
How to Make Monster Mash Oreo Cookies Recipe
Making these cookies is all about the assembly line. Once you have your melted chocolate ready and your decorations laid out, the process moves very quickly. Here is everything you need to get started on your monster-making journey.
Ingredients
- 12 Oreo cookies (standard or Double Stuf)
- 1 cup white chocolate melting wafers
- 1/2 cup purple candy melts
- 1/2 cup green candy melts
- 1/2 cup orange candy melts
- Candy eyeballs (various sizes)
- Halloween-themed sprinkles (bats, stars, or jimmies)
- 1 teaspoon coconut oil (optional, for thinning chocolate)
Directions
Step 1: Prepare Your Workspace
Line a large baking sheet with parchment paper or a silicone baking mat. This ensures your cookies won’t stick and makes it easy to move them to the fridge for setting. Set out your candy eyeballs and sprinkles in small bowls so they are ready to grab.
Step 2: Melt the Chocolate
Place your white chocolate wafers and colored candy melts in separate microwave-safe bowls. Microwave each bowl in 30-second intervals, stirring well between each heat session. If the chocolate is too thick, stir in a tiny bit of coconut oil until it reaches a smooth, dipping consistency.
Step 3: Dip the Cookies
One by one, drop an Oreo into the melted chocolate of your choice. Use a fork to flip the cookie and ensure it is fully coated. Lift the cookie with the fork and gently tap it against the side of the bowl to let the excess chocolate drip off. Place the coated cookie onto the prepared baking sheet.
Step 4: Decorate Your Monsters
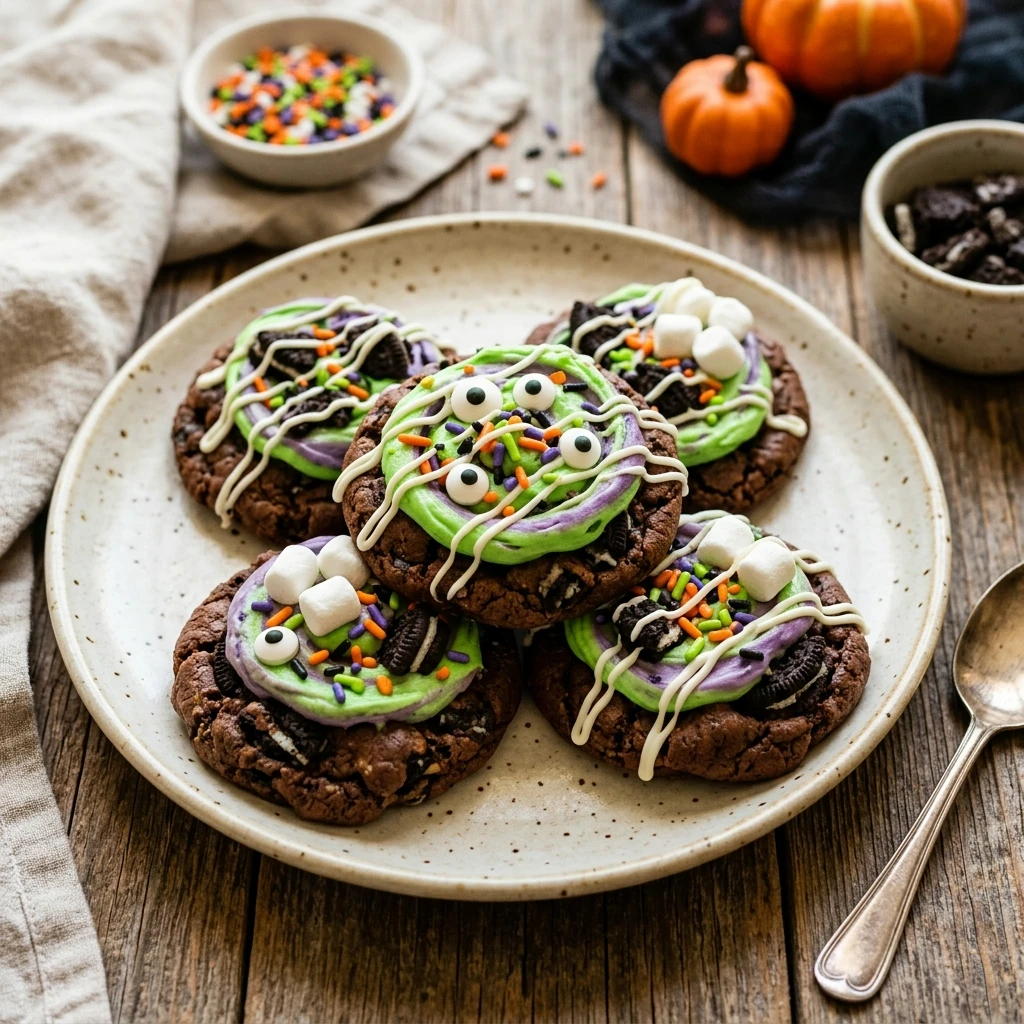
While the chocolate is still wet, immediately place one, two, or even three candy eyeballs onto each cookie. Add sprinkles or use a toothpick to create “hair” or “scars” with a contrasting chocolate color. Since the chocolate sets quickly, it is best to decorate each cookie immediately after dipping.
Step 5: Set and Serve
Allow the cookies to sit at room temperature for about 30 minutes until the chocolate is firm. If you are in a hurry, you can place the baking sheet in the refrigerator for 10 to 15 minutes. Once fully set, gently peel them off the parchment paper and enjoy!
How to Serve Monster Mash Oreo Cookies Recipe
Serve these cookies on a large black or orange platter to make the colors pop. They look fantastic when grouped together, creating a “mash” of different monsters. You can also place them on top of cupcakes or use them as a garnish for a Halloween-themed milkshake. For a party, consider sticking a lollipop stick into the cream center of the Oreo before dipping to create “Monster Oreo Pops.”
How to Store Monster Mash Oreo Cookies Recipe
Keep these cookies in an airtight container at room temperature for up to two weeks. If your kitchen is particularly warm, you may want to store them in the refrigerator to prevent the chocolate from softening. If stacking them, place a sheet of parchment paper between layers to prevent the decorations from chipping or sticking to each other.
Expert Tips for Perfect Monster Mash Oreo Cookies Recipe
Always use high-quality melting wafers rather than chocolate chips for the smoothest finish. Melting wafers are designed to melt evenly and set firmly. When dipping, use a fork rather than your fingers to avoid leaving fingerprints on your monsters. If you find your chocolate is hardening too quickly, simply pop it back in the microwave for 10 seconds to loosen it up again.
Delicious Variations
For a different flavor profile, try using Golden Oreos or Mint Oreos. You can also experiment with “drizzle” effects by taking a spoon and flicking a contrasting color of chocolate across the finished cookies. For a more “spooky” look, use red gel icing to create bloodshot eyes on the candy eyeballs before placing them on the cookies.
Frequently Asked Questions
Q: Can I use regular chocolate chips instead of candy melts?
You can, but you may need to add a teaspoon of shortening or coconut oil to help the chocolate flow better. Regular chocolate chips also tend to melt more easily at room temperature than candy melts.
Q: How do I get the chocolate to look perfectly smooth?
The key is to tap the fork against the bowl several times to let all excess chocolate drip off. This prevents a “puddle” from forming at the base of the cookie on the parchment paper.
Q: Can these be made in advance?
Absolutely! These are great for making 2 or 3 days before an event. Just keep them in a cool, dry place so the chocolate stays crisp and the cookies stay crunchy.
Q: Can I freeze these cookies?
It is not recommended to freeze chocolate-covered Oreos as the moisture from the freezer can cause the chocolate to “bloom” (turn white) or make the candy eyeballs bleed their color.
Q: My candy melts are too thick. What should I do?
Add a tiny amount of vegetable oil or coconut oil (about half a teaspoon at a time) and stir vigorously. This will thin out the candy coating without ruining the texture.
Conclusion
Monster Mash Oreo Cookies are a delightful, low-effort treat that brings a huge amount of joy to the Halloween season. Whether you are making them for a big party or just a fun afternoon activity with the kids, these cookies are sure to be a hit. Their vibrant colors and silly faces make them the star of any dessert table. Happy haunting and happy snacking!

Monster Mash Oreo Cookies Recipe

- Cook Time: 20 minutes (plus 30 minutes for setting)
- Total Time: 20 minutes
- Diet: Vegetarian
Ingredients
- 12 Oreo cookies (standard or Double Stuf)
- 1 cup white chocolate melting wafers
- 1/2 cup purple candy melts
- 1/2 cup green candy melts
- 1/2 cup orange candy melts
- Candy eyeballs (various sizes)
- Halloween-themed sprinkles (bats, stars, or jimmies)
- 1 teaspoon coconut oil (optional, for thinning chocolate)
Instructions
- Step 1: Prepare Your Workspace – Line a large baking sheet with parchment paper or a silicone baking mat. This ensures your cookies won’t stick and makes it easy to move them to the fridge for setting. Set out your candy eyeballs and sprinkles in small bowls so they are ready to grab.
- Step 2: Melt the Chocolate – Place your white chocolate wafers and colored candy melts in separate microwave-safe bowls. Microwave each bowl in 30-second intervals, stirring well between each heat session. If the chocolate is too thick, stir in a tiny bit of coconut oil until it reaches a smooth, dipping consistency.
- Step 3: Dip the Cookies – One by one, drop an Oreo into the melted chocolate of your choice. Use a fork to flip the cookie and ensure it is fully coated. Lift the cookie with the fork and gently tap it against the side of the bowl to let the excess chocolate drip off. Place the coated cookie onto the prepared baking sheet.
- Step 4: Decorate Your Monsters – While the chocolate is still wet, immediately place one, two, or even three candy eyeballs onto each cookie. Add sprinkles or use a toothpick to create “hair” or “scars” with a contrasting chocolate color. Since the chocolate sets quickly, it is best to decorate each cookie immediately after dipping.
- Step 5: Set and Serve – Allow the cookies to sit at room temperature for about 30 minutes until the chocolate is firm. If you are in a hurry, you can place the baking sheet in the refrigerator for 10 to 15 minutes. Once fully set, gently peel them off the parchment paper and enjoy!