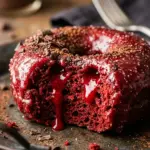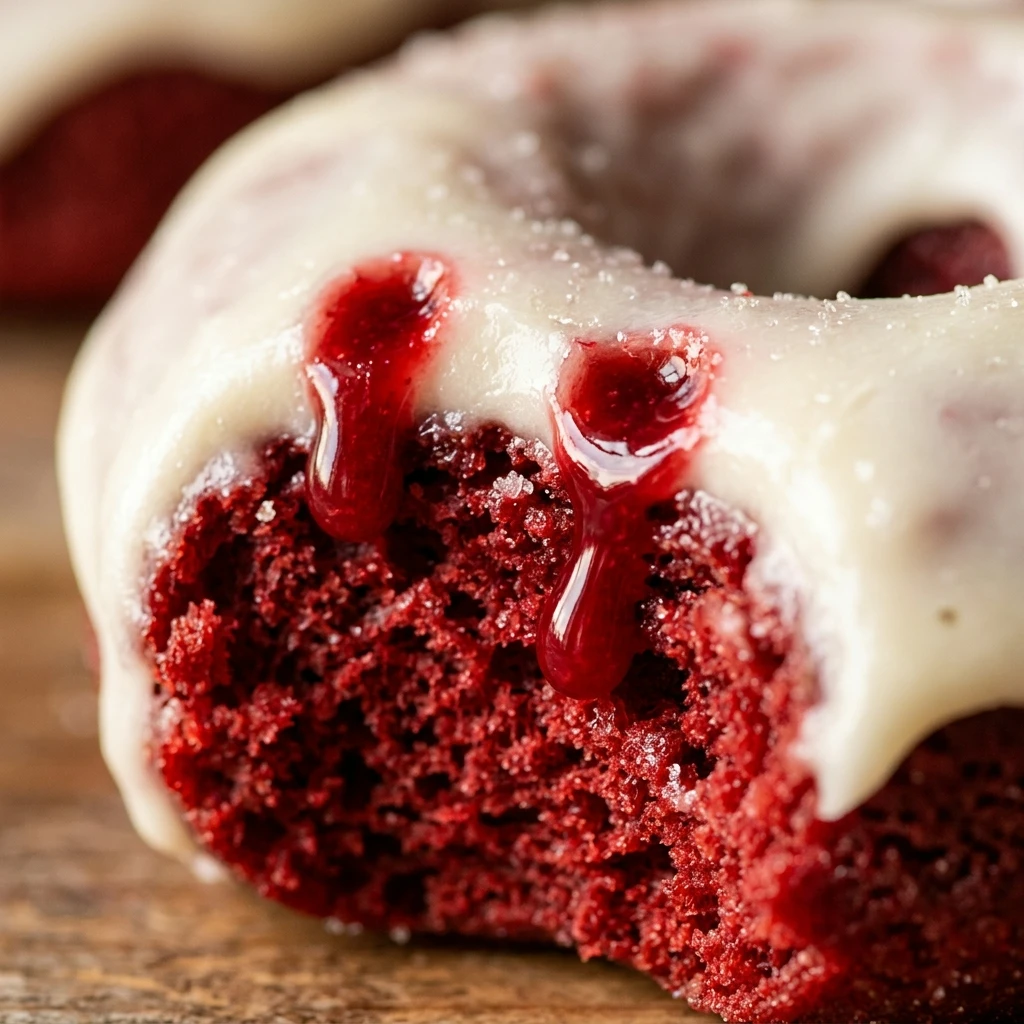

Get ready to sink your teeth into the spookiest treat of the season! These Vampire Bite Red Velvet Donuts are the perfect combination of festive, frightening, and flavorful. With their deep red hue and signature cream cheese glaze, they capture the classic red velvet taste everyone loves, but with a fun Halloween twist that will delight both kids and adults.
Whether you are hosting a haunted house party or just want a special October breakfast, these baked donuts are a showstopper. They look incredibly professional yet are simple enough for any home baker to master. The addition of plastic fangs and “bloody” fruit jam makes them the star of any dessert table.
Recipe Information
- Prep Time: 15 minutes
- Cook Time: 12 minutes
- Total Time: 27 minutes
- Servings: 12 donuts
- Difficulty Level: Easy
Nutrition Information
- Calories per serving: 245 kcal
- Protein: 4g
- Carbohydrates: 36g
- Fat: 10g
- Fiber: 1g
- Sugar: 22g
- Sodium: 210mg
Why Make This Vampire Bite Red Velvet Donuts Recipe
This recipe is a must-try because it balances flavor and fun perfectly. Most Halloween treats rely solely on sugar, but these donuts offer the sophisticated, tangy cocoa notes of traditional red velvet. Because they are baked rather than fried, they are much easier to clean up and have a soft, cake-like texture that pairs beautifully with a morning coffee or a glass of milk.
Another reason to love this recipe is the “wow” factor. The visual of the vampire fangs and the dripping red jam creates a high-impact look with very little effort. It is a fantastic way to get creative in the kitchen without needing advanced decorating skills. Plus, kids love helping with the final step of “bloodying” the donuts!
How to Make Vampire Bite Red Velvet Donuts Recipe
Making these spooky treats is a simple process of mixing a vibrant red batter, baking them to perfection, and adding the iconic vampire decorations.
Ingredients
- 2 cups all-purpose flour
- 1/4 cup unsweetened cocoa powder
- 1/2 cup granulated sugar
- 1 teaspoon baking powder
- 1/2 teaspoon salt
- 3/4 cup buttermilk (room temperature)
- 1 large egg
- 2 tablespoons unsalted butter, melted and cooled
- 1 teaspoon vanilla extract
- 1 tablespoon red gel food coloring
- 4 ounces cream cheese, softened
- 1 cup powdered sugar
- 2 tablespoons milk
- 12 pairs of plastic vampire fangs
- 1/4 cup strawberry or raspberry jam (seedless)
Directions
Step 1: Preparation and Oven Setup
Preheat your oven to 350°F (175°C). Lightly grease two 6-cavity donut pans with non-stick cooking spray or a little bit of melted butter to ensure the donuts pop out easily after baking.
Step 2: Whisking Dry Ingredients
In a large mixing bowl, sift together the all-purpose flour, cocoa powder, granulated sugar, baking powder, and salt. Sifting helps remove any lumps from the cocoa powder and ensures a light, airy donut texture.
Step 3: Combining Wet Ingredients
In a separate medium bowl, whisk together the buttermilk, egg, melted butter, and vanilla extract. Stir in the red gel food coloring until the mixture is a bright, vibrant crimson.
Step 4: Mixing the Batter
Gently pour the wet ingredients into the dry ingredients. Use a spatula to fold them together until just combined. Be careful not to overmix, as this can make the donuts tough and rubbery.
Step 5: Filling the Pans and Baking
Transfer the batter into a piping bag or a large zip-top bag with the corner snipped off. Pipe the batter into the prepared donut cavities, filling them about 2/3 full. Bake for 10 to 12 minutes, or until a toothpick inserted into the thickest part comes out clean.
Step 6: Cooling and Glazing
Let the donuts cool in the pan for 5 minutes before transferring them to a wire rack to cool completely. While they cool, whisk the softened cream cheese, powdered sugar, and milk together until smooth. Once cooled, dip the top of each donut into the cream cheese glaze.
Step 7: Adding the Vampire Bite
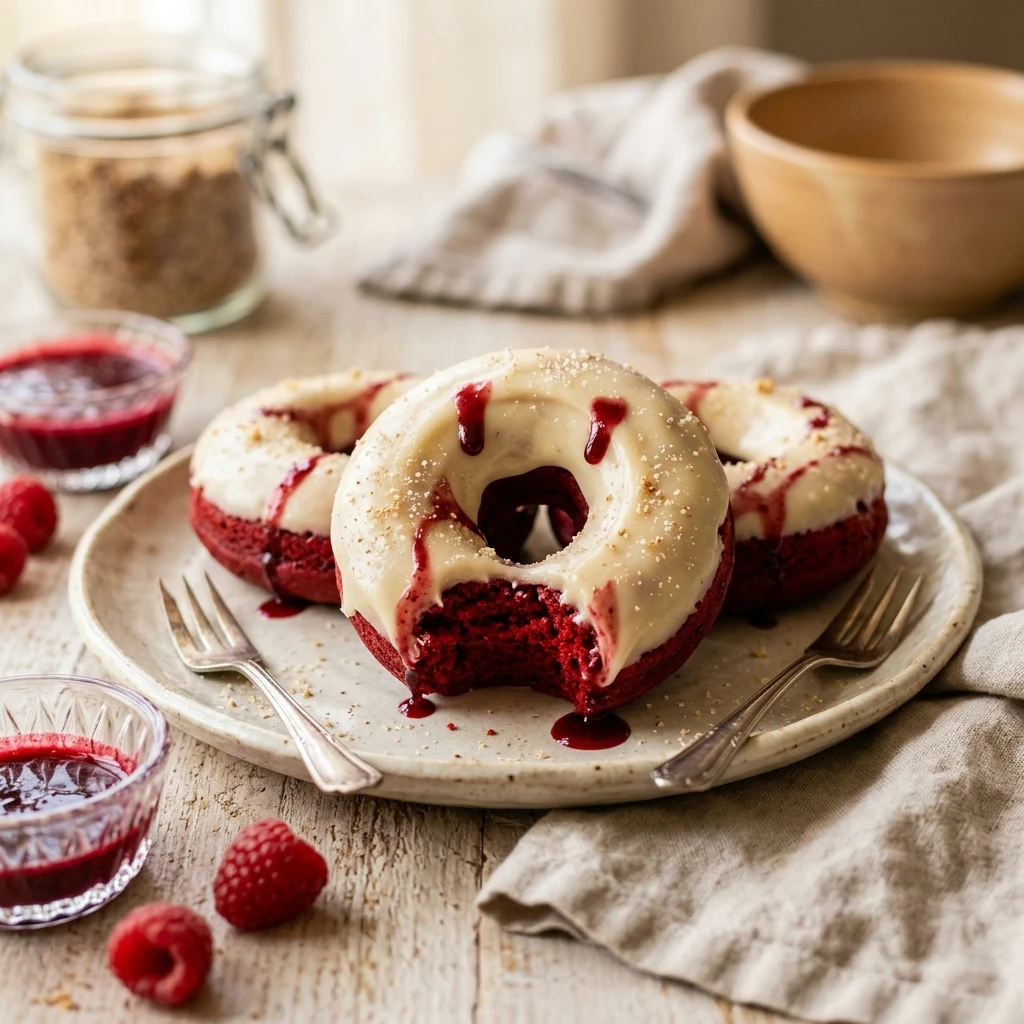
While the glaze is still slightly tacky, place a pair of plastic vampire fangs into the center hole of each donut. In a small microwave-safe bowl, warm the jam for 10 seconds to thin it out. Use a toothpick or a small spoon to drip two “blood” spots near the fangs and let some jam run down the side of the donut.
How to Serve Vampire Bite Red Velvet Donuts Recipe
For the best presentation, serve these donuts on a dark-colored platter or a wooden board to make the red and white colors pop. They look fantastic when surrounded by other Halloween decorations like plastic spiders or faux cobwebs. If you are serving them at a party, place a small napkin under each donut, as the jam “blood” can be a bit sticky for guests to handle.
How to Store Vampire Bite Red Velvet Donuts Recipe
Because these donuts feature a cream cheese glaze, they should be stored in an airtight container in the refrigerator. They will stay fresh for up to 3 days. When you are ready to eat them, you can let them sit at room temperature for 15 minutes to soften the glaze. If you need to make them ahead of time, bake the donuts and store them plain, then glaze and decorate on the day you plan to serve them.
Expert Tips for Perfect Vampire Bite Red Velvet Donuts Recipe
To get the most vibrant color, use gel food coloring instead of liquid drops. Gel is more concentrated and won’t thin out your batter. Also, ensure your buttermilk and egg are at room temperature before mixing; this helps the batter emulsify properly for a consistent crumb. If your glaze is too thick, add milk half a teaspoon at a time until it reaches a dippable consistency.
Delicious Variations
If you want to change things up, try using a dark chocolate glaze instead of cream cheese for a “Gothic” look. You can also swap the fruit jam for a red-tinted white chocolate ganache if you prefer a sweeter “blood” effect. For those who enjoy a bit of crunch, sprinkle some black sanding sugar over the glaze before adding the fangs for a sparkling, spooky finish.
Frequently Asked Questions
Q: Can I make these donuts without a donut pan?
Yes! You can use a muffin tin. Fill the cups halfway and place a small ball of rolled-up aluminum foil in the center of each cup to create the hole shape, then bake as directed.
Q: Is the buttermilk necessary?
Buttermilk is a key ingredient in red velvet as it reacts with the cocoa and baking powder to create a tender texture. If you don’t have any, you can make a substitute by adding 1 tablespoon of lemon juice to 1 cup of regular milk and letting it sit for 5 minutes.
Q: Can I use a boxed red velvet cake mix?
You can use a mix to save time, but home-baked donuts usually have a better structure for holding the heavy plastic fangs. If using a mix, reduce the liquid slightly to ensure a thicker batter.
Q: Where can I buy plastic vampire fangs?
You can find them at most party supply stores, craft stores, or online retailers during the Halloween season. Make sure to wash them with soap and water before placing them on the food.
Q: Can I freeze these donuts?
You can freeze the unglazed donuts for up to two months. Wrap them tightly in plastic wrap and foil. Thaw at room temperature and then apply the glaze and decorations fresh.
Conclusion
The Vampire Bite Red Velvet Donuts Recipe is a fantastic way to bring a touch of spooky fun to your kitchen this October. They are easy to prepare, incredibly eye-catching, and possess that delicious red velvet flavor that everyone craves. Happy haunting and even happier baking!

Vampire Bite Red Velvet Donuts Recipe
- Cook Time: 27 minutes
- Total Time: 27 minutes
- Diet: Vegetarian
Ingredients
- 2 cups all-purpose flour
- 1/4 cup unsweetened cocoa powder
- 1/2 cup granulated sugar
- 1 teaspoon baking powder
- 1/2 teaspoon salt
- 3/4 cup buttermilk (room temperature)
- 1 large egg
- 2 tablespoons unsalted butter, melted and cooled
- 1 teaspoon vanilla extract
- 1 tablespoon red gel food coloring
- 4 ounces cream cheese, softened
- 1 cup powdered sugar
- 2 tablespoons milk
- 12 pairs of plastic vampire fangs
- 1/4 cup strawberry or raspberry jam (seedless)
Instructions
- Step 1: Preparation and Oven Setup Preheat your oven to 350°F (175°C). Lightly grease two 6-cavity donut pans with non-stick cooking spray or a little bit of melted butter to ensure the donuts pop out easily after baking.
- Step 2: Whisking Dry Ingredients In a large mixing bowl, sift together the all-purpose flour, cocoa powder, granulated sugar, baking powder, and salt. Sifting helps remove any lumps from the cocoa powder and ensures a light, airy donut texture.
- Step 3: Combining Wet Ingredients In a separate medium bowl, whisk together the buttermilk, egg, melted butter, and vanilla extract. Stir in the red gel food coloring until the mixture is a bright, vibrant crimson.
- Step 4: Mixing the Batter Gently pour the wet ingredients into the dry ingredients. Use a spatula to fold them together until just combined. Be careful not to overmix, as this can make the donuts tough and rubbery.
- Step 5: Filling the Pans and Baking Transfer the batter into a piping bag or a large zip-top bag with the corner snipped off. Pipe the batter into the prepared donut cavities, filling them about 2/3 full. Bake for 10 to 12 minutes, or until a toothpick inserted into the thickest part comes out clean.
- Step 6: Cooling and Glazing Let the donuts cool in the pan for 5 minutes before transferring them to a wire rack to cool completely. While they cool, whisk the softened cream cheese, powdered sugar, and milk together until smooth. Once cooled, dip the top of each donut into the cream cheese glaze.
- Step 7: Adding the Vampire Bite While the glaze is still slightly tacky, place a pair of plastic vampire fangs into the center hole of each donut. In a small microwave-safe bowl, warm the jam for 10 seconds to thin it out. Use a toothpick or a small spoon to drip two “blood” spots near the fangs and let some jam run down the side of the donut.