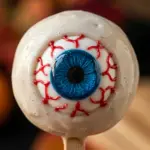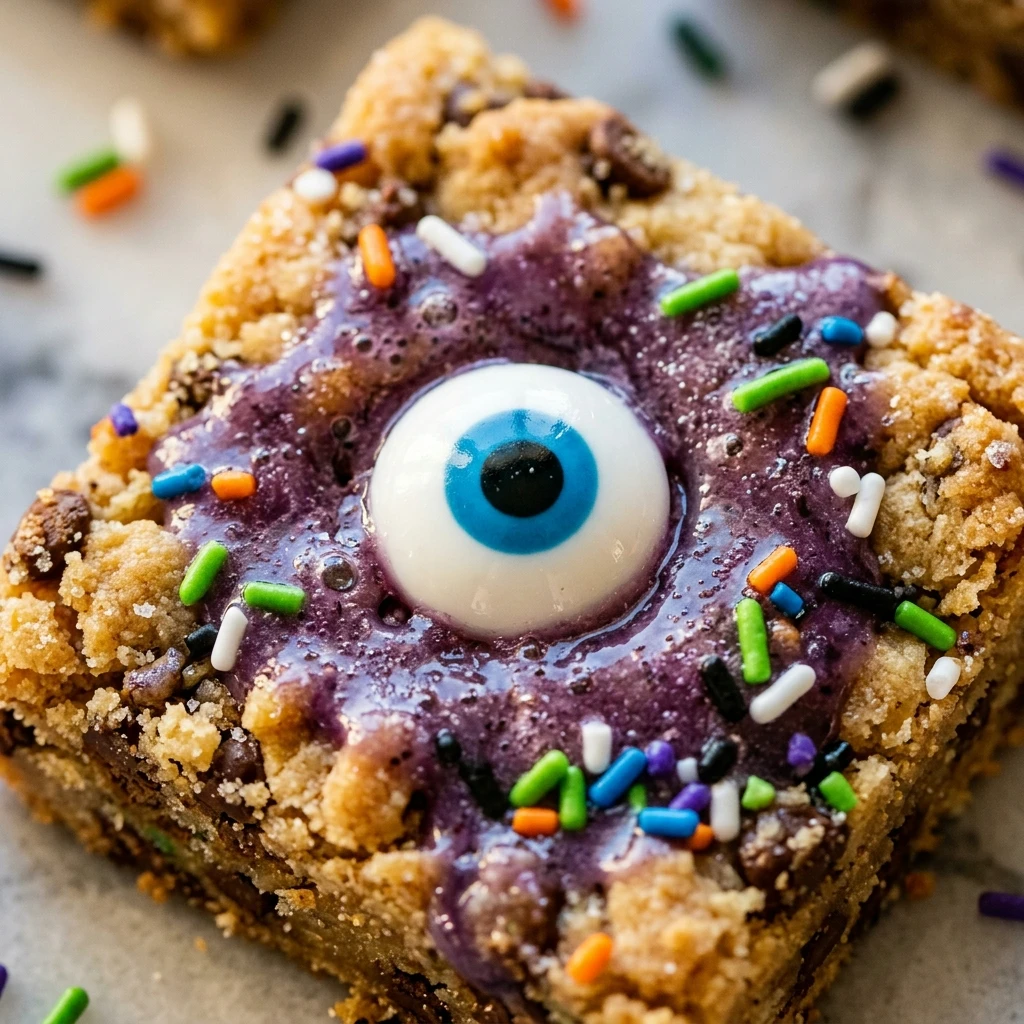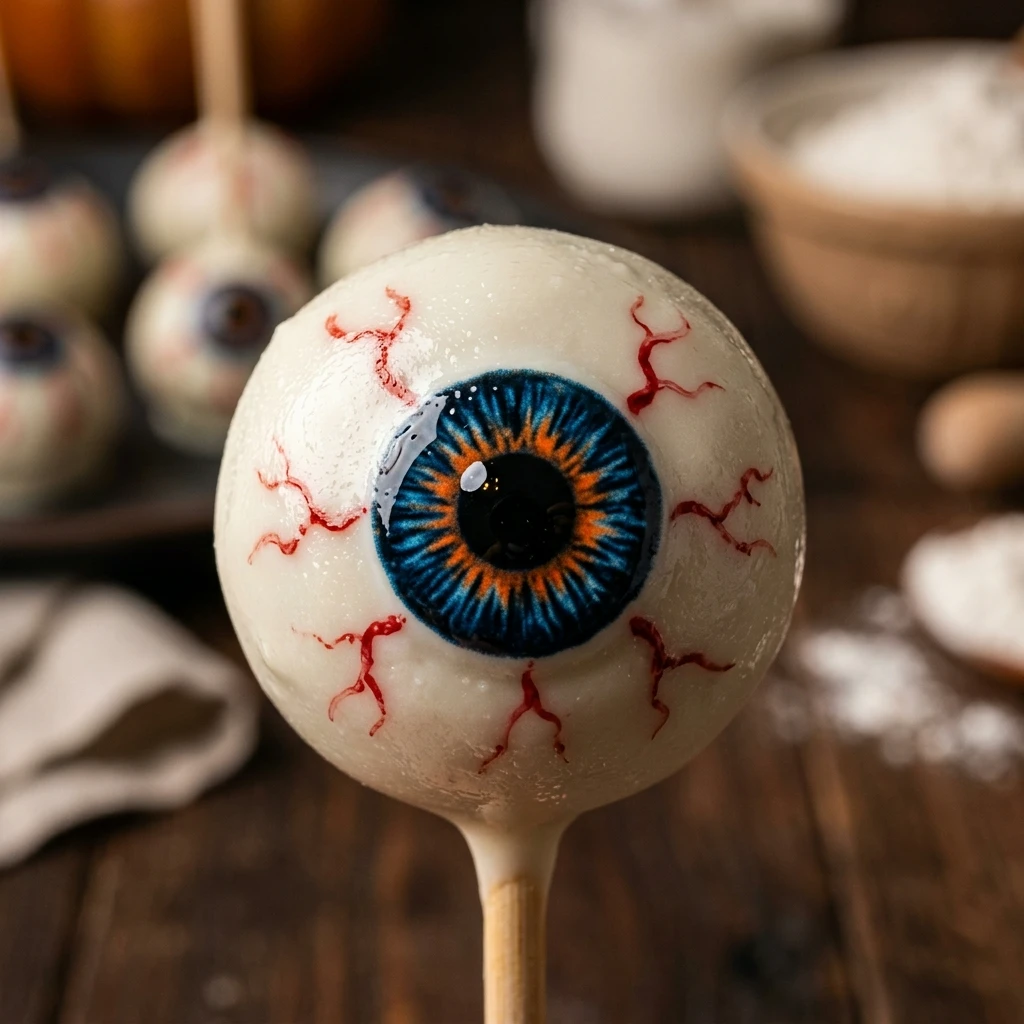

Halloween is just around the corner, and nothing says “spooky season” quite like a tray of edible eyeballs! These Spooky Eyeball Cake Pops are the ultimate creepy-cute treat for your next holiday bash. They are surprisingly easy to make and guaranteed to be the center of attention on your dessert table.
Combining the rich flavor of moist cake with a smooth candy coating, these pops offer a delightful crunch followed by a soft, sweet center. Whether you are hosting a haunted house party or looking for a fun kitchen project with the kids, these treats are a must-try this October.
Recipe Information
- Prep Time: 60 minutes
- Cook Time: 30 minutes
- Total Time: 90 minutes
- Servings: 24 cake pops
- Difficulty Level: Medium
Nutrition Information
- Calories per serving: 185 kcal
- Protein: 2g
- Carbohydrates: 28g
- Fat: 8g
- Fiber: 1g
- Sugar: 22g
- Sodium: 150mg
Why Make This Spooky Eyeball Cake Pops Recipe
You should make this recipe because it strikes the perfect balance between spooky and delicious. Unlike many elaborate Halloween desserts, these cake pops don’t require professional decorating skills. The “bloodshot” look actually looks better when it is a little messy, making it a stress-free baking experience.
Additionally, these are great for portion control and easy serving. There is no need for plates or forks; guests can just grab a stick and enjoy. They are also incredibly versatile, allowing you to use your favorite cake flavors and colors to suit your holiday theme.
How to Make Spooky Eyeball Cake Pops Recipe
Creating these treats is a multi-step process that involves baking, crumbling, and dipping. It is a labor of love, but the final result is well worth the effort. Follow these simple steps to bring your edible eyeballs to life!
Ingredients
- 1 box (15.25 oz) chocolate or vanilla cake mix (plus ingredients called for on the box)
- 1/2 cup vanilla or cream cheese frosting
- 24 ounces white candy melts or white chocolate wafers
- 24 lollipop sticks
- 24 blue or green M&Ms (or large candy eyes)
- Red edible ink marker or red gel food coloring
- Black edible ink marker or a small amount of dark chocolate (for pupils)
- 1 tablespoon coconut oil or shortening (optional, for thinning chocolate)
Directions
Step 1: Bake and Cool the Cake
Prepare the cake mix according to the package instructions using a standard baking pan. Once finished, remove it from the oven and let it cool completely to room temperature. This ensures the cake doesn’t melt the frosting in the next step.
Step 2: Crumble the Cake
Once cooled, break the cake into large chunks and place them in a large mixing bowl. Use your hands or a fork to crumble the cake until it resembles fine crumbs. There should be no large lumps left in the bowl.
Step 3: Mix in the Frosting
Add about half a cup of frosting to the cake crumbs. Use a spatula or your hands to mix it together until it reaches a dough-like consistency. You should be able to roll a ball that holds its shape perfectly without cracking.
Step 4: Shape the Eyeballs
Scoop about one tablespoon of the mixture and roll it between your palms to create a smooth, round ball. Repeat this until all the mixture is used, placing the balls on a baking sheet lined with parchment paper.
Step 5: Insert the Sticks
Melt a small amount of white candy melts. Dip the tip of each lollipop stick into the melted candy and then insert it halfway into a cake ball. This acts as glue to keep the cake on the stick. Place the tray in the freezer for 15-20 minutes to firm up.
Step 6: Dip the Cake Pops
Melt the remaining white candy melts in a deep bowl. Dip each chilled cake pop straight down into the coating until fully covered. Gently tap the stick on the edge of the bowl to remove excess chocolate. Stand them upright in a cake pop stand or a piece of styrofoam.
Step 7: Add the Iris and Pupil
While the white coating is still slightly wet, press an M&M or a candy eye onto the center of the pop. If you are using M&Ms, use a black edible marker or a dot of melted dark chocolate to draw a pupil in the center of the candy once it is set.
Step 8: Draw the Bloodshot Veins
Once the white coating has fully hardened, use a red edible ink marker or a toothpick dipped in red food gel to draw thin, squiggly lines radiating from the iris. This gives the cake pops their signature creepy, bloodshot look.
How to Serve Spooky Eyeball Cake Pops Recipe
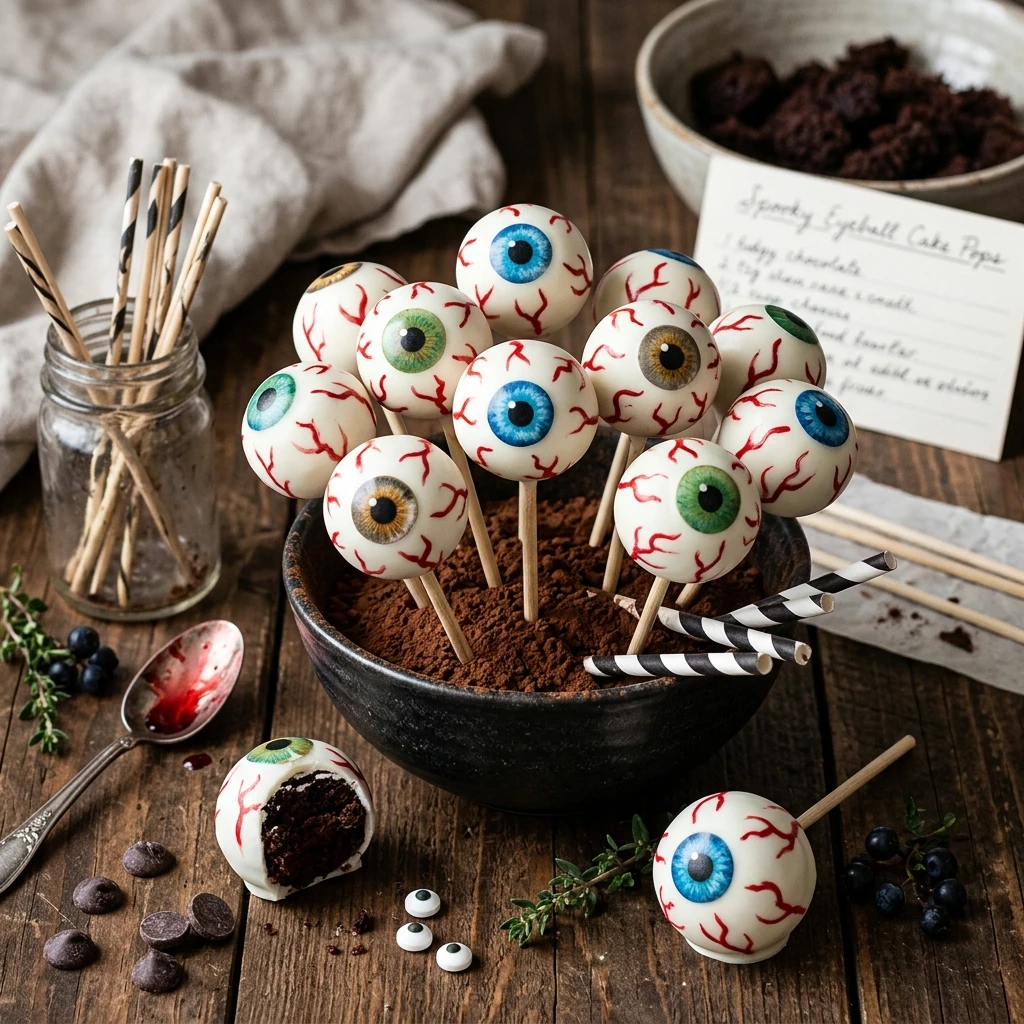
These cake pops look best when displayed upright. You can use a dedicated cake pop stand or get creative with a foam block covered in Halloween-themed fabric. Another fun idea is to fill a glass jar with black jelly beans or orange sugar and stick the pops into the jar for a festive centerpiece. They are perfect for dessert tables or as party favors wrapped in small cellophane bags tied with a ribbon.
How to Store Spooky Eyeball Cake Pops Recipe
Store your finished cake pops in an airtight container at room temperature for up to 3 days. If your kitchen is warm, it is better to keep them in the refrigerator, where they will stay fresh for up to a week. If you refrigerate them, be aware that condensation may form on the chocolate when you take them out. You can also freeze the undipped cake balls for up to 6 weeks.
Expert Tips for Perfect Spooky Eyeball Cake Pops Recipe
To get the smoothest finish, make sure your candy melts are thin enough. If the mixture is too thick, add a teaspoon of coconut oil or shortening to reach a silky consistency. Always make sure your cake balls are chilled but not frozen when you dip them; otherwise, the chocolate coating might crack as the temperature changes. Finally, don’t use too much frosting, or the balls will be too heavy and might slide right off the sticks!
Delicious Variations
You can easily switch up the flavors by using red velvet cake for a “bloody” interior or pumpkin spice cake for a seasonal twist. For a different look, use different colors for the iris, such as purple or bright orange. If you want a more gory effect, you can drizzle extra red-tinted white chocolate over the finished pops to look like dripping blood or use a strawberry jam filling for a “bleeding” center.
Frequently Asked Questions
Q: Why did my cake pops fall off the stick?
This usually happens if the cake balls are too large or if there is too much frosting in the mix, making them heavy. Make sure to dip the stick in melted chocolate before inserting it to create a strong bond.
Q: Can I use white chocolate chips instead of candy melts?
Yes, but white chocolate chips can be finicky. They are thicker when melted, so you will likely need to add a little shortening or coconut oil to get a smooth dipping consistency.
Q: Do I need to keep these in the fridge?
While not strictly necessary for safety, keeping them in a cool spot helps the decoration stay intact. If your house is warm, the refrigerator is your best friend to prevent the chocolate from softening.
Q: Can I make these a day in advance?
Absolutely! These are actually better when made a day ahead as it gives the flavors time to meld and ensures the decorations are fully set and hardened.
Q: How do I prevent the white chocolate from cracking?
Cracking usually happens when there is a large temperature difference between the cake ball and the melted coating. Let the chilled cake balls sit at room temperature for a few minutes before dipping into the warm chocolate.
Conclusion
Spooky Eyeball Cake Pops are a fantastic way to bring some eerie excitement to your Halloween celebrations. They are fun to look at, even better to eat, and offer a creative outlet for bakers of all ages. With a little patience and some simple ingredients, you will have a batch of treats that “look” as good as they taste. Happy Halloween!
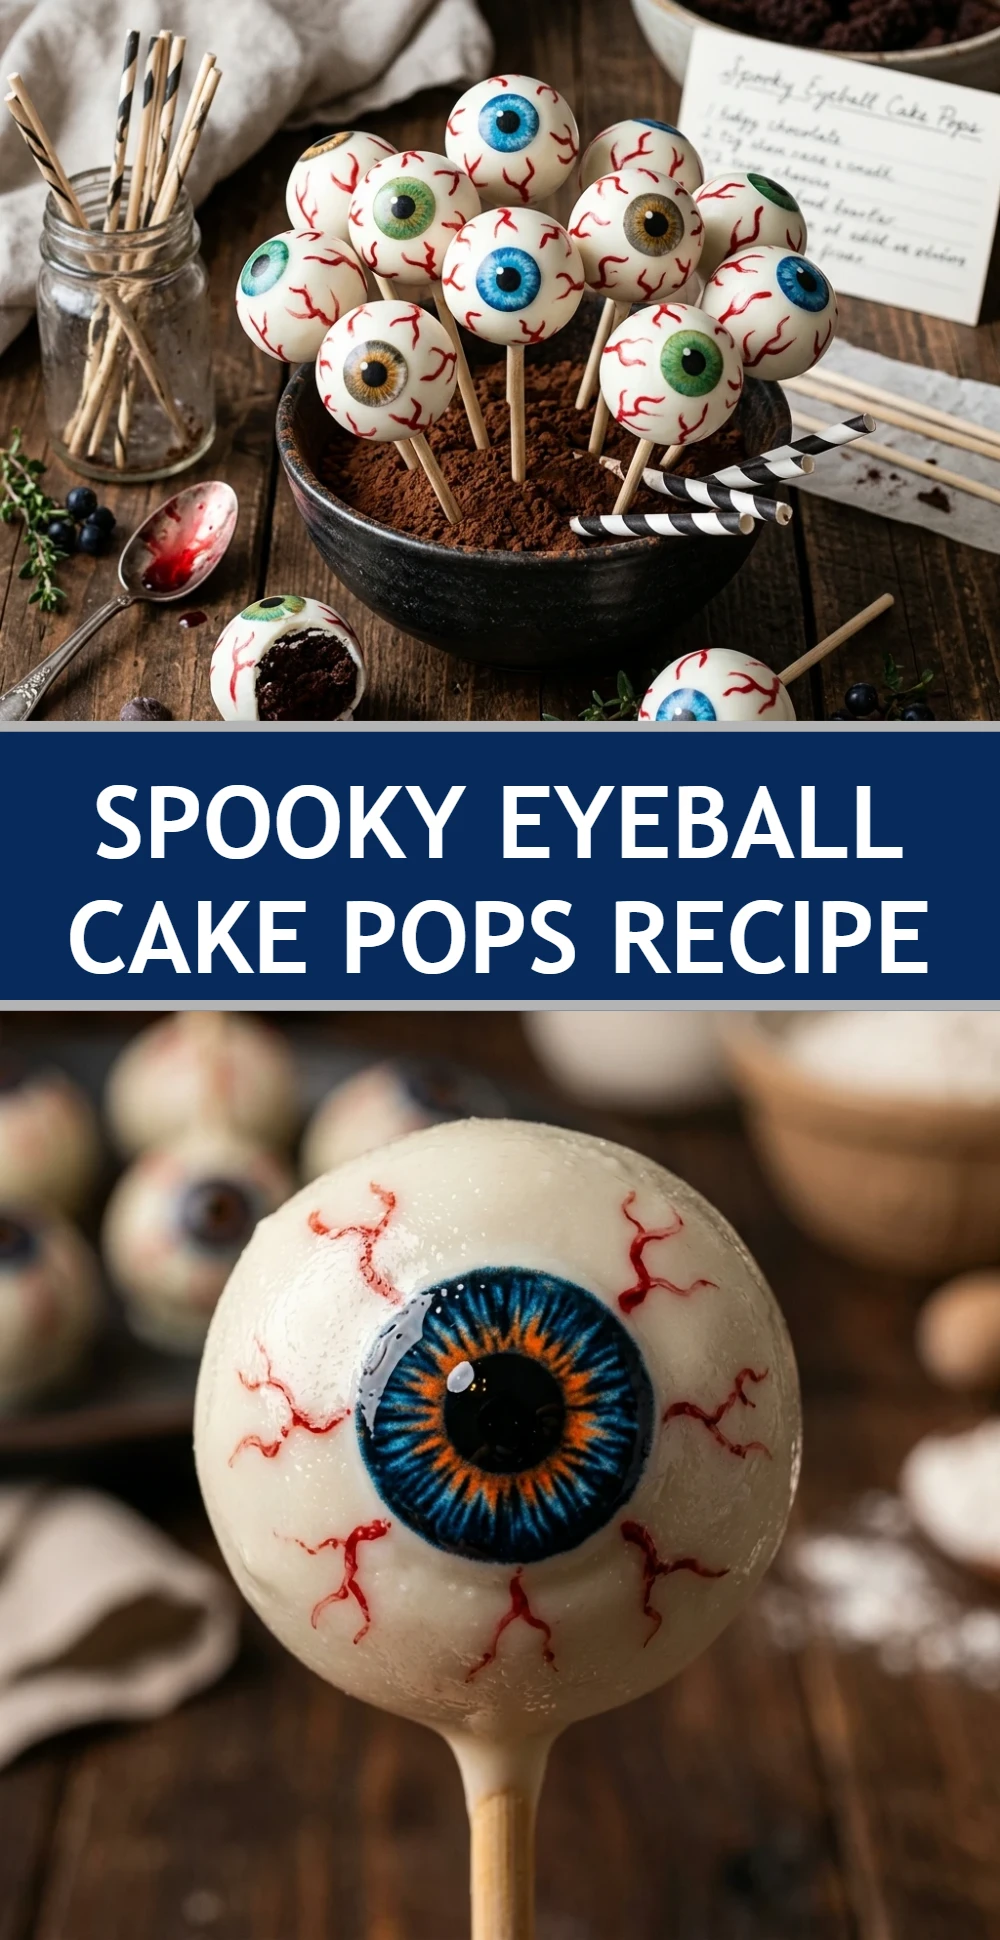
Spooky Eyeball Cake Pops Recipe
- Cook Time: 90 minutes
- Total Time: 1 hour 30 minutes
- Diet: Not specified
Ingredients
- 1 box (15.25 oz) chocolate or vanilla cake mix (plus ingredients called for on the box)
- 1/2 cup vanilla or cream cheese frosting
- 24 ounces white candy melts or white chocolate wafers
- 24 lollipop sticks
- 24 blue or green M&Ms (or large candy eyes)
- Red edible ink marker or red gel food coloring
- Black edible ink marker or a small amount of dark chocolate (for pupils)
- 1 tablespoon coconut oil or shortening (optional, for thinning chocolate)
Instructions
- Step 1: Bake and Cool the Cake
Prepare the cake mix according to the package instructions using a standard baking pan. Once finished, remove it from the oven and let it cool completely to room temperature. This ensures the cake doesn’t melt the frosting in the next step.
- Step 2: Crumble the Cake
Once cooled, break the cake into large chunks and place them in a large mixing bowl. Use your hands or a fork to crumble the cake until it resembles fine crumbs. There should be no large lumps left in the bowl.
- Step 3: Mix in the Frosting
Add about half a cup of frosting to the cake crumbs. Use a spatula or your hands to mix it together until it reaches a dough-like consistency. You should be able to roll a ball that holds its shape perfectly without cracking.
- Step 4: Shape the Eyeballs
Scoop about one tablespoon of the mixture and roll it between your palms to create a smooth, round ball. Repeat this until all the mixture is used, placing the balls on a baking sheet lined with parchment paper.
- Step 5: Insert the Sticks
Melt a small amount of white candy melts. Dip the tip of each lollipop stick into the melted candy and then insert it halfway into a cake ball. This acts as glue to keep the cake on the stick. Place the tray in the freezer for 15-20 minutes to firm up.
- Step 6: Dip the Cake Pops
Melt the remaining white candy melts in a deep bowl. Dip each chilled cake pop straight down into the coating until fully covered. Gently tap the stick on the edge of the bowl to remove excess chocolate. Stand them upright in a cake pop stand or a piece of styrofoam.
- Step 7: Add the Iris and Pupil
While the white coating is still slightly wet, press an M&M or a candy eye onto the center of the pop. If you are using M&Ms, use a black edible marker or a dot of melted dark chocolate to draw a pupil in the center of the candy once it is set.
- Step 8: Draw the Bloodshot Veins
Once the white coating has fully hardened, use a red edible ink marker or a toothpick dipped in red food gel to draw thin, squiggly lines radiating from the iris. This gives the cake pops their signature creepy, bloodshot look.