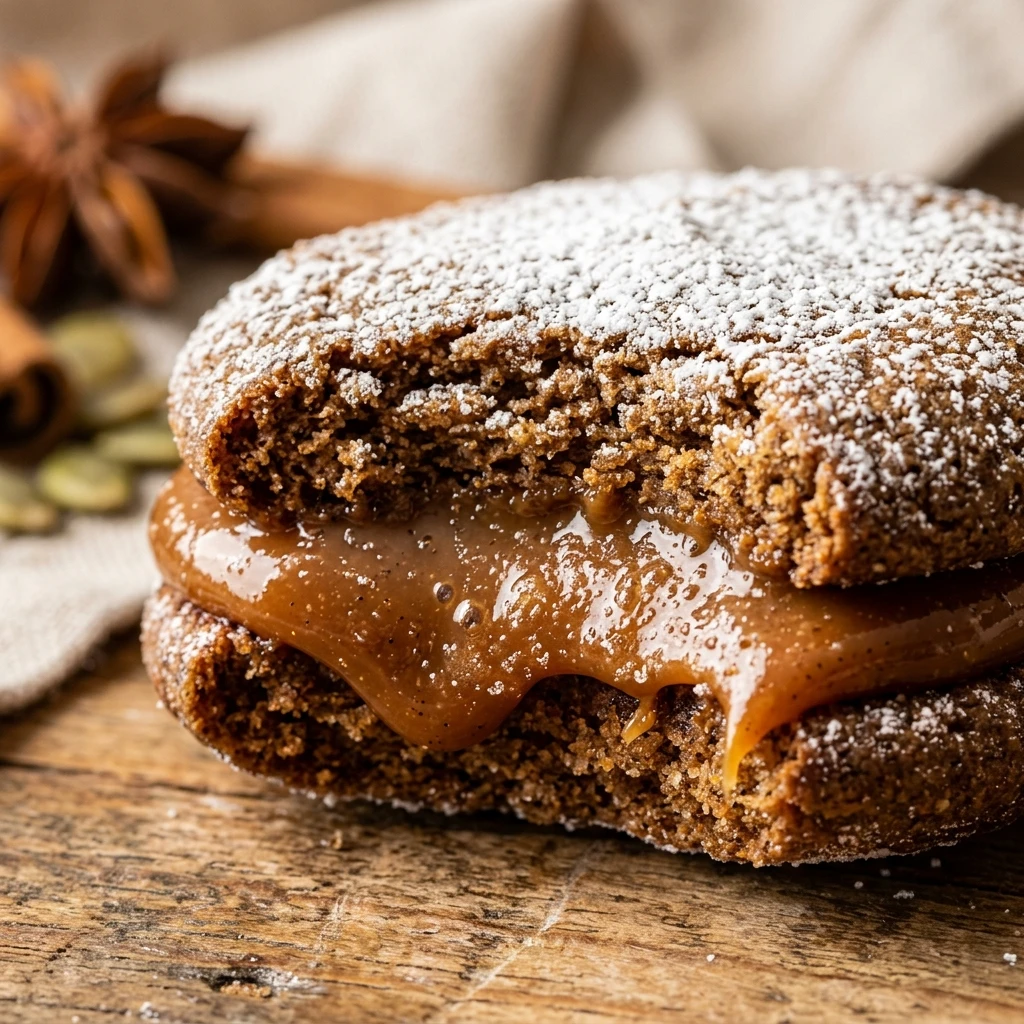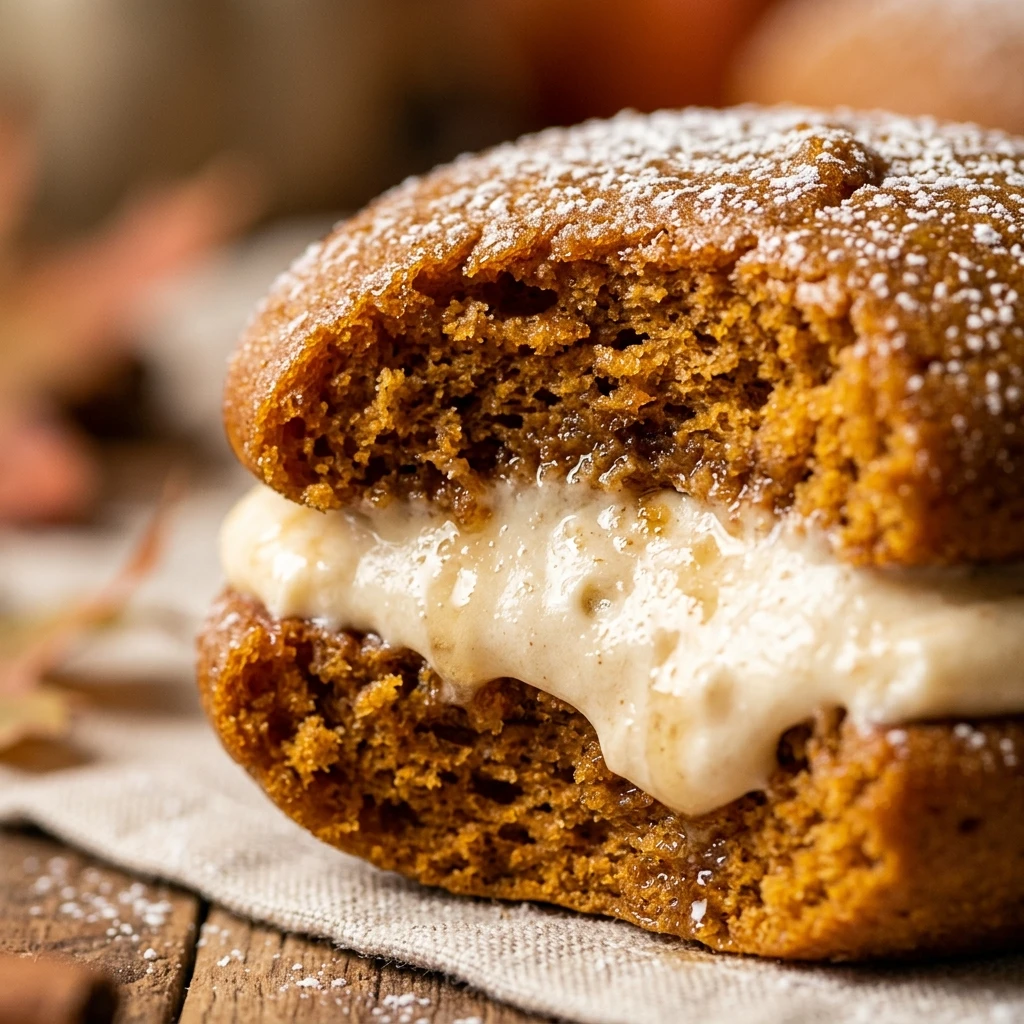

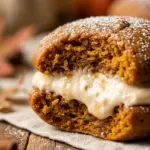
As the leaves begin to turn and the air gets crisp, nothing hits the spot like a cozy, spiced dessert. These Maple Pumpkin Whoopie Pies are the ultimate fall treat, combining soft, cake-like pumpkin cookies with a rich, velvety maple cream cheese filling. They are essentially handheld cakes that capture the very essence of autumn in every bite.
Whether you are hosting a Thanksgiving gathering, heading to a fall festival, or just want a sweet snack to enjoy with your coffee, these whoopie pies are a crowd-pleaser. The warm spices of cinnamon and ginger perfectly complement the earthy pumpkin, while the maple syrup in the frosting adds a layer of depth that makes these truly irresistible.
Recipe Information
- Prep Time: 25 minutes
- Cook Time: 12 minutes
- Total Time: 37 minutes
- Servings: 12 large whoopie pies
- Difficulty Level: Medium
Nutrition Information
- Calories per serving: 385 kcal
- Protein: 4g
- Carbohydrates: 58g
- Fat: 16g
- Fiber: 2g
- Sugar: 42g
- Sodium: 240mg
Why Make This Maple Pumpkin Whoopie Pies Fall Recipe
This recipe is a must-make because it offers the perfect balance of textures. Unlike a standard cookie, these pumpkin shells are incredibly moist and tender. They stay soft for days, making them an excellent make-ahead dessert for parties or gift-giving. The addition of real maple syrup in the filling elevates the flavor profile beyond a standard sugar frosting.
Another reason to love this recipe is how nostalgic it feels. Whoopie pies have a classic, homemade charm that reminds everyone of traditional bake sales and family kitchens. They are fun to assemble and even more fun to eat, especially since you get two layers of cake and a generous portion of frosting in every serving.
How to Make Maple Pumpkin Whoopie Pies Fall Recipe
Making these treats is a two-part process that involves baking the spiced pumpkin rounds and whipping up the creamy filling. Follow these steps carefully to ensure your whoopie pies are light, fluffy, and perfectly sandwiched together.
Ingredients
- 2 cups all-purpose flour
- 1 teaspoon baking powder
- 1 teaspoon baking soda
- 1 teaspoon ground cinnamon
- 1/2 teaspoon ground ginger
- 1/2 teaspoon salt
- 1/2 cup vegetable oil
- 1 cup packed light brown sugar
- 1 cup canned pumpkin puree (not pumpkin pie filling)
- 1 large egg, room temperature
- 1 teaspoon vanilla extract
- 8 ounces cream cheese, softened
- 1/2 cup unsalted butter, softened
- 3 cups powdered sugar
- 2 tablespoons pure maple syrup
- 1/2 teaspoon maple extract (optional for extra flavor)
Directions
Step 1: Oven and Pan Preparation
Preheat your oven to 350°F (175°C). Line two large baking sheets with parchment paper or silicone baking mats. This prevents the sticky pumpkin batter from clinging to the pan and ensures an easy release after baking.
Step 2: Sifting the Dry Ingredients
In a medium mixing bowl, whisk together the flour, baking powder, baking soda, cinnamon, ginger, and salt. Sifting or whisking helps remove lumps and ensures the spices and leavening agents are evenly distributed throughout the cakes.
Step 3: Mixing the Wet Ingredients
In a large bowl, combine the brown sugar and vegetable oil. Whisk until smooth. Add the pumpkin puree, egg, and vanilla extract. Beat the mixture until it is fully incorporated and the color is a consistent vibrant orange.
Step 4: Creating the Pumpkin Batter
Gradually add the dry flour mixture into the wet ingredients. Use a spatula to fold the ingredients together gently until just combined. Be careful not to overmix, as this can make the whoopie pies dense rather than light and airy.
Step 5: Baking the Pumpkin Shells
Using a cookie scoop or a large spoon, drop mounds of batter (about 2 tablespoons each) onto the prepared baking sheets, spacing them 2 inches apart. Bake for 10 to 12 minutes, or until the tops spring back when lightly touched. Let them cool completely on a wire rack before filling.
Step 6: Preparing the Maple Cream Filling
In a clean bowl, beat the softened cream cheese and butter together until pale and fluffy. Gradually add the powdered sugar, one cup at a time, followed by the maple syrup and maple extract. Continue beating until the frosting is smooth and holds its shape.
Step 7: Final Assembly
Pair up the cooled pumpkin shells by size. Pipe or spoon a generous amount of maple filling onto the flat side of one shell. Top it with the second shell and press down gently until the filling reaches the edges. Repeat for all pies.
How to Serve Maple Pumpkin Whoopie Pies Fall Recipe
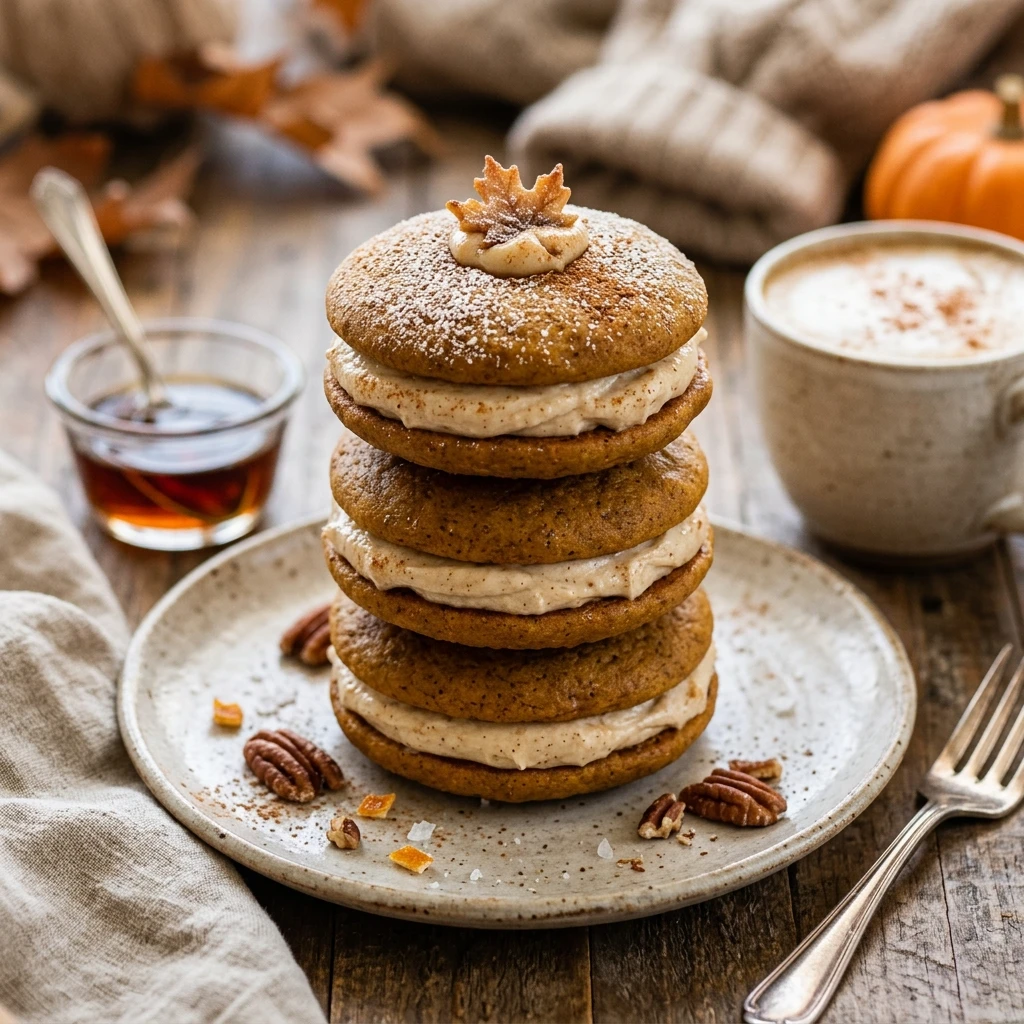
These whoopie pies are best served at room temperature if you want a softer bite, or slightly chilled if you prefer a firmer filling. They look beautiful arranged on a wooden platter for a rustic fall aesthetic. Pair them with a hot cup of apple cider, a pumpkin spice latte, or a cold glass of milk for the perfect seasonal snack.
How to Store Maple Pumpkin Whoopie Pies Fall Recipe
Because the filling contains cream cheese, these must be stored in the refrigerator. Place them in an airtight container with sheets of parchment paper between layers to prevent sticking. They will stay fresh for up to 5 days. If you want to freeze them, wrap each pie individually in plastic wrap and store them in a freezer bag for up to 3 months.
Expert Tips for Perfect Maple Pumpkin Whoopie Pies Fall Recipe
For the best results, always use pumpkin puree rather than pumpkin pie filling, which contains added sugars and spices that can throw off the recipe. Make sure your cream cheese and butter are truly at room temperature to avoid a lumpy frosting. If your batter seems too runny, let it rest for 10 minutes before scooping; this allows the flour to hydrate and makes the mounds hold their shape better during baking.
Delicious Variations
You can customize these whoopie pies in several ways. Try rolling the edges of the assembled pies in chopped pecans or walnuts for a crunch. If you love chocolate, add half a cup of mini chocolate chips to the pumpkin batter. For an extra kick of spice, add a pinch of ground cloves or nutmeg to the flour mixture. You can also swap the maple syrup for caramel sauce in the filling for a Salted Caramel Pumpkin version.
Frequently Asked Questions
Q: Why did my whoopie pies turn out flat?
Flat cakes usually happen if the batter is too warm or if the leavening agents (baking soda/powder) are expired. Ensure your ingredients are fresh and avoid over-greasing the pans.
Q: Can I use butter instead of oil in the cake batter?
Yes, you can use melted butter, but the oil provides a moister, more cake-like texture that whoopie pies are famous for. Butter will make them slightly more cookie-like.
Q: How do I keep the cakes from sticking to my hands?
Pumpkin whoopie pies are naturally a bit sticky. Let them cool completely, and if you are still having trouble, lightly dust your hands with powdered sugar when assembling them.
Q: Do I have to use maple extract?
No, the maple syrup provides a lovely subtle flavor. The extract simply intensifies that “maple” punch. You can substitute it with extra vanilla if you prefer.
Q: Can I make these gluten-free?
Yes, you can substitute the all-purpose flour with a 1:1 gluten-free flour blend. Just ensure the blend contains xanthan gum for the best structure.
Conclusion
Maple Pumpkin Whoopie Pies are the quintessential autumn dessert that brings warmth and sweetness to any occasion. With their soft spiced shells and creamy maple center, they are sure to become a seasonal favorite in your household. Give this recipe a try today and enjoy the wonderful flavors of fall in every delicious bite!
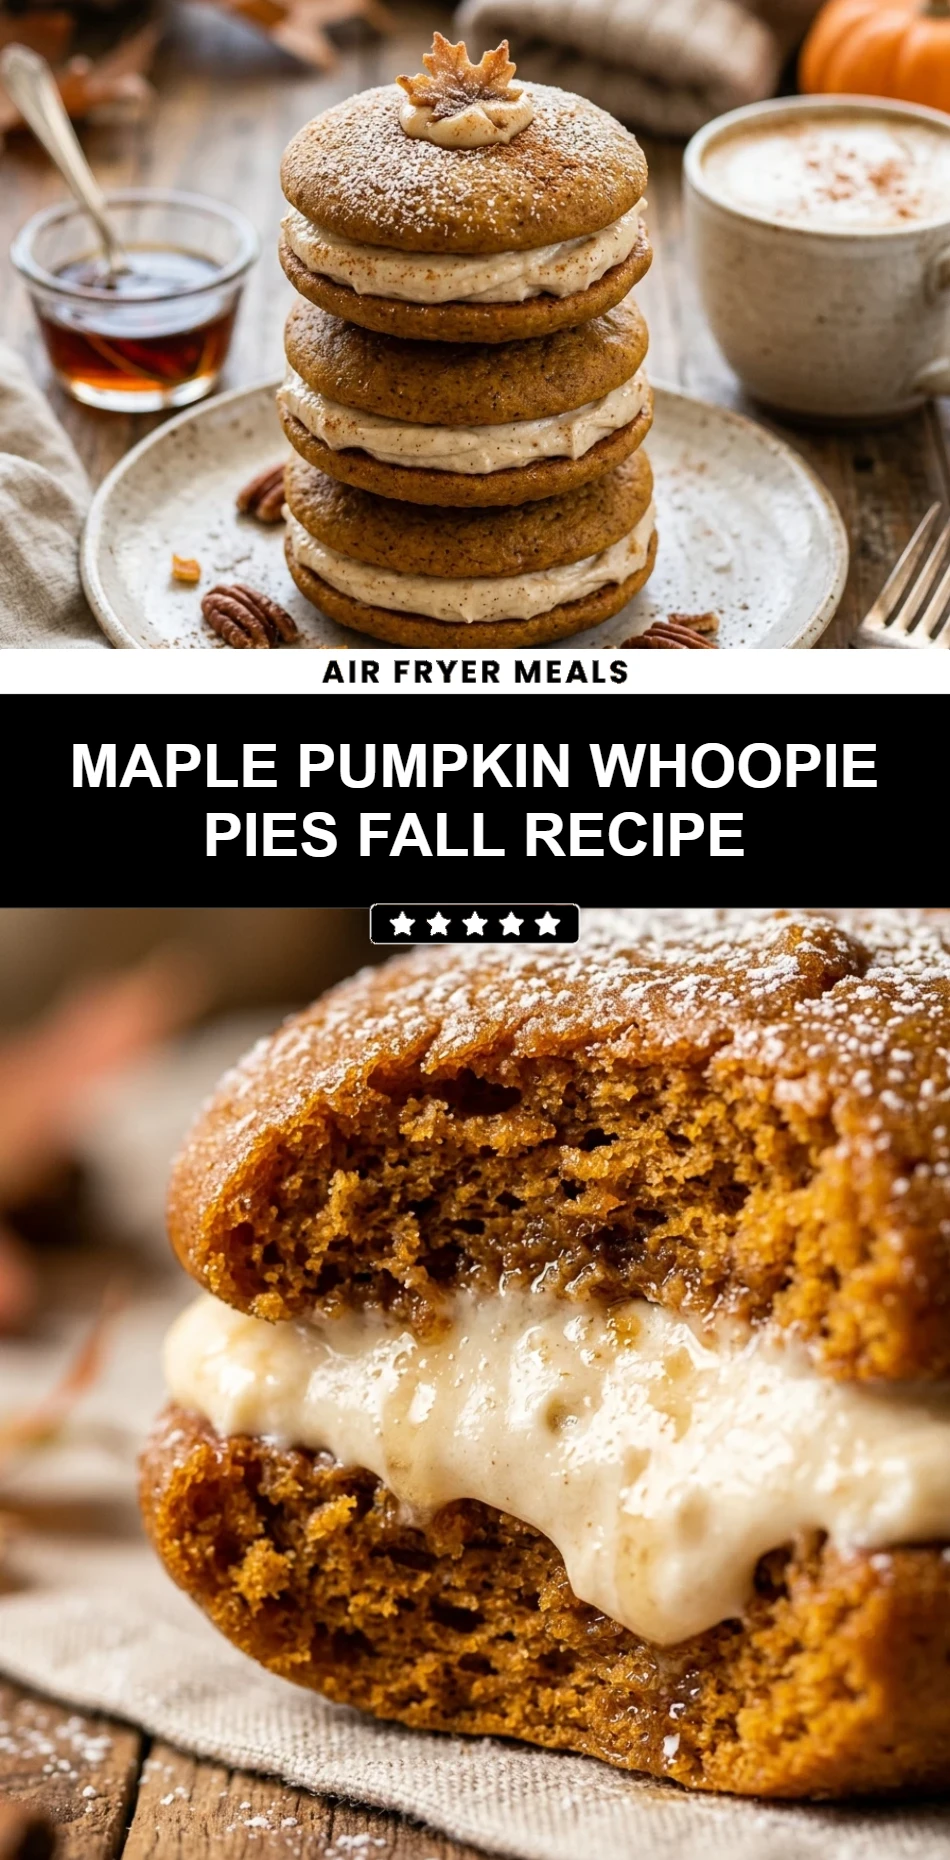
Maple Pumpkin Whoopie Pies Fall Recipe
- Cook Time: 37 minutes
- Total Time: 37 minutes
- Diet: Vegetarian, Gluten-Free Option
Ingredients
- 2 cups all-purpose flour
- 1 teaspoon baking powder
- 1 teaspoon baking soda
- 1 teaspoon ground cinnamon
- 1/2 teaspoon ground ginger
- 1/2 teaspoon salt
- 1/2 cup vegetable oil
- 1 cup packed light brown sugar
- 1 cup canned pumpkin puree (not pumpkin pie filling)
- 1 large egg, room temperature
- 1 teaspoon vanilla extract
- 8 ounces cream cheese, softened
- 1/2 cup unsalted butter, softened
- 3 cups powdered sugar
- 2 tablespoons pure maple syrup
- 1/2 teaspoon maple extract (optional for extra flavor)
Instructions
- Step 1: Oven and Pan Preparation: Preheat your oven to 350°F (175°C). Line two large baking sheets with parchment paper or silicone baking mats. This prevents the sticky pumpkin batter from clinging to the pan and ensures an easy release after baking.
- Step 2: Sifting the Dry Ingredients: In a medium mixing bowl, whisk together the flour, baking powder, baking soda, cinnamon, ginger, and salt. Sifting or whisking helps remove lumps and ensures the spices and leavening agents are evenly distributed throughout the cakes.
- Step 3: Mixing the Wet Ingredients: In a large bowl, combine the brown sugar and vegetable oil. Whisk until smooth. Add the pumpkin puree, egg, and vanilla extract. Beat the mixture until it is fully incorporated and the color is a consistent vibrant orange.
- Step 4: Creating the Pumpkin Batter: Gradually add the dry flour mixture into the wet ingredients. Use a spatula to fold the ingredients together gently until just combined. Be careful not to overmix, as this can make the whoopie pies dense rather than light and airy.
- Step 5: Baking the Pumpkin Shells: Using a cookie scoop or a large spoon, drop mounds of batter (about 2 tablespoons each) onto the prepared baking sheets, spacing them 2 inches apart. Bake for 10 to 12 minutes, or until the tops spring back when lightly touched. Let them cool completely on a wire rack before filling.
- Step 6: Preparing the Maple Cream Filling: In a clean bowl, beat the softened cream cheese and butter together until pale and fluffy. Gradually add the powdered sugar, one cup at a time, followed by the maple syrup and maple extract. Continue beating until the frosting is smooth and holds its shape.
- Step 7: Final Assembly: Pair up the cooled pumpkin shells by size. Pipe or spoon a generous amount of maple filling onto the flat side of one shell. Top it with the second shell and press down gently until the filling reaches the edges. Repeat for all pies.