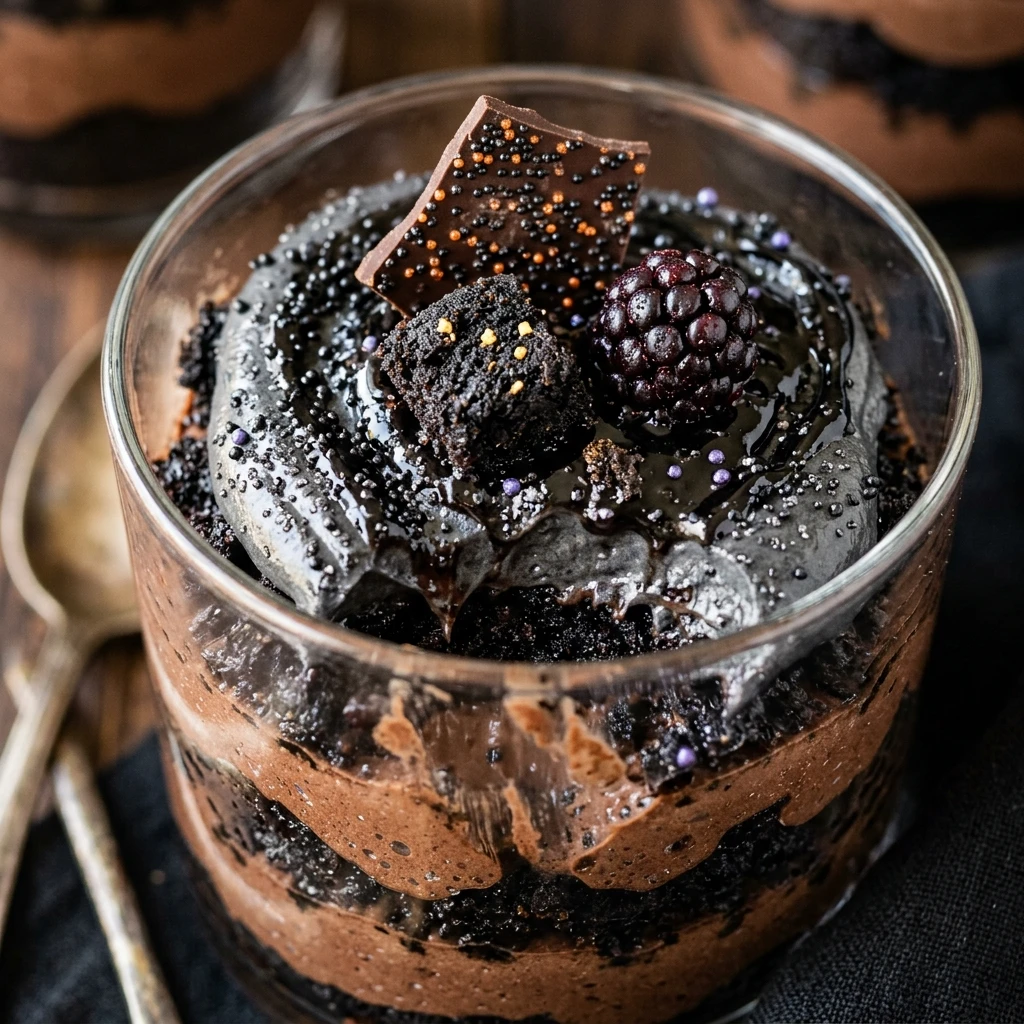

Halloween is the perfect time to get creative in the kitchen with spooky and delicious treats. These Black Velvet Halloween Trifle Cups are the ultimate party dessert, combining the deep, dark flavors of cocoa with vibrant, festive colors. They look impressively eerie on a dessert table and taste even better than they look.
Whether you are hosting a haunted house party or just want a fun project to do with the kids, these individual trifle cups are a fantastic choice. The “black velvet” comes from using dark cocoa powder, which gives the cake a sophisticated flavor and a naturally dark hue that contrasts beautifully with bright orange or purple fillings.
Recipe Information
- Prep Time: 30 minutes
- Cook Time: 25 minutes
- Total Time: 55 minutes
- Servings: 12 cups
- Difficulty Level: Easy
Nutrition Information
- Calories per serving: 410 kcal
- Protein: 5g
- Carbohydrates: 48g
- Fat: 22g
- Fiber: 2g
- Sugar: 35g
- Sodium: 310mg
Why Make This Black Velvet Halloween Trifle Cups Recipe
This recipe is a must-have for your October festivities because it strikes the perfect balance between spooky and sophisticated. Unlike standard chocolate cake, the black velvet base has a unique, slightly tangy flavor profile that pairs perfectly with sweet cream cheese frosting or whipped mousse. It is an eye-catching dessert that feels high-end but is simple enough for any home baker to master.
Another reason to love these trifle cups is their convenience. Since they are served in individual portions, you do not have to worry about messy slicing or serving during a busy party. Guests can simply grab a cup and a spoon. Plus, you can easily customize the colors and decorations to match your specific Halloween theme.
How to Make Black Velvet Halloween Trifle Cups Recipe
Creating these spooky delights involves baking a rich, dark cake, preparing a colorful creamy filling, and layering them together in clear cups to show off the dramatic contrast. Follow these simple steps to bring your Halloween vision to life.
Ingredients
- 1 ½ cups all-purpose flour
- 1 ½ cups granulated sugar
- ½ cup black cocoa powder (ultra-dark)
- 1 ½ teaspoons baking soda
- 1 teaspoon salt
- 1 large egg, room temperature
- ¾ cup buttermilk
- ¾ cup warm water
- 1/3 cup vegetable oil
- 1 teaspoon vanilla extract
- 16 oz cream cheese, softened
- 1 cup powdered sugar
- 2 cups heavy whipping cream, chilled
- Orange and purple gel food coloring
- Halloween-themed sprinkles and gummy worms for garnish
Directions
Step 1: Preheat and Prepare
Preheat your oven to 350°F (175°C). Grease and flour an 8-inch square baking pan or line it with parchment paper to ensure the cake is easy to remove once baked.
Step 2: Mix the Dry Ingredients
In a large mixing bowl, whisk together the flour, sugar, black cocoa powder, baking soda, and salt. Ensure there are no large clumps of cocoa powder for a smooth batter.
Step 3: Add Wet Ingredients
Add the egg, buttermilk, warm water, oil, and vanilla extract to the dry ingredients. Whisk by hand or use an electric mixer on medium speed for about two minutes until the batter is well-combined and smooth.
Step 4: Bake the Cake
Pour the batter into the prepared pan and bake for 25 to 30 minutes. Check for doneness by inserting a toothpick into the center; it should come out clean. Let the cake cool completely in the pan before crumbling it into bite-sized pieces.
Step 5: Prepare the Creamy Filling
In a separate bowl, beat the softened cream cheese and powdered sugar together until smooth. In another bowl, whip the heavy cream until stiff peaks form. Gently fold the whipped cream into the cream cheese mixture. Divide the filling into two bowls, tinting one orange and the other purple using the gel food coloring.
Step 6: Assemble the Trifle Cups
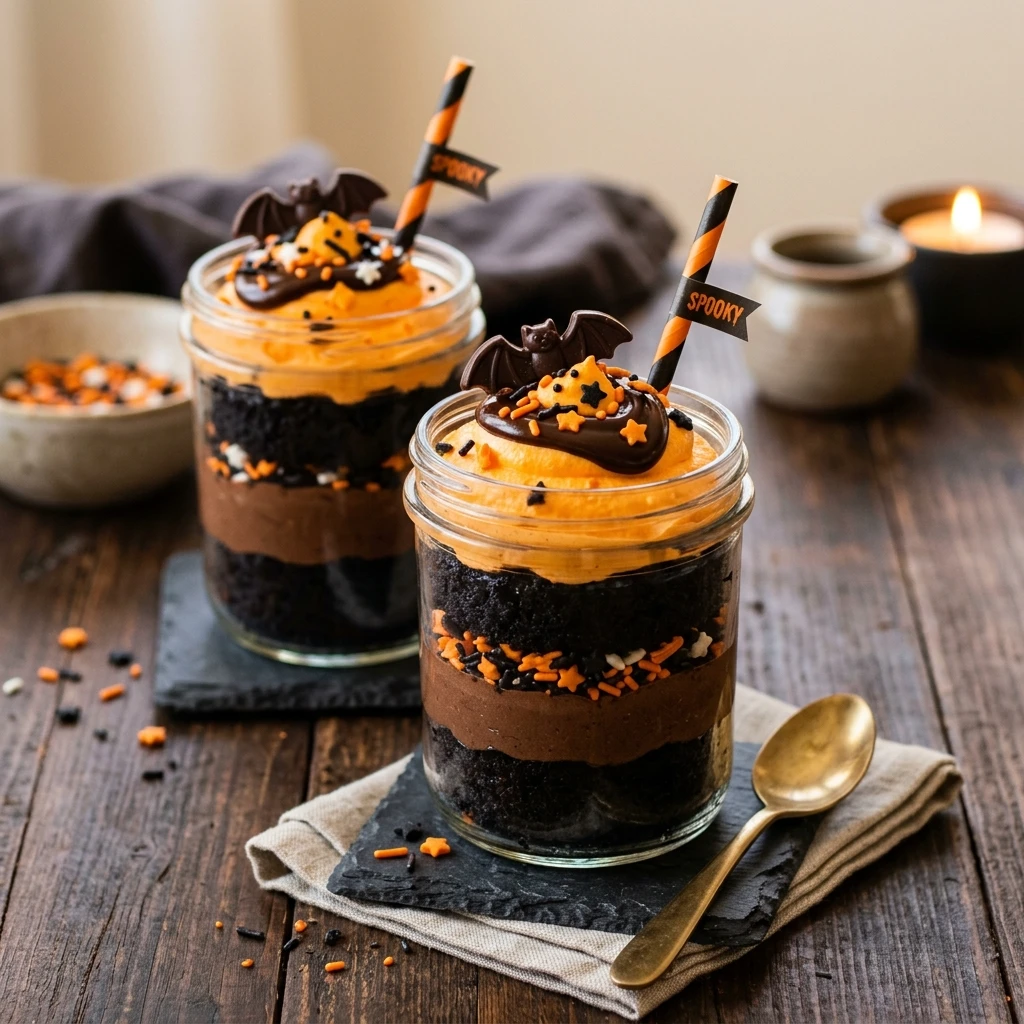
Take 12 clear plastic or glass cups. Place a layer of crumbled black velvet cake at the bottom of each cup. Pipe or spoon a layer of orange cream over the cake. Add another layer of cake crumbs, followed by a layer of purple cream.
Step 7: Garnish and Decorate
Finish each cup with a final sprinkle of cake crumbs or Halloween sprinkles. Top with gummy worms, chocolate spiders, or edible glitter to complete the spooky look.
How to Serve Black Velvet Halloween Trifle Cups Recipe
Serve these trifle cups chilled. They look best when presented in clear glass or plastic cups so the distinct layers of black, orange, and purple are visible. Arrange them on a dark platter or a tiered stand to create a centerpiece for your dessert table. If you want to go the extra mile, serve them with small black or orange spoons tied with festive ribbons.
How to Store Black Velvet Halloween Trifle Cups Recipe
These trifles should be kept in the refrigerator until you are ready to serve them. Cover the tops with plastic wrap or lids to keep the cream from absorbing other fridge odors. They will stay fresh and delicious for up to 3 days. However, for the best texture, add the sprinkles and gummy decorations just before serving to prevent them from becoming soggy or bleeding color.
Expert Tips for Perfect Black Velvet Halloween Trifle Cups Recipe
To get that truly “black” look without using excessive food dye, use Dutch-processed black cocoa powder. It provides a deep ebony color and a rich, Oreo-like flavor. When layering, use a piping bag for the cream layers to keep the sides of the cups clean and the lines sharp. If you don’t have a piping bag, a zip-top bag with the corner snipped off works perfectly.
Delicious Variations
For a different twist, you can swap the cream cheese filling for chocolate mousse or vanilla pudding tinted green for a “witch’s brew” theme. If you are serving adults, you can lightly brush the cake crumbles with a coffee liqueur or Irish cream for an extra layer of flavor. You can also add crushed chocolate sandwich cookies between the layers for an added crunch.
Frequently Asked Questions
Q: Can I use a boxed cake mix instead?
Yes, you can use a dark chocolate boxed cake mix. Just add a tablespoon of black food coloring or replace some of the flour in the instructions with black cocoa powder to achieve the dark color.
Q: Where can I find black cocoa powder?
Black cocoa powder is usually available at specialty baking stores or through online retailers. It is the same cocoa used to make dark chocolate cookies.
Q: Can I make these trifles a day in advance?
Absolutely! These are actually great when made a day ahead as it allows the flavors to meld. Just wait to add the final toppings until you are ready to serve.
Q: Can I freeze these trifle cups?
Freezing is not recommended for the fully assembled cups because the texture of the cream cheese filling can change. However, you can bake and freeze the cake crumbs in advance.
Q: Do I have to use gel food coloring?
Gel food coloring is highly recommended because it provides vibrant colors without thinning out the cream mixture like liquid food coloring can.
Conclusion
Black Velvet Halloween Trifle Cups are a fun, festive, and flavorful way to celebrate the spookiest season of the year. With their striking layers and rich cocoa taste, they are sure to be a hit with guests of all ages. Simple to assemble and easy to customize, this recipe will quickly become a favorite in your Halloween baking rotation. Enjoy your hauntingly delicious treats!
Black Velvet Halloween Trifle Cups Recipe
- Cook Time: 55 minutes
- Total Time: 55 minutes
- Diet: Vegetarian
Ingredients
- 1 ½ cups all-purpose flour
- 1 ½ cups granulated sugar
- ½ cup black cocoa powder (ultra-dark)
- 1 ½ teaspoons baking soda
- 1 teaspoon salt
- 1 large egg, room temperature
- ¾ cup buttermilk
- ¾ cup warm water
- 1/3 cup vegetable oil
- 1 teaspoon vanilla extract
- 16 oz cream cheese, softened
- 1 cup powdered sugar
- 2 cups heavy whipping cream, chilled
- Orange and purple gel food coloring
- Halloween-themed sprinkles and gummy worms for garnish
Instructions
- Step 1: Preheat and Prepare: Preheat your oven to 350°F (175°C). Grease and flour an 8-inch square baking pan or line it with parchment paper to ensure the cake is easy to remove once baked.
- Step 2: Mix the Dry Ingredients: In a large mixing bowl, whisk together the flour, sugar, black cocoa powder, baking soda, and salt. Ensure there are no large clumps of cocoa powder for a smooth batter.
- Step 3: Add Wet Ingredients: Add the egg, buttermilk, warm water, oil, and vanilla extract to the dry ingredients. Whisk by hand or use an electric mixer on medium speed for about two minutes until the batter is well-combined and smooth.
- Step 4: Bake the Cake: Pour the batter into the prepared pan and bake for 25 to 30 minutes. Check for doneness by inserting a toothpick into the center; it should come out clean. Let the cake cool completely in the pan before crumbling it into bite-sized pieces.
- Step 5: Prepare the Creamy Filling: In a separate bowl, beat the softened cream cheese and powdered sugar together until smooth. In another bowl, whip the heavy cream until stiff peaks form. Gently fold the whipped cream into the cream cheese mixture. Divide the filling into two bowls, tinting one orange and the other purple using the gel food coloring.
- Step 6: Assemble the Trifle Cups: Take 12 clear plastic or glass cups. Place a layer of crumbled black velvet cake at the bottom of each cup. Pipe or spoon a layer of orange cream over the cake. Add another layer of cake crumbs, followed by a layer of purple cream.
- Step 7: Garnish and Decorate: Finish each cup with a final sprinkle of cake crumbs or Halloween sprinkles. Top with gummy worms, chocolate spiders, or edible glitter to complete the spooky look.