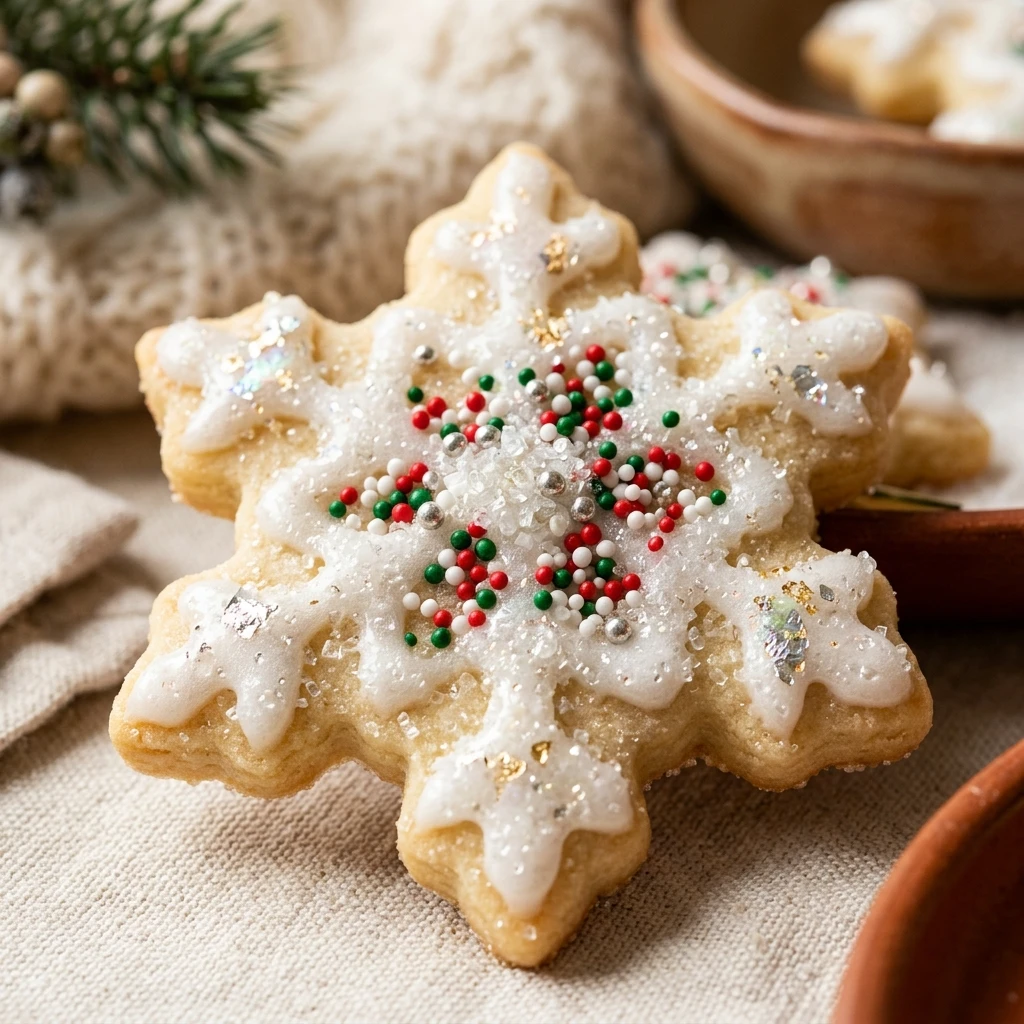

The holiday season is never truly complete without a batch of classic sugar cookies. These cookies are more than just a sweet treat; they are a canvas for creativity and a centerpiece for family traditions. Whether you are cutting them into stars, reindeer, or snowflakes, this recipe ensures a cookie that holds its shape perfectly while remaining soft and buttery.
Making these cookies is a wonderful way to bring everyone into the kitchen. The dough is easy to handle, and the results are consistently delicious. From the first snap of the crisp edge to the soft, melt-in-your-mouth center, these holiday sugar cookies are bound to become a staple in your seasonal baking repertoire.
Recipe Information
- Prep Time: 20 minutes (plus 2 hours chilling time)
- Cook Time: 10 minutes
- Total Time: 2 hours 30 minutes
- Servings: 24 cookies
- Difficulty Level: Medium
Nutrition Information
- Calories per serving: 185 kcal
- Protein: 2 g
- Carbohydrates: 26 g
- Fat: 8 g
- Fiber: 1 g
- Sugar: 15 g
- Sodium: 130 mg
Why Make This holiday sugar cookie recipe
This recipe is specifically designed for cut-out cookies. Unlike many other recipes that spread in the oven, this dough stays exactly where you put it. This means your gingerbread men won’t look like blobs and your snowflakes will keep their delicate points. The addition of a hint of almond extract elevates the flavor from a standard sugar cookie to something truly professional.
Another reason to love this recipe is its versatility. The cookies are sturdy enough to handle heavy royal icing and decorations, but they aren’t hard or dry. They stay fresh for days, making them the perfect candidate for holiday cookie swaps or gifting to neighbors and friends.
How to Make holiday sugar cookie recipe
Getting the perfect cookie starts with a smooth dough and ends with a watchful eye on the oven. Follow these steps to create a festive masterpiece that tastes as good as it looks.
Ingredients
- 1 cup unsalted butter, softened to room temperature
- 1 cup granulated white sugar
- 1 large egg, at room temperature
- 1 teaspoon pure vanilla extract
- 1/2 teaspoon almond extract
- 3 cups all-purpose flour
- 1 1/2 teaspoons baking powder
- 1/2 teaspoon salt
- Optional: Royal icing or buttercream for decorating
- Optional: Festive sprinkles
Directions
Step 1: Creaming the Butter and Sugar
In a large mixing bowl or the bowl of a stand mixer, beat the softened butter and granulated sugar together. Use a medium-high speed and continue mixing for about 2 to 3 minutes until the mixture is light, pale, and fluffy.
Step 2: Adding Wet Ingredients
Add the egg, vanilla extract, and almond extract to the butter mixture. Beat on medium speed until fully combined, scraping down the sides of the bowl with a spatula to ensure everything is incorporated.
Step 3: Mixing Dry Ingredients
In a separate medium bowl, whisk together the all-purpose flour, baking powder, and salt. This ensures the leavening agent is evenly distributed so your cookies rise uniformly.
Step 4: Combining the Dough
Turn the mixer to low speed and gradually add the dry ingredients to the wet ingredients. Mix just until the flour streaks disappear. Do not overmix, as this can make the cookies tough. The dough should be soft but not overly sticky.
Step 5: Chilling the Dough
Divide the dough into two flat discs and wrap them tightly in plastic wrap. Place them in the refrigerator to chill for at least 2 hours. This step is crucial because it prevents the cookies from spreading too much during baking.
Step 6: Rolling and Cutting
Preheat your oven to 350°F (175°C) and line baking sheets with parchment paper. On a lightly floured surface, roll out one disc of dough to about 1/4-inch thickness. Use your favorite holiday cookie cutters to cut out shapes and place them 2 inches apart on the prepared sheets.
Step 7: Baking to Perfection
Bake the cookies for 8 to 10 minutes. The edges should be set and the bottoms should be just barely golden. The tops will still look pale. Do not overbake, or they will lose their soft texture.
Step 8: Cooling and Decorating
Let the cookies cool on the baking sheet for 5 minutes before transferring them to a wire rack to cool completely. Once they are entirely cool to the touch, decorate them with icing and sprinkles as desired.
How to Serve holiday sugar cookie recipe
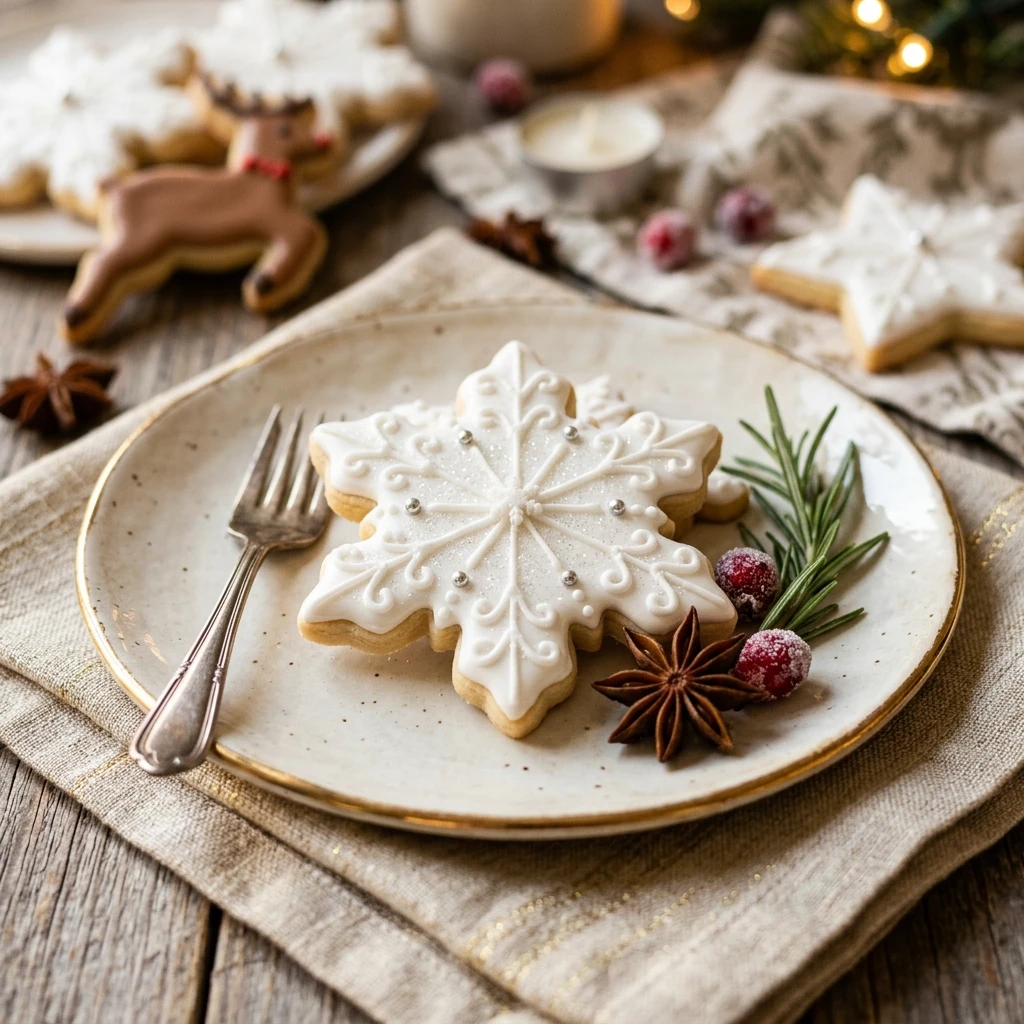
These cookies look beautiful arranged on a large festive platter. You can group them by shape or color for a professional look. They are traditionally served with a glass of cold milk, but they also pair wonderfully with hot cocoa, apple cider, or a warm cup of coffee. If you are hosting a party, consider a “decorate your own” station where guests can add their own icing and toppings.
How to Store holiday sugar cookie recipe
Store your decorated cookies in an airtight container at room temperature for up to 5 days. If you haven’t frosted them yet, they will stay fresh for about a week. To keep them soft, you can place a small piece of white bread in the container; the cookies will absorb the moisture from the bread. These cookies also freeze beautifully. Place un-iced cookies in a freezer-safe bag for up to 3 months.
Expert Tips for Perfect holiday sugar cookie recipe
One of the best tips for success is to use room temperature ingredients. This allows the butter and sugar to emulsify properly, creating a better crumb. Additionally, when rolling out the dough, if it becomes too warm and sticky, don’t hesitate to pop it back in the fridge for 10 minutes. Finally, always use parchment paper or silicone baking mats to prevent the bottoms from browning too quickly.
Delicious Variations
If you want to change things up, try adding the zest of one lemon or orange to the dough for a bright citrus note. You can also swap the almond extract for peppermint extract for a very “Christmassy” flavor. For a decorative twist, dip half of the baked cookie into melted dark chocolate and top with crushed candy canes instead of using traditional icing.
Frequently Asked Questions
Q: Why did my sugar cookies spread so much in the oven?
This usually happens if the dough was too warm or the butter was too soft. Make sure to chill the dough for the full 2 hours and avoid over-creaming the butter and sugar.
Q: Can I make the dough in advance?
Yes, you can keep the raw dough in the refrigerator for up to 3 days or in the freezer for up to a month. Just let it sit at room temperature for a few minutes before rolling if it is too hard.
Q: How do I get the icing to look smooth?
Using royal icing is the best way to get a smooth, professional finish. Ensure your “flood” icing is the right consistency—it should disappear back into itself within 10 seconds when drizzled with a spoon.
Q: Do I have to use almond extract?
No, you can omit it if you have an allergy or simply don’t like the taste. Just replace it with an equal amount of extra vanilla extract.
Q: What is the best flour for sugar cookies?
All-purpose flour is the best choice. It provides enough structure to hold the shapes without making the cookies as heavy as bread or as delicate as cake.
Conclusion
Mastering the holiday sugar cookie is a rewarding experience that brings joy to both the baker and the recipient. With this reliable recipe, you can focus on the fun part—the decorating! Gather your favorite sprinkles, put on some festive music, and enjoy the process of creating delicious memories that your friends and family will cherish all season long.
holiday sugar cookie recipe

- Cook Time: 2 hours 30 minutes
- Total Time: 2 hours 30 minutes
- Diet: Vegetarian
Ingredients
- 1 cup unsalted butter, softened to room temperature
- 1 cup granulated white sugar
- 1 large egg, at room temperature
- 1 teaspoon pure vanilla extract
- 1/2 teaspoon almond extract
- 3 cups all-purpose flour
- 1 1/2 teaspoons baking powder
- 1/2 teaspoon salt
- Optional: Royal icing or buttercream for decorating
- Optional: Festive sprinkles
Instructions
- Step 1: Creaming the Butter and Sugar In a large mixing bowl or the bowl of a stand mixer, beat the softened butter and granulated sugar together. Use a medium-high speed and continue mixing for about 2 to 3 minutes until the mixture is light, pale, and fluffy.
- Step 2: Adding Wet Ingredients Add the egg, vanilla extract, and almond extract to the butter mixture. Beat on medium speed until fully combined, scraping down the sides of the bowl with a spatula to ensure everything is incorporated.
- Step 3: Mixing Dry Ingredients In a separate medium bowl, whisk together the all-purpose flour, baking powder, and salt. This ensures the leavening agent is evenly distributed so your cookies rise uniformly.
- Step 4: Combining the Dough Turn the mixer to low speed and gradually add the dry ingredients to the wet ingredients. Mix just until the flour streaks disappear. Do not overmix, as this can make the cookies tough. The dough should be soft but not overly sticky.
- Step 5: Chilling the Dough Divide the dough into two flat discs and wrap them tightly in plastic wrap. Place them in the refrigerator to chill for at least 2 hours. This step is crucial because it prevents the cookies from spreading too much during baking.
- Step 6: Rolling and Cutting Preheat your oven to 350°F (175°C) and line baking sheets with parchment paper. On a lightly floured surface, roll out one disc of dough to about 1/4-inch thickness. Use your favorite holiday cookie cutters to cut out shapes and place them 2 inches apart on the prepared sheets.
- Step 7: Baking to Perfection Bake the cookies for 8 to 10 minutes. The edges should be set and the bottoms should be just barely golden. The tops will still look pale. Do not overbake, or they will lose their soft texture.
- Step 8: Cooling and Decorating Let the cookies cool on the baking sheet for 5 minutes before transferring them to a wire rack to cool completely. Once they are entirely cool to the touch, decorate them with icing and sprinkles as desired.