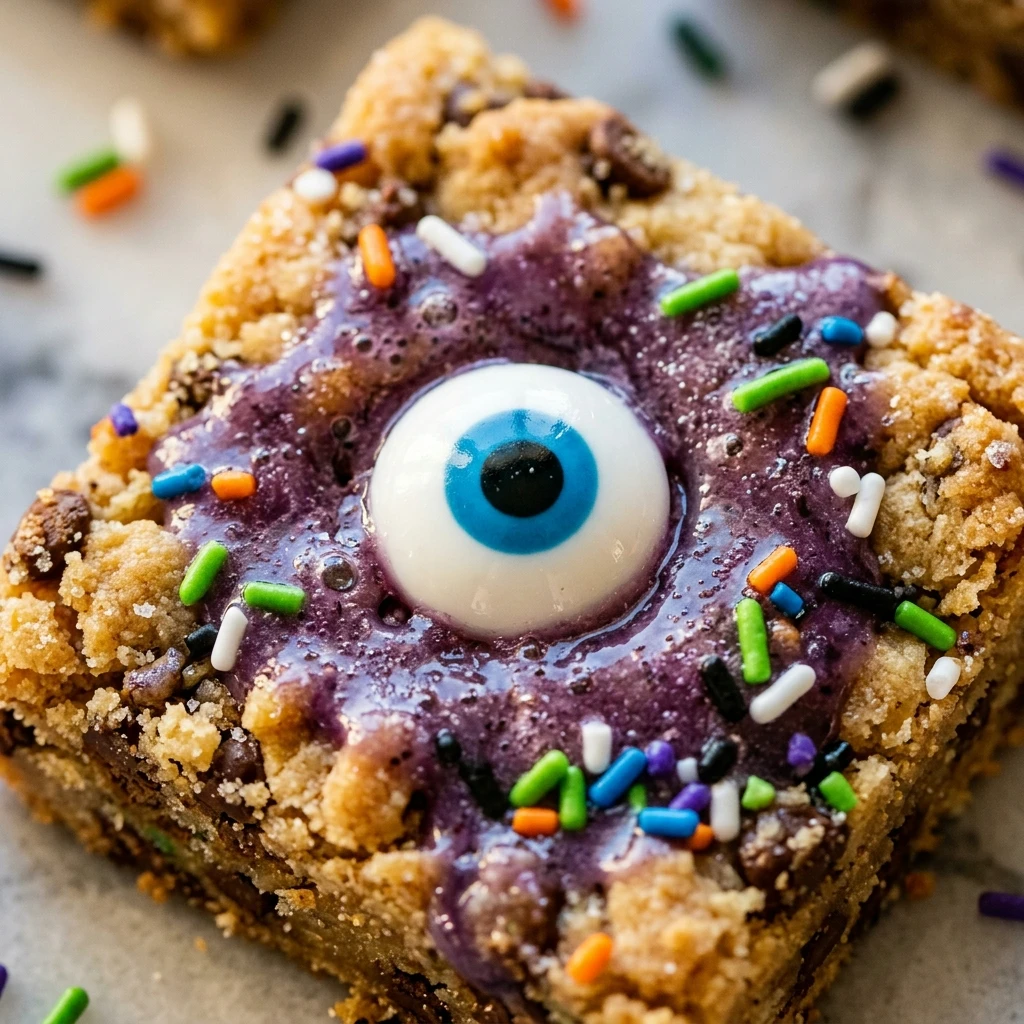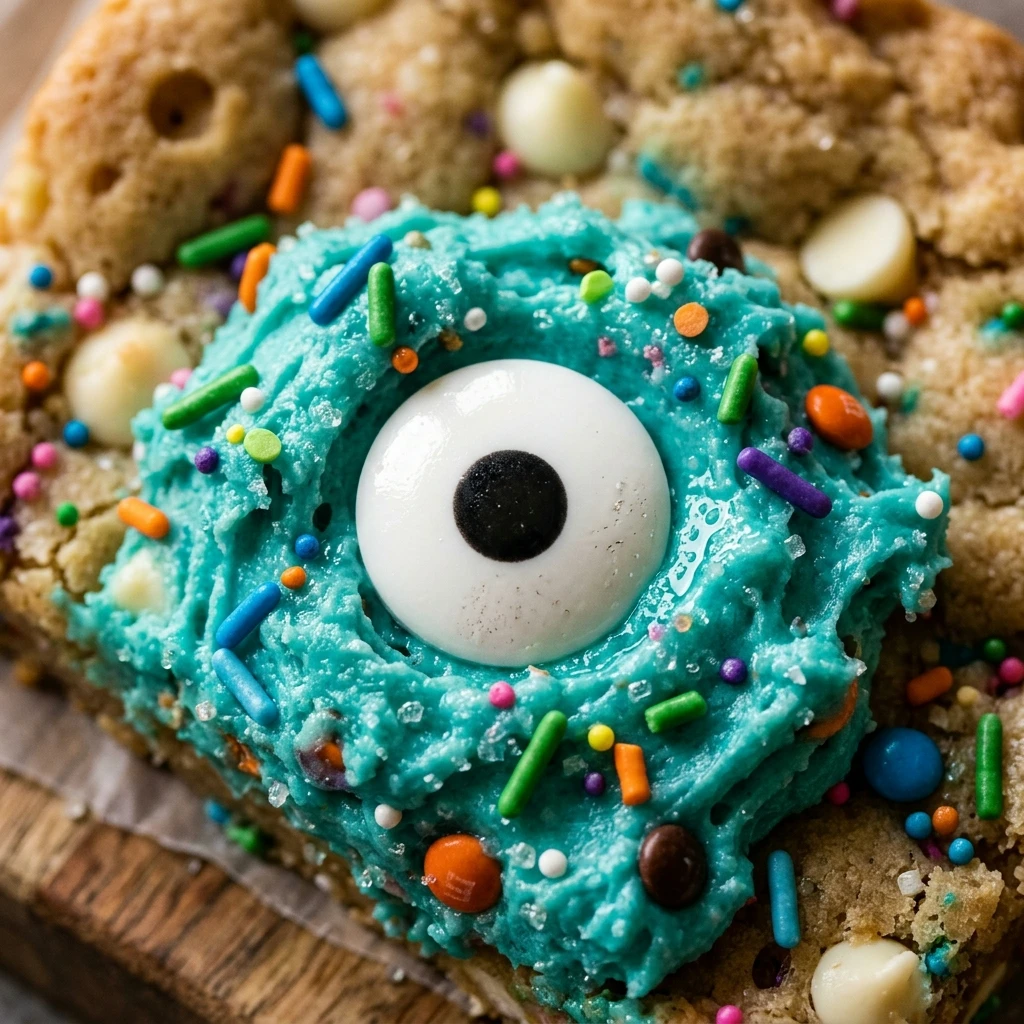

Halloween is the perfect time to bring a little magic into your kitchen with a treat inspired by everyone’s favorite trio of witches. These Hocus Pocus Sugar Cookies are a whimsical tribute to the Sanderson Sisters, featuring vibrant colors and the iconic “eye” from their famous spellbook. Whether you are hosting a spooky movie marathon or a neighborhood Halloween bash, these cookies are guaranteed to be the star of the show.
The beauty of this recipe lies in its simplicity. We take a classic, buttery sugar cookie base and transform it into something truly enchanting with just a bit of food coloring and some fun decorations. Soft, chewy, and bursting with festive flair, these cookies are as fun to make as they are to eat. Get ready to run amuck with this delightful recipe!
Recipe Information
- Prep Time: 20 minutes
- Cook Time: 10 minutes
- Total Time: 30 minutes
- Servings: 24 cookies
- Difficulty Level: Easy
Nutrition Information
- Calories per serving: 185 kcal
- Protein: 2 g
- Carbohydrates: 26 g
- Fat: 8 g
- Fiber: 1 g
- Sugar: 14 g
- Sodium: 115 mg
Why Make This Hocus Pocus Sugar Cookies Recipe
This recipe is a must-try because it perfectly captures the spirit of the Halloween season without requiring professional decorating skills. The bright purple, lime green, and orange colors represent Mary, Winifred, and Sarah Sanderson, making them instantly recognizable to fans of the film. It is a fantastic way to involve kids in the kitchen, as they will love helping to dye the dough and placing the candy eyes on top.
Beyond the aesthetics, these cookies taste amazing. They have that quintessential soft-baked texture with a hint of vanilla that pairs perfectly with a cold glass of milk. Since they use standard pantry staples, you won’t have to go on a quest for rare ingredients. It’s a reliable, delicious, and visually stunning treat that brings a touch of “Hocus Pocus” to any dessert table.
How to Make Hocus Pocus Sugar Cookies Recipe
Creating these magical treats is a straightforward process that involves making a standard cookie dough and then dividing it to create the signature look of the Sanderson Sisters’ world. Follow these simple steps to brew up a batch of deliciousness.
Ingredients
- 1 cup unsalted butter, softened to room temperature
- 1 cup granulated white sugar
- 1 large egg, room temperature
- 1 ½ teaspoons vanilla extract
- 2 ½ cups all-purpose flour
- ½ teaspoon baking powder
- ¼ teaspoon salt
- Gel food coloring: Purple, Lime Green, and Orange
- 24 large candy eyeballs
- Black decorating icing (tube or pouch)
Directions
Step 1: Preheat and Prepare
Start by preheating your oven to 350°F (175°C). Line two large baking sheets with parchment paper or silicone baking mats to prevent the cookies from sticking and to ensure even browning.
Step 2: Cream the Butter and Sugar
In a large mixing bowl or the bowl of a stand mixer, cream together the softened butter and granulated sugar. Beat on medium-high speed for about 2–3 minutes until the mixture is light, fluffy, and pale in color.
Step 3: Add Wet Ingredients
Add the egg and vanilla extract to the butter mixture. Continue to beat until fully incorporated, scraping down the sides of the bowl with a spatula as needed to ensure everything is well-combined.
Step 4: Mix Dry Ingredients
In a separate medium bowl, whisk together the all-purpose flour, baking powder, and salt. Gradually add these dry ingredients to the wet mixture, mixing on low speed until a soft dough forms. Do not overmix, as this can make the cookies tough.
Step 5: Color the Dough
Divide the dough into three equal portions in separate bowls. Add a few drops of purple gel coloring to one, lime green to the second, and orange to the third. Knead or stir each portion until the color is vibrant and uniform throughout.
Step 6: Shape and Bake
Scoop about one tablespoon of dough and roll it into a ball. Place the balls onto the prepared baking sheets, spacing them about 2 inches apart. Bake for 8–10 minutes, or until the edges are just set but the centers still look slightly soft. Do not let them brown.
Step 7: Decorate the Cookies
Immediately after removing the cookies from the oven, gently press one candy eyeball into the center of each cookie. Once the cookies have cooled completely, use the black decorating icing to draw small “stitches” or “veins” around the eye to mimic the look of the Sanderson sisters’ spellbook.
How to Serve Hocus Pocus Sugar Cookies Recipe
These cookies look best when served on a themed platter. You can use a dark slate board or a bright orange plate to make the colors pop. For an extra festive touch, scatter some plastic spiders or faux cobwebs around the serving area. They are excellent when served alongside a “witches’ brew” punch or a warm mug of apple cider. If you are hosting a movie night, serve them in individual parchment bags so guests can snack while they watch the film.
How to Store Hocus Pocus Sugar Cookies Recipe
To keep your cookies soft and fresh, store them in an airtight container at room temperature for up to 5 days. If you need to stack them, place a layer of parchment paper between the cookies to prevent the candy eyes or icing from smudging. For longer storage, you can freeze the baked cookies for up to 3 months. Simply thaw them at room temperature for an hour before serving.
Expert Tips for Perfect Hocus Pocus Sugar Cookies Recipe
For the most vibrant results, always use gel food coloring rather than liquid drops. Gel coloring provides deep, saturated hues without thinning out the cookie dough. Another tip is to ensure your butter is truly at room temperature—it should be soft to the touch but not melting. This helps the sugar aerate the butter properly, resulting in a softer cookie. Lastly, make sure to add the candy eyes while the cookies are still hot so they “stick” as the cookie cools and firms up.

Delicious Variations
If you want to change things up, try adding a half teaspoon of almond extract along with the vanilla for a classic bakery flavor. You can also roll the dough balls in matching colored sanding sugar before baking for an extra sparkly, crunchy exterior. For a chocolate version, replace 1/4 cup of the flour with cocoa powder (though the colors will be much darker). You can also use different colors like deep red or midnight blue if you want to expand the “spooky” palette beyond the Sanderson sisters.
Frequently Asked Questions
Q: Can I make the dough in advance?
Yes, you can prepare the dough, wrap it tightly in plastic wrap, and refrigerate it for up to 2 days before baking. Let it sit at room temperature for about 15 minutes before rolling into balls.
Q: Why did my cookies spread too much?
This usually happens if the butter was too warm or melted. Make sure the butter is just softened. If your kitchen is very warm, chill the rolled dough balls in the fridge for 10 minutes before putting them in the oven.
Q: Do I have to use candy eyes?
The candy eyes give the “Book” look, but if you don’t have them, you can use a large dot of white icing with a small dot of black icing in the center once the cookies are cool.
Q: Can I use this recipe for cutout cookies?
This specific recipe is designed for drop cookies. For cutouts, you may need to add an extra 1/4 cup of flour and chill the dough for at least an hour to ensure it holds its shape during the rolling and cutting process.
Q: How do I get the “stitches” to look neat?
Use a fine-tip nozzle on your icing tube. Practice on a piece of parchment paper first to get a feel for the pressure needed to create thin, clean lines.
Conclusion
These Hocus Pocus Sugar Cookies are the ultimate Halloween treat for fans of the classic film. They combine a nostalgic, buttery flavor with a fun, spooky aesthetic that is sure to impress your friends and family. With their bright colors and “spellbinding” decorations, they bring the magic of the Sanderson Sisters right to your table. Simple to bake and even more fun to decorate, these cookies are a “wicked” addition to any autumn celebration.

Hocus Pocus Sugar Cookies Recipe

- Cook Time: 30 minutes
- Total Time: 30 minutes
- Diet: Vegetarian
Ingredients
- 1 cup unsalted butter, softened to room temperature
- 1 cup granulated white sugar
- 1 large egg, room temperature
- 1 ½ teaspoons vanilla extract
- 2 ½ cups all-purpose flour
- ½ teaspoon baking powder
- ¼ teaspoon salt
- Gel food coloring: Purple, Lime Green, and Orange
- 24 large candy eyeballs
- Black decorating icing (tube or pouch)
Instructions
- Start by preheating your oven to 350°F (175°C). Line two large baking sheets with parchment paper or silicone baking mats to prevent the cookies from sticking and to ensure even browning.
- In a large mixing bowl or the bowl of a stand mixer, cream together the softened butter and granulated sugar. Beat on medium-high speed for about 2–3 minutes until the mixture is light, fluffy, and pale in color.
- Add the egg and vanilla extract to the butter mixture. Continue to beat until fully incorporated, scraping down the sides of the bowl with a spatula as needed to ensure everything is well-combined.
- In a separate medium bowl, whisk together the all-purpose flour, baking powder, and salt. Gradually add these dry ingredients to the wet mixture, mixing on low speed until a soft dough forms. Do not overmix, as this can make the cookies tough.
- Divide the dough into three equal portions in separate bowls. Add a few drops of purple gel coloring to one, lime green to the second, and orange to the third. Knead or stir each portion until the color is vibrant and uniform throughout.
- Scoop about one tablespoon of dough and roll it into a ball. Place the balls onto the prepared baking sheets, spacing them about 2 inches apart. Bake for 8–10 minutes, or until the edges are just set but the centers still look slightly soft. Do not let them brown.
- Immediately after removing the cookies from the oven, gently press one candy eyeball into the center of each cookie. Once the cookies have cooled completely, use the black decorating icing to draw small “stitches” or “veins” around the eye to mimic the look of the Sanderson sisters’ spellbook.