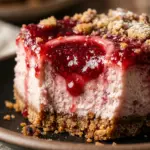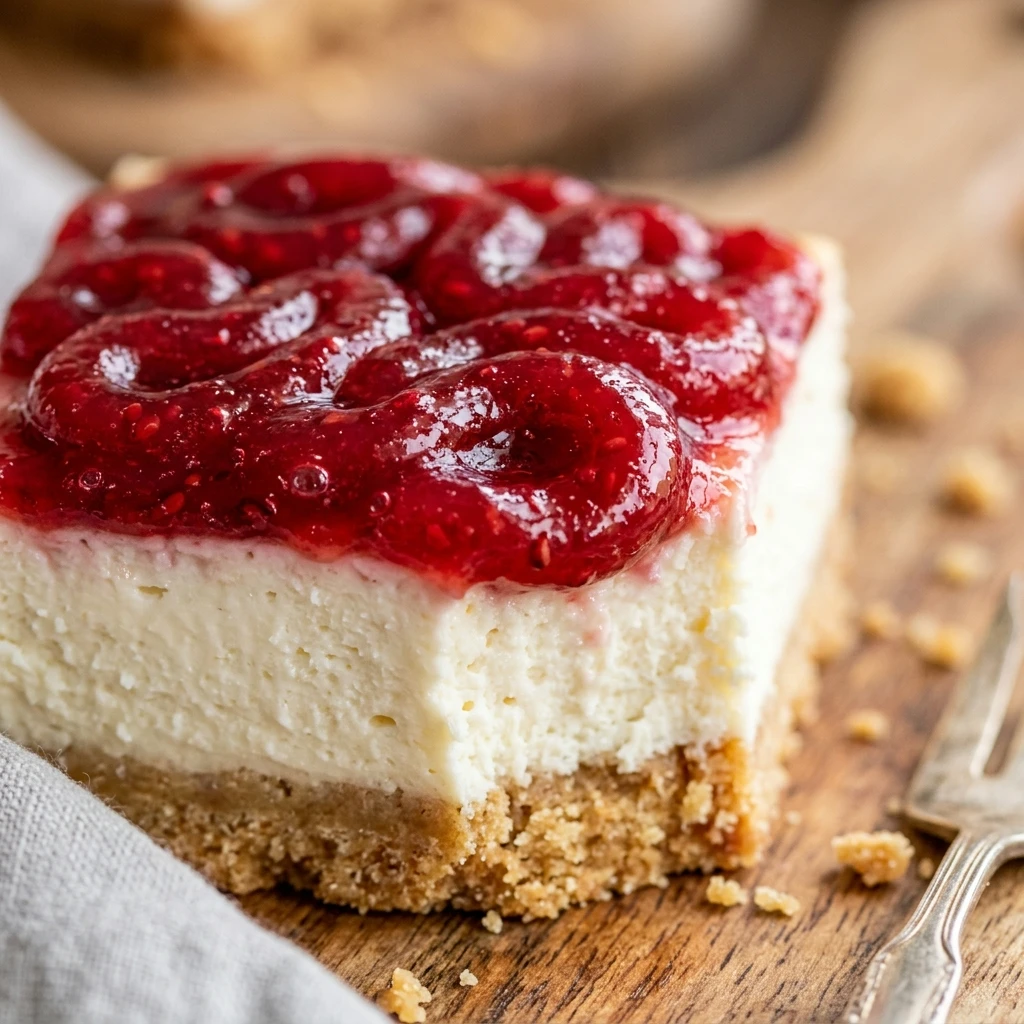

Halloween is the perfect time to get creative in the kitchen, and nothing says “spooky” quite like a plate of brains. These Zombie Brain Raspberry Cheesecake Bars are the ultimate showstopper for any October gathering. They combine a rich, creamy cheesecake base with a vibrant raspberry swirl that looks delightfully gruesome but tastes absolutely heavenly.
Whether you are hosting a zombie-themed party or just want a treat that stands out, these bars offer the perfect balance of tart fruit and sweet cream. The dark chocolate crust adds a moody contrast to the bright “brain” design on top, making them as visually striking as they are delicious. Best of all, they are simple enough for bakers of all skill levels to master.
Recipe Information
- Prep Time: 30 minutes
- Cook Time: 40 minutes
- Total Time: 5 hours 10 minutes (includes chilling)
- Servings: 16 bars
- Difficulty Level: Medium
Nutrition Information
- Calories per serving: 315 kcal
- Protein: 5g
- Carbohydrates: 29g
- Fat: 21g
- Fiber: 1g
- Sugar: 22g
- Sodium: 185mg
Why Make This Zombie Brain Raspberry Cheesecake Bars
These bars are the perfect mix of fun and flavor. While many holiday treats rely solely on sugar, the raspberry puree provides a natural tartness that cuts through the richness of the cream cheese. It is a sophisticated dessert disguised as a creepy Halloween prop, making it a hit for both kids and adults.
Plus, the “brain” effect is surprisingly easy to achieve! You do not need to be a professional pastry chef to create the squiggly patterns. It is a great way to involve the family in decorating, and the result is always a conversation starter that looks much more complicated than it actually is.
How to Make Zombie Brain Raspberry Cheesecake Bars
Creating these eerie treats involves three main stages: preparing the chocolatey crust, whipping up a velvety cheesecake filling, and piping the signature raspberry “brain” design. Follow these steps for a dessert that is truly to die for!
Ingredients
- 1 1/2 cups chocolate graham cracker crumbs
- 1/4 cup unsalted butter, melted
- 24 oz cream cheese, softened to room temperature
- 1 cup granulated sugar
- 3 large eggs
- 1/2 cup sour cream
- 1 tsp vanilla extract
- 1/2 cup seedless raspberry jam or raspberry puree
- Red food coloring (optional, for extra color)
Directions
Step 1: Preparation
Preheat your oven to 325°F (160°C). Line an 8×8-inch square baking pan with parchment paper, leaving an overhang on the sides so you can easily lift the bars out once they are set.
Step 2: Create the Crust
In a medium bowl, combine the chocolate graham cracker crumbs and the melted butter. Stir until the crumbs are evenly moistened. Press the mixture firmly into the bottom of your prepared pan. Bake for 8 to 10 minutes, then remove and let it cool while you prepare the filling.
Step 3: Mix the Filling
In a large bowl, beat the softened cream cheese and sugar together until the mixture is smooth and free of lumps. Add the eggs one at a time, beating on low speed after each addition. Stir in the sour cream and vanilla extract until just combined. Be careful not to overbeat the batter, as this can cause cracks.
Step 4: Prepare the Raspberry Puree
If using raspberry jam, warm it slightly in the microwave for 10 seconds to make it easier to pipe. If desired, add a drop of red food coloring to make it look more like “blood.” Transfer the puree into a piping bag with a very small round tip or a plastic sandwich bag with a tiny corner snipped off.
Step 5: Assemble and Pipe the Brains
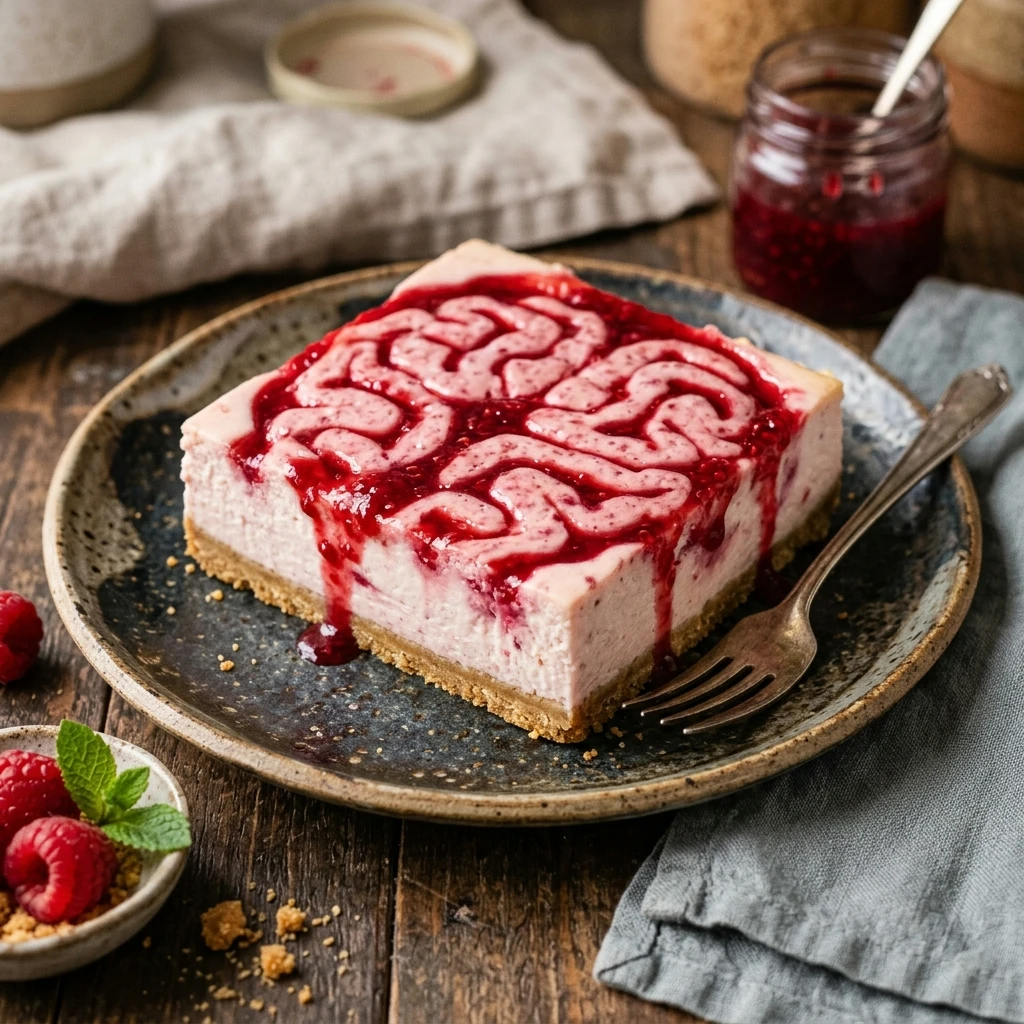
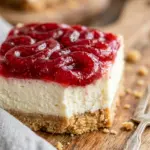
Pour the cheesecake batter over the cooled crust and smooth the top with a spatula. To create the brain look, pipe the raspberry puree in a series of tight, squiggly lines across the top. To make it look like a brain, pipe two distinct sections (hemispheres) with a small gap running down the center.
Step 6: Baking
Bake the bars for 35 to 40 minutes. The edges should be set, but the center should still have a slight jiggle. Turn off the oven, crack the door open, and let the cheesecake cool inside for about 30 minutes to prevent cracking.
Step 7: Chilling and Serving
Remove the pan from the oven and let it cool completely at room temperature. Once cool, refrigerate the bars for at least 4 hours, or ideally overnight. Use the parchment paper to lift the bars out of the pan and slice them into squares using a sharp, warm knife.
How to Serve Zombie Brain Raspberry Cheesecake Bars
For the best presentation, serve these bars on a dark-colored platter to make the red raspberry “brains” really pop. You can even drizzle a little extra raspberry sauce around the plate for a “bloody” effect. They are best served cold directly from the refrigerator.
How to Store Zombie Brain Raspberry Cheesecake Bars
Store any leftover bars in an airtight container in the refrigerator. They will stay fresh and delicious for up to 5 days. If you need to stack them, place a piece of parchment paper between the layers to keep the raspberry design intact.
Expert Tips for Perfect Zombie Brain Raspberry Cheesecake Bars
To ensure a smooth cheesecake, always use room-temperature cream cheese and eggs. If the ingredients are cold, they won’t emulsify properly, and you might end up with lumps. Also, avoid over-mixing once you add the eggs; too much air in the batter will cause the cheesecake to puff up and then sink or crack.
Delicious Variations
If you aren’t a fan of chocolate, you can use a standard graham cracker crust or even a crushed Oreo crust. For a different flavor profile, try using strawberry or cherry puree for the brain design. If you want a more “mutant” look, you could even use green food coloring in the cheesecake batter itself!
Frequently Asked Questions
Q: Can I use fresh raspberries instead of jam?
Yes! Simply blend fresh raspberries and strain them through a fine-mesh sieve to remove the seeds. You may need to simmer the liquid on the stove with a little sugar until it thickens into a syrup consistency.
Q: How do I get clean slices?
For professional-looking squares, dip a sharp knife in hot water and wipe it dry between every single cut. This prevents the cheesecake from sticking to the blade.
Q: Can I freeze these bars?
Absolutely. These bars freeze very well. Wrap them individually in plastic wrap and store them in a freezer bag for up to 2 months. Thaw them in the fridge before serving.
Q: Why did my raspberry design sink?
If the puree is too heavy or the cheesecake batter is too thin, the design might sink. Ensure your cream cheese is properly beaten and try to pipe the lines lightly on the surface.
Q: Is the red food coloring necessary?
Not at all! Raspberry jam is naturally dark red. The food coloring just helps achieve a more vibrant, “gory” look for a Halloween theme.
Conclusion
These Zombie Brain Raspberry Cheesecake Bars are the perfect combination of spooky and sweet. They offer a high-impact look with a classic flavor that everyone loves. Whether you are prepping for a party or just having some seasonal fun in the kitchen, these bars are sure to be a “braintastic” success!
Zombie Brain Raspberry Cheesecake Bars
- Cook Time: 5 hours 10 minutes (includes chilling)
- Total Time: 5 hours 10 minutes
- Diet: Vegetarian
Ingredients
- 1 1/2 cups chocolate graham cracker crumbs
- 1/4 cup unsalted butter, melted
- 24 oz cream cheese, softened to room temperature
- 1 cup granulated sugar
- 3 large eggs
- 1/2 cup sour cream
- 1 tsp vanilla extract
- 1/2 cup seedless raspberry jam or raspberry puree
- Red food coloring (optional, for extra color)
Instructions
- Preheat your oven to 325°F (160°C). Line an 8×8-inch square baking pan with parchment paper, leaving an overhang on the sides so you can easily lift the bars out once they are set.
- In a medium bowl, combine the chocolate graham cracker crumbs and the melted butter. Stir until the crumbs are evenly moistened. Press the mixture firmly into the bottom of your prepared pan. Bake for 8 to 10 minutes, then remove and let it cool while you prepare the filling.
- In a large bowl, beat the softened cream cheese and sugar together until the mixture is smooth and free of lumps. Add the eggs one at a time, beating on low speed after each addition. Stir in the sour cream and vanilla extract until just combined. Be careful not to overbeat the batter, as this can cause cracks.
- If using raspberry jam, warm it slightly in the microwave for 10 seconds to make it easier to pipe. If desired, add a drop of red food coloring to make it look more like “blood.” Transfer the puree into a piping bag with a very small round tip or a plastic sandwich bag with a tiny corner snipped off.
- Pour the cheesecake batter over the cooled crust and smooth the top with a spatula. To create the brain look, pipe the raspberry puree in a series of tight, squiggly lines across the top. To make it look like a brain, pipe two distinct sections (hemispheres) with a small gap running down the center.
- Bake the bars for 35 to 40 minutes. The edges should be set, but the center should still have a slight jiggle. Turn off the oven, crack the door open, and let the cheesecake cool inside for about 30 minutes to prevent cracking.
- Remove the pan from the oven and let it cool completely at room temperature. Once cool, refrigerate the bars for at least 4 hours, or ideally overnight. Use the parchment paper to lift the bars out of the pan and slice them into squares using a sharp, warm knife.