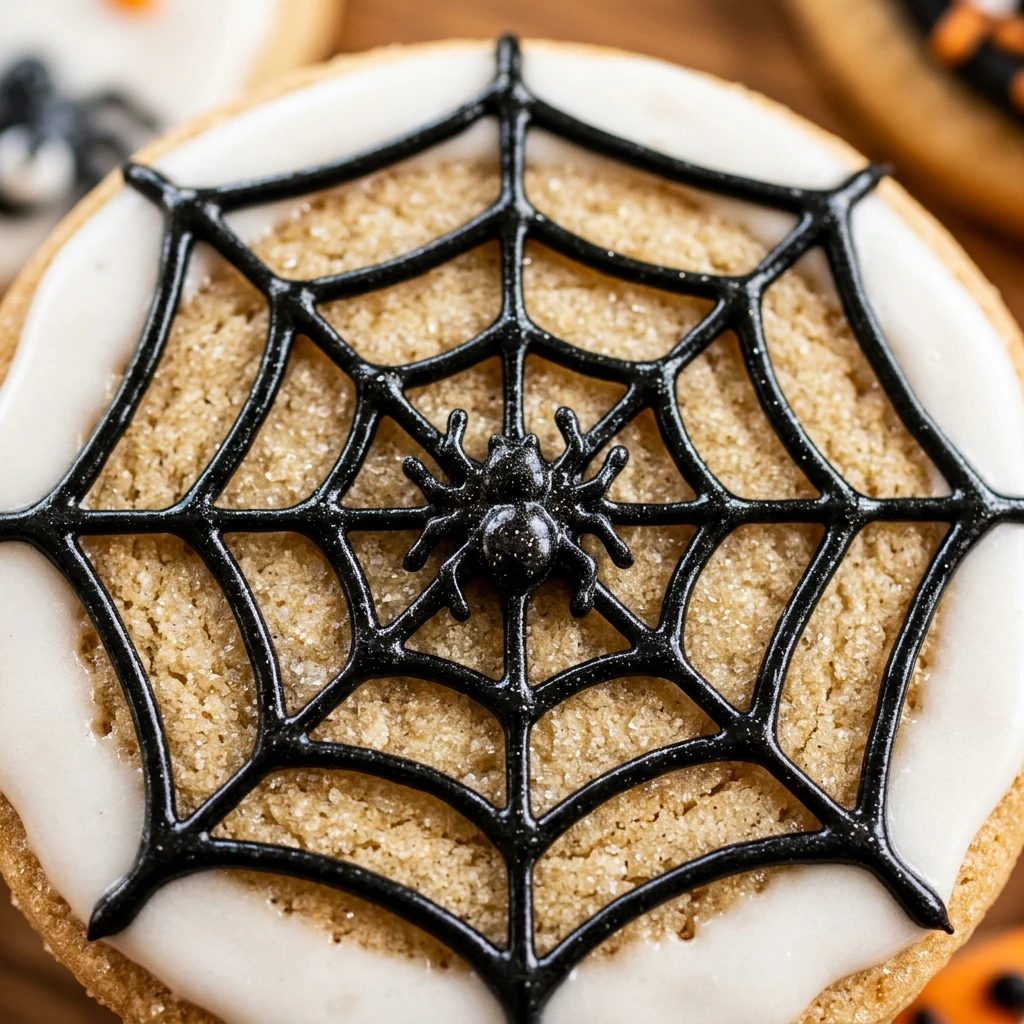

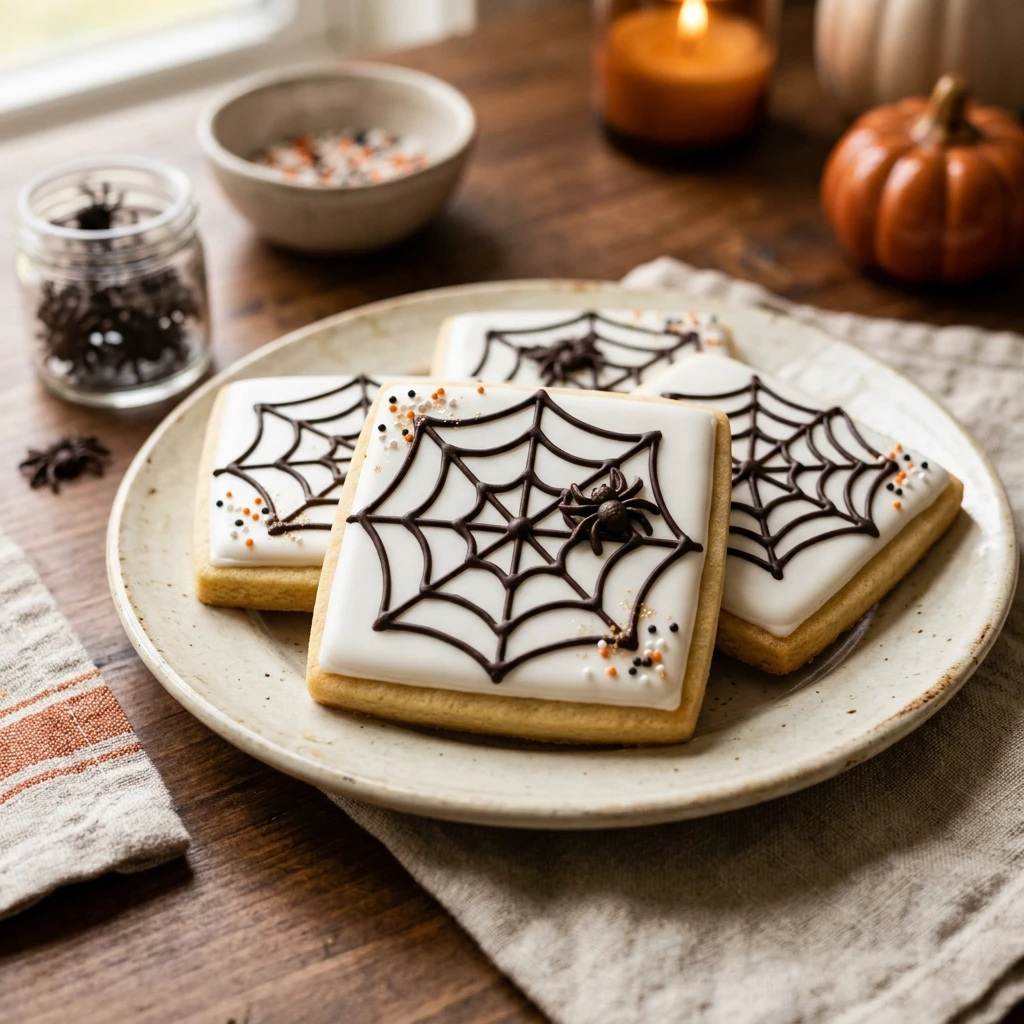
Halloween is the perfect time to get creative in the kitchen with spooky and delicious treats. These Halloween Spider Web Sugar Cookies are a festive favorite that combine a classic, buttery sugar cookie base with a stunning “spider web” design. They look incredibly professional but are actually quite simple to achieve with a steady hand and a toothpick. Whether you are hosting a costume party or looking for a fun weekend activity with the kids, these cookies are guaranteed to be a hit.
The beauty of this recipe lies in the contrast between the dark and light icing. By using a simple “wet-on-wet” Royal icing technique, you can create intricate webs that look like they were made by a professional baker. Get ready to impress your friends and family with a dessert that is as beautiful as it is tasty!
Recipe Information
- Prep Time: 45 minutes
- Cook Time: 10 minutes
- Total Time: 55 minutes
- Servings: 24 cookies
- Difficulty Level: Medium
Nutrition Information
- Calories per serving: 185 kcal
- Protein: 2g
- Carbohydrates: 28g
- Fat: 8g
- Fiber: 0.5g
- Sugar: 18g
- Sodium: 85mg
Why Make This Halloween Spider Web Sugar Cookies Recipe
These cookies are the ultimate Halloween treat because they strike the perfect balance between spooky and sophisticated. Unlike many store-bought holiday cookies, these are made from scratch with real butter and vanilla, ensuring a melt-in-your-mouth texture. The spider web design adds a level of detail that makes them look like high-end boutique bakery items without the high price tag.
Another reason to love this recipe is that it is highly interactive. Decorating the webs is a fantastic way to practice fine motor skills with children or simply enjoy a relaxing afternoon of baking. Plus, the sugar cookie dough is sturdy enough to hold its shape, meaning your webs won’t be distorted by wonky, spreading cookies.
How to Make Halloween Spider Web Sugar Cookies Recipe
Follow these simple steps to create the perfect batch of festive cookies. We will start by making a reliable dough and finish with the iconic web decoration technique.
Ingredients
- 1 cup unsalted butter, softened
- 1 cup granulated sugar
- 1 large egg
- 1 teaspoon pure vanilla extract
- 2 1/2 cups all-purpose flour
- 1/2 teaspoon baking powder
- 1/4 teaspoon salt
- 2 cups white royal icing
- 1/2 cup black royal icing (fitted with a small round tip)
- Toothpicks for marbling
Directions
Step 1: Cream the Butter and Sugar
In a large mixing bowl, beat the softened butter and granulated sugar together until the mixture is light and fluffy. This usually takes about 3 minutes with an electric mixer.
Step 2: Add Wet Ingredients
Add the egg and vanilla extract to the butter mixture. Beat again until the ingredients are fully incorporated and the mixture is smooth.
Step 3: Combine Dry Ingredients
In a separate bowl, whisk together the flour, baking powder, and salt. Gradually add the dry ingredients to the wet ingredients, mixing on low speed until a dough forms.
Step 4: Chill the Dough
Divide the dough in half and wrap each piece in plastic wrap. Refrigerate for at least 30 minutes. Chilling the dough ensures the cookies do not spread too much in the oven.
Step 5: Cut and Bake
Preheat your oven to 350°F (175°C). Roll the dough out on a floured surface to about 1/4 inch thickness. Use a round cookie cutter to cut shapes and place them on a parchment-lined baking sheet. Bake for 8 to 10 minutes until the edges are just barely golden.
Step 6: Flood with White Icing
Once the cookies are completely cool, outline and “flood” the top of each cookie with white royal icing. Work on one cookie at a time so the icing stays wet for the next step.
Step 7: Create the Web Design
While the white icing is still wet, use the black icing to pipe three or four concentric circles (rings) onto the cookie. Immediately take a toothpick and drag it from the center of the cookie toward the outer edge. Repeat this 6 to 8 times around the cookie to create the web effect.
Step 8: Let Set
Allow the cookies to sit undisturbed for at least 2 hours or until the royal icing has hardened completely.
How to Serve Halloween Spider Web Sugar Cookies Recipe
Serve these cookies on a dark platter to make the white webs pop. For an extra spooky touch, you can place a small plastic spider or a chocolate-shaped spider in the center of a few cookies. They pair perfectly with a cold glass of milk or a hot cup of apple cider for a festive snack.
How to Store Halloween Spider Web Sugar Cookies Recipe
Store your finished cookies in an airtight container at room temperature. They will stay fresh for up to 5 days. If you need to stack them, wait until the icing is completely hard and place a piece of parchment paper between the layers to prevent any sticking or smudging.
Expert Tips for Perfect Halloween Spider Web Sugar Cookies Recipe
Make sure your butter is at room temperature but not melted, as this affects the texture of the dough. When decorating, work quickly! The “spider web” effect only works if the base icing is still wet. If it begins to crust over, the toothpick will tear the icing rather than gliding through it. Finally, use a high-quality gel food coloring for the black icing to ensure a deep, dark color without watering down the consistency.
Delicious Variations
You can easily switch up the colors for different effects. Try a black base with white webs for a “night” look, or use orange and purple icing for a more colorful Halloween palette. You can also add a pinch of cinnamon or almond extract to the cookie dough to give it a unique flavor profile that stands out from standard sugar cookies.
Frequently Asked Questions
Q: Can I use store-bought cookie dough?
Yes, you can use store-bought dough if you are short on time. Just make sure it is the type designed for cut-out cookies so the shapes remain round and flat.
Q: Why did my icing run off the edges?
Your royal icing might be too thin. Try adding a little more powdered sugar to your icing to thicken it to a “flooding” consistency, which should look like thick honey.
Q: Can I freeze these cookies?
You can freeze the undecorated baked cookies for up to 3 months. It is best to decorate them after they have thawed to keep the icing looking crisp and fresh.
Q: Do I have to use royal icing?
While royal icing gives the smoothest finish and best web detail, you can use a thick sugar glaze. However, the webs may look slightly more “soft” or blurred.
Q: How do I stop the cookies from sticking to the cutter?
Dip your cookie cutter in a little bit of flour before each cut. This creates a barrier and helps the dough release easily without tearing.
Conclusion
Creating Halloween Spider Web Sugar Cookies is a wonderful way to celebrate the spooky season. With their crisp edges, soft centers, and mesmerizing designs, they are sure to be the star of any Halloween gathering. Don’t be afraid to experiment with different colors and patterns. Happy baking and Happy Halloween!

Halloween Spider Web Sugar Cookies Recipe

- Cook Time: 55 minutes
- Total Time: 55 minutes
- Diet: Vegetarian
Ingredients
- 1 cup unsalted butter, softened
- 1 cup granulated sugar
- 1 large egg
- 1 teaspoon pure vanilla extract
- 2 1/2 cups all-purpose flour
- 1/2 teaspoon baking powder
- 1/4 teaspoon salt
- 2 cups white royal icing
- 1/2 cup black royal icing (fitted with a small round tip)
- Toothpicks for marbling
Instructions
- In a large mixing bowl, beat the softened butter and granulated sugar together until the mixture is light and fluffy. This usually takes about 3 minutes with an electric mixer.
- Add the egg and vanilla extract to the butter mixture. Beat again until the ingredients are fully incorporated and the mixture is smooth.
- In a separate bowl, whisk together the flour, baking powder, and salt. Gradually add the dry ingredients to the wet ingredients, mixing on low speed until a dough forms.
- Divide the dough in half and wrap each piece in plastic wrap. Refrigerate for at least 30 minutes. Chilling the dough ensures the cookies do not spread too much in the oven.
- Preheat your oven to 350°F (175°C). Roll the dough out on a floured surface to about 1/4 inch thickness. Use a round cookie cutter to cut shapes and place them on a parchment-lined baking sheet. Bake for 8 to 10 minutes until the edges are just barely golden.
- Once the cookies are completely cool, outline and “flood” the top of each cookie with white royal icing. Work on one cookie at a time so the icing stays wet for the next step.
- While the white icing is still wet, use the black icing to pipe three or four concentric circles (rings) onto the cookie. Immediately take a toothpick and drag it from the center of the cookie toward the outer edge. Repeat this 6 to 8 times around the cookie to create the web effect.
- Allow the cookies to sit undisturbed for at least 2 hours or until the royal icing has hardened completely.