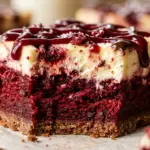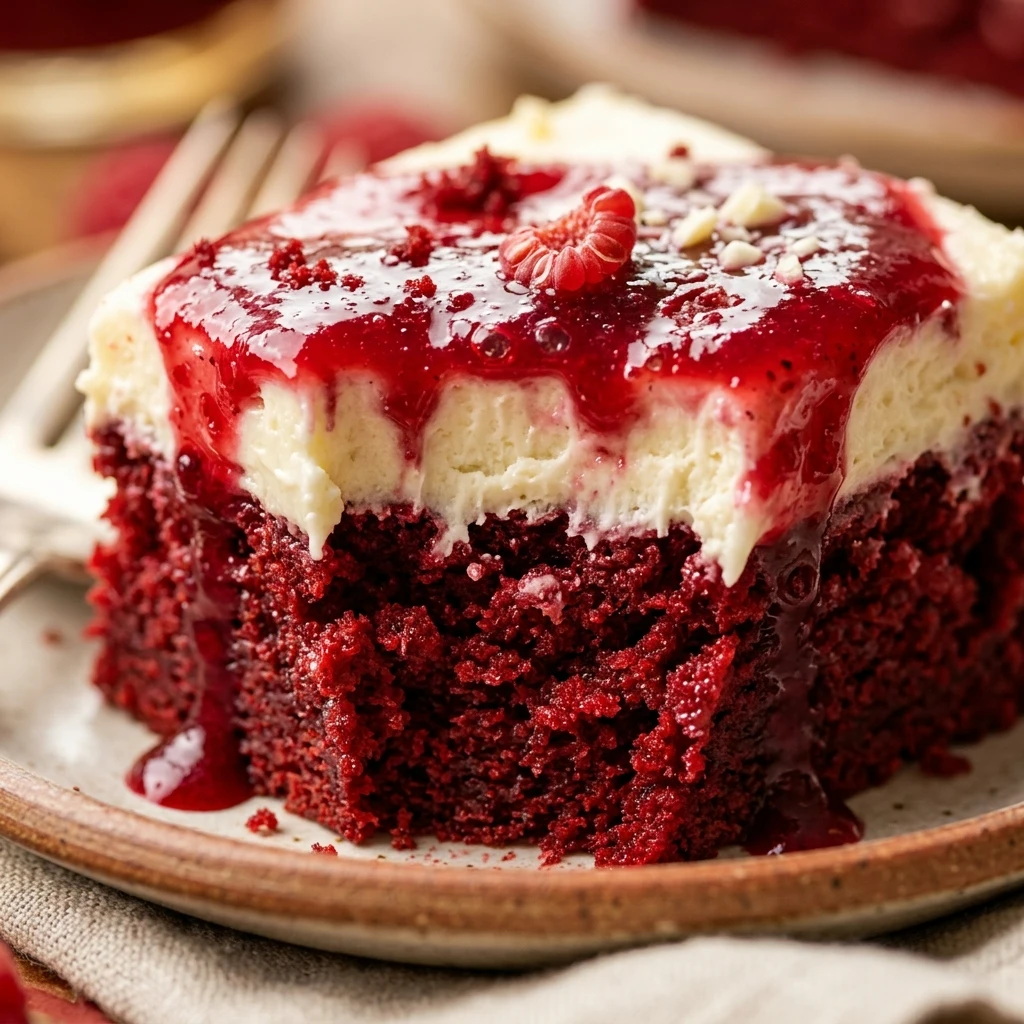

Looking for a show-stopping dessert that is as delicious as it is spooky? These Bloody Red Velvet Cheesecake Bars are the ultimate treat for your next Halloween party or themed event. They combine the rich, cocoa-infused flavor of red velvet cake with the creamy, smooth texture of classic cheesecake. The addition of a vibrant red fruit “blood” drizzle makes them look terrifyingly good on any dessert table.
Not only do these bars look impressive, but they also offer a wonderful contrast of colors and textures. From the crunchy chocolate cookie base to the velvety layers above, every bite is a perfect balance of sweetness and tang. Whether you are a fan of traditional red velvet or just love a good cheesecake, this recipe is sure to become a seasonal favorite for your family and friends.
Recipe Information
- Prep Time: 25 minutes
- Cook Time: 40 minutes
- Total Time: 65 minutes
- Servings: 16 bars
- Difficulty Level: Medium
Nutrition Information
- Calories per serving: 310 kcal
- Protein: 4g
- Carbohydrates: 34g
- Fat: 18g
- Fiber: 1g
- Sugar: 23g
- Sodium: 185mg
Why Make This Bloody Red Velvet Cheesecake Bars Recipe
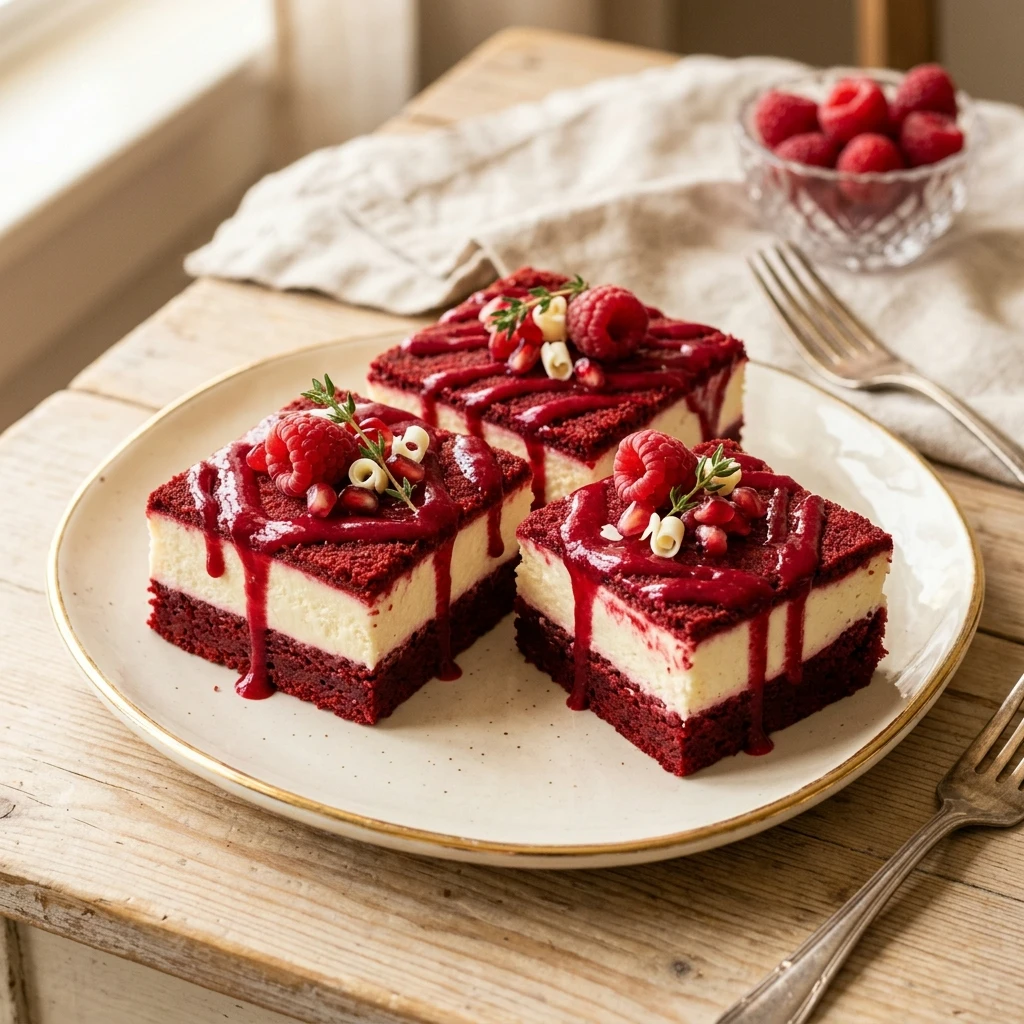
This recipe is a fantastic choice because it bridges the gap between a cake and a portable snack. The bars are easier to serve than a full-sized cake, making them perfect for parties where guests are mingling. The deep red color of the velvet layer paired with the bright white cheesecake creates a visual “wow” factor even before you add the decorative blood sauce.
Furthermore, the flavor profile is sophisticated yet approachable. You get the slight tang of buttermilk and cream cheese which cuts through the sugar, ensuring the bars aren’t overly cloying. It is a versatile recipe that allows you to get creative with the decorations, whether you want them to look elegant or truly gruesome for a horror-themed night.
How to Make Bloody Red Velvet Cheesecake Bars Recipe
Creating these layered bars is a rewarding process that involves three main components: a chocolatey crust, a red velvet batter, and a cheesecake swirl. By following these steps carefully, you will achieve beautiful, distinct layers that look like they came straight from a professional bakery.
Ingredients
- 24 chocolate sandwich cookies (like Oreos), crushed
- 4 tablespoons unsalted butter, melted
- 1 cup all-purpose flour
- 3/4 cup granulated sugar, divided
- 2 tablespoons unsweetened cocoa powder
- 1/2 cup vegetable oil
- 1 large egg (for the red velvet layer)
- 1/2 cup buttermilk
- 1 tablespoon red food coloring
- 1 teaspoon vanilla extract, divided
- 16 ounces cream cheese, softened
- 1 large egg (for the cheesecake layer)
- 1/2 cup raspberry jam or strawberry puree (strained for “blood”)
Directions
Step 1: Preheat and Prep the Pan
Preheat your oven to 350°F (175°C). Line an 8×8 inch square baking pan with parchment paper, leaving an overhang on the sides. This will help you lift the bars out easily once they are cooled and set.
Step 2: Create the Cookie Crust
In a medium bowl, mix the crushed chocolate cookies with the melted butter until the mixture looks like wet sand. Press this firmly into the bottom of your prepared baking pan. Bake the crust for 8 minutes, then remove it from the oven and let it cool slightly while you prepare the fillings.
Step 3: Mix the Red Velvet Layer
In a large bowl, whisk together the flour, 1/2 cup of sugar, and cocoa powder. In another bowl, combine the oil, one egg, buttermilk, red food coloring, and 1/2 teaspoon of vanilla. Gradually pour the wet ingredients into the dry ingredients and whisk until smooth. Pour about 3/4 of this batter over the pre-baked crust, spreading it evenly.
Step 4: Prepare the Cheesecake Filling
In a separate bowl, beat the softened cream cheese with the remaining 1/4 cup of sugar, the second egg, and the remaining 1/2 teaspoon of vanilla until the mixture is completely smooth and creamy. Use an electric mixer for the best results to avoid any lumps.
Step 5: Layer and Swirl
Drop spoonfuls of the cream cheese mixture over the red velvet batter. Then, take the remaining red velvet batter and drop small dollops on top of the white cheesecake layer. Use a toothpick or a butter knife to gently swirl the two colors together to create a marbled effect.
Step 6: Bake the Bars
Bake for 30 to 35 minutes, or until the center is mostly set with just a slight jiggle. Do not overbake, or the cheesecake might crack. Remove from the oven and let the bars cool to room temperature on a wire rack, then refrigerate for at least 3 hours or overnight.
Step 7: Add the Bloody Garnish
Once the bars are fully chilled and firm, cut them into 16 squares. Heat your raspberry jam or puree slightly and strain out any seeds. If it isn’t red enough, add a drop of red food coloring. Drizzle the “blood” over each bar in a messy, splattered pattern before serving.
How to Serve Bloody Red Velvet Cheesecake Bars Recipe
For the best presentation, wait until just before serving to add the “blood” drizzle so it looks fresh and glossy. You can serve these on a dark platter to make the red and white colors pop. For an extra spooky touch, place a few plastic spiders around the serving tray or use a small toy knife as a prop. These bars are best served cold straight from the refrigerator to maintain their creamy texture.
How to Store Bloody Red Velvet Cheesecake Bars Recipe
Because these bars contain cream cheese, they must be stored in the refrigerator. Place any leftover bars in an airtight container with layers separated by parchment paper to prevent sticking. They will stay fresh and delicious for up to 5 days. You can also freeze these bars for up to 2 months; just thaw them in the fridge overnight before adding the final fruit drizzle.
Expert Tips for Perfect Bloody Red Velvet Cheesecake Bars Recipe
To get the cleanest cuts, make sure the bars are completely chilled. Wipe your knife with a warm, damp cloth between every single cut to prevent the cheesecake from smearing. Additionally, ensure your cream cheese is at room temperature before mixing to prevent a lumpy batter. If you want a more vibrant red, use gel food coloring instead of liquid, as it provides a deeper hue without thinning the batter.
Delicious Variations
If you prefer a different base, you can substitute the chocolate cookies with graham crackers for a more traditional cheesecake taste. For a “Dexter” inspired look, you can make clear sugar glass shards to stick into the top of the bars. If you are not a fan of raspberry, a thick cherry sauce or a red-tinted white chocolate ganache also makes a fantastic “bloody” topping.
Frequently Asked Questions
Q: Can I use a box cake mix for the red velvet layer?
Yes, you can use half a box of prepared red velvet cake mix, but the homemade version usually results in a denser, fudgier texture that pairs better with cheesecake.
Q: Why did my cheesecake layer crack?
Cracks usually happen due to overbaking or cooling the bars too quickly. Ensure you stop baking when the center still has a slight wobble and let them cool at room temperature before putting them in the fridge.
Q: How do I make the “blood” look more realistic?
Straining the seeds out of raspberry jam is the best way to get a smooth, viscous look. Adding a tiny drop of blue food coloring to the red can also give it a deeper, more realistic arterial red color.
Q: Can I make these bars gluten-free?
Yes! Simply use gluten-free chocolate sandwich cookies for the crust and a 1-to-1 gluten-free baking flour for the red velvet batter.
Q: Do I have to use buttermilk?
Buttermilk is key for the classic red velvet flavor and reaction with cocoa. If you don’t have any, you can make a substitute by adding 1/2 tablespoon of lemon juice or vinegar to 1/2 cup of regular milk and letting it sit for 5 minutes.
Conclusion
Bloody Red Velvet Cheesecake Bars are the perfect blend of spooky aesthetics and gourmet flavor. They are easy to prepare ahead of time, making your party planning much simpler. With their striking layers and delicious berry drizzle, they are guaranteed to be the talk of your celebration. Give this recipe a try and enjoy a frighteningly tasty dessert that everyone will love!
Bloody Red Velvet Cheesecake Bars Recipe
- Cook Time: 65 minutes
- Total Time: 1 hour 5 minutes
- Diet: Vegetarian, Gluten-Free Option
Ingredients
- 24 chocolate sandwich cookies (like Oreos), crushed
- 4 tablespoons unsalted butter, melted
- 1 cup all-purpose flour
- 3/4 cup granulated sugar, divided
- 2 tablespoons unsweetened cocoa powder
- 1/2 cup vegetable oil
- 1 large egg (for the red velvet layer)
- 1/2 cup buttermilk
- 1 tablespoon red food coloring
- 1 teaspoon vanilla extract, divided
- 16 ounces cream cheese, softened
- 1 large egg (for the cheesecake layer)
- 1/2 cup raspberry jam or strawberry puree (strained for “blood”)
Instructions
- Step 1: Preheat and Prep the Pan: Preheat your oven to 350°F (175°C). Line an 8×8 inch square baking pan with parchment paper, leaving an overhang on the sides. This will help you lift the bars out easily once they are cooled and set.
- Step 2: Create the Cookie Crust: In a medium bowl, mix the crushed chocolate cookies with the melted butter until the mixture looks like wet sand. Press this firmly into the bottom of your prepared baking pan. Bake the crust for 8 minutes, then remove it from the oven and let it cool slightly while you prepare the fillings.
- Step 3: Mix the Red Velvet Layer: In a large bowl, whisk together the flour, 1/2 cup of sugar, and cocoa powder. In another bowl, combine the oil, one egg, buttermilk, red food coloring, and 1/2 teaspoon of vanilla. Gradually pour the wet ingredients into the dry ingredients and whisk until smooth. Pour about 3/4 of this batter over the pre-baked crust, spreading it evenly.
- Step 4: Prepare the Cheesecake Filling: In a separate bowl, beat the softened cream cheese with the remaining 1/4 cup of sugar, the second egg, and the remaining 1/2 teaspoon of vanilla until the mixture is completely smooth and creamy. Use an electric mixer for the best results to avoid any lumps.
- Step 5: Layer and Swirl: Drop spoonfuls of the cream cheese mixture over the red velvet batter. Then, take the remaining red velvet batter and drop small dollops on top of the white cheesecake layer. Use a toothpick or a butter knife to gently swirl the two colors together to create a marbled effect.
- Step 6: Bake the Bars: Bake for 30 to 35 minutes, or until the center is mostly set with just a slight jiggle. Do not overbake, or the cheesecake might crack. Remove from the oven and let the bars cool to room temperature on a wire rack, then refrigerate for at least 3 hours or overnight.
- Step 7: Add the Bloody Garnish: Once the bars are fully chilled and firm, cut them into 16 squares. Heat your raspberry jam or puree slightly and strain out any seeds. If it isn’t red enough, add a drop of red food coloring. Drizzle the “blood” over each bar in a messy, splattered pattern before serving.