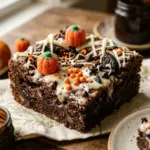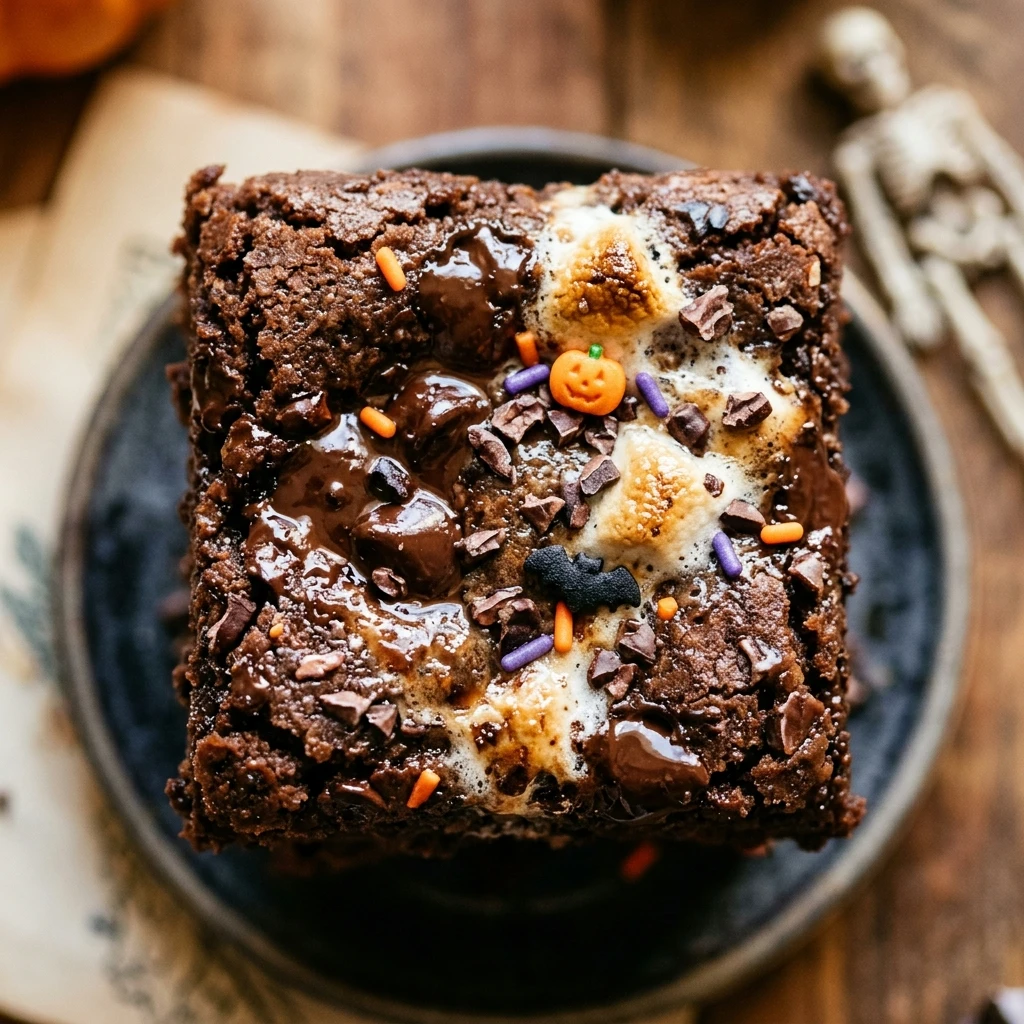

Halloween is the time of year when creativity in the kitchen truly shines. If you are looking for a dessert that is both spooky and scrumptious, look no further than these Haunted House Cookie Bars. These treats combine a rich, chewy chocolate base with vibrant decorations that bring a miniature haunted landscape to life right on your dessert table.
Whether you are hosting a neighborhood bash or just want a festive weekend activity with the kids, these bars are the perfect choice. They are easy to slice, fun to decorate, and even better to eat. Get ready to cast a delicious spell on your guests with these chocolatey, “haunted” delights.
Recipe Information
- Prep Time: 25 minutes
- Cook Time: 25 minutes
- Total Time: 50 minutes
- Servings: 16 bars
- Difficulty Level: Medium
Nutrition Information
- Calories per serving: 295 kcal
- Protein: 3g
- Carbohydrates: 42g
- Fat: 14g
- Fiber: 2g
- Sugar: 31g
- Sodium: 160mg
Why Make This Haunted House Cookie Bars Recipe
This recipe is a fantastic way to celebrate the spooky season without needing the skills of a professional pastry chef. The dark chocolate base provides the perfect “nighttime” backdrop for your decorations. Since the base is baked in a single pan, you save time compared to cutting out individual cookies. It is a high-impact dessert that looks much more complicated than it actually is.
Beyond the looks, the texture of these bars is incredible. They are dense, fudgy, and packed with chocolate flavor. Plus, the decorating process is a great way to involve the whole family. From candy corn “fences” to candy eyeball “ghosts,” the possibilities for customization are endless. It is a recipe that creates memories as much as it creates great food.
How to Make Haunted House Cookie Bars Recipe
Making these bars is a two-part process: baking the rich chocolate foundation and then using your imagination to create a spooky scene. Follow these simple steps to ensure your cookie bars turn out moist, sturdy, and ready for all the ghostly toppings you can dream up.
Ingredients
- 1/2 cup unsalted butter, melted
- 1 cup granulated sugar
- 1 large egg
- 1 teaspoon vanilla extract
- 1/3 cup unsweetened cocoa powder
- 1/2 cup all-purpose flour
- 1/4 teaspoon salt
- 1/4 teaspoon baking powder
- 1/2 cup semi-sweet chocolate chips
- 1 cup chocolate frosting (dark or black preferred)
- Orange and purple decorative icing
- Candy eyeballs, candy corn, and Halloween-themed sprinkles
- Graham crackers (cut into house shapes)
Directions
Step 1: Oven and Pan Preparation
Preheat your oven to 350°F (175°C). Line an 8×8 inch square baking pan with parchment paper, leaving an overhang on the sides. This will make it much easier to lift the bars out of the pan once they have cooled and are ready for decorating.
Step 2: Mixing the Wet Ingredients
In a large mixing bowl, whisk together the melted butter and granulated sugar until well combined. Add the egg and vanilla extract, whisking until the mixture is smooth and slightly pale. This ensures a chewy texture for your bars.
Step 3: Combining the Dry Ingredients
Sift in the cocoa powder, all-purpose flour, salt, and baking powder. Use a spatula to fold the dry ingredients into the wet mixture until just combined. Be careful not to overmix, as this can make the bars tough. Fold in the chocolate chips for extra gooeyness.
Step 4: Baking the Cookie Base
Spread the batter evenly into your prepared baking pan. Bake for 20 to 25 minutes, or until a toothpick inserted into the center comes out with just a few moist crumbs. Do not overbake, as you want the bars to remain fudgy.
Step 5: Cooling the Bars
Allow the cookie base to cool completely in the pan. Once cool, use the parchment paper handles to lift the entire block out and place it on a flat surface. Cooling is essential so the frosting doesn’t melt when you start decorating.
Step 6: Creating the Haunted Scene
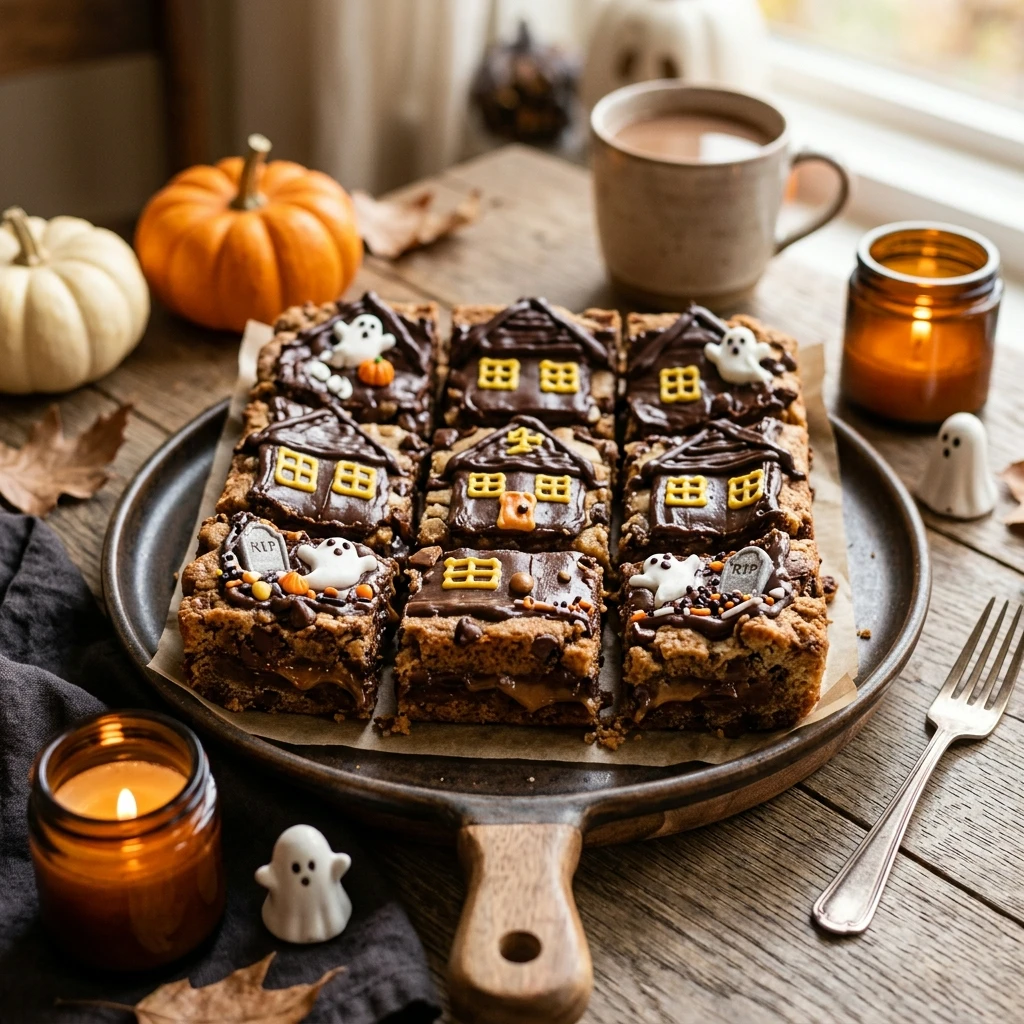
Spread a thick layer of chocolate frosting over the entire surface. Cut graham crackers into small house shapes and press them into the frosting. Use the decorative icing to draw windows and doors on the “houses,” and place candy eyeballs and sprinkles around the houses to create your haunted landscape. Slice into squares and serve!
How to Serve Haunted House Cookie Bars Recipe
These bars look best when served on a large, flat platter to showcase the entire “neighborhood” of haunted houses. You can sprinkle crushed chocolate sandwich cookies around the base of the bars to look like dirt or “spooky soil.” For a party, serve them alongside a bowl of neon-green punch for the ultimate Halloween aesthetic. They are easy to grab and eat by hand, making them perfect for casual gatherings.
How to Store Haunted House Cookie Bars Recipe
Store any leftovers in an airtight container at room temperature for up to 3 days. If you live in a warm climate, you might want to store them in the refrigerator to keep the frosting and decorations from softening. If you need to stack them, place a layer of parchment paper between the bars to prevent the decorations from sticking together or getting crushed.
Expert Tips for Perfect Haunted House Cookie Bars Recipe
To get the cleanest slices, chill the bars in the refrigerator for about 30 minutes after frosting but before cutting. Use a sharp, warm knife to slice through the dense chocolate base. Another tip is to use black cocoa powder if you want an extra dark, “midnight” look for your cookie bars. Finally, if your graham cracker houses won’t stay upright, use a little extra frosting on the back as “glue” to secure them to the base.
Delicious Variations
You can easily swap the chocolate base for a blondie or peanut butter cookie base if you prefer those flavors. For a different look, use green-tinted coconut flakes to resemble “haunted grass.” You can also add a layer of caramel between the cookie base and the frosting for a “hidden treasure” surprise. If you want a saltier profile, use pretzel sticks to create little fences around your haunted houses.
Frequently Asked Questions
Q: Can I use a boxed brownie mix for the base?
Yes, you can use a boxed brownie or cookie mix to save time. Just ensure it is baked in a way that creates a sturdy enough base to support the decorations.
Q: How do I make the black frosting?
You can buy pre-made black frosting, or add black food coloring gel to chocolate frosting. Using chocolate frosting as a base requires less food coloring to reach a deep black shade.
Q: Can I make these gluten-free?
Absolutely! Simply swap the all-purpose flour for a 1:1 gluten-free baking flour and ensure your graham crackers and candies are certified gluten-free.
Q: Can I freeze these cookie bars?
It is best to freeze the undecorated cookie base. Once decorated, the candy and icing might change texture or bleed color when thawed. The base will freeze well for up to 3 months.
Q: What if I don’t have graham crackers?
You can use rectangular butter cookies, chocolate wafers, or even large marshmallows shaped like ghosts as substitutes for the houses.
Conclusion
The Haunted House Cookie Bars Recipe is a delightful way to bring the spirit of Halloween into your kitchen. With a rich chocolate foundation and a fun decorating process, these bars are sure to be the star of any October celebration. They prove that you don’t need to be a master baker to create something magical and delicious. Happy Halloween and happy baking!
Haunted House Cookie Bars Recipe
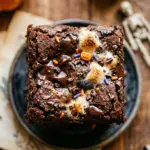
- Cook Time: 50 minutes
- Total Time: 50 minutes
- Diet: Vegetarian, Gluten-Free Option
Ingredients
- 1/2 cup unsalted butter, melted
- 1 cup granulated sugar
- 1 large egg
- 1 teaspoon vanilla extract
- 1/3 cup unsweetened cocoa powder
- 1/2 cup all-purpose flour
- 1/4 teaspoon salt
- 1/4 teaspoon baking powder
- 1/2 cup semi-sweet chocolate chips
- 1 cup chocolate frosting (dark or black preferred)
- Orange and purple decorative icing
- Candy eyeballs, candy corn, and Halloween-themed sprinkles
- Graham crackers (cut into house shapes)
Instructions
- Preheat your oven to 350°F (175°C). Line an 8×8 inch square baking pan with parchment paper, leaving an overhang on the sides. This will make it much easier to lift the bars out of the pan once they have cooled and are ready for decorating.
- In a large mixing bowl, whisk together the melted butter and granulated sugar until well combined. Add the egg and vanilla extract, whisking until the mixture is smooth and slightly pale. This ensures a chewy texture for your bars.
- Sift in the cocoa powder, all-purpose flour, salt, and baking powder. Use a spatula to fold the dry ingredients into the wet mixture until just combined. Be careful not to overmix, as this can make the bars tough. Fold in the chocolate chips for extra gooeyness.
- Spread the batter evenly into your prepared baking pan. Bake for 20 to 25 minutes, or until a toothpick inserted into the center comes out with just a few moist crumbs. Do not overbake, as you want the bars to remain fudgy.
- Allow the cookie base to cool completely in the pan. Once cool, use the parchment paper handles to lift the entire block out and place it on a flat surface. Cooling is essential so the frosting doesn’t melt when you start decorating.
- Spread a thick layer of chocolate frosting over the entire surface. Cut graham crackers into small house shapes and press them into the frosting. Use the decorative icing to draw windows and doors on the “houses,” and place candy eyeballs and sprinkles around the houses to create your haunted landscape. Slice into squares and serve!