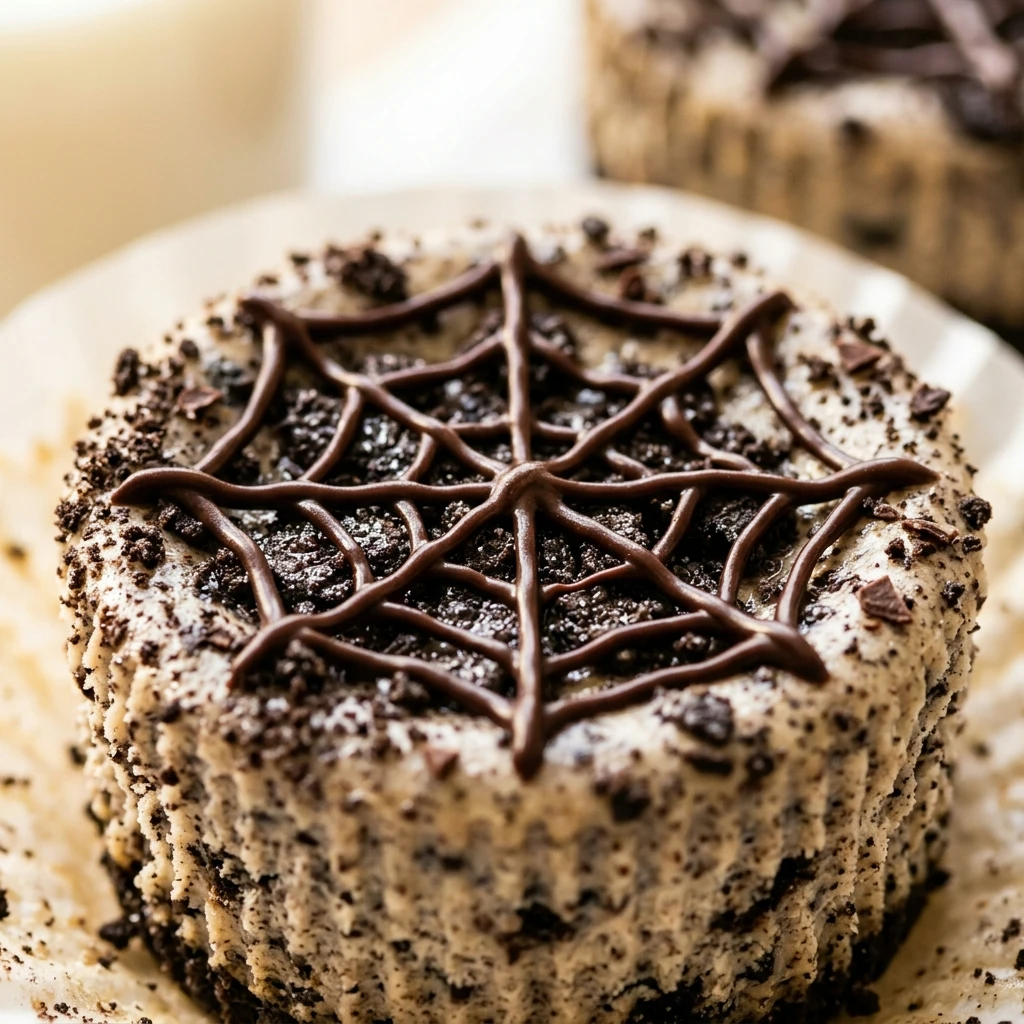

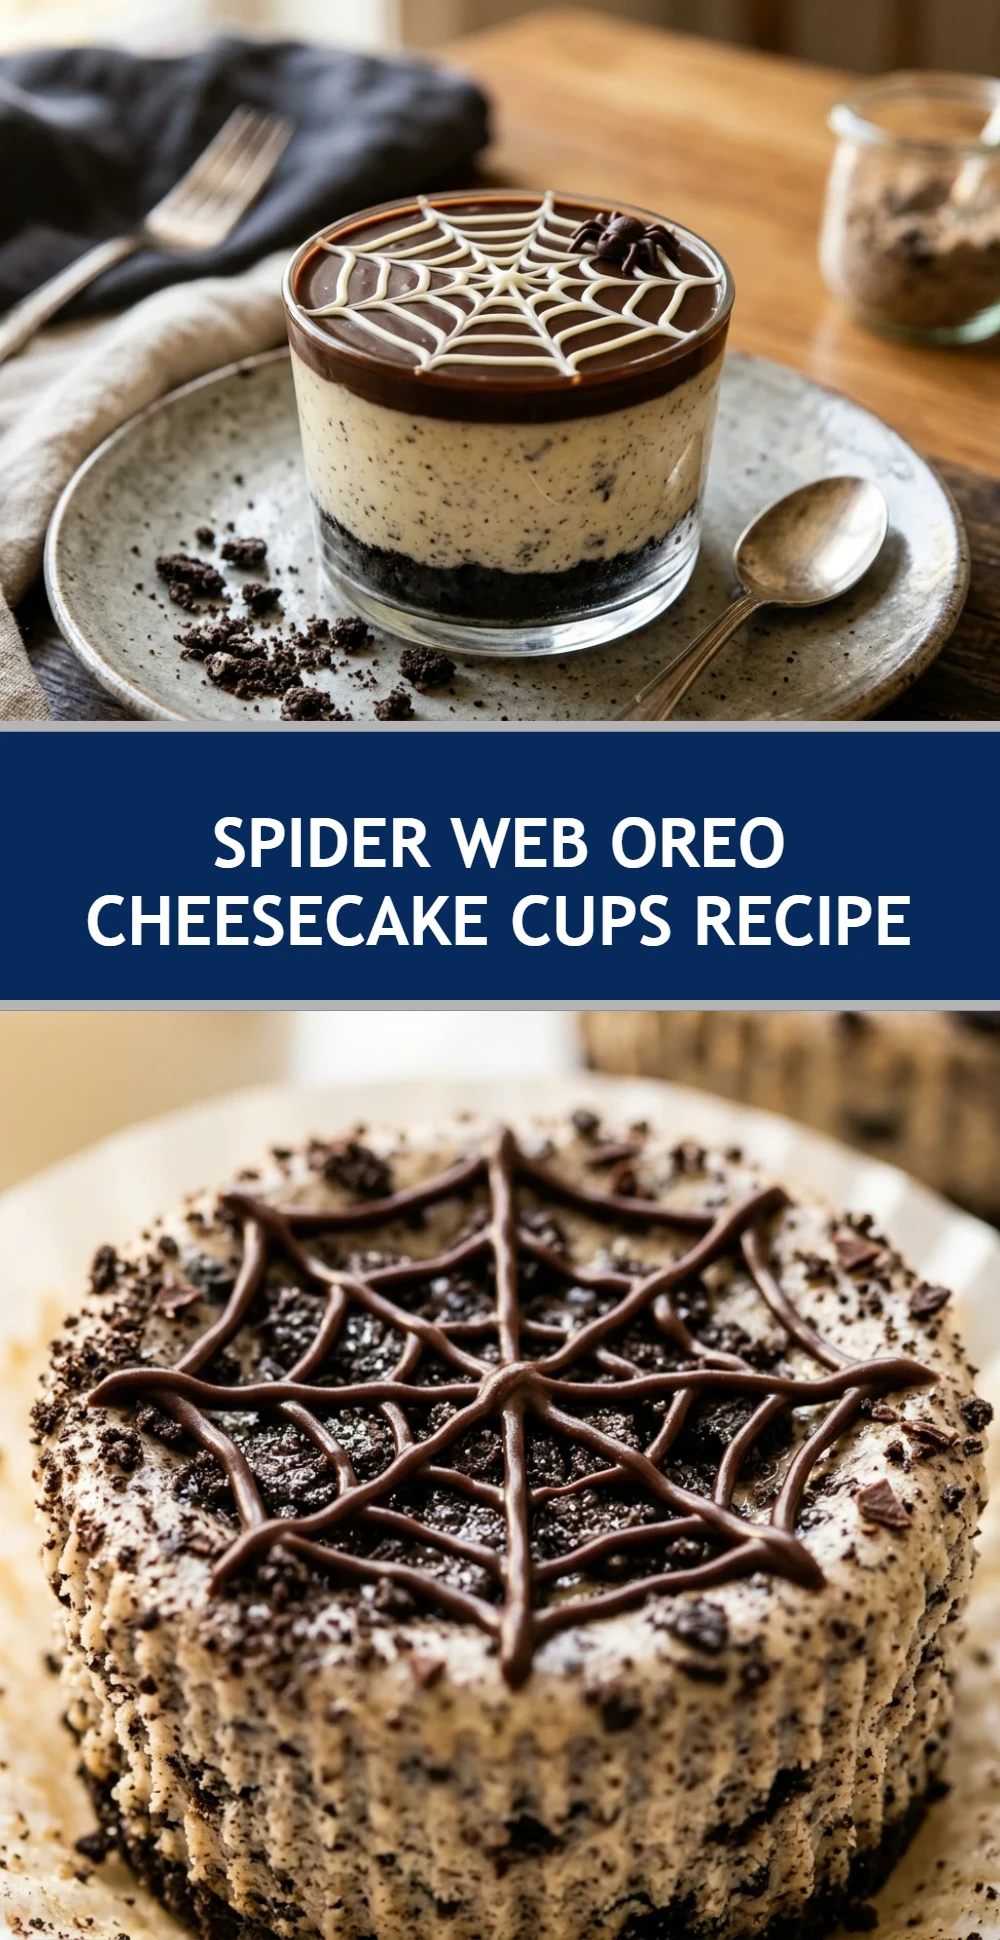
When the spooky season arrives, there is nothing better than a treat that looks as good as it tastes. These Spider Web Oreo Cheesecake Cups are the ultimate Halloween dessert, combining the creamy texture of classic cheesecake with the iconic crunch of Oreo cookies. They are perfectly portioned for parties and feature a striking chocolate spider web design that will impress guests of all ages.
Whether you are hosting a haunted house gathering or just want a festive snack for the family, these mini cheesecakes are a hit. The best part is that they are surprisingly simple to make, even if you are not a master decorator. With a smooth cream cheese filling and a whole Oreo cookie at the base, every bite is a delightful mix of chocolate and sweet cream.
Recipe Information
- Prep Time: 15 minutes
- Cook Time: 20 minutes
- Total Time: 35 minutes
- Servings: 12
- Difficulty Level: Easy
Nutrition Information
- Calories per serving: 285 kcal
- Protein: 4g
- Carbohydrates: 26g
- Fat: 19g
- Fiber: 1g
- Sugar: 19g
- Sodium: 215mg
Why Make This Spider Web Oreo Cheesecake Cups Recipe
This recipe is a must-try because it takes the stress out of holiday baking. Unlike a full-sized cheesecake that can crack or require a water bath, these mini versions are much more forgiving and bake in a fraction of the time. They are naturally “self-contained” in cupcake liners, making them the perfect grab-and-go dessert for busy Halloween festivities.
Beyond the convenience, the flavor profile is unbeatable. The combination of tangy cream cheese and chocolate sandwich cookies is a timeless favorite. Adding the spider web decoration turns a standard dessert into a festive centerpiece that looks like it came from a professional bakery, but it only takes a toothpick and a little melted chocolate to achieve.
How to Make Spider Web Oreo Cheesecake Cups Recipe
Getting these spooky treats ready is a straightforward process that involves a quick crust setup, a simple batter, and a fun decorating technique. Follow these steps to ensure your cheesecake cups come out creamy, stable, and perfectly “webbed.”
Ingredients
- 12 whole Oreo cookies (for the crusts)
- 6 Oreo cookies, coarsely chopped (for the filling)
- 16 oz cream cheese, softened to room temperature
- 1/2 cup granulated sugar
- 1/2 cup sour cream
- 1 teaspoon vanilla extract
- 2 large eggs
- 1/4 cup semi-sweet chocolate chips (for the web)
- 1 teaspoon coconut oil or butter (optional, for thinning chocolate)
Directions
Step 1: Preheat and Prep
Preheat your oven to 325°F (160°C). Line a standard 12-cup muffin tin with paper liners. Place one whole Oreo cookie at the bottom of each liner to serve as the crust. There is no need to crush them; the whole cookie works perfectly!
Step 2: Beat the Cream Cheese
In a large mixing bowl, beat the softened cream cheese and granulated sugar together until the mixture is completely smooth and creamy. It is important that the cream cheese is at room temperature to avoid lumps in your batter.
Step 3: Add Wet Ingredients
Mix in the sour cream and vanilla extract until well combined. Add the eggs one at a time, beating on low speed just until incorporated. Do not overmix the batter once the eggs are added, as this can introduce too much air and cause the cups to puff and sink.
Step 4: Fold in Cookies
Gently fold the coarsely chopped Oreo cookies into the cheesecake batter using a spatula. This ensures you get chunks of chocolatey goodness in every single bite.
Step 5: Fill and Bake
Divide the cheesecake batter evenly among the 12 muffin liners, filling each nearly to the top. Place the tin in the oven and bake for 18 to 22 minutes, or until the edges are set and the centers only have a slight jiggle.
Step 6: Cool and Chill
Remove the tin from the oven and allow the cheesecake cups to cool completely at room temperature. Once cool, transfer the tin to the refrigerator for at least 2 hours (or overnight) to allow them to firm up properly.
Step 7: Create the Spider Web
Melt the chocolate chips in the microwave in 30-second intervals until smooth. Transfer the melted chocolate to a small piping bag or a plastic sandwich bag with a tiny corner cut off. Pipe three concentric circles on top of each chilled cheesecake. Use a toothpick to drag lines from the center circle outward to the edge, creating a spider web effect.
How to Serve Spider Web Oreo Cheesecake Cups Recipe
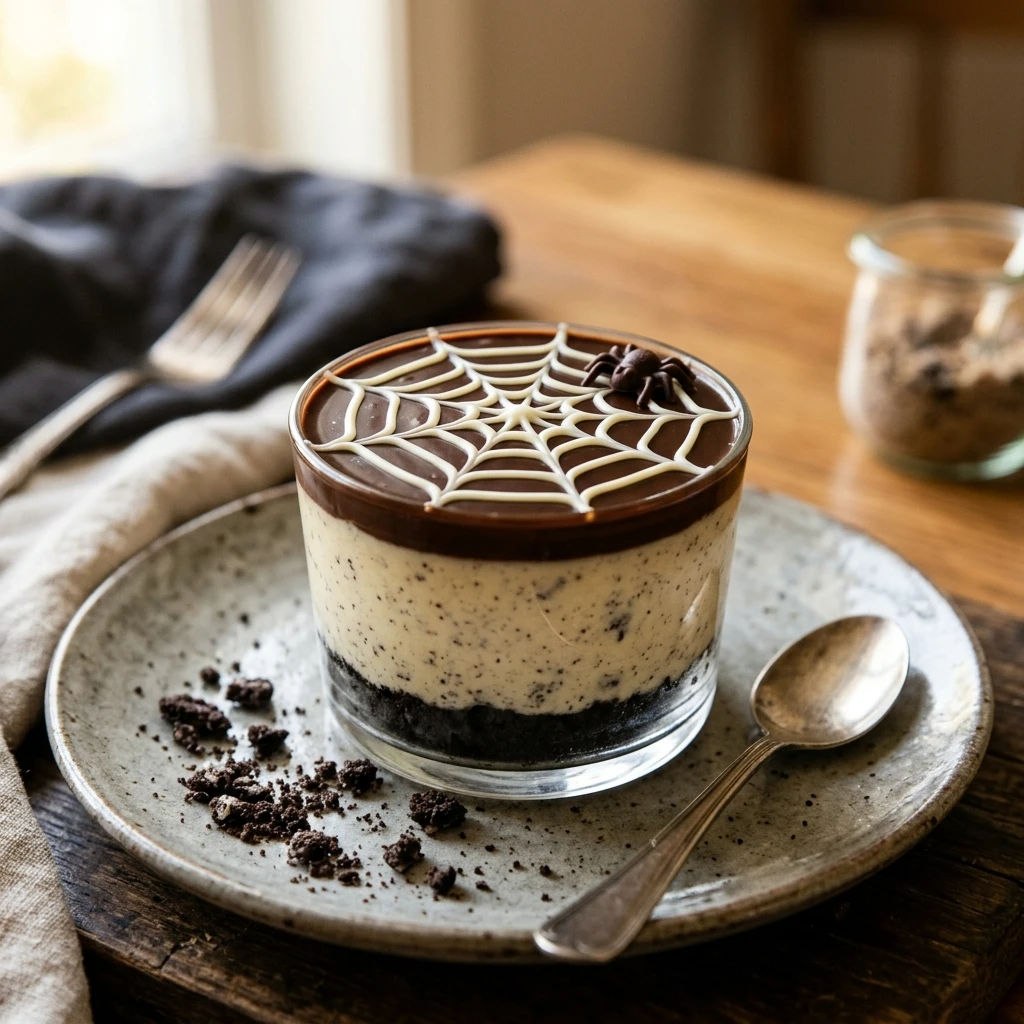
Serve these cheesecake cups chilled directly from the refrigerator. For an extra festive touch, you can place a small plastic spider ring on top of each “web” or add a dollop of whipped cream on the side. They look fantastic arranged on a black or orange platter to emphasize the Halloween theme.
How to Store Spider Web Oreo Cheesecake Cups Recipe
Store any leftover cheesecake cups in an airtight container in the refrigerator for up to 5 days. If you need to stack them, place a piece of parchment paper between layers to protect the chocolate spider web design. You can also freeze these for up to 2 months; just thaw them in the fridge before serving.
Expert Tips for Perfect Spider Web Oreo Cheesecake Cups Recipe
To get the best results, always use full-fat cream cheese and sour cream for the creamiest texture. Ensure your ingredients are at room temperature before mixing to prevent a lumpy batter. When drawing the spider web, work quickly while the chocolate is still warm, and wipe your toothpick clean after each “drag” to keep the lines sharp and clean.
Delicious Variations
If you want to switch things up, try using Mint Oreos for a “creepy green” interior flavor. You can also use white chocolate dyed with orange or purple food coloring to create vibrant, colorful webs. For a gluten-free version, simply swap the standard cookies for gluten-free chocolate sandwich cookies.
Frequently Asked Questions
Q: Can I use low-fat cream cheese?
While you can, the texture will not be as rich or creamy, and the cheesecake cups may be more prone to cracking or sinking.
Q: Why did my cheesecake cups sink in the middle?
This usually happens if the batter was overmixed or if the oven temperature was too high. However, a slight sink is normal and provides a perfect “well” for your chocolate spider web!
Q: Can I make these in a mini-muffin tin?
Yes, but you will need to crush the Oreos for the crust instead of using whole ones, and the bake time will be reduced to about 12-15 minutes.
Q: How do I stop the chocolate from hardening too fast?
Adding a tiny bit of coconut oil or shortening to the melted chocolate helps it stay fluid longer and makes it easier to draw the web lines.
Q: Can I make these a day in advance?
Absolutely! These are actually better when made a day ahead as it gives the cheesecake plenty of time to set and the flavors to meld.
Conclusion
These Spider Web Oreo Cheesecake Cups are the perfect blend of spooky and sweet. They are easy to make, fun to decorate, and guaranteed to be the star of your Halloween dessert table. With their creamy filling and crunchy cookie base, they offer a professional-quality treat that anyone can whip up at home. Happy Halloween baking!
Spider Web Oreo Cheesecake Cups Recipe
- Cook Time: 35 minutes
- Total Time: 35 minutes
- Diet: Vegetarian
Ingredients
- 12 whole Oreo cookies (for the crusts)
- 6 Oreo cookies, coarsely chopped (for the filling)
- 16 oz cream cheese, softened to room temperature
- 1/2 cup granulated sugar
- 1/2 cup sour cream
- 1 teaspoon vanilla extract
- 2 large eggs
- 1/4 cup semi-sweet chocolate chips (for the web)
- 1 teaspoon coconut oil or butter (optional, for thinning chocolate)
Instructions
- Preheat your oven to 325°F (160°C). Line a standard 12-cup muffin tin with paper liners. Place one whole Oreo cookie at the bottom of each liner to serve as the crust. There is no need to crush them; the whole cookie works perfectly!
- In a large mixing bowl, beat the softened cream cheese and granulated sugar together until the mixture is completely smooth and creamy. It is important that the cream cheese is at room temperature to avoid lumps in your batter.
- Mix in the sour cream and vanilla extract until well combined. Add the eggs one at a time, beating on low speed just until incorporated. Do not overmix the batter once the eggs are added, as this can introduce too much air and cause the cups to puff and sink.
- Gently fold the coarsely chopped Oreo cookies into the cheesecake batter using a spatula. This ensures you get chunks of chocolatey goodness in every single bite.
- Divide the cheesecake batter evenly among the 12 muffin liners, filling each nearly to the top. Place the tin in the oven and bake for 18 to 22 minutes, or until the edges are set and the centers only have a slight jiggle.
- Remove the tin from the oven and allow the cheesecake cups to cool completely at room temperature. Once cool, transfer the tin to the refrigerator for at least 2 hours (or overnight) to allow them to firm up properly.
- Melt the chocolate chips in the microwave in 30-second intervals until smooth. Transfer the melted chocolate to a small piping bag or a plastic sandwich bag with a tiny corner cut off. Pipe three concentric circles on top of each chilled cheesecake. Use a toothpick to drag lines from the center circle outward to the edge, creating a spider web effect.