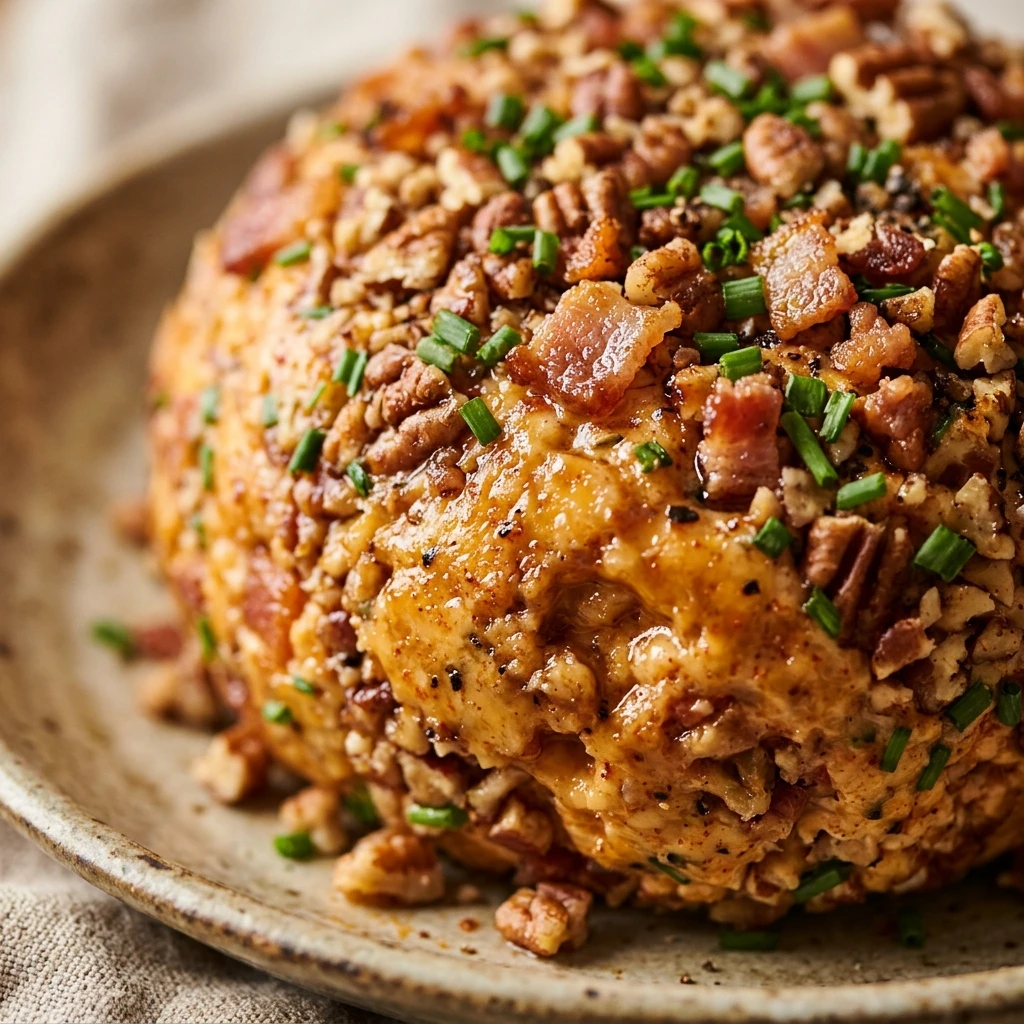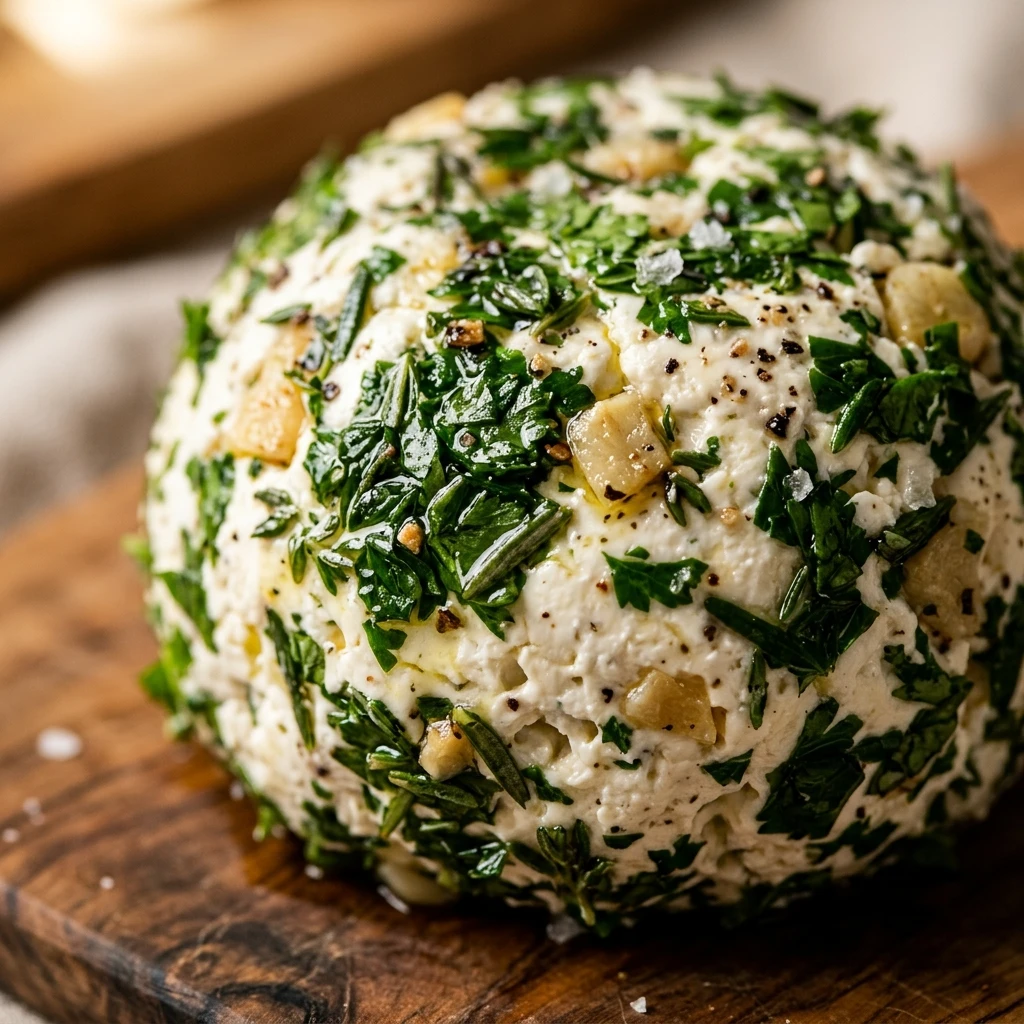
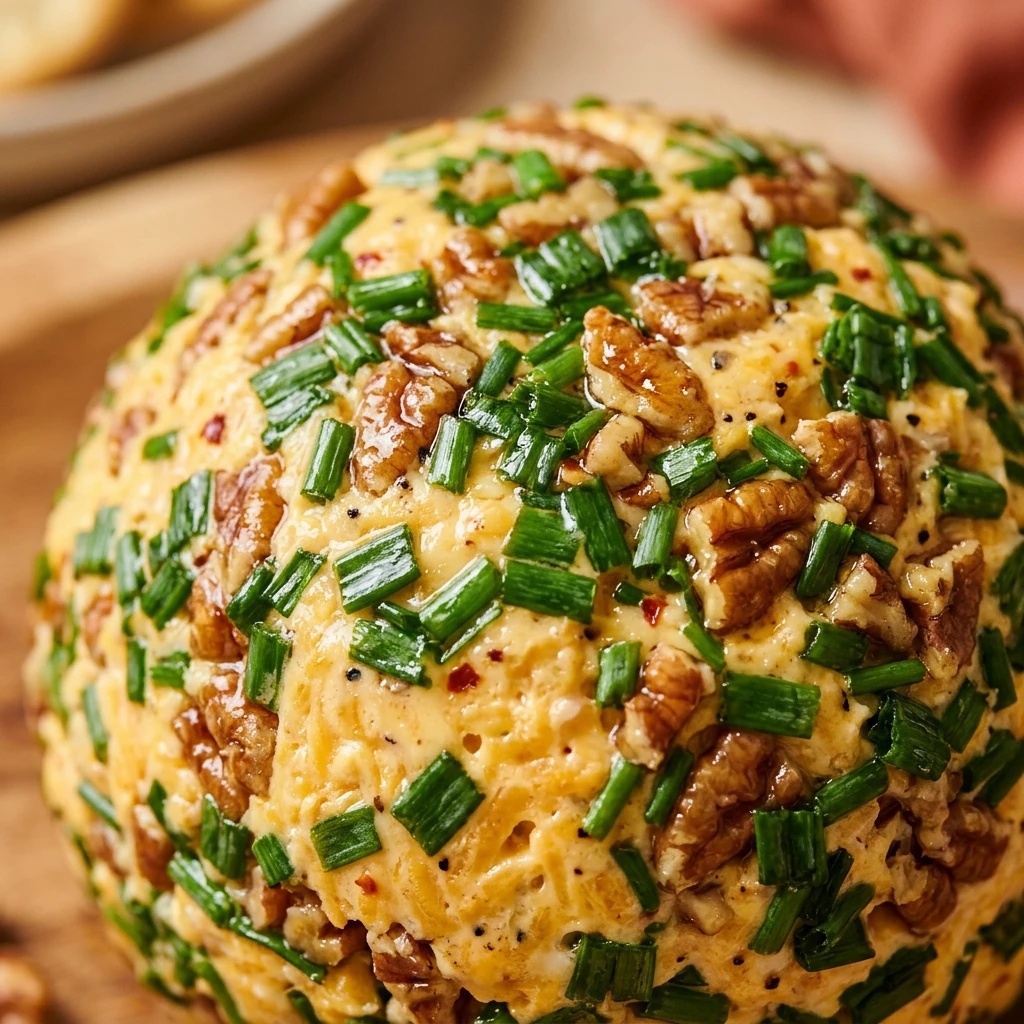

A classic cheese ball is the centerpiece of any great gathering. Whether it is a holiday party, a game day celebration, or a simple family get-together, this Cheddar Cheese Ball with Chives is always a hit. It is incredibly easy to make and looks beautiful when served with a variety of crackers and vegetables. The combination of creamy textures and sharp flavors makes it an irresistible snack for all ages.
The beauty of this recipe lies in its simplicity. With just a few pantry staples and some fresh herbs, you can create a gourmet-style appetizer that rivals anything bought at the store. It is the perfect make-ahead dish that allows you to spend more time with your guests and less time in the kitchen.
Recipe Information
- Prep Time: 15 minutes
- Cook Time: 0 minutes (plus 2 hours chilling time)
- Total Time: 2 hours 15 minutes
- Servings: 12
- Difficulty Level: Easy
Nutrition Information
- Calories per serving: 210 kcal
- Protein: 7g
- Carbohydrates: 3g
- Fat: 19g
- Fiber: 1g
- Sugar: 1g
- Sodium: 245mg
Why Make This Cheddar Cheese Ball With Chives
This Cheddar Cheese Ball with Chives is a versatile crowd-pleaser. The sharp cheddar provides a bold flavor that is perfectly balanced by the mild, onion-like notes of the fresh chives. Because it uses cream cheese as a base, the texture is smooth and spreadable, making it ideal for dipping.
Another reason to love this recipe is how customizable it is. You can easily adjust the spices or the outer coating to suit your personal preference. It is also a budget-friendly option that looks high-end on any serving platter, ensuring your appetizer table looks professional and inviting.
How to Make Cheddar Cheese Ball With Chives
Making this appetizer is a straightforward process that involves mixing, shaping, and chilling. Follow these easy steps to create a flavorful cheese ball that will be the talk of your next event.
Ingredients
- 16 oz cream cheese, softened to room temperature
- 2 cups sharp cheddar cheese, finely shredded
- 1/4 cup fresh chives, finely chopped
- 1 teaspoon garlic powder
- 1/2 teaspoon onion powder
- 1/4 teaspoon smoked paprika
- 1/2 cup chopped pecans or walnuts (optional)
- Crackers, pretzels, or vegetable sticks for serving
Directions
Step 1: Cream the Base
In a large mixing bowl, combine the softened cream cheese, garlic powder, onion powder, and smoked paprika. Use a hand mixer or a sturdy spatula to blend until the mixture is smooth and the spices are evenly distributed.
Step 2: Fold in Cheese and Chives
Add the shredded sharp cheddar cheese and half of the chopped chives to the cream cheese mixture. Fold them in gently until everything is well combined. Ensure the cheddar is evenly dispersed so every bite is packed with flavor.
Step 3: Shape the Ball
Spoon the mixture onto a large piece of plastic wrap. Gather the corners of the plastic wrap and twist the top to form the cheese into a tight ball shape. You can use your hands to smooth out any bumps while it is still wrapped.
Step 4: Add the Coating
In a small shallow dish, mix the remaining chives and the chopped nuts. Unwrap the cheese ball and roll it in the mixture, pressing gently so the coating sticks to the entire surface of the ball.
Step 5: Chill and Set
Re-wrap the coated cheese ball in plastic wrap or place it in an airtight container. Refrigerate for at least 2 hours. This chilling time is essential as it allows the flavors to meld and the ball to firm up for easier serving.
How to Serve Cheddar Cheese Ball With Chives
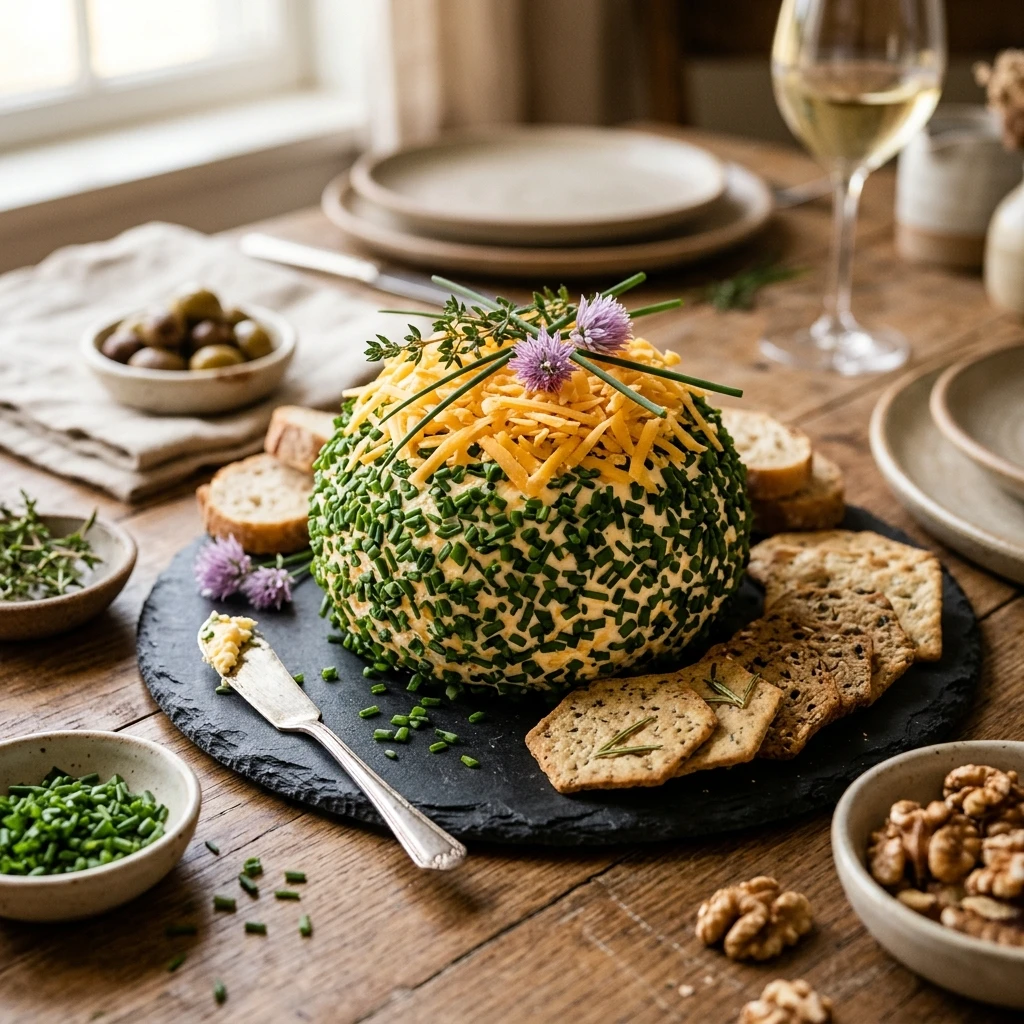
For the best experience, take the cheese ball out of the refrigerator about 15 to 20 minutes before serving. This allows the cream cheese to soften slightly, making it easier for guests to scoop. Place the ball in the center of a large wooden board or platter.
Surround the cheese ball with a variety of textures. Butter crackers, pita chips, and pretzel thins work wonderfully. For a healthier option, add sliced cucumbers, bell pepper strips, or celery sticks. A small cheese knife or spreader should be placed nearby to help guests serve themselves.
How to Store Cheddar Cheese Ball With Chives
If you have leftovers, wrap the cheese ball tightly in plastic wrap and store it in an airtight container in the refrigerator. It will stay fresh for up to one week. If the nuts in the coating start to lose their crunch, you can gently press a few fresh nuts onto the surface before serving again.
It is not recommended to freeze the cheese ball. Freezing cream cheese can change its texture, making it crumbly or grainy once thawed. For the best flavor and consistency, enjoy it fresh within the first few days of making it.
Expert Tips for Perfect Cheddar Cheese Ball With Chives
Always shred your own cheddar cheese from a block. Pre-shredded cheeses are coated in potato starch or cellulose to prevent clumping, which can interfere with how well the cheese integrates into the cream cheese base.
Ensure your cream cheese is truly at room temperature before you start mixing. If it is too cold, you will end up with lumps in your cheese ball. If you are in a hurry, you can soften it in the microwave for 10-15 seconds, but be careful not to melt it.
Delicious Variations
If you want to add a smoky element, try adding 1/4 cup of cooked, crumbled bacon into the mixture. For those who enjoy a bit of heat, finely diced jalapeños or a dash of hot sauce can be mixed in. If you have a nut allergy, you can replace the nut coating entirely with extra chives, dried cranberries, or even crushed pretzels for a different kind of crunch.
Frequently Asked Questions
Q: Can I make this cheese ball a day in advance?
Yes, this is actually preferred! Making it 24 hours in advance allows the flavors of the garlic, onion, and chives to fully develop.
Q: What is the best type of cheddar to use?
A sharp or extra-sharp cheddar provides the best flavor contrast against the mild cream cheese, but mild cheddar works if you prefer a more subtle taste.
Q: Can I use dried chives instead of fresh?
While fresh chives offer the best color and flavor, you can use dried chives. Use about half the amount of dried chives as you would fresh, as the flavor is more concentrated.
Q: How do I keep the cheese ball from losing its shape?
Make sure to chill it for at least two hours. If it feels too soft while shaping, put it in the fridge for 20 minutes before you roll it in the coating.
Q: Can I use low-fat cream cheese?
You can use Neufchâtel or low-fat cream cheese, but the ball may be slightly softer. It will still taste delicious, but it might not hold a perfectly round shape as well as full-fat cream cheese.
Conclusion
This Cheddar Cheese Ball with Chives is a timeless appetizer that never goes out of style. It is simple to prepare, easy to customize, and always a hit with guests. By following these steps and tips, you will have a delicious, professional-looking snack ready for your next party. Enjoy the creamy, savory goodness of this classic recipe!

Cheddar Cheese Ball With Chives

- Cook Time: 2 hours 15 minutes
- Total Time: 2 hours 15 minutes
- Diet: Vegetarian
Ingredients
- 16 oz cream cheese, softened to room temperature
- 2 cups sharp cheddar cheese, finely shredded
- 1/4 cup fresh chives, finely chopped
- 1 teaspoon garlic powder
- 1/2 teaspoon onion powder
- 1/4 teaspoon smoked paprika
- 1/2 cup chopped pecans or walnuts (optional)
- Crackers, pretzels, or vegetable sticks for serving
Instructions
- In a large mixing bowl, combine the softened cream cheese, garlic powder, onion powder, and smoked paprika. Use a hand mixer or a sturdy spatula to blend until the mixture is smooth and the spices are evenly distributed.
- Add the shredded sharp cheddar cheese and half of the chopped chives to the cream cheese mixture. Fold them in gently until everything is well combined. Ensure the cheddar is evenly dispersed so every bite is packed with flavor.
- Spoon the mixture onto a large piece of plastic wrap. Gather the corners of the plastic wrap and twist the top to form the cheese into a tight ball shape. You can use your hands to smooth out any bumps while it is still wrapped.
- In a small shallow dish, mix the remaining chives and the chopped nuts. Unwrap the cheese ball and roll it in the mixture, pressing gently so the coating sticks to the entire surface of the ball.
- Re-wrap the coated cheese ball in plastic wrap or place it in an airtight container. Refrigerate for at least 2 hours. This chilling time is essential as it allows the flavors to meld and the ball to firm up for easier serving.