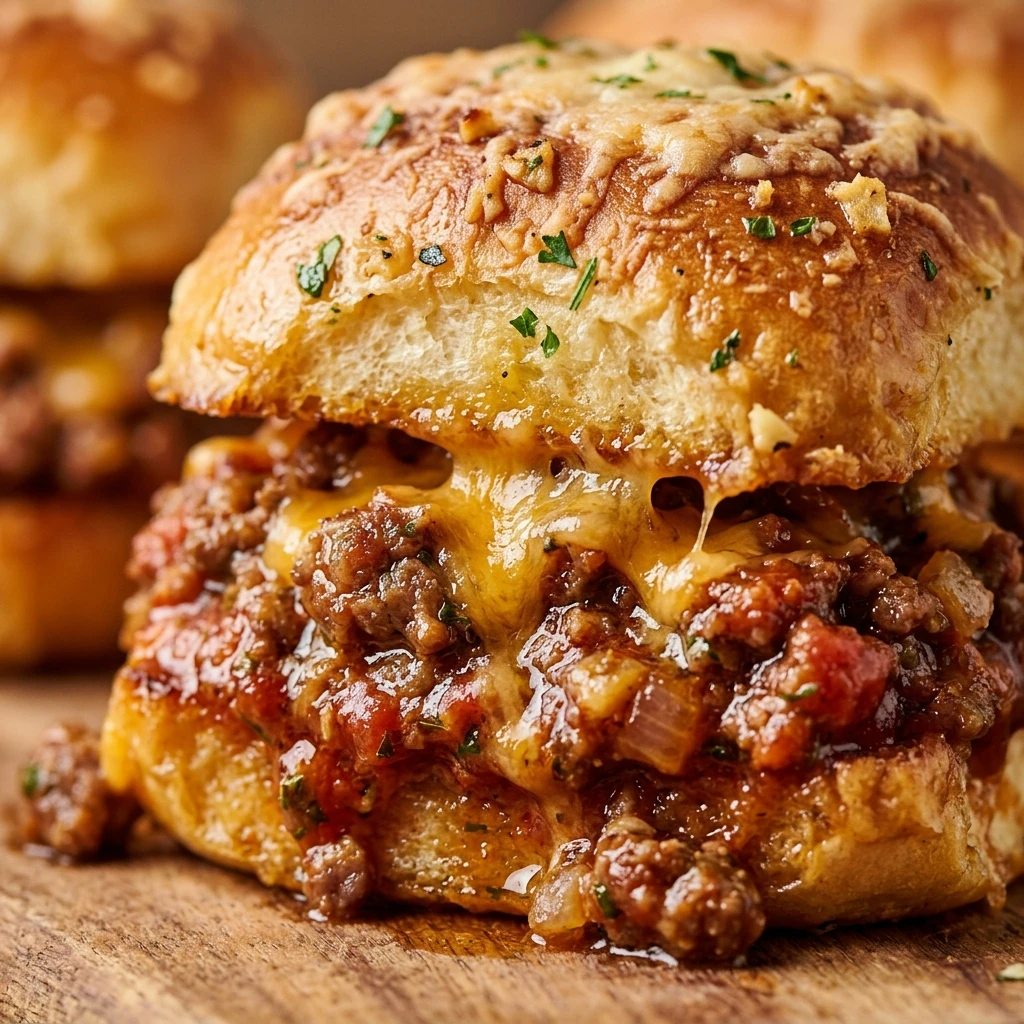

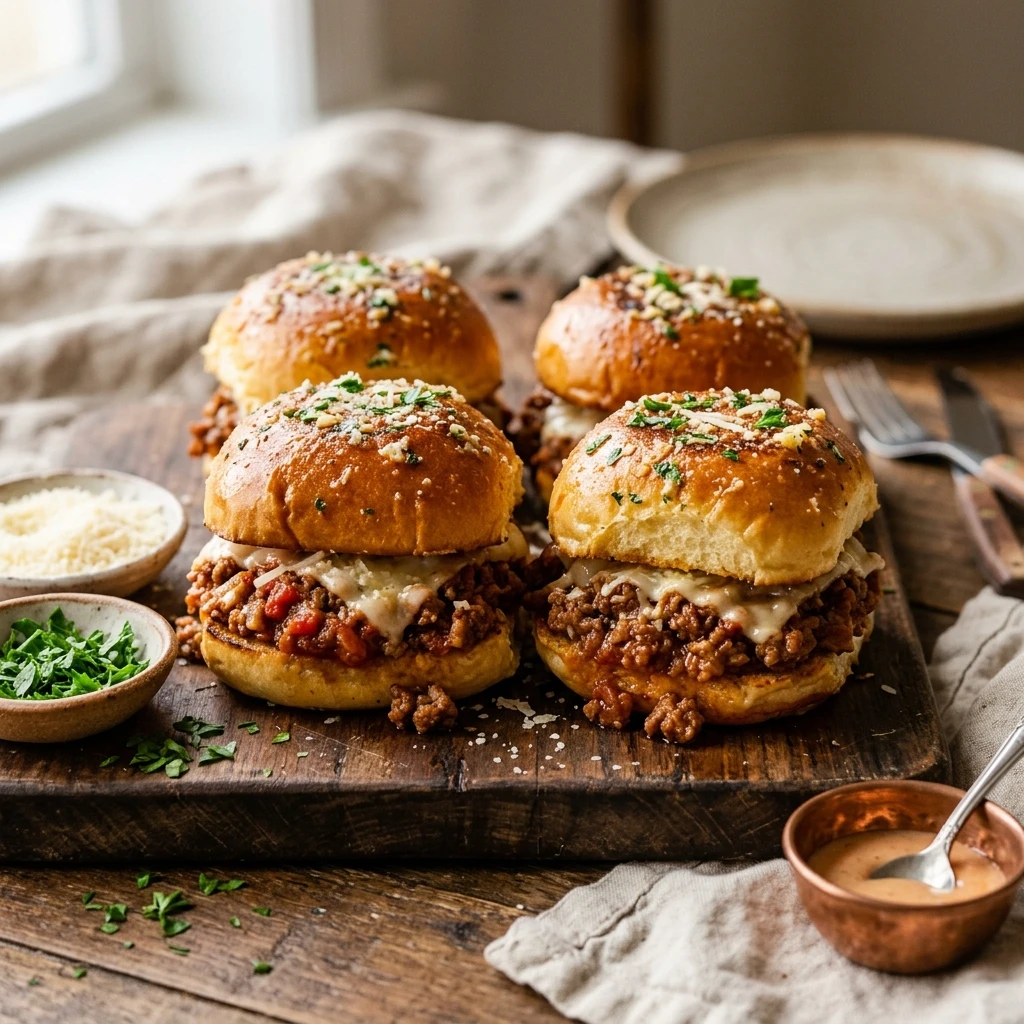
Elevate your game day snacks or weeknight dinners with these Garlic Parmesan Toasted Sloppy Joe Sliders. We all love the classic, messy comfort of a sloppy joe, but this recipe takes it to a whole new level. By using soft slider rolls, melty cheese, and a savory garlic parmesan butter topping, you transform a simple meal into a gourmet treat that is easy to share and impossible to resist.
These sliders are perfect for feeding a hungry crowd or just making a fun meal for the kids. The contrast between the sweet and savory meat sauce and the salty, crisp garlic crust on top is a total flavor explosion. Best of all, they come together in one pan and bake in minutes, making clean-up a breeze.
Recipe Information
- Prep Time: 15 minutes
- Cook Time: 25 minutes
- Total Time: 40 minutes
- Servings: 12 sliders
- Difficulty Level: Easy
Nutrition Information
- Calories per serving: 285 kcal
- Protein: 14g
- Carbohydrates: 22g
- Fat: 16g
- Fiber: 1g
- Sugar: 6g
- Sodium: 580mg
Why Make This Garlic Parmesan Toasted Sloppy Joe Sliders
If you are tired of the same old sandwiches, these sliders offer a refreshing twist. The addition of the garlic parmesan crust adds a satisfying crunch and a rich, buttery finish that balances the acidity of the tomato-based sloppy joe sauce. It feels like eating a combination of a burger and garlic bread all in one bite.
Another reason to love this recipe is its versatility. You can prepare the meat filling ahead of time and simply assemble and bake when you are ready to eat. It is a stress-free way to serve a hot, delicious meal that feels much more special than a standard sandwich.
How to Make Garlic Parmesan Toasted Sloppy Joe Sliders
Making these sliders is a straightforward process that involves browning your meat, simmering it in a rich sauce, and then assembling the sandwiches in a baking dish for a final toast in the oven. Here is exactly how to do it.
Ingredients
- 1 lb ground beef (lean 80/20 or 90/10 works best)
- 1/2 medium yellow onion, finely diced
- 1/2 green bell pepper, finely diced
- 1 cup sloppy joe sauce (store-bought or your favorite homemade recipe)
- 1 package (12 count) slider rolls (like Hawaiian rolls)
- 1 1/2 cups shredded mozzarella or provolone cheese
- 4 tablespoons unsalted butter, melted
- 3 cloves garlic, minced
- 1/4 cup grated Parmesan cheese
- 1 teaspoon dried parsley or 1 tablespoon fresh parsley, chopped
- Salt and black pepper to taste
Directions
Step 1: Preheat and Prep the Pan
Preheat your oven to 350°F (175°C). Lightly grease a 9×13 inch baking dish with cooking spray or a little bit of butter to prevent the rolls from sticking to the bottom.
Step 2: Sauté the Aromatics and Beef
In a large skillet over medium-high heat, add the ground beef, diced onion, and diced bell pepper. Cook until the beef is fully browned and the vegetables are soft. Make sure to break the meat into small crumbles as it cooks. Drain any excess grease from the pan.
Step 3: Simmer the Sloppy Joe Mixture
Stir in the sloppy joe sauce and season with salt and pepper to taste. Lower the heat to medium-low and let the mixture simmer for about 5 to 7 minutes. This allows the flavors to meld and the sauce to thicken slightly so it doesn’t make the buns too soggy.
Step 4: Prepare the Slider Rolls
Keep the slider rolls connected and slice the entire slab in half horizontally. Place the bottom half of the rolls into the prepared baking dish. Spread the sloppy joe meat mixture evenly over the bottom rolls.
Step 5: Add Cheese and Top Bun
Sprinkle the shredded mozzarella cheese generously over the meat mixture. Place the top half of the slider rolls back on top of the cheese and meat.
Step 6: Apply the Garlic Parmesan Topping
In a small bowl, whisk together the melted butter, minced garlic, grated Parmesan cheese, and parsley. Use a pastry brush to coat the tops of the rolls evenly with the butter mixture, ensuring every inch of the crust is covered.
Step 7: Bake to Golden Perfection
Cover the baking dish with aluminum foil. Bake for 10 minutes. Remove the foil and bake for another 5 to 10 minutes, or until the cheese is melted and the tops of the rolls are golden brown and toasted. Slice into individual sliders and serve immediately.
How to Serve Garlic Parmesan Toasted Sloppy Joe Sliders
These sliders are best served hot straight from the oven while the cheese is still stretchy. They pair wonderfully with classic side dishes like crispy tater tots, potato chips, or a fresh garden salad. For an extra zing, serve them with a side of sliced pickles or a bowl of creamy coleslaw to cut through the richness of the garlic butter.
How to Store Garlic Parmesan Toasted Sloppy Joe Sliders
If you have leftovers, place them in an airtight container and store them in the refrigerator for up to 3 days. To reheat, it is best to use an oven or air fryer at 350°F for about 5 minutes. This helps the rolls regain their toasted texture. Avoid the microwave if possible, as it can make the bread a bit chewy and tough.
Expert Tips for Perfect Garlic Parmesan Toasted Sloppy Joe Sliders
To prevent the bottom of the sliders from becoming soggy, you can lightly toast the cut sides of the rolls in the oven for 3-4 minutes before adding the meat filling. Also, make sure to drain the grease from your ground beef thoroughly. If you want a deeper flavor, try using roasted garlic instead of raw minced garlic in the butter topping.
Delicious Variations
You can easily customize this recipe to suit your taste. Try using ground turkey or chicken for a lighter version. If you love spice, add some chopped jalapeños or a dash of hot sauce to the meat mixture. For a different cheese profile, swap the mozzarella for sharp cheddar or pepper jack cheese to give it a little more bite.
Frequently Asked Questions
Q: Can I make these sliders ahead of time?
Yes, you can prepare the meat mixture up to a day in advance. When you are ready to serve, simply assemble the sliders and bake as directed. It is best not to assemble them too early, or the bread may soak up too much sauce.
Q: What are the best rolls to use?
Sweet Hawaiian rolls are the most popular choice because they balance the savory garlic and meat well. However, brioche slider buns or standard white slider rolls also work perfectly.
Q: Can I freeze these sliders?
It is recommended to freeze the meat filling separately. If you freeze the assembled sliders, the texture of the bread may change significantly upon thawing and reheating.
Q: Do I have to use store-bought sloppy joe sauce?
Not at all! You can make a quick homemade version using tomato sauce, ketchup, a splash of Worcestershire sauce, brown sugar, and mustard.
Q: Can I use a different type of cheese?
Absolutely. While mozzarella is great for that “cheese pull,” provolone, monterey jack, or even thin slices of cheddar are all delicious options for these sliders.
Conclusion
Garlic Parmesan Toasted Sloppy Joe Sliders are a guaranteed hit for any occasion. By taking the humble sloppy joe and giving it a cheesy, garlicky makeover, you create a dish that feels fancy but remains comforting and simple. Give this recipe a try for your next party or family dinner, and watch how quickly they disappear!
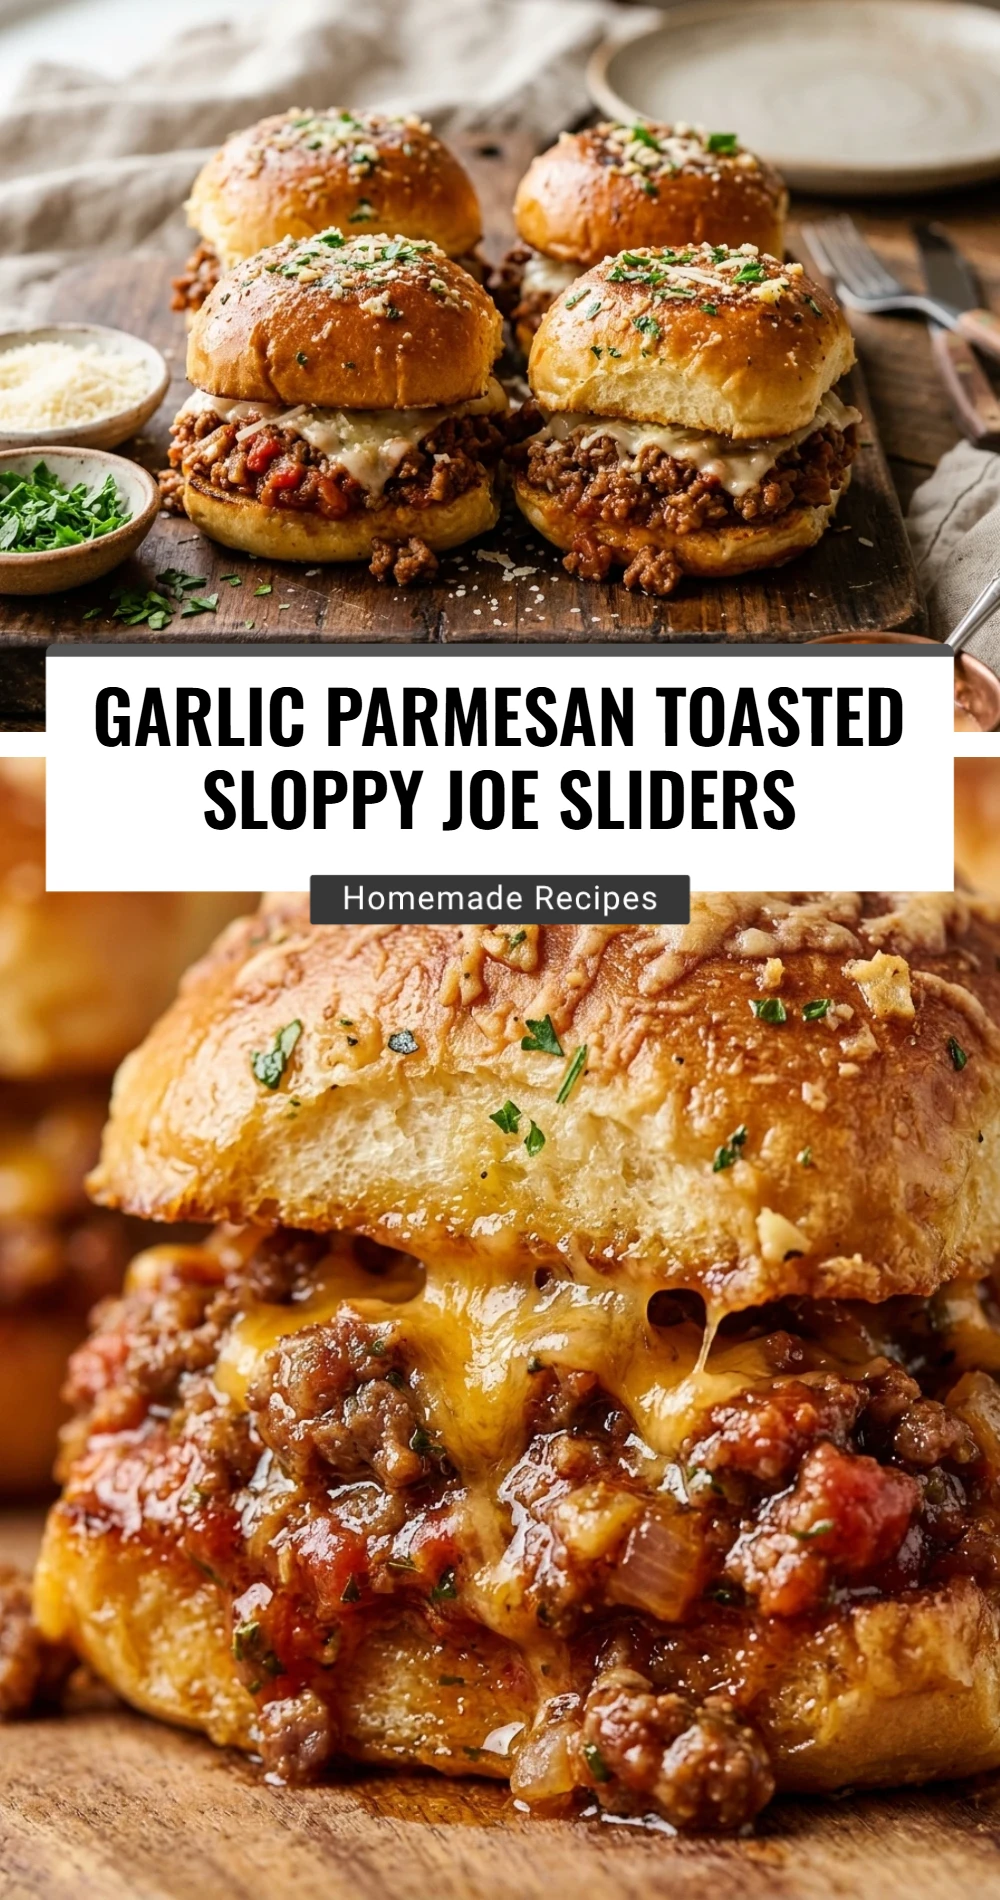
Garlic Parmesan Toasted Sloppy Joe Sliders
- Cook Time: 40 minutes
- Total Time: 40 minutes
Ingredients
- 1 lb ground beef (lean 80/20 or 90/10 works best)
- 1/2 medium yellow onion, finely diced
- 1/2 green bell pepper, finely diced
- 1 cup sloppy joe sauce (store-bought or your favorite homemade recipe)
- 1 package (12 count) slider rolls (like Hawaiian rolls)
- 1 1/2 cups shredded mozzarella or provolone cheese
- 4 tablespoons unsalted butter, melted
- 3 cloves garlic, minced
- 1/4 cup grated Parmesan cheese
- 1 teaspoon dried parsley or 1 tablespoon fresh parsley, chopped
- Salt and black pepper to taste
Instructions
- Step 1: Preheat and Prep the Pan
Preheat your oven to 350°F (175°C). Lightly grease a 9×13 inch baking dish with cooking spray or a little bit of butter to prevent the rolls from sticking to the bottom. - Step 2: Sauté the Aromatics and Beef
In a large skillet over medium-high heat, add the ground beef, diced onion, and diced bell pepper. Cook until the beef is fully browned and the vegetables are soft. Make sure to break the meat into small crumbles as it cooks. Drain any excess grease from the pan. - Step 3: Simmer the Sloppy Joe Mixture
Stir in the sloppy joe sauce and season with salt and pepper to taste. Lower the heat to medium-low and let the mixture simmer for about 5 to 7 minutes. This allows the flavors to meld and the sauce to thicken slightly so it doesn’t make the buns too soggy. - Step 4: Prepare the Slider Rolls
Keep the slider rolls connected and slice the entire slab in half horizontally. Place the bottom half of the rolls into the prepared baking dish. Spread the sloppy joe meat mixture evenly over the bottom rolls. - Step 5: Add Cheese and Top Bun
Sprinkle the shredded mozzarella cheese generously over the meat mixture. Place the top half of the slider rolls back on top of the cheese and meat. - Step 6: Apply the Garlic Parmesan Topping
In a small bowl, whisk together the melted butter, minced garlic, grated Parmesan cheese, and parsley. Use a pastry brush to coat the tops of the rolls evenly with the butter mixture, ensuring every inch of the crust is covered. - Step 7: Bake to Golden Perfection
Cover the baking dish with aluminum foil. Bake for 10 minutes. Remove the foil and bake for another 5 to 10 minutes, or until the cheese is melted and the tops of the rolls are golden brown and toasted. Slice into individual sliders and serve immediately.