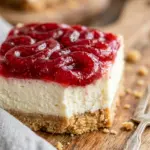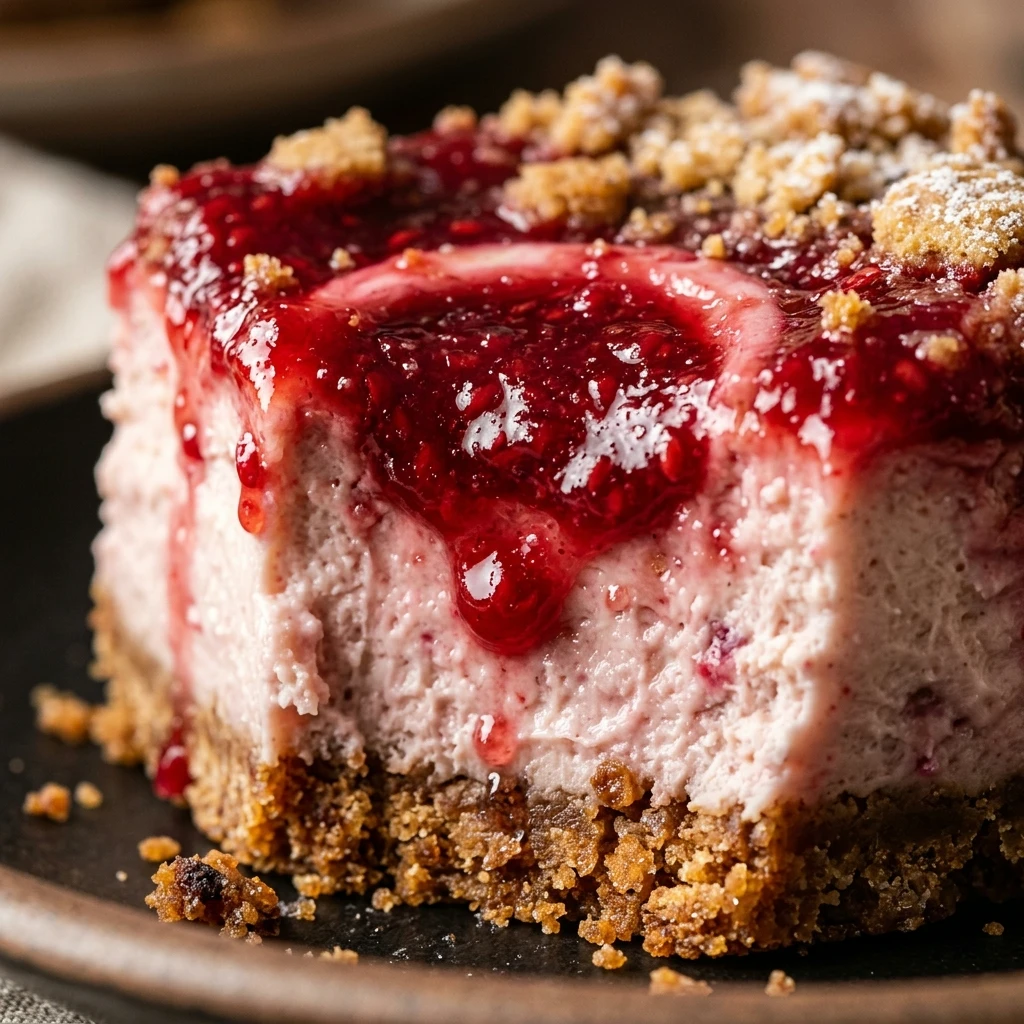

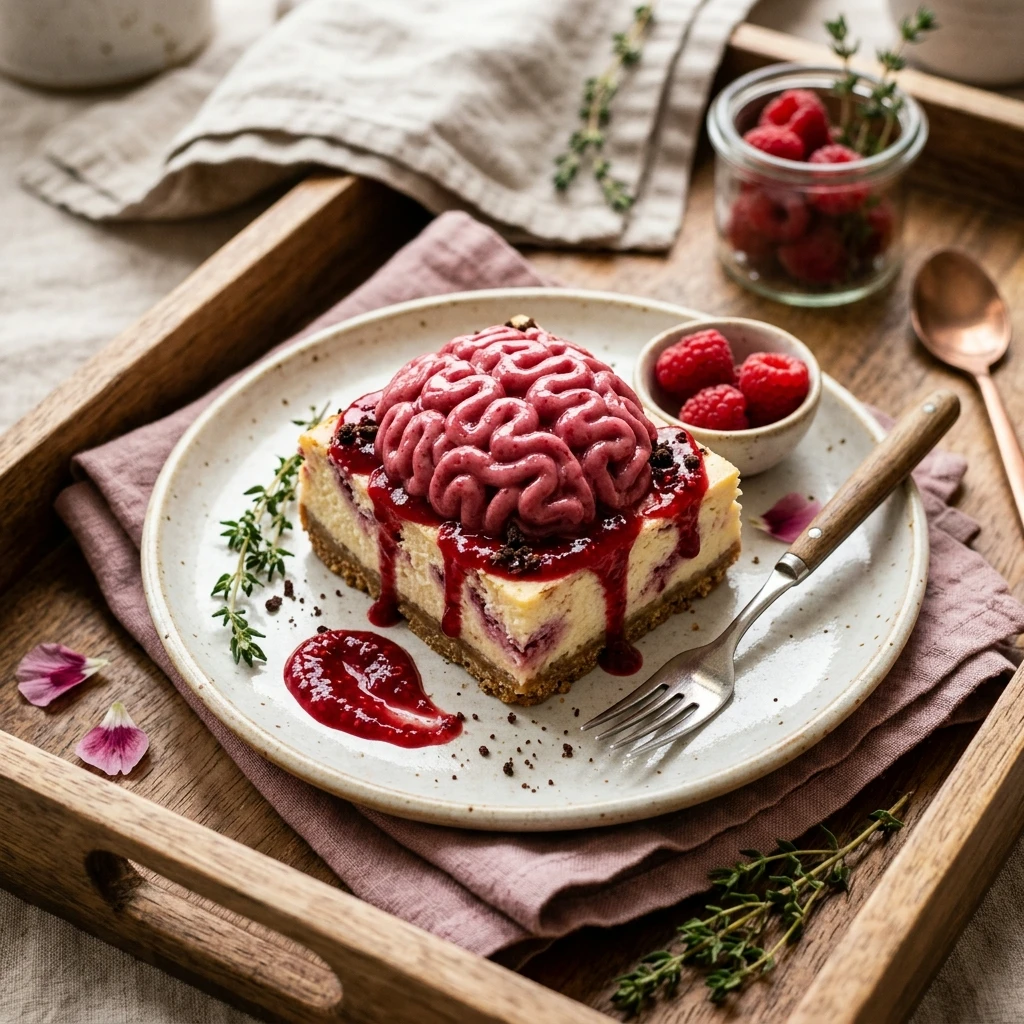
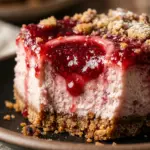
Get ready to thrill your guests with a dessert that looks spooky but tastes like heaven. These Zombie Brain Raspberry Cheesecake Bars are the ultimate showstopper for any Halloween party or horror-themed movie night. They combine a crunchy chocolate cookie base with a silky smooth cheesecake filling and a tart raspberry sauce that is piped into a realistic (and slightly creepy) brain pattern.
The contrast between the dark crust and the vibrant red “brains” makes these bars look professional, yet they are surprisingly easy to put together. Whether you are a fan of all things undead or just looking for a delicious way to enjoy the classic combination of raspberry and cream cheese, this recipe is a must-try for the spooky season.
Recipe Information
- Prep Time: 30 minutes
- Cook Time: 45 minutes
- Total Time: 1 hour 15 minutes (plus chilling time)
- Servings: 16 bars
- Difficulty Level: Medium
Nutrition Information
- Calories per serving: 310 kcal
- Protein: 5g
- Carbohydrates: 29g
- Fat: 21g
- Fiber: 1g
- Sugar: 19g
- Sodium: 190mg
Why Make This Zombie Brain Raspberry Cheesecake Bars
These bars are the perfect balance of visual storytelling and gourmet flavor. While many Halloween treats rely on sugar and food coloring, these bars get their striking red color and delicious tang from real raspberries. The dark chocolate crust adds a rich, earthy base that complements the creamy filling perfectly.
Making these bars is also a fun creative project. Piping the “brain” design is incredibly satisfying and does not require perfect precision—in fact, a few messy squiggles actually make the zombie theme look even more authentic! It is a great way to impress your friends with your baking skills while keeping things playful and festive.
How to Make Zombie Brain Raspberry Cheesecake Bars
Creating these spooky treats involves three main phases: baking the chocolate crust, preparing the creamy cheesecake base, and crafting the thick raspberry reduction for that iconic brain look. Follow these steps carefully for the best results.
Ingredients
- 24 chocolate sandwich cookies (like Oreos), crushed into fine crumbs
- 4 tablespoons unsalted butter, melted
- 16 ounces cream cheese, softened to room temperature
- 1/2 cup granulated sugar
- 1/2 cup sour cream
- 2 large eggs
- 1 teaspoon vanilla extract
- 1 cup fresh or frozen raspberries
- 2 tablespoons granulated sugar (for sauce)
- 1 teaspoon lemon juice
- 1 teaspoon cornstarch dissolved in 1 teaspoon water
Directions
Step 1: Prepare the Oven and Pan
Preheat your oven to 325°F (165°C). Line an 8×8-inch square baking pan with parchment paper, leaving an overhang on the sides so you can easily lift the bars out later.
Step 2: Create the Chocolate Crust
In a medium bowl, mix the crushed chocolate cookies with the melted butter until the mixture looks like wet sand. Press the crumbs firmly into the bottom of the prepared pan using the bottom of a measuring cup. Bake for 10 minutes, then remove from the oven and let cool slightly.
Step 3: Mix the Cheesecake Filling
In a large bowl, beat the softened cream cheese and 1/2 cup of sugar together until smooth and fluffy. Add the sour cream and vanilla extract, mixing until combined. Add the eggs one at a time, beating on low speed just until incorporated. Avoid over-mixing to prevent air bubbles.
Step 4: Prepare the Raspberry Brain Sauce
In a small saucepan over medium heat, combine the raspberries, 2 tablespoons of sugar, and lemon juice. Cook for about 5-7 minutes until the berries break down. Strain the mixture through a fine-mesh sieve to remove seeds. Return the liquid to the pan, stir in the cornstarch slurry, and simmer for 1 minute until thickened. Let it cool completely.
Step 5: Bake the Cheesecake Bars
Pour the cheesecake batter over the baked crust. Smooth the top with a spatula. Bake for 30-35 minutes, or until the edges are set but the center still has a slight jiggle. Remove from the oven and let cool to room temperature, then refrigerate for at least 4 hours or overnight.
Step 6: Pipe the Zombie Brains
Once the cheesecake is fully chilled and firm, cut it into 16 squares. Transfer the thickened raspberry sauce into a piping bag fitted with a small round tip. On each square, pipe a vertical line down the center. Then, pipe squiggly “S” shapes on either side of the line to mimic the lobes of a brain. Serve chilled.
How to Serve Zombie Brain Raspberry Cheesecake Bars
These bars look best when served on a dark platter to make the red raspberry sauce pop. For an extra spooky effect, you can drizzle a little extra “blood” (raspberry sauce) around the base of the bars on the serving plate. Keep them chilled until the moment you are ready to serve to ensure the cheesecake stays firm and the brain designs remain intact.
How to Store Zombie Brain Raspberry Cheesecake Bars
You can store these cheesecake bars in an airtight container in the refrigerator for up to 5 days. If you need to stack them, place a piece of parchment paper between the layers, though it is best to store them in a single layer to avoid smudging the brain designs. You can also freeze these bars for up to 2 months; just wait to pipe the raspberry sauce until after they have thawed for the freshest look.
Expert Tips for Perfect Zombie Brain Raspberry Cheesecake Bars
For the smoothest cheesecake, make sure your cream cheese and eggs are at room temperature before mixing. This prevents lumps in the batter. When making the raspberry sauce, ensure it is thick enough to hold its shape; if it is too runny, the brain design will bleed into the cheesecake. If the sauce feels too thin, simmer it for an extra minute with a tiny bit more cornstarch slurry.
Delicious Variations
If you want a different flavor profile, try using a graham cracker crust instead of chocolate for a more traditional look. You can also add a drop of neon green food coloring to the cheesecake batter for a “toxic” zombie vibe. For those who prefer a different fruit, blackberries make excellent “dark matter” brains, or you can use strawberry puree for a lighter red hue.
Frequently Asked Questions
Q: Can I use store-bought raspberry jam instead of making the sauce?
Yes, you can use seedless raspberry jam. Heat it slightly to thin it out, then stir in a little cornstarch and simmer until thickened so it is firm enough for piping.
Q: Why did my cheesecake crack on top?
Cracks usually happen from over-baking or cooling too quickly. However, for this recipe, the raspberry brain design will cover any cracks, so do not worry!
Q: Do I have to strain the raspberry seeds?
It is highly recommended. Removing the seeds ensures the sauce is smooth enough to pipe through a small tip without clogging it.
Q: Can I make these gluten-free?
Absolutely! Simply use gluten-free chocolate sandwich cookies for the crust. The rest of the ingredients are naturally gluten-free.
Q: How do I get clean cuts when slicing the bars?
Wipe your knife clean with a warm, damp cloth between every single cut. This prevents the cheesecake from sticking to the blade and smearing.
Conclusion
Zombie Brain Raspberry Cheesecake Bars are the perfect blend of spooky and sweet. With their rich chocolate base and tangy raspberry topping, they are sure to be the highlight of your Halloween celebrations. They prove that you don’t have to sacrifice flavor for a great theme. Give this recipe a try and watch your guests die for a second helping!
Zombie Brain Raspberry Cheesecake Bars
- Cook Time: 1 hour 15 minutes (plus chilling time)
- Total Time: 1 hour 15 minutes
- Diet: Vegetarian
Ingredients
- 24 chocolate sandwich cookies (like Oreos), crushed into fine crumbs
- 4 tablespoons unsalted butter, melted
- 16 ounces cream cheese, softened to room temperature
- 1/2 cup granulated sugar
- 1/2 cup sour cream
- 2 large eggs
- 1 teaspoon vanilla extract
- 1 cup fresh or frozen raspberries
- 2 tablespoons granulated sugar (for sauce)
- 1 teaspoon lemon juice
- 1 teaspoon cornstarch dissolved in 1 teaspoon water
Instructions
- Step 1: Prepare the Oven and Pan. Preheat your oven to 325°F (165°C). Line an 8×8-inch square baking pan with parchment paper, leaving an overhang on the sides so you can easily lift the bars out later.
- Step 2: Create the Chocolate Crust. In a medium bowl, mix the crushed chocolate cookies with the melted butter until the mixture looks like wet sand. Press the crumbs firmly into the bottom of the prepared pan using the bottom of a measuring cup. Bake for 10 minutes, then remove from the oven and let cool slightly.
- Step 3: Mix the Cheesecake Filling. In a large bowl, beat the softened cream cheese and 1/2 cup of sugar together until smooth and fluffy. Add the sour cream and vanilla extract, mixing until combined. Add the eggs one at a time, beating on low speed just until incorporated. Avoid over-mixing to prevent air bubbles.
- Step 4: Prepare the Raspberry Brain Sauce. In a small saucepan over medium heat, combine the raspberries, 2 tablespoons of sugar, and lemon juice. Cook for about 5-7 minutes until the berries break down. Strain the mixture through a fine-mesh sieve to remove seeds. Return the liquid to the pan, stir in the cornstarch slurry, and simmer for 1 minute until thickened. Let it cool completely.
- Step 5: Bake the Cheesecake Bars. Pour the cheesecake batter over the baked crust. Smooth the top with a spatula. Bake for 30-35 minutes, or until the edges are set but the center still has a slight jiggle. Remove from the oven and let cool to room temperature, then refrigerate for at least 4 hours or overnight.
- Step 6: Pipe the Zombie Brains. Once the cheesecake is fully chilled and firm, cut it into 16 squares. Transfer the thickened raspberry sauce into a piping bag fitted with a small round tip. On each square, pipe a vertical line down the center. Then, pipe squiggly “S” shapes on either side of the line to mimic the lobes of a brain. Serve chilled.