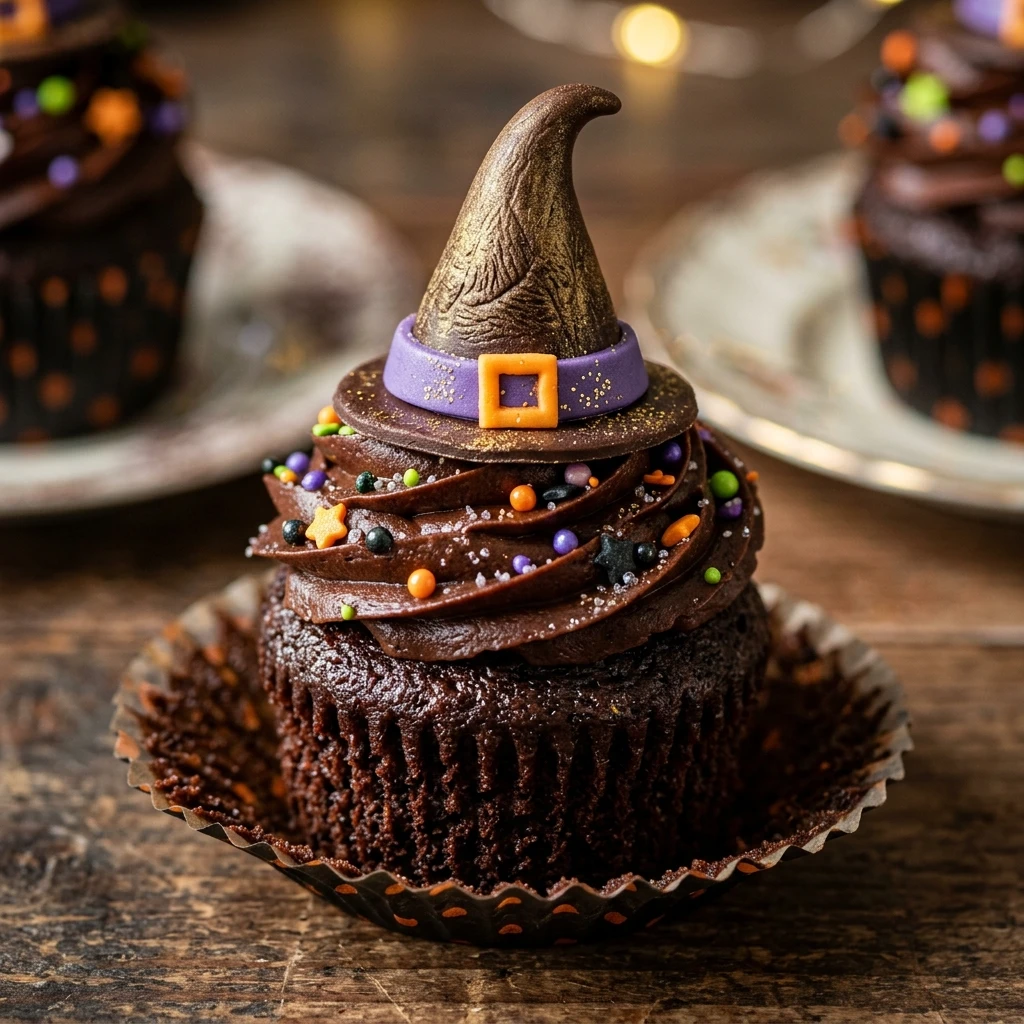

The beauty of this recipe lies in its simplicity. By using a moist chocolate base and an easy assembly technique for the witch hats, you can create professional-looking treats without spending hours in the kitchen. The bright green frosting “ribbon” on the hats adds a pop of color that makes these cupcakes truly stand out. Let’s fire up the oven and start brewing something sweet!
Recipe Information
- Prep Time: 30 minutes
- Cook Time: 20 minutes
- Total Time: 50 minutes
- Servings: 12 cupcakes
- Difficulty Level: Easy
Nutrition Information
- Calories per serving: 385 kcal
- Protein: 4g
- Carbohydrates: 52g
- Fat: 19g
- Fiber: 2g
- Sugar: 38g
- Sodium: 210mg
Why Make This Witch Hat Chocolate Cupcakes Halloween Recipe
This recipe is a must-make because it perfectly balances taste and presentation. The chocolate cupcakes are incredibly moist and tender, providing a decadent base for the crunchy chocolate cookie hat. It is a fantastic way to get creative with your decorations while keeping the process stress-free and fun for all skill levels.
Additionally, these cupcakes are highly photogenic and great for social gatherings. They serve as both a snack and a piece of decor for your Halloween party. Since the “hats” are made from familiar store-bought treats like chocolate wafers and Hershey’s Kisses, they offer a nostalgic flavor profile that everyone loves.
How to Make Witch Hat Chocolate Cupcakes Halloween Recipe
Making these spooky treats is a straightforward process that involves baking a classic chocolate cupcake and then assembling the witch hats using a few simple candies and cookies. Follow these steps to ensure your cupcakes are both spooky and scrumptious.
Ingredients
- 1 ½ cups all-purpose flour
- 1 cup granulated sugar
- 1/3 cup unsweetened cocoa powder
- 1 teaspoon baking soda
- ½ teaspoon salt
- 1 cup water
- 1/3 cup vegetable oil
- 1 teaspoon vanilla extract
- 1 teaspoon distilled white vinegar
- 2 cups vanilla frosting (divided)
- Green food coloring
- 12 chocolate wafer cookies (like Oreos with the cream removed or thin chocolate wafers)
- 12 Hershey’s Kisses (unwrapped)
- Black or purple sanding sugar (optional for extra sparkle)
Directions
Step 1: Oven and Pan Preparation
Preheat your oven to 350°F (175°C). Line a 12-cup muffin tin with paper liners. This ensures your cupcakes don’t stick and makes for easy cleanup later.
Step 2: Mixing the Dry Ingredients
In a large mixing bowl, whisk together the flour, sugar, cocoa powder, baking soda, and salt. Make sure there are no large lumps of cocoa powder for a smooth batter.
Step 3: Combining the Wet Ingredients
Add the water, vegetable oil, vanilla extract, and vinegar to the dry ingredients. Whisk the mixture until the batter is smooth and well combined. The vinegar reacts with the baking soda to give the cupcakes a great lift.
Step 4: Baking the Cupcakes
Divide the batter evenly among the prepared muffin liners, filling each about two-thirds full. Bake for 18 to 22 minutes, or until a toothpick inserted into the center comes out clean. Transfer to a wire rack to cool completely.
Step 5: Tinting the Frosting
Take about ½ cup of the vanilla frosting and place it in a small bowl. Add a few drops of green food coloring and stir until you achieve a vibrant “witchy” green. Place this green frosting into a piping bag with a small round tip.
Step 6: Assembling the Witch Hats
Place a chocolate wafer cookie on a flat surface. Pipe a small dot of green frosting onto the bottom of a Hershey’s Kiss and press it onto the center of the cookie. Pipe a green “ribbon” around the base of the Kiss to finish the hat look. Repeat for all 12 hats.
Step 7: Final Decoration
Frost the cooled cupcakes with the remaining vanilla frosting (you can tint this black or purple if desired). Carefully place one assembled witch hat on top of each cupcake. Press down gently so it stays in place.
How to Serve Witch Hat Chocolate Cupcakes Halloween Recipe
Place these cupcakes on a large black or orange serving platter to make the colors pop. They look wonderful when surrounded by other Halloween-themed snacks like candy corn or plastic spiders. Serve them at room temperature with a cold glass of milk or a festive punch. If you want to go the extra mile, you can sprinkle some edible glitter over the cupcakes for a magical, shimmering effect.
How to Store Witch Hat Chocolate Cupcakes Halloween Recipe
Store these cupcakes in an airtight container at room temperature for up to 2 days. If your kitchen is very warm, it is better to store them in the refrigerator to prevent the frosting and chocolate hats from softening. When refrigerated, they will last for up to 4 days. For the best texture, let them sit at room temperature for about 15 minutes before serving if they have been in the fridge.
Expert Tips for Perfect Witch Hat Chocolate Cupcakes Halloween Recipe
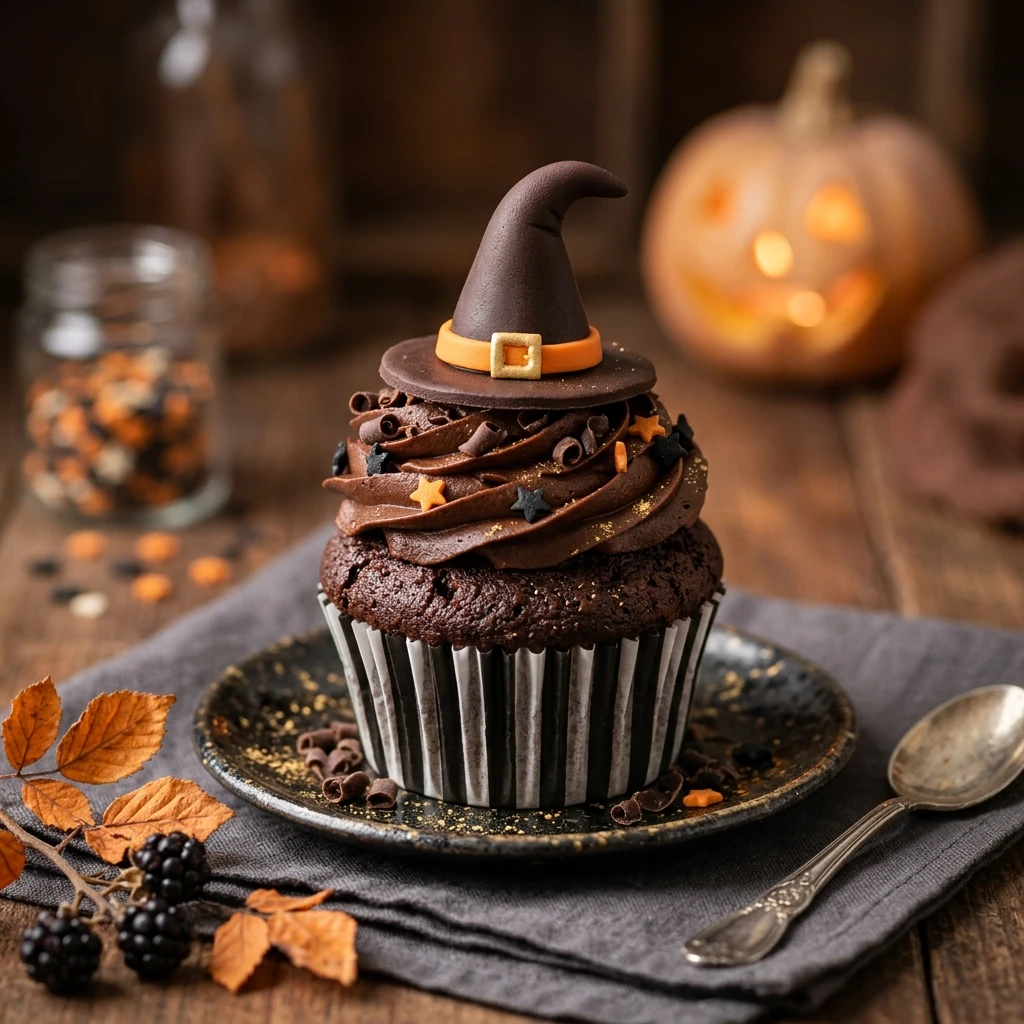
For the best results, ensure your cupcakes are completely cool before you start frosting them. If the cupcakes are even slightly warm, the frosting will melt and the witch hats will slide right off. Also, try to use a high-quality cocoa powder for the richest chocolate flavor. When assembling the hats, if you don’t have a piping bag, a plastic sandwich bag with a tiny corner snipped off works just as well for the green ribbon detail.
Delicious Variations
You can easily customize these cupcakes to suit your taste. Instead of vanilla frosting on the base, try using a rich chocolate ganache or an orange-flavored buttercream. For a different hat look, use miniature peanut butter cups instead of Hershey’s Kisses. You can also fill the cupcakes with a “bloody” strawberry jam center for a spooky surprise when someone takes a bite!
Frequently Asked Questions
Q: Can I use a boxed cake mix for this recipe?
Yes, you can absolutely use a boxed chocolate cake mix to save time. Just follow the instructions on the box for the cupcakes and then follow our steps for the assembly of the witch hats.
Q: How do I make the frosting black?
To get a true black frosting, it is best to start with a chocolate frosting base and add black gel food coloring. Gel coloring is more concentrated and won’t thin out the frosting like liquid coloring will.
Q: Can I make these cupcakes a day in advance?
Yes, you can bake the cupcakes and assemble the hats a day ahead. I recommend storing the cupcakes and the hats separately and assembling them on the day of serving to keep the cookies crisp.
Q: What if I can’t find chocolate wafer cookies?
If you can’t find thin chocolate wafers, you can take Oreo cookies, twist them apart, and scrape off the cream. Use the cookie halves as the base for your witch hats.
Q: Are these cupcakes nut-free?
The base recipe is nut-free, but always check the packaging of the chocolate cookies and Hershey’s Kisses to ensure they were not processed in a facility with nuts if you have a severe allergy.
Conclusion
These Witch Hat Chocolate Cupcakes are the ultimate Halloween treat that combines spooky charm with delicious flavor. They are easy to assemble and serve as a fantastic activity for the whole family. With their moist chocolate crumb and adorable cookie toppers, they are sure to be the star of any October gathering. Happy Halloween and happy baking!
Witch Hat Chocolate Cupcakes Halloween Recipe
- Cook Time: 50 minutes
- Total Time: 50 minutes
- Diet: Vegetarian
Ingredients
- 1 ½ cups all-purpose flour
- 1 cup granulated sugar
- 1/3 cup unsweetened cocoa powder
- 1 teaspoon baking soda
- ½ teaspoon salt
- 1 cup water
- 1/3 cup vegetable oil
- 1 teaspoon vanilla extract
- 1 teaspoon distilled white vinegar
- 2 cups vanilla frosting (divided)
- Green food coloring
- 12 chocolate wafer cookies (like Oreos with the cream removed or thin chocolate wafers)
- 12 Hershey’s Kisses (unwrapped)
- Black or purple sanding sugar (optional for extra sparkle)
Instructions
- Preheat your oven to 350°F (175°C). Line a 12-cup muffin tin with paper liners. This ensures your cupcakes don’t stick and makes for easy cleanup later.
- In a large mixing bowl, whisk together the flour, sugar, cocoa powder, baking soda, and salt. Make sure there are no large lumps of cocoa powder for a smooth batter.
- Add the water, vegetable oil, vanilla extract, and vinegar to the dry ingredients. Whisk the mixture until the batter is smooth and well combined. The vinegar reacts with the baking soda to give the cupcakes a great lift.
- Divide the batter evenly among the prepared muffin liners, filling each about two-thirds full. Bake for 18 to 22 minutes, or until a toothpick inserted into the center comes out clean. Transfer to a wire rack to cool completely.
- Take about ½ cup of the vanilla frosting and place it in a small bowl. Add a few drops of green food coloring and stir until you achieve a vibrant “witchy” green. Place this green frosting into a piping bag with a small round tip.
- Place a chocolate wafer cookie on a flat surface. Pipe a small dot of green frosting onto the bottom of a Hershey’s Kiss and press it onto the center of the cookie. Pipe a green “ribbon” around the base of the Kiss to finish the hat look. Repeat for all 12 hats.
- Frost the cooled cupcakes with the remaining vanilla frosting (you can tint this black or purple if desired). Carefully place one assembled witch hat on top of each cupcake. Press down gently so it stays in place.