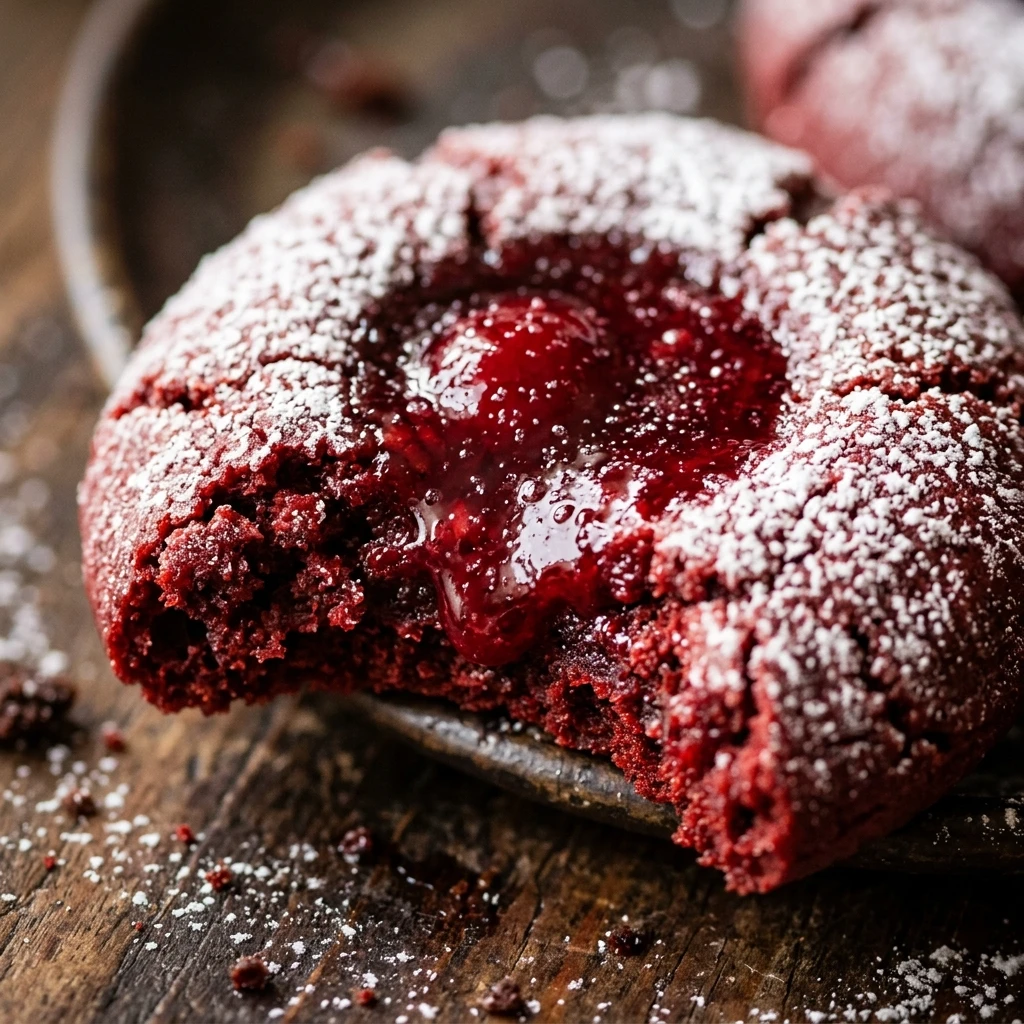

Get ready to sink your teeth into these Spooky Vampire Kiss Red Velvet Cookies. These treats are the perfect addition to any Halloween party or spooky movie night. With their deep red color and rich cocoa flavor, they look dramatic and taste even better. They are soft, chewy, and topped with a sweet chocolate “kiss” that makes them look like a vampire’s favorite snack.
Whether you are baking for a school event or just want to treat your family to something festive, these cookies are a guaranteed hit. The combination of classic red velvet and decadent chocolate creates a flavor profile that everyone loves. Plus, they are incredibly easy to assemble, making them a fun project for kids and adults alike.
Recipe Information
- Prep Time: 20 minutes
- Cook Time: 10 minutes
- Total Time: 30 minutes
- Servings: 24 cookies
- Difficulty Level: Easy
Nutrition Information
- Calories per serving: 165 calories
- Protein: 2 grams
- Carbohydrates: 22 grams
- Fat: 8 grams
- Fiber: 1 gram
- Sugar: 14 grams
- Sodium: 110 mg
Why Make This Spooky Vampire Kiss Red Velvet Cookies
These cookies are the ultimate Halloween dessert because they strike the perfect balance between spooky and sweet. The vibrant red dough provides a striking visual contrast to the chocolate candy on top, making them stand out on any dessert table. They capture the essence of a “Vampire Kiss” without requiring any complicated decorating skills or expensive tools.
Beyond the looks, the texture of these cookies is outstanding. They have that signature red velvet softness with a slight tang and a hint of cocoa. Adding a chocolate kiss while the cookies are still warm creates a melty, fudge-like center that is hard to resist. They are fun, festive, and incredibly delicious.
How to Make Spooky Vampire Kiss Red Velvet Cookies
Making these cookies is a simple process that yields professional-looking results. You will start by making a classic red velvet dough, chilling it slightly to ensure the cookies don’t spread too much, and then finishing them off with the iconic chocolate kiss. Follow these steps for the perfect batch of spooky treats.
Ingredients
- 1/2 cup unsalted butter, softened
- 3/4 cup granulated sugar
- 1 large egg
- 1 teaspoon vanilla extract
- 1 tablespoon red food coloring
- 1 1/2 cups all-purpose flour
- 2 tablespoons unsweetened cocoa powder
- 1/2 teaspoon baking soda
- 1/4 teaspoon salt
- 24 Hershey’s Kisses (milk chocolate or dark chocolate)
- Optional: Red decorating gel for “blood” drips
Directions
Step 1: Preheat and Prepare
Preheat your oven to 350°F (175°C). Line two large baking sheets with parchment paper or silicone baking mats to prevent the cookies from sticking and ensure even browning.
Step 2: Cream Butter and Sugar
In a large mixing bowl, beat the softened butter and granulated sugar together until the mixture is light and fluffy. This usually takes about 2 to 3 minutes with an electric mixer.
Step 3: Add Wet Ingredients
Add the egg, vanilla extract, and red food coloring to the butter mixture. Beat on medium speed until the color is uniform and the ingredients are well combined. Be careful as red food coloring can stain surfaces!
Step 4: Combine Dry Ingredients
In a separate medium bowl, whisk together the flour, cocoa powder, baking soda, and salt. Slowly add the dry ingredients to the wet ingredients, mixing on low speed until just combined. Do not overmix the dough.
Step 5: Roll the Dough
Scoop about one tablespoon of dough at a time and roll it into a smooth ball, roughly 1 inch in diameter. Place the balls on the prepared baking sheets, spacing them about 2 inches apart.
Step 6: Bake the Cookies
Bake for 8 to 10 minutes. The cookies should look set on the edges but still slightly soft in the center. Do not overbake, or they will lose their chewy texture.
Step 7: Add the Vampire Kiss
Immediately after removing the cookies from the oven, press a chocolate kiss into the center of each cookie. The heat will soften the chocolate. If desired, use red decorating gel to add two small “bite” dots next to the kiss for a vampire effect. Allow them to cool completely on a wire rack.
How to Serve Spooky Vampire Kiss Red Velvet Cookies
Serve these cookies on a black or gothic-themed platter to emphasize the “vampire” theme. They look wonderful when paired with other Halloween treats like candy corn or chocolate spiders. For a spooky party, you can serve them alongside a “red punch” or cold glasses of milk. If you want to get extra creative, place them in individual clear treat bags with a “Vampire Kiss” label as party favors.
How to Store Spooky Vampire Kiss Red Velvet Cookies
Store your cookies in an airtight container at room temperature for up to 4 days. If you need to stack them, wait until the chocolate kisses have completely re-hardened, or place a sheet of parchment paper between the layers. You can also freeze these cookies for up to 2 months. Just thaw them at room temperature before serving to maintain the best texture.
Expert Tips for Perfect Spooky Vampire Kiss Red Velvet Cookies
To get the best results, use a high-quality gel food coloring rather than liquid drops. Gel coloring provides a much more intense red without thinning out the dough. Also, make sure your butter is truly softened at room temperature; if it is too cold, the cookies won’t have the right lift, and if it’s melted, they will spread too much.
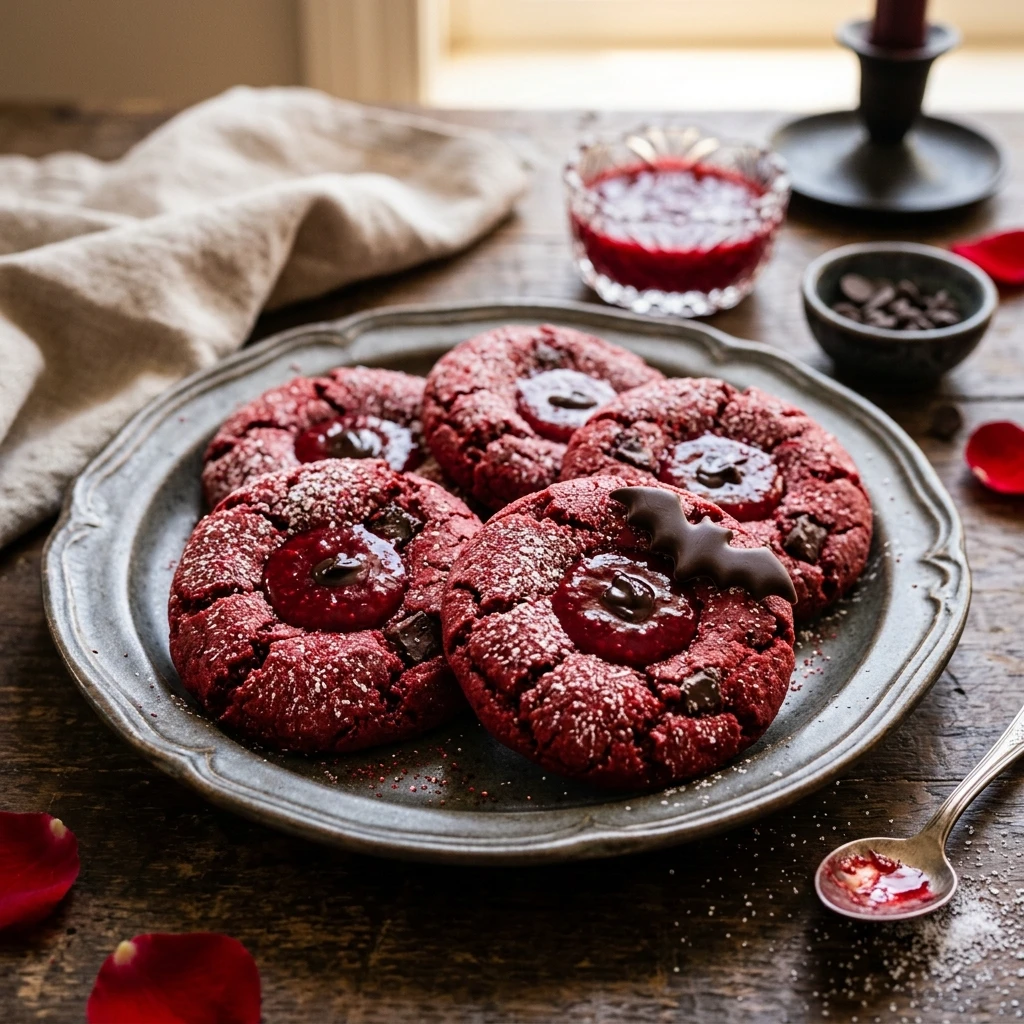
Another great tip is to unwrap your chocolate kisses before the cookies come out of the oven. You need to press them in while the cookies are piping hot to ensure they stick. If the chocolate starts to melt too much, you can pop the whole tray into the fridge for 10 minutes to set the chocolate quickly.
Delicious Variations
If you want to change things up, try using white chocolate kisses for a high-contrast look against the red dough. You can also roll the dough balls in granulated sugar or powdered sugar before baking for a “crackle” effect. For a “bloody” surprise, you could even fill the center with a small dollop of raspberry jam before adding the chocolate kiss.
Frequently Asked Questions
Q: Can I use a boxed cake mix for these cookies?
Yes, you can use a red velvet cake mix. Just mix it with 2 eggs and 1/2 cup of oil, then follow the same baking and “kiss” instructions.
Q: My cookies spread too much. What happened?
This usually happens if the butter was too warm or if the dough wasn’t chilled. Try chilling the rolled dough balls in the fridge for 15 minutes before baking next time.
Q: Can I make these without food coloring?
You can, but they will be a light brown color from the cocoa powder. They won’t have the “vampire” look, but they will still taste delicious.
Q: How do I keep the chocolate kiss from melting entirely?
Wait about 1 minute after taking the cookies out of the oven before pressing the kiss in. Then, move the cookies to a cool area or the refrigerator so the chocolate sets fast.
Q: Can I use dark cocoa powder?
Yes, but keep in mind that dark or Dutch-processed cocoa will make the cookies much darker, which might hide the red color of the dough.
Conclusion
These Spooky Vampire Kiss Red Velvet Cookies are a delightful way to celebrate the Halloween season. They are simple to bake, visually stunning, and offer a delicious chocolatey flavor that everyone enjoys. With their soft texture and festive appearance, they are sure to become a holiday tradition in your home. Happy baking and stay spooky!
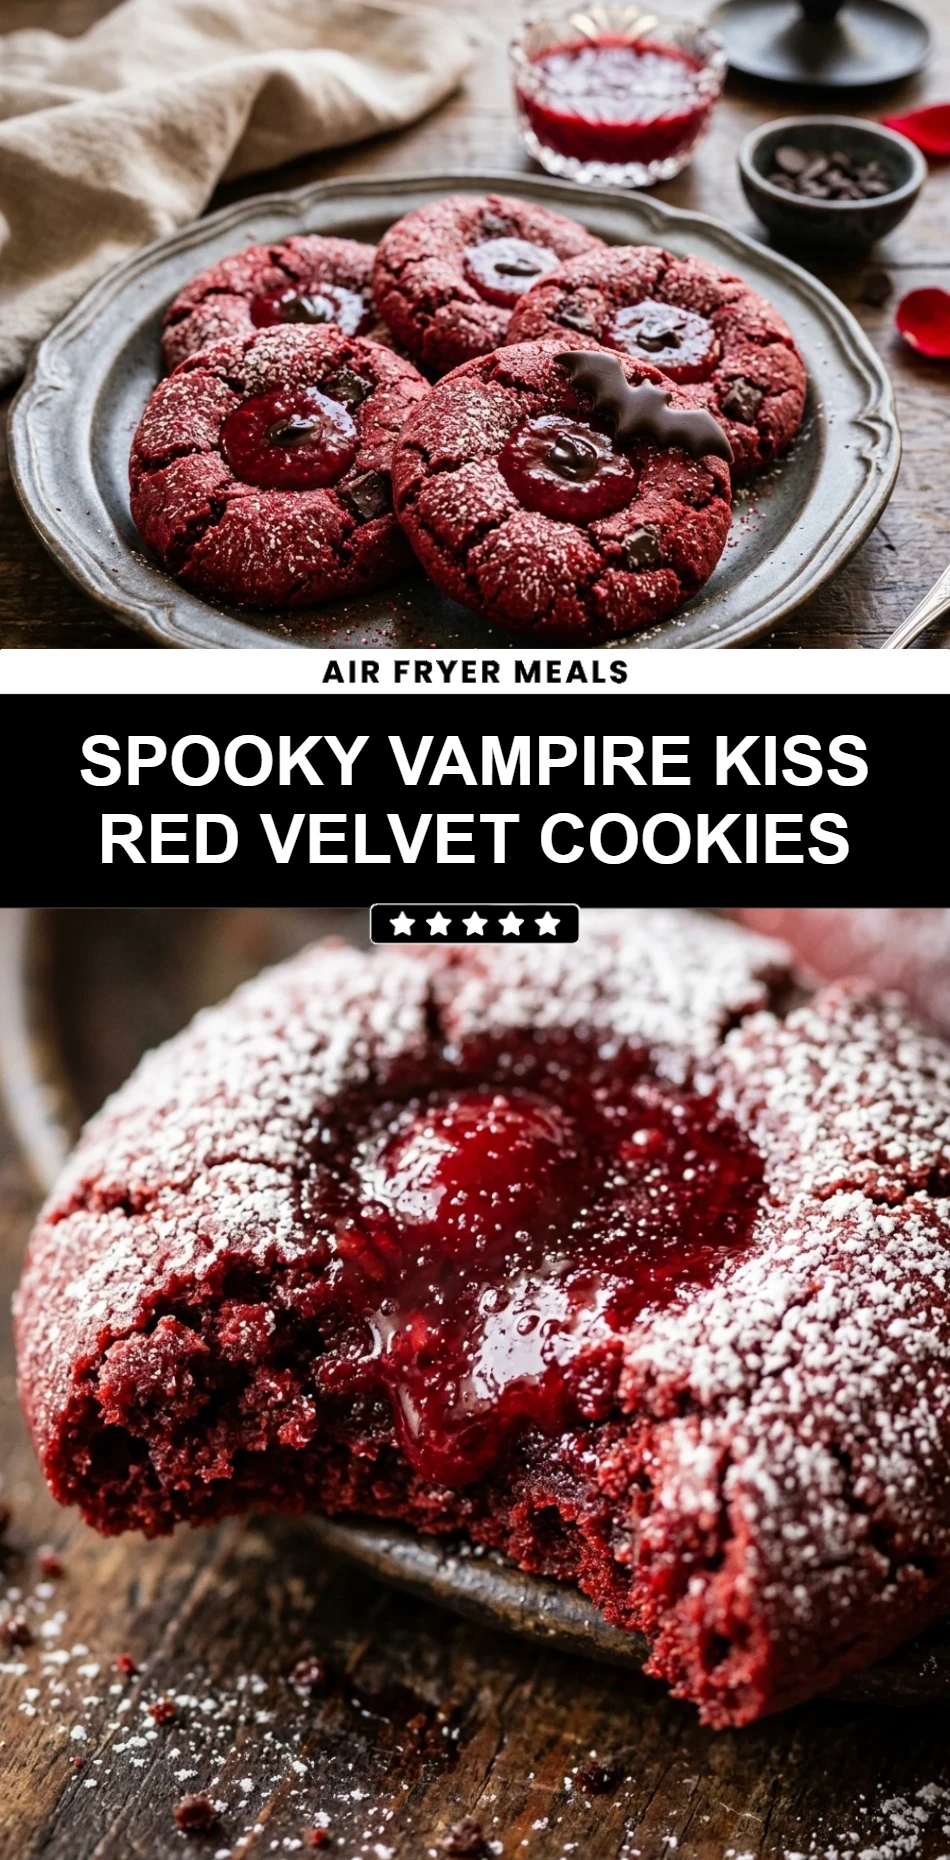
Spooky Vampire Kiss Red Velvet Cookies

- Cook Time: 30 minutes
- Total Time: 30 minutes
- Diet: Vegetarian
Ingredients
- 1/2 cup unsalted butter, softened
- 3/4 cup granulated sugar
- 1 large egg
- 1 teaspoon vanilla extract
- 1 tablespoon red food coloring
- 1 1/2 cups all-purpose flour
- 2 tablespoons unsweetened cocoa powder
- 1/2 teaspoon baking soda
- 1/4 teaspoon salt
- 24 Hershey’s Kisses (milk chocolate or dark chocolate)
- Optional: Red decorating gel for “blood” drips
Instructions
- Step 1: Preheat and Prepare – Preheat your oven to 350°F (175°C). Line two large baking sheets with parchment paper or silicone baking mats to prevent the cookies from sticking and ensure even browning.
- Step 2: Cream Butter and Sugar – In a large mixing bowl, beat the softened butter and granulated sugar together until the mixture is light and fluffy. This usually takes about 2 to 3 minutes with an electric mixer.
- Step 3: Add Wet Ingredients – Add the egg, vanilla extract, and red food coloring to the butter mixture. Beat on medium speed until the color is uniform and the ingredients are well combined. Be careful as red food coloring can stain surfaces!
- Step 4: Combine Dry Ingredients – In a separate medium bowl, whisk together the flour, cocoa powder, baking soda, and salt. Slowly add the dry ingredients to the wet ingredients, mixing on low speed until just combined. Do not overmix the dough.
- Step 5: Roll the Dough – Scoop about one tablespoon of dough at a time and roll it into a smooth ball, roughly 1 inch in diameter. Place the balls on the prepared baking sheets, spacing them about 2 inches apart.
- Step 6: Bake the Cookies – Bake for 8 to 10 minutes. The cookies should look set on the edges but still slightly soft in the center. Do not overbake, or they will lose their chewy texture.
- Step 7: Add the Vampire Kiss – Immediately after removing the cookies from the oven, press a chocolate kiss into the center of each cookie. The heat will soften the chocolate. If desired, use red decorating gel to add two small “bite” dots next to the kiss for a vampire effect. Allow them to cool completely on a wire rack.