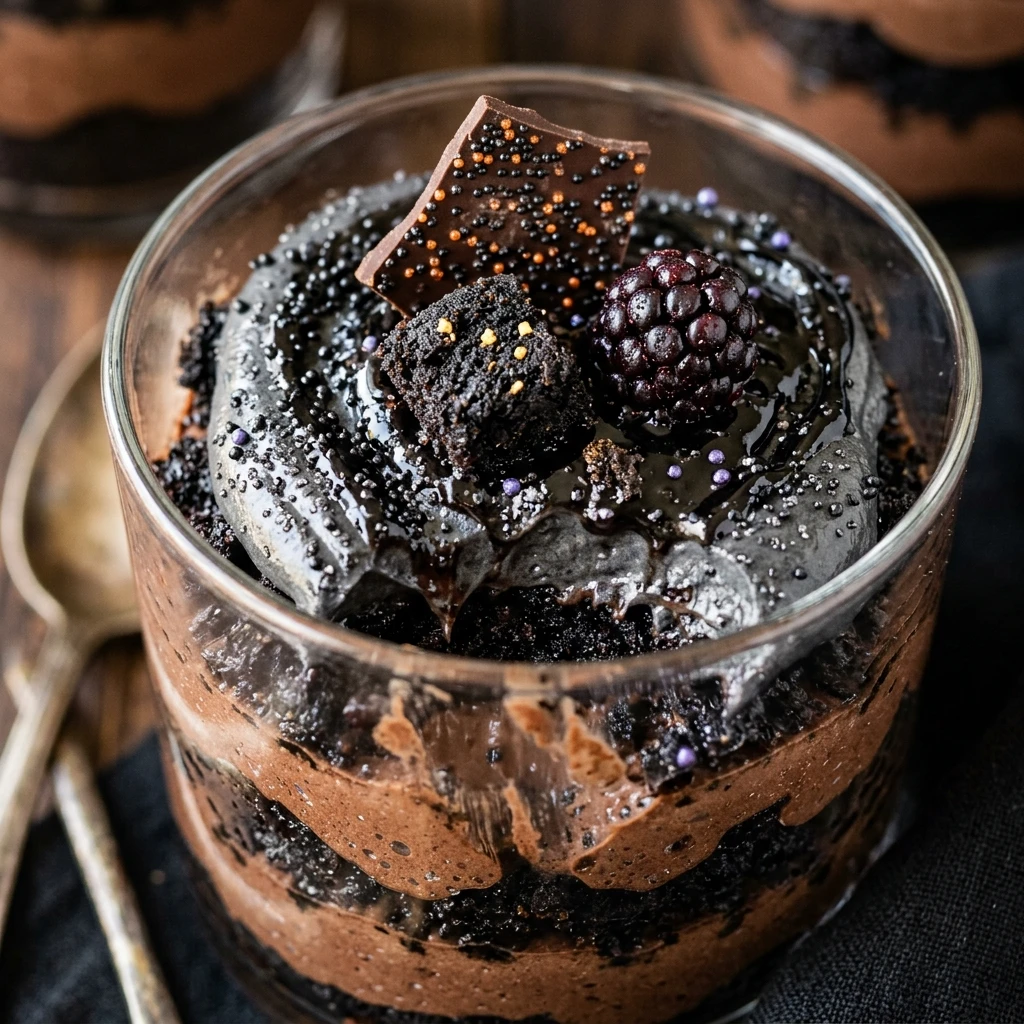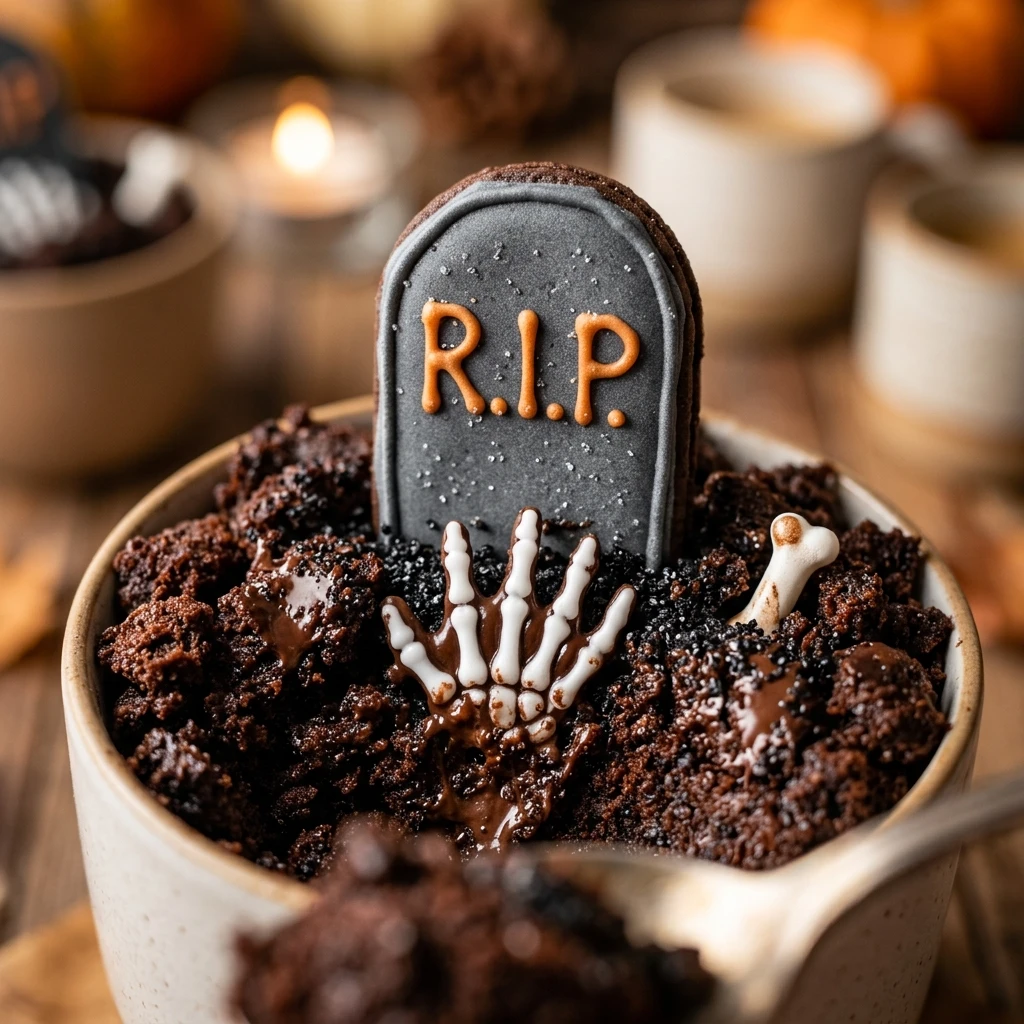

Halloween is the perfect time to get creative in the kitchen with treats that are as fun to look at as they are to eat. These Spooky Halloween Brownie Graveyard Cups are a festive favorite that will delight kids and adults alike. By layering rich brownie pieces, smooth pudding, and “dirt” made from crushed cookies, you create a delicious dessert landscape that is perfect for any spooky celebration.
Whether you are hosting a haunted house party or looking for a fun activity to do with the kids, these individual dessert cups are easy to assemble and look incredibly impressive. The best part is how customizable they are—you can add as many creepy crawlies and decorations as you like to make your edible graveyard truly unique!
Recipe Information
- Prep Time: 20 minutes
- Cook Time: 25 minutes
- Total Time: 45 minutes
- Servings: 12 cups
- Difficulty Level: Easy
Nutrition Information
- Calories per serving: 315 kcal
- Protein: 3g
- Carbohydrates: 48g
- Fat: 14g
- Fiber: 2g
- Sugar: 32g
- Sodium: 220mg
Why Make This Spooky Halloween Brownie Graveyard Cups
These cups are a fantastic choice for Halloween because they solve the problem of messy cake cutting at parties. Each guest gets their own individual portion, which makes serving a breeze. The combination of textures—chewy brownie, creamy pudding, and crunchy cookie crumbs—ensures every bite is satisfying.
Additionally, this recipe is very forgiving. You don’t need professional decorating skills to make these look great. In fact, a little bit of messiness only adds to the “spooky” graveyard aesthetic. It is a wonderful way to bring the spirit of the holiday to your dessert table without spending hours on intricate piping or baking.
How to Make Spooky Halloween Brownie Graveyard Cups
Creating these festive treats is a simple process of baking, layering, and decorating. Even if you aren’t an experienced baker, you can pull this off with ease by following these straightforward steps.
Ingredients
- 1 box (18 oz) fudge brownie mix (plus ingredients required on the box: eggs, oil, and water)
- 2 cups chocolate pudding (store-bought or homemade)
- 1 cup chocolate sandwich cookies (like Oreos), finely crushed
- 12 Milano-style oval cookies (for the tombstones)
- 1 tube of black decorating gel or an edible food marker
- 24 gummy worms
- 12 pumpkin-shaped mellowcreme candies
Directions
Step 1: Bake the Brownie Base
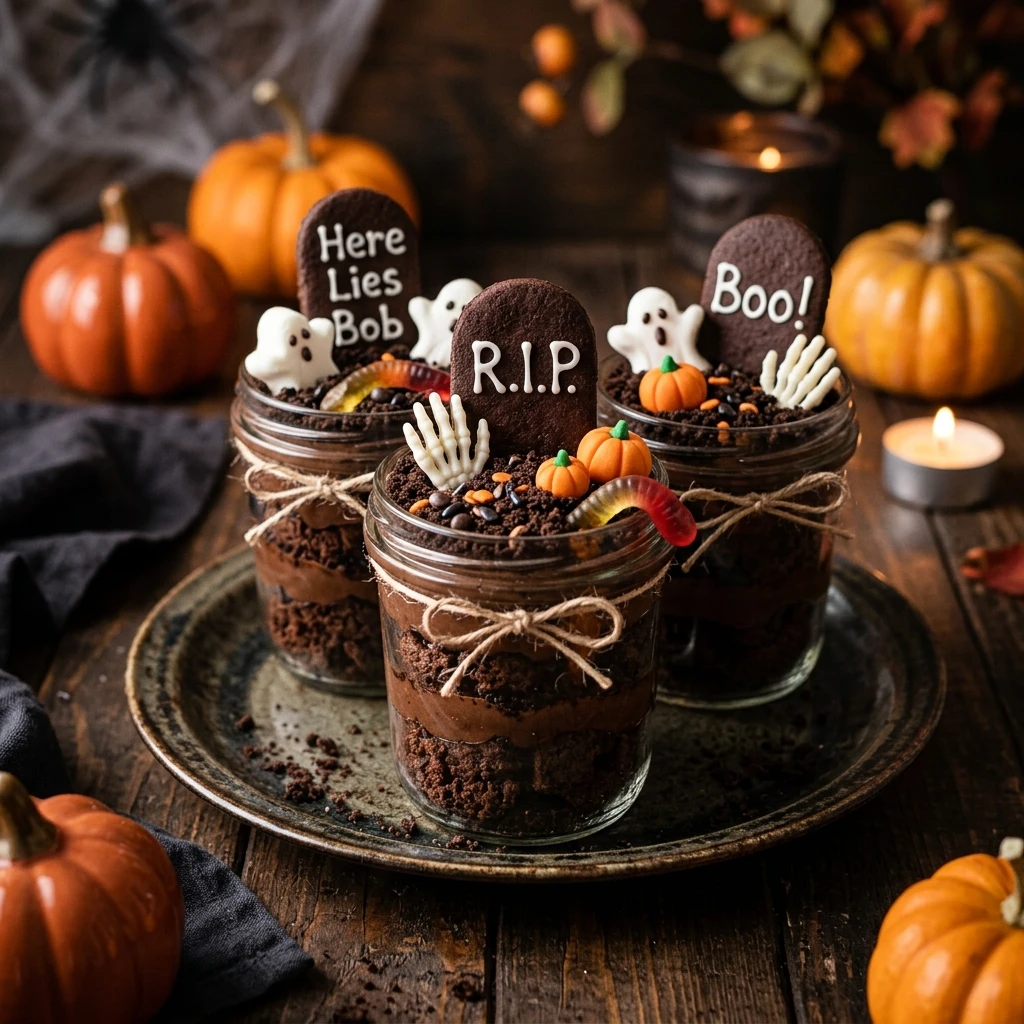
Preheat your oven according to the brownie mix instructions. Prepare the brownie batter and bake it in a square pan. Once baked, remove the brownies from the oven and let them cool completely. Once cool, crumble the brownies into small, bite-sized chunks.
Step 2: Prepare the Tombstones
Take your Milano cookies and use the black decorating gel or edible marker to write “RIP” or draw small crosses on the top half of each cookie. Set these aside for a few minutes so the gel can set and won’t smudge during assembly.
Step 3: Layer the Brownie Crumbs
Take 12 clear plastic or glass cups. Place a generous layer of the crumbled brownie chunks into the bottom of each cup. Press them down slightly to create a solid base for your graveyard.
Step 4: Add the Pudding Layer
Spoon about 2 to 3 tablespoons of chocolate pudding over the brownie layer in each cup. Spread it evenly to the edges. This represents the moist “earth” layer of your graveyard.
Step 5: Create the Edible Dirt
Sprinkle a thick layer of the crushed chocolate sandwich cookies over the top of the pudding. This creates the realistic look of fresh soil. Make sure the pudding is completely covered by the cookie crumbs.
Step 6: Assemble the Decorations
Insert one “tombstone” cookie into the back of each cup, pushing it down through the crumbs into the pudding so it stands upright. Place two gummy worms and one candy pumpkin on top of the “dirt” in each cup to finish the scene.
How to Serve Spooky Halloween Brownie Graveyard Cups
For the best visual impact, serve these in clear cups so the layers are visible. You can arrange them on a large platter covered with faux spider webs or orange glitter. If you are serving them at a party, provide small wooden spoons to keep with the rustic, graveyard theme. These should be served chilled or at room temperature.
How to Store Spooky Halloween Brownie Graveyard Cups
These cups can be stored in the refrigerator for up to 2 days. It is best to cover the tops loosely with plastic wrap. Note that the Milano cookie tombstones may soften slightly over time due to the moisture in the pudding, so if you are making them in advance, consider adding the cookies and gummy worms right before serving.
Expert Tips for Perfect Spooky Halloween Brownie Graveyard Cups
To get the best results, make sure your brownies are completely cool before crumbling them; if they are warm, they will turn into a gummy paste. For the “dirt,” you can use a food processor to get very fine crumbs that look just like real soil. If you want a more “haunted” look, you can add a small puff of green cotton candy to represent ghostly fog just before serving.
Delicious Variations
You can easily swap the chocolate pudding for vanilla pudding tinted with green food coloring to look like radioactive slime. If you prefer a different base, try using chocolate cake instead of brownies. For a more “adult” version, you can add a splash of coffee or a coffee-flavored liqueur to the pudding layer for a deeper flavor profile.
Frequently Asked Questions
Q: Can I use store-bought brownies instead of baking them?
Yes! If you are short on time, you can buy pre-made brownies from the bakery section of your grocery store and crumble them up.
Q: What if I can’t find Milano cookies?
Any oval-shaped or rectangular cookie will work. Nutter Butters or even rectangular graham crackers can make excellent tombstones.
Q: Can I make these gluten-free?
Absolutely. Use a gluten-free brownie mix, gluten-free chocolate sandwich cookies, and ensure your pudding and candies are certified gluten-free.
Q: How far in advance can I assemble these?
You can assemble the brownie and pudding layers up to 24 hours in advance. However, wait to add the cookie crumbs and decorations until a few hours before the party to keep them crunchy.
Q: Do I have to use clear cups?
While you can use any cups, clear ones allow guests to see the cool layers of “earth” and “dirt,” which is part of the fun!
Conclusion
Spooky Halloween Brownie Graveyard Cups are the ultimate festive treat that combines ease of preparation with maximum holiday spirit. They are delicious, portable, and a joy to decorate. Give this recipe a try for your next October gathering, and watch as your guests dig into their very own piece of the graveyard!
Spooky Halloween Brownie Graveyard Cups

- Cook Time: 45 minutes
- Total Time: 45 minutes
- Diet: Gluten-Free
Ingredients
- 1 box (18 oz) fudge brownie mix (plus ingredients required on the box: eggs, oil, and water)
- 2 cups chocolate pudding (store-bought or homemade)
- 1 cup chocolate sandwich cookies (like Oreos), finely crushed
- 12 Milano-style oval cookies (for the tombstones)
- 1 tube of black decorating gel or an edible food marker
- 24 gummy worms
- 12 pumpkin-shaped mellowcreme candies
Instructions
- Preheat your oven according to the brownie mix instructions. Prepare the brownie batter and bake it in a square pan. Once baked, remove the brownies from the oven and let them cool completely. Once cool, crumble the brownies into small, bite-sized chunks.
- Take your Milano cookies and use the black decorating gel or edible marker to write “RIP” or draw small crosses on the top half of each cookie. Set these aside for a few minutes so the gel can set and won’t smudge during assembly.
- Take 12 clear plastic or glass cups. Place a generous layer of the crumbled brownie chunks into the bottom of each cup. Press them down slightly to create a solid base for your graveyard.
- Spoon about 2 to 3 tablespoons of chocolate pudding over the brownie layer in each cup. Spread it evenly to the edges. This represents the moist “earth” layer of your graveyard.
- Sprinkle a thick layer of the crushed chocolate sandwich cookies over the top of the pudding. This creates the realistic look of fresh soil. Make sure the pudding is completely covered by the cookie crumbs.
- Insert one “tombstone” cookie into the back of each cup, pushing it down through the crumbs into the pudding so it stands upright. Place two gummy worms and one candy pumpkin on top of the “dirt” in each cup to finish the scene.