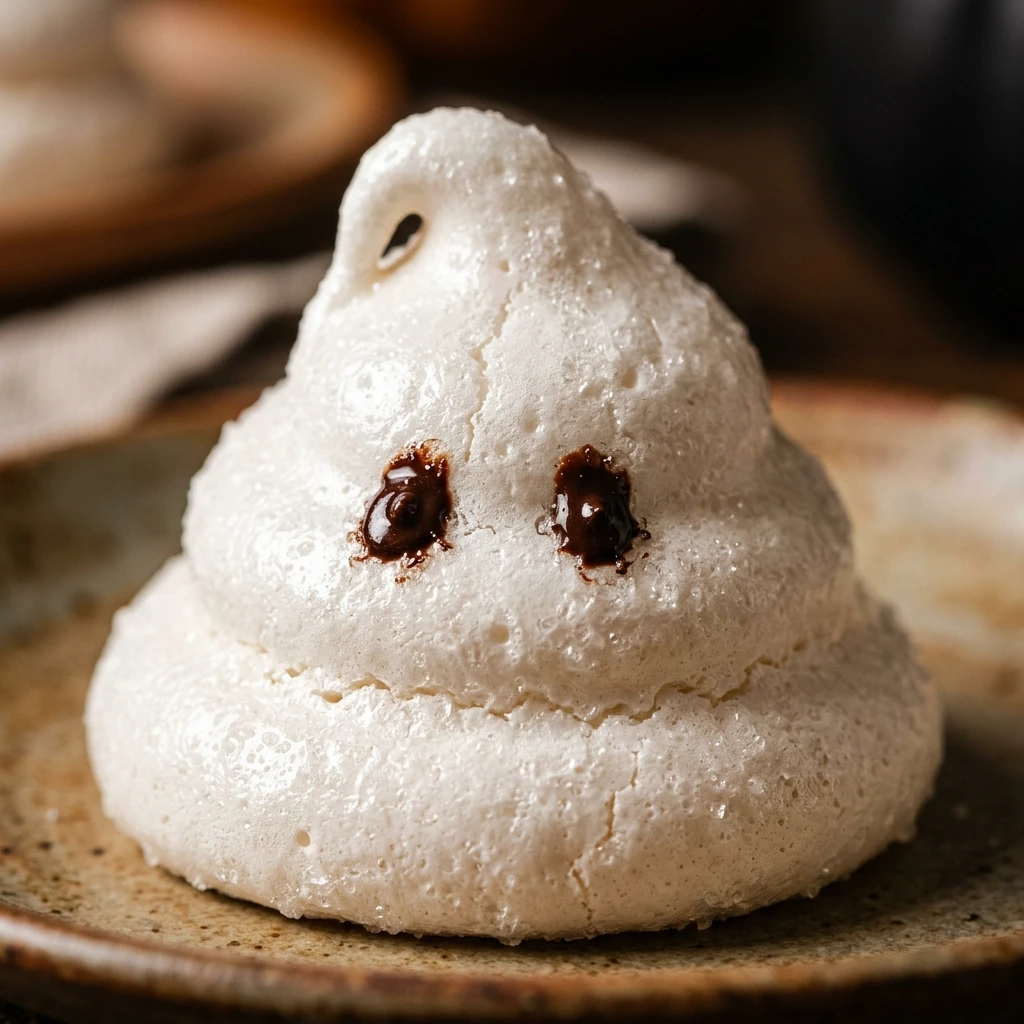

When Halloween season rolls around, there is nothing quite as charming as a tray of Spooky Ghost Meringue Cookies. These light-as-air treats are a staple for any October celebration. They are crisp on the outside, slightly chewy in the center, and absolutely adorable. Best of all, they require only a few basic pantry staples to create a dessert that looks like it came straight from a professional bakery.
Making meringues might seem intimidating, but these little ghosts are actually very forgiving. Their whimsical shapes mean they do not have to be perfect. Whether you are hosting a haunted house party or just want a festive snack for the kids, these cookies are a guaranteed hit. They are naturally gluten-free and low in fat, making them a lighter alternative to the usual heavy holiday candies.
Recipe Information
- Prep Time: 20 minutes
- Cook Time: 90 minutes
- Total Time: 110 minutes
- Servings: 24 cookies
- Difficulty Level: Medium
Nutrition Information
- Calories per serving: 35 kcal
- Protein: 0.5g
- Carbohydrates: 8g
- Fat: 0g
- Fiber: 0g
- Sugar: 8g
- Sodium: 10mg
Why Make This Spooky Ghost Meringue Cookies
You should make these Spooky Ghost Meringue Cookies because they are the ultimate budget-friendly Halloween treat. With just egg whites and sugar as the primary ingredients, you can create a huge batch of cookies for just a few dollars. They serve as both a delicious snack and a festive decoration for your dessert table.
Another great reason to whip these up is the “wow factor” they provide without the need for complex decorating skills. Even if you have never used a piping bag before, the simple “blob and pull” technique creates a perfect ghost shape every time. Plus, their long shelf life means you can make them a few days in advance of your party.
How to Make Spooky Ghost Meringue Cookies
Creating these ethereal treats is all about patience and precision. Follow these simple steps to ensure your ghosts turn out crisp, white, and perfectly spooky.
Ingredients
- 3 large egg whites, room temperature
- 3/4 cup granulated sugar
- 1/4 teaspoon cream of tartar
- 1/2 teaspoon vanilla extract
- 48 mini chocolate chips (for eyes)
- Pinch of salt
Directions
Step 1: Preheat and Prepare
Preheat your oven to 200°F (95°C). Line two large baking sheets with parchment paper or silicone baking mats. Ensure your mixing bowl and whisk attachment are completely clean and free of any grease, as even a tiny bit of fat can prevent the egg whites from foaming correctly.
Step 2: Beat the Egg Whites
Place the room-temperature egg whites in the bowl of a stand mixer. Add the cream of tartar and a pinch of salt. Beat on medium-low speed until the mixture becomes foamy. Increase the speed to medium-high and continue beating until soft peaks form.
Step 3: Gradually Add Sugar
With the mixer still running, add the granulated sugar one tablespoon at a time. This slow process allows the sugar to dissolve properly. Once all the sugar is added, increase the speed to high and beat until the mixture is thick, glossy, and holds stiff peaks. Beat in the vanilla extract at the very end.
Step 4: Pipe the Ghost Shapes
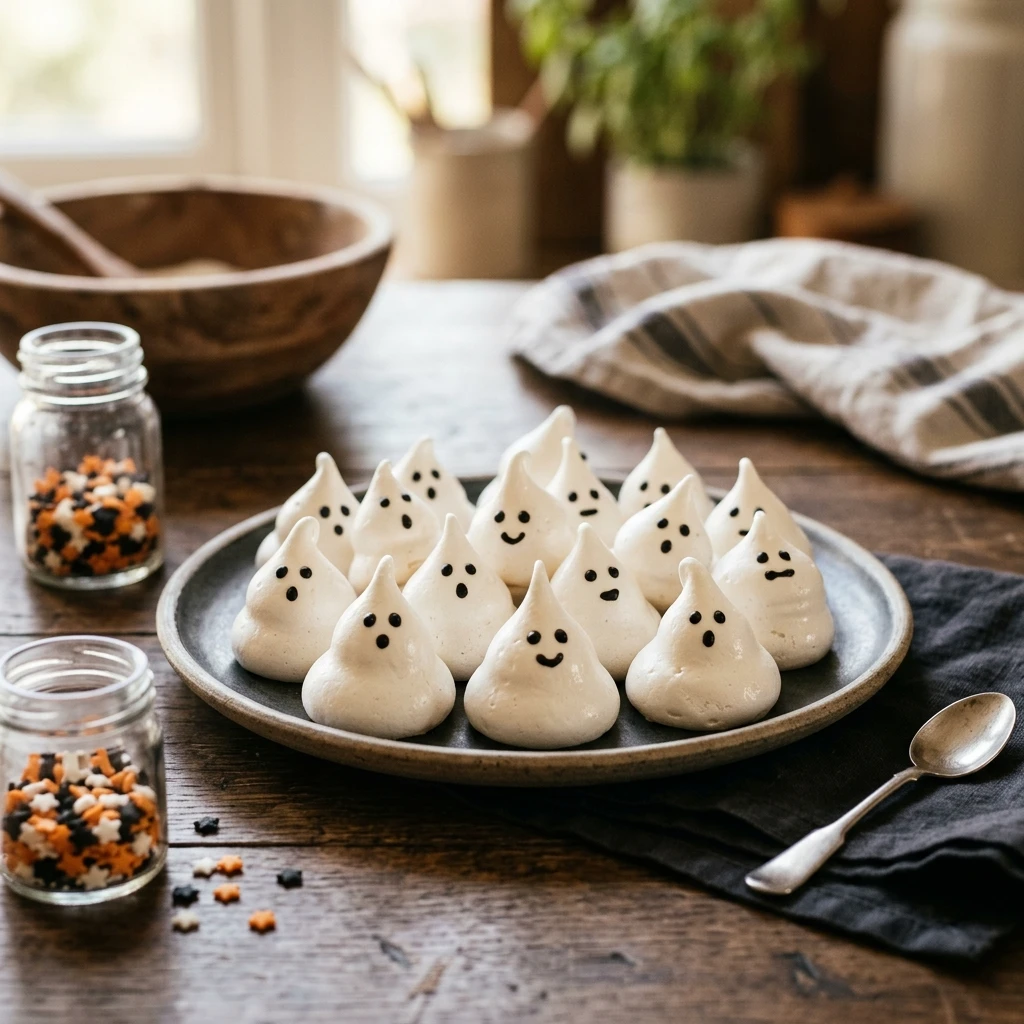
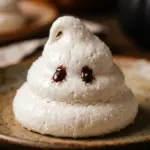
Transfer the meringue mixture into a large piping bag fitted with a large round tip. Alternatively, you can snip the corner off a gallon-sized plastic freezer bag. Pipe tall mounds onto the prepared baking sheets by squeezing the bag and pulling upward to create a “tail” or a point at the top of the ghost.
Step 5: Bake and Dry
Place the baking sheets in the oven and bake for 90 minutes. The cookies should be firm to the touch and easily peel off the parchment paper. Turn off the oven and leave the cookies inside with the door slightly ajar for at least another hour (or even overnight) to dry out completely. This prevents cracking.
Step 6: Add the Eyes
Once the meringues are completely cool, use a tiny dab of honey, corn syrup, or melted chocolate to stick two mini chocolate chips onto each ghost to serve as eyes. If you prefer, you can also use a black edible ink marker to draw on spooky faces.
How to Serve Spooky Ghost Meringue Cookies
These ghosts look wonderful when arranged on a dark platter to make their white color pop. You can also place them on top of chocolate cupcakes or a chocolate-frosted cake to create a “graveyard” scene. Another fun idea is to serve them alongside a bowl of hot cocoa or pumpkin spice lattes for a cozy autumn treat.
How to Store Spooky Ghost Meringue Cookies
Meringues are very sensitive to moisture. Store your ghost cookies in a strictly airtight container at room temperature. If they are exposed to humidity, they will become sticky or chewy. If stored properly in a cool, dry place, they will stay crisp for up to two weeks. Do not refrigerate them, as the moisture in the fridge will ruin the texture.
Expert Tips for Perfect Spooky Ghost Meringue Cookies
The most important tip is to ensure your egg whites are at room temperature; they will reach a much higher volume than cold eggs. Also, avoid making meringues on a very rainy or humid day, as the sugar in the cookies will absorb moisture from the air, making them soft. Finally, if you see any yellowing, your oven might be too hot—lower the temperature slightly and bake for a bit longer.
Delicious Variations
While classic vanilla is delicious, you can easily change the flavor. Try adding a drop of peppermint extract for a cool, wintry ghost, or use almond extract for a nutty twist. You can also fold in a tablespoon of cocoa powder at the very end for “dirty” or “shadow” ghosts. For a colorful twist, you can paint stripes of food coloring inside the piping bag before adding the meringue to create variegated ghosts.
Frequently Asked Questions
Q: Why did my meringues turn out chewy instead of crisp?
This usually happens if the cookies didn’t dry out long enough in the oven or if the humidity in your kitchen was too high. You can try putting them back in a 200°F oven for another 20 minutes to crisp them back up.
Q: Can I use liquid egg whites from a carton?
It is best to use fresh egg whites. Many carton egg whites are pasteurized in a way that prevents them from whipping into the stiff peaks required for meringue.
Q: How do I know when the sugar is fully dissolved?
Rub a small amount of the meringue mixture between your thumb and forefinger. If it feels gritty, keep beating it until the sugar is completely dissolved and the mixture feels smooth.
Q: What is the purpose of cream of tartar?
Cream of tartar acts as a stabilizer. It helps the egg whites hold onto the air bubbles you are beating into them, ensuring your ghosts don’t collapse in the oven.
Q: Can I freeze meringue cookies?
It is not recommended to freeze meringues. The thawing process introduces moisture, which will cause the cookies to dissolve or become unpleasantly sticky.
Conclusion
Spooky Ghost Meringue Cookies are a delightful addition to any Halloween celebration. They are simple to make, visually striking, and offer a satisfyingly sweet crunch. By following the slow-baking method and keeping them away from moisture, you can enjoy these festive spirits all through the spooky season. Happy baking!
Spooky Ghost Meringue Cookies
- Cook Time: 110 minutes
- Total Time: 1 hour 50 minutes
- Diet: Gluten-Free
Ingredients
- 3 large egg whites, room temperature
- 3/4 cup granulated sugar
- 1/4 teaspoon cream of tartar
- 1/2 teaspoon vanilla extract
- 48 mini chocolate chips (for eyes)
- Pinch of salt
Instructions
- Preheat your oven to 200°F (95°C). Line two large baking sheets with parchment paper or silicone baking mats. Ensure your mixing bowl and whisk attachment are completely clean and free of any grease, as even a tiny bit of fat can prevent the egg whites from foaming correctly.
- Place the room-temperature egg whites in the bowl of a stand mixer. Add the cream of tartar and a pinch of salt. Beat on medium-low speed until the mixture becomes foamy. Increase the speed to medium-high and continue beating until soft peaks form.
- With the mixer still running, add the granulated sugar one tablespoon at a time. This slow process allows the sugar to dissolve properly. Once all the sugar is added, increase the speed to high and beat until the mixture is thick, glossy, and holds stiff peaks. Beat in the vanilla extract at the very end.
- Transfer the meringue mixture into a large piping bag fitted with a large round tip. Alternatively, you can snip the corner off a gallon-sized plastic freezer bag. Pipe tall mounds onto the prepared baking sheets by squeezing the bag and pulling upward to create a “tail” or a point at the top of the ghost.
- Place the baking sheets in the oven and bake for 90 minutes. The cookies should be firm to the touch and easily peel off the parchment paper. Turn off the oven and leave the cookies inside with the door slightly ajar for at least another hour (or even overnight) to dry out completely. This prevents cracking.
- Once the meringues are completely cool, use a tiny dab of honey, corn syrup, or melted chocolate to stick two mini chocolate chips onto each ghost to serve as eyes. If you prefer, you can also use a black edible ink marker to draw on spooky faces.