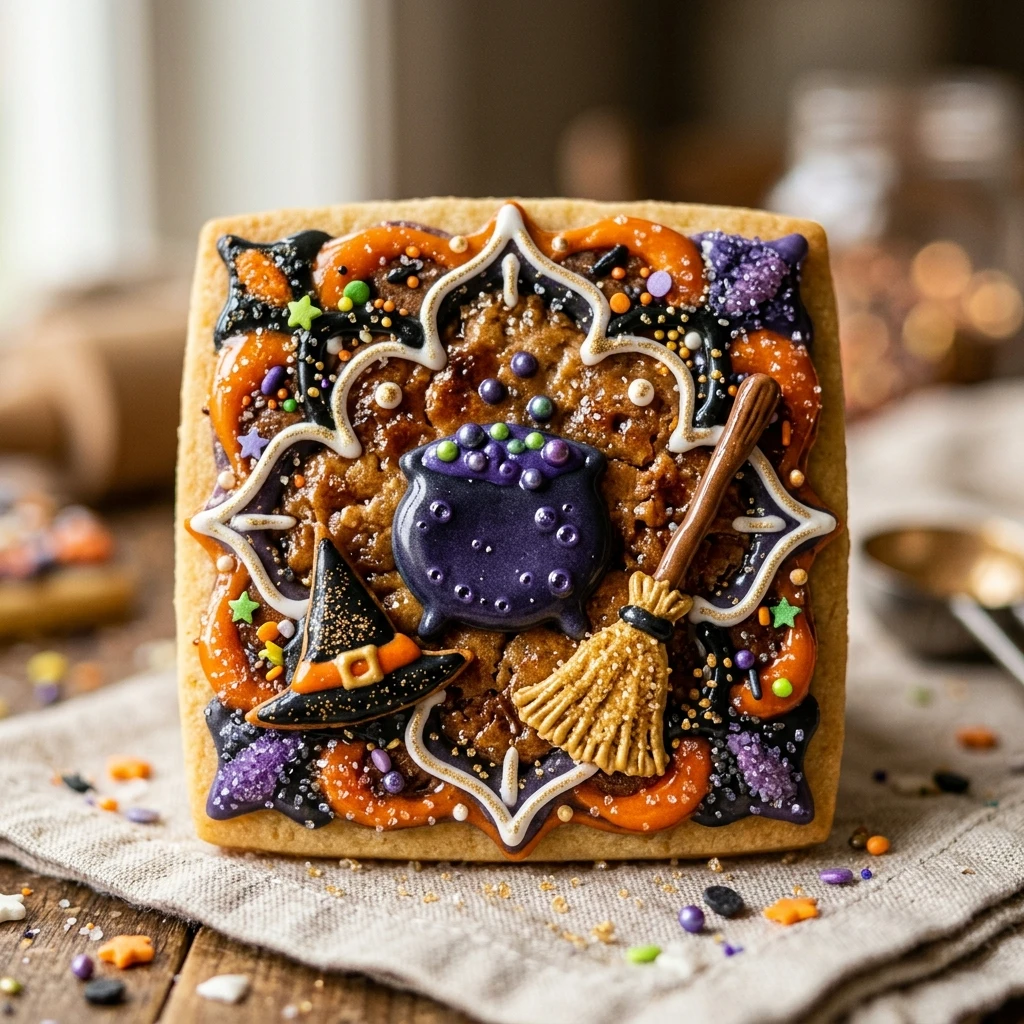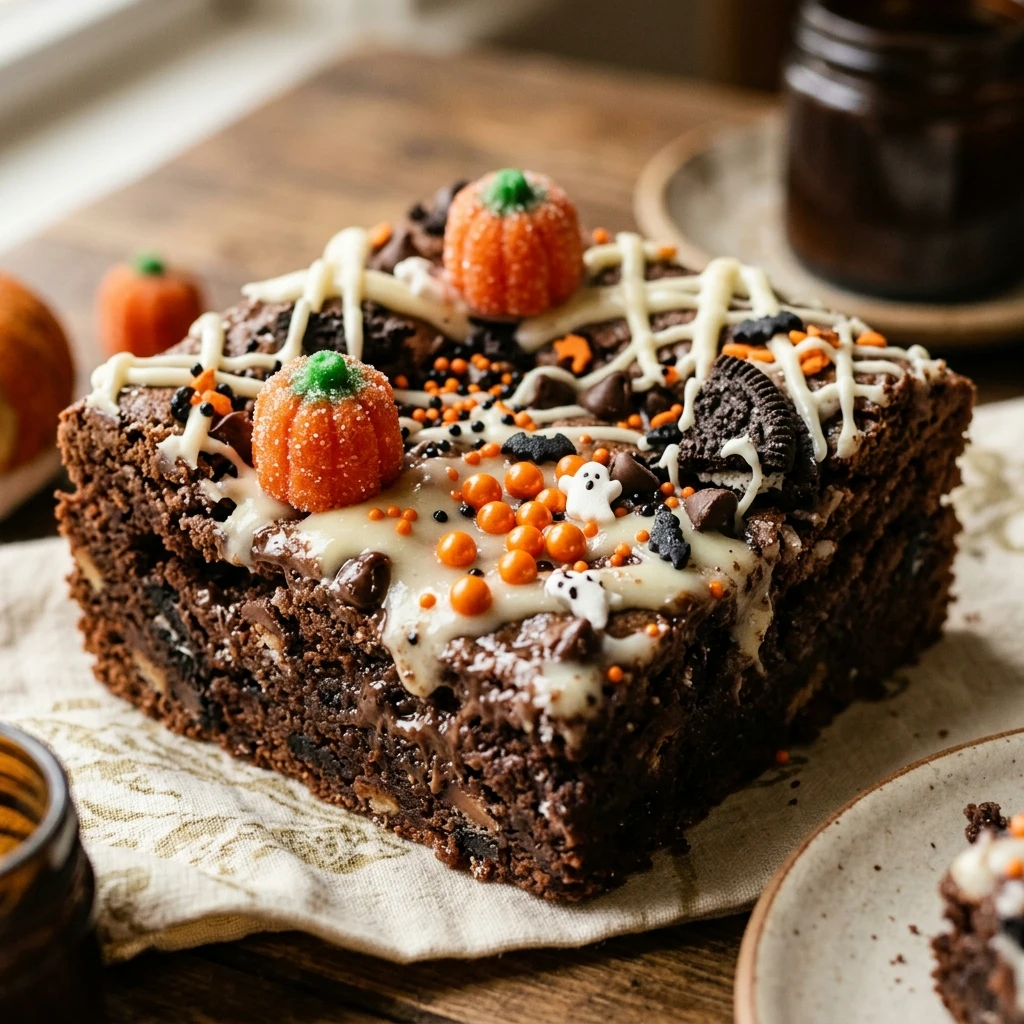

Get ready to bring a touch of spooky charm to your dessert table with these Haunted House Cookie Bars. These treats combine a rich, chewy chocolate base with vibrant decorations that look like tiny, eerie dwellings. They are the perfect centerpiece for any Halloween party or a fun weekend project for the family. Whether you are a baking enthusiast or just looking for a festive way to celebrate the season, these bars offer a delicious canvas for your creativity.
The beauty of this recipe lies in its versatility. You can keep the designs simple with a few candy eyes or go all out with intricate frosting details. Each bite delivers a satisfying crunch and a burst of sweet chocolate, making them as tasty as they are hauntingly beautiful. Let’s dive into the kitchen and start building your own edible ghost town!
Recipe Information
- Prep Time: 25 minutes
- Cook Time: 20 minutes
- Total Time: 45 minutes
- Servings: 12 bars
- Difficulty Level: Medium
Nutrition Information
- Calories per serving: 340 kcal
- Protein: 4g
- Carbohydrates: 48g
- Fat: 16g
- Fiber: 2g
- Sugar: 32g
- Sodium: 180mg
Why Make This Haunted House Cookie Bars Recipe
Making these cookie bars is a fantastic way to embrace the spirit of Halloween without the stress of baking complex cakes. The bar format provides a sturdy foundation that is much easier to manage than traditional gingerbread houses. It allows you to focus on the fun part: decorating with ghosts, pumpkins, and spooky windows!
Beyond their appearance, the flavor is incredible. The deep cocoa notes in the cookie base pair perfectly with the sweet vanilla frosting. They are portable, easy to share, and always a hit with kids and adults alike. Plus, it’s a wonderful activity to keep children entertained as they “build” their own haunted treats.
How to Make Haunted House Cookie Bars Recipe
Creating these festive bars is a straightforward process that involves baking a solid chocolate base and then using various candies and icings to bring your haunted vision to life. Follow these steps to ensure a perfectly baked and decorated dessert.
Ingredients
- 1 cup unsalted butter, softened
- 1 cup granulated sugar
- 1 large egg
- 1 teaspoon vanilla extract
- 2 cups all-purpose flour
- 1/2 cup unsweetened cocoa powder
- 1/2 teaspoon baking soda
- 1/4 teaspoon salt
- 1 cup semi-sweet chocolate chips
- 1 cup black royal icing or thick chocolate frosting
- Orange, white, and purple decorating icing
- Candy eyes, spooky sprinkles, and mini chocolate bars for “doors”
Directions
Step 1: Preparation
Preheat your oven to 350°F (175°C). Grease a 9×13 inch baking pan or line it with parchment paper, leaving an overhang on the sides for easy removal of the bars later.
Step 2: Creaming the Butter and Sugar
In a large mixing bowl, beat the softened butter and granulated sugar together until the mixture is light and fluffy. This should take about 2 to 3 minutes of mixing.
Step 3: Adding Wet Ingredients
Add the egg and vanilla extract to the butter mixture. Beat well until everything is fully incorporated and smooth.
Step 4: Mixing Dry Ingredients
In a separate bowl, whisk together the flour, cocoa powder, baking soda, and salt. Gradually add the dry ingredients to the wet ingredients, mixing on low speed until a thick dough forms. Fold in the chocolate chips by hand.
Step 5: Baking the Bars
Press the dough evenly into the prepared baking pan. Bake for 18 to 22 minutes, or until the edges are set and a toothpick inserted into the center comes out with just a few moist crumbs. Do not overbake.
Step 6: Cooling and Cutting
Allow the cookie bars to cool completely in the pan. Once cool, lift them out using the parchment paper and cut them into 12 rectangular bars. If you want a “house” shape, you can trim the tops of each bar into a triangle point.
Step 7: Decorating the Haunted Houses
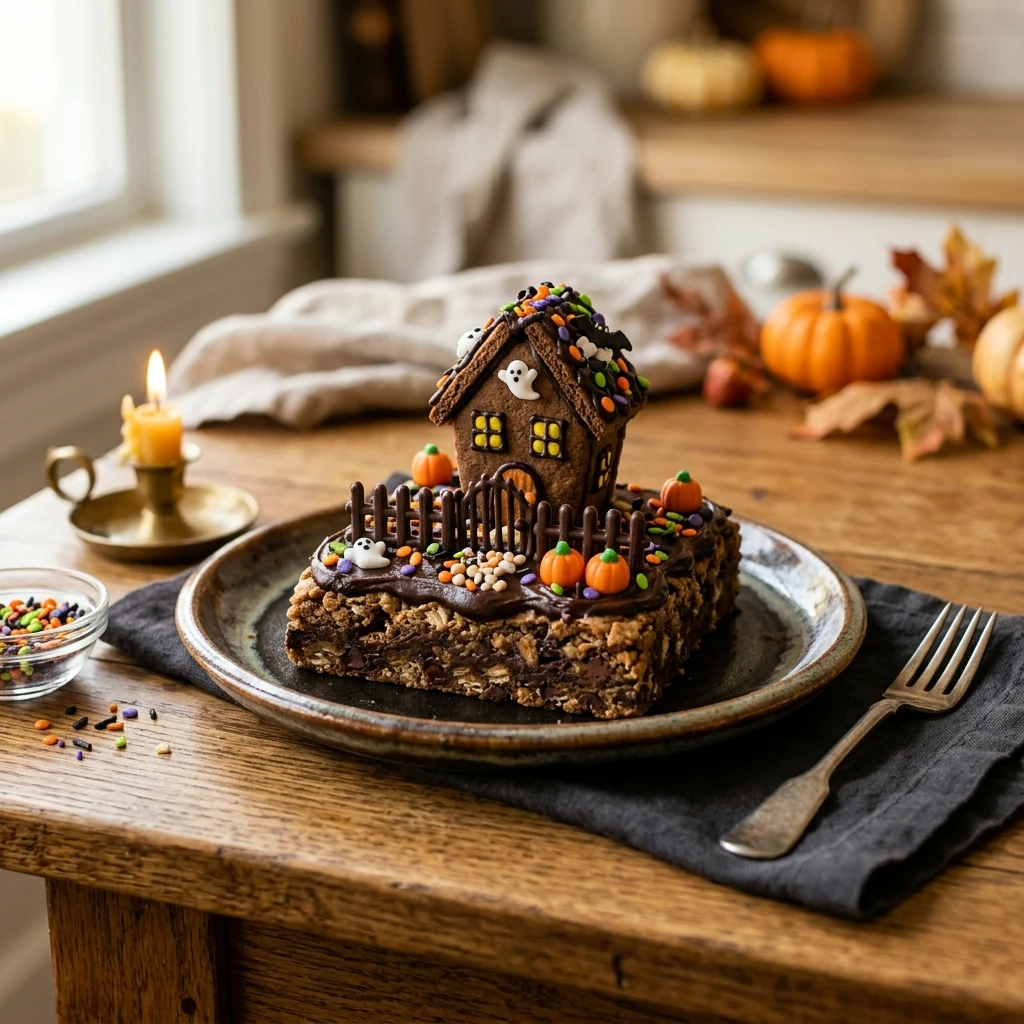
Spread a layer of black icing or frosting over each bar. Use the colored icings to draw windows, doors, and cobwebs. Add candy eyes for “ghosts” in the windows and use mini chocolate bars as heavy front doors. Top with spooky sprinkles to finish.
How to Serve Haunted House Cookie Bars Recipe
Display these bars on a large dark platter to make the colors pop. For an extra thematic touch, scatter some crushed chocolate sandwich cookies around the base of the bars to look like “dirt” or “graveyard soil.” You can even tuck in a few gummy worms for a creepy-crawly effect. Serve them at room temperature with a cold glass of milk or a festive punch.
How to Store Haunted House Cookie Bars Recipe
Keep your haunted house bars in an airtight container at room temperature for up to 3 days. If your kitchen is very warm, you may want to store them in the refrigerator to prevent the frosting decorations from softening. If you need to stack them, place a layer of parchment paper between the layers, but be careful not to smudge the intricate icing designs.
Expert Tips for Perfect Haunted House Cookie Bars Recipe
For the best results, ensure your butter is truly at room temperature before starting; this ensures a smooth dough. If you find the icing is too runny for decorating, add a little extra powdered sugar to thicken it up. When cutting the bars, use a sharp knife and wipe it clean between each cut to get perfectly clean edges. Finally, let the frosting set for at least an hour before serving so the decorations stay in place.
Delicious Variations
If you prefer a lighter base, you can use a classic blondie or sugar cookie recipe instead of chocolate. For a “Pumpkin Patch” version, use orange frosting and candy pumpkins. You can also add a layer of caramel between the cookie base and the frosting for an extra indulgent treat. If you are short on time, store-bought brownie mix works as a great shortcut for the base.
Frequently Asked Questions
Q: Can I make the cookie base in advance?
Yes, you can bake the cookie bars a day in advance. Keep them uncut and wrapped tightly in plastic wrap until you are ready to decorate and serve.
Q: What is the best icing for fine details?
Royal icing is best for fine details because it dries hard and won’t smudge easily. However, tube decorating icing from the grocery store is a great, convenient alternative.
Q: Can I freeze these cookie bars?
It is best to freeze the bars before decorating. Once decorated, the icing may change texture or bleed color when thawed. Freeze the plain bars for up to 2 months.
Q: How do I get the “house” shape without a template?
Simply cut your rectangles first, then use a knife to slice off the two top corners at an angle to create a peaked roof. It doesn’t have to be perfect—the spookier and more crooked, the better!
Q: My bars are too crumbly to decorate. What happened?
This usually happens if the bars are overbaked or cut while still warm. Ensure they are completely cool and slightly soft in the center for the best decorating surface.
Conclusion
These Haunted House Cookie Bars are more than just a dessert; they are a festive experience that brings the magic of Halloween into your home. With their rich chocolate flavor and endless decorating possibilities, they are sure to become a seasonal favorite. Don’t worry about making them look perfect—the charm of a haunted house is in its character and quirks. Happy baking and have a spooktacular celebration!
Haunted House Cookie Bars Recipe
- Cook Time: 45 minutes
- Total Time: 45 minutes
- Diet: Vegetarian
Ingredients
- 1 cup unsalted butter, softened
- 1 cup granulated sugar
- 1 large egg
- 1 teaspoon vanilla extract
- 2 cups all-purpose flour
- 1/2 cup unsweetened cocoa powder
- 1/2 teaspoon baking soda
- 1/4 teaspoon salt
- 1 cup semi-sweet chocolate chips
- 1 cup black royal icing or thick chocolate frosting
- Orange, white, and purple decorating icing
- Candy eyes, spooky sprinkles, and mini chocolate bars for “doors”
Instructions
- Preheat your oven to 350°F (175°C). Grease a 9×13 inch baking pan or line it with parchment paper, leaving an overhang on the sides for easy removal of the bars later.
- In a large mixing bowl, beat the softened butter and granulated sugar together until the mixture is light and fluffy. This should take about 2 to 3 minutes of mixing.
- Add the egg and vanilla extract to the butter mixture. Beat well until everything is fully incorporated and smooth.
- In a separate bowl, whisk together the flour, cocoa powder, baking soda, and salt. Gradually add the dry ingredients to the wet ingredients, mixing on low speed until a thick dough forms. Fold in the chocolate chips by hand.
- Press the dough evenly into the prepared baking pan. Bake for 18 to 22 minutes, or until the edges are set and a toothpick inserted into the center comes out with just a few moist crumbs. Do not overbake.
- Allow the cookie bars to cool completely in the pan. Once cool, lift them out using the parchment paper and cut them into 12 rectangular bars. If you want a “house” shape, you can trim the tops of each bar into a triangle point.
- Spread a layer of black icing or frosting over each bar. Use the colored icings to draw windows, doors, and cobwebs. Add candy eyes for “ghosts” in the windows and use mini chocolate bars as heavy front doors. Top with spooky sprinkles to finish.