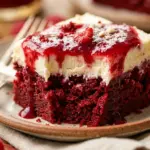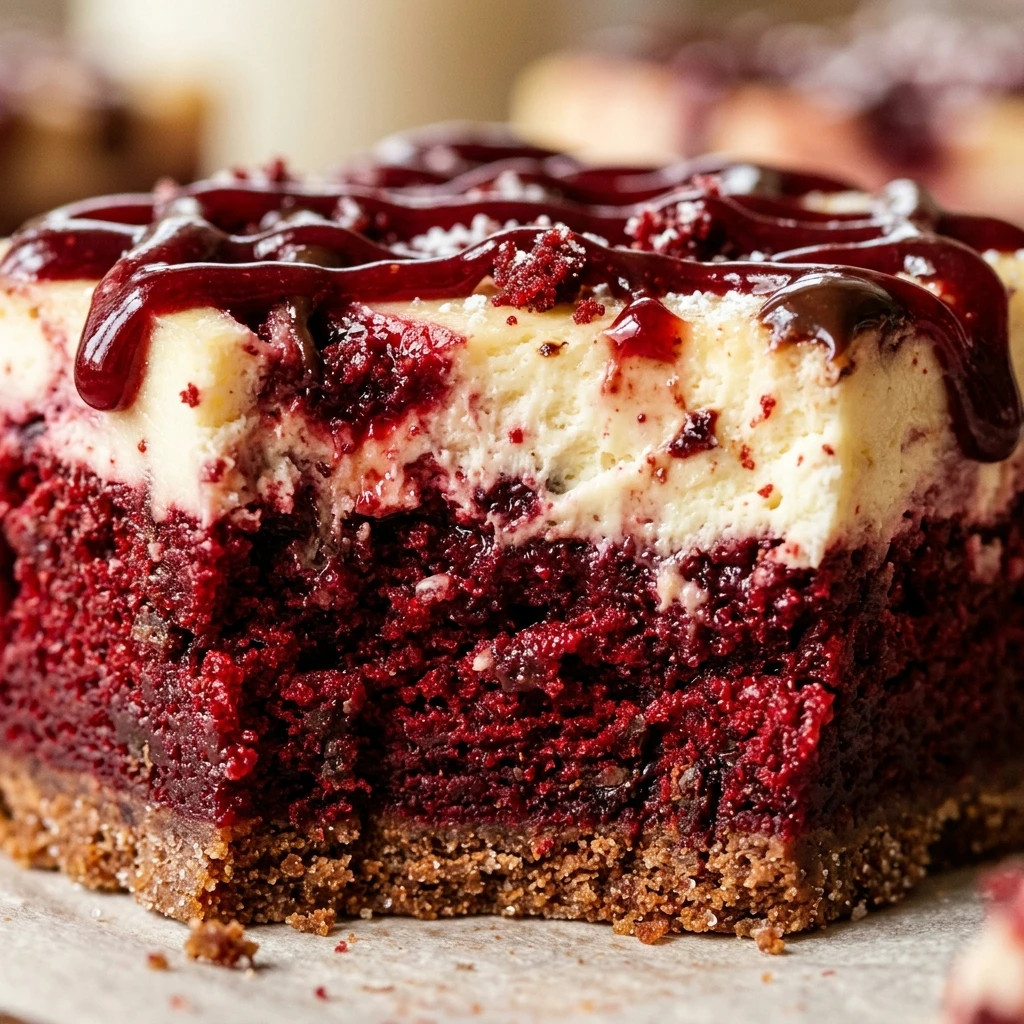

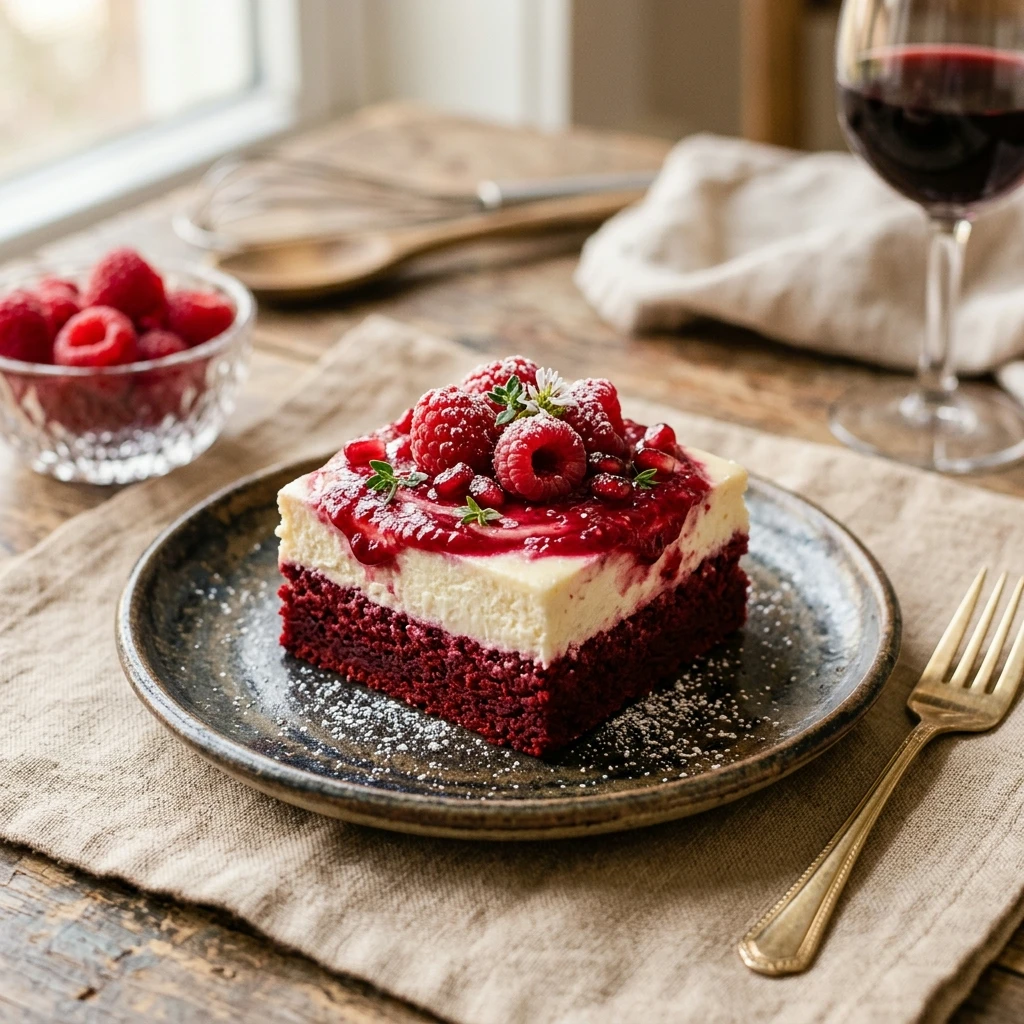
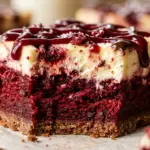
If you are looking for a show-stopping dessert that is as delicious as it is spooky, look no further than these Bloody Red Velvet Cheesecake Bars. These bars are the ultimate Halloween treat, featuring a deep red, cocoa-rich brownie base and a velvety white cheesecake layer. The “bloody” drizzle on top adds a dramatic flair that will make them the star of any party.
This recipe is surprisingly simple to put together, but the visual impact is incredible. Whether you are hosting a themed bash or just want a decadent snack with a twist, these bars offer the perfect balance of tangy cream cheese and sweet red velvet. Let’s get baking and create something frightfully tasty!
Recipe Information
- Prep Time: 20 minutes
- Cook Time: 40 minutes
- Total Time: 60 minutes
- Servings: 16 bars
- Difficulty Level: Medium
Nutrition Information
- Calories per serving: 285 kcal
- Protein: 4g
- Carbohydrates: 30g
- Fat: 17g
- Fiber: 1g
- Sugar: 22g
- Sodium: 190mg
Why Make This Bloody Red Velvet Cheesecake Bars Recipe
These bars are the perfect marriage of two classic desserts: red velvet cake and creamy cheesecake. The contrast between the vibrant red base and the stark white cheesecake provides a beautiful aesthetic even before you add the “blood” decoration. It is a sophisticated way to do Halloween treats without relying solely on candy.
Beyond their appearance, the texture is what really wins people over. The base is dense and fudgy, while the cheesecake layer is light and smooth. Using a fruit-based drizzle for the “bloody” effect adds a nice tartness that cuts through the richness of the cream cheese, making every bite balanced and satisfying.
How to Make Bloody Red Velvet Cheesecake Bars Recipe
Creating these bars involves layering a simple cocoa-based batter with a classic cream cheese mixture and finishing with a creative decorative swirl. Follow these steps for a perfect result every time.
Ingredients
- 1/2 cup unsalted butter, melted and slightly cooled
- 1 cup granulated sugar
- 1 large egg
- 1 teaspoon vanilla extract
- 1/4 cup unsweetened cocoa powder
- 1/4 teaspoon salt
- 1 tablespoon red food coloring (gel preferred)
- 3/4 cup all-purpose flour
- 16 ounces cream cheese, softened to room temperature
- 1/2 cup granulated sugar (for cheesecake layer)
- 2 large eggs (for cheesecake layer)
- 1 teaspoon vanilla extract (for cheesecake layer)
- 1/4 cup seedless raspberry jam or strawberry syrup (for the “blood”)
Directions
Step 1: Preparation and Oven Settings
Preheat your oven to 350°F (175°C). Line an 8×8-inch square baking pan with parchment paper, leaving an overhang on the sides. This will make it much easier to lift the bars out of the pan once they have chilled.
Step 2: Mixing the Red Velvet Batter
In a medium bowl, whisk together the melted butter and 1 cup of sugar. Add one egg, vanilla extract, cocoa powder, salt, and red food coloring. Stir until the color is uniform. Gently fold in the flour until just combined. Be careful not to overmix, as this can make the base tough.
Step 3: Creating the Base Layer
Set aside about 3 tablespoons of the red velvet batter for swirling later. Spread the remaining batter into the bottom of your prepared baking pan, smoothing it into an even layer with a spatula.
Step 4: Preparing the Cream Cheese Filling
In a separate large bowl, beat the softened cream cheese and 1/2 cup of sugar until smooth and creamy. Add the two eggs and vanilla extract, beating on low speed until just combined. You want a smooth consistency without whipping too much air into the mixture.
Step 5: Assembling the Layers
Pour the cheesecake mixture over the red velvet base in the pan. Use a spatula to spread it evenly to the edges. Ensure the white layer completely covers the red layer below.
Step 6: Adding the Decorative Swirls
Drop small dollops of the reserved red velvet batter onto the top of the cheesecake layer. Use a toothpick or a butter knife to gently swirl the red batter into the white cheesecake. For the “bloody” effect, drop small amounts of the raspberry jam onto the surface and swirl them slightly to create streaks.
Step 7: Baking to Perfection
Place the pan in the oven and bake for 35 to 40 minutes. The edges should be slightly golden and set, while the center should still have a slight jiggle. Do not overbake, or the cheesecake may crack.
Step 8: Cooling and Chilling
Remove the pan from the oven and let it cool to room temperature on a wire rack. Once cooled, cover and refrigerate for at least 4 hours, preferably overnight. Chilling is essential for the cheesecake to set properly and for clean slicing.
How to Serve Bloody Red Velvet Cheesecake Bars Recipe
To serve, use the parchment paper overhang to lift the entire block out of the pan. Use a sharp, warm knife to cut the block into 16 even squares. Wipe the knife clean between each cut to ensure the layers stay distinct and beautiful. For an extra “gory” look, you can drizzle a little extra red syrup over the top of each bar just before serving. These look fantastic served on a dark platter to make the red and white pop.
How to Store Bloody Red Velvet Cheesecake Bars Recipe
Store any leftover bars in an airtight container in the refrigerator for up to 5 days. If you need to stack them, place a piece of parchment paper between the layers to prevent them from sticking. You can also freeze these bars for up to 3 months. Wrap individual bars in plastic wrap and then place them in a freezer-safe bag. Thaw in the refrigerator before enjoying.
Expert Tips for Perfect Bloody Red Velvet Cheesecake Bars Recipe
For the best results, always use room temperature cream cheese and eggs. Cold cream cheese will result in a lumpy filling. Additionally, use a high-quality gel food coloring rather than liquid coloring; gel provides a deeper, more vibrant red without thinning out the batter. If your “blood” jam is too thick to drizzle, microwave it for 10 seconds and stir in a drop of water to reach the desired consistency.
Delicious Variations
If you want to change things up, try adding chocolate chips to the red velvet base for extra texture. You can also swap the raspberry jam for a tart cherry pie filling for a different flavor profile. For a “Dexter” inspired theme, omit the swirls and instead create clean “blood spatters” by flicking the red syrup onto the white cheesecake surface using a clean pastry brush or spoon after the bars have cooled.
Frequently Asked Questions
Q: Can I use a boxed red velvet cake mix for the base?
Yes, you can use a boxed mix, but you will need to adjust the ingredients to ensure it remains a dense, brownie-like base rather than a light cake. Usually, using half the liquid called for on the box works well.
Q: Why did my cheesecake layer crack?
Cracking usually happens due to overbaking or cooling the bars too quickly. Ensure you pull them out when the center is still slightly jiggly and let them cool at room temperature before putting them in the fridge.
Q: Is there a substitute for red food coloring?
You can use beet powder for a more natural approach, though the color may be more of a muted maroon rather than a bright “bloody” red.
Q: How do I get clean cuts when slicing?
The secret is chilling the bars thoroughly and using a warm knife. Run your knife under hot water, dry it off, make one cut, and then wipe the blade clean before the next cut.
Q: Can I make these in a 9×13 pan?
Yes, but you will need to double the recipe. The baking time may also increase by 5-10 minutes, so keep a close eye on the center jiggle.
Conclusion
The Bloody Red Velvet Cheesecake Bars Recipe is a fun, festive, and absolutely delicious addition to your baking repertoire. It strikes the perfect balance between a creepy aesthetic and a gourmet flavor. Easy to share and even easier to eat, these bars are sure to become a requested favorite for every Halloween to come. Give them a try and watch them disappear faster than a ghost in the night!
Bloody Red Velvet Cheesecake Bars Recipe
- Cook Time: 60 minutes
- Total Time: 1 hour
- Diet: Vegetarian
Ingredients
- 1/2 cup unsalted butter, melted and slightly cooled
- 1 cup granulated sugar
- 1 large egg
- 1 teaspoon vanilla extract
- 1/4 cup unsweetened cocoa powder
- 1/4 teaspoon salt
- 1 tablespoon red food coloring (gel preferred)
- 3/4 cup all-purpose flour
- 16 ounces cream cheese, softened to room temperature
- 1/2 cup granulated sugar (for cheesecake layer)
- 2 large eggs (for cheesecake layer)
- 1 teaspoon vanilla extract (for cheesecake layer)
- 1/4 cup seedless raspberry jam or strawberry syrup (for the “blood”)
Instructions
- Preheat your oven to 350°F (175°C). Line an 8×8-inch square baking pan with parchment paper, leaving an overhang on the sides. This will make it much easier to lift the bars out of the pan once they have chilled.
- In a medium bowl, whisk together the melted butter and 1 cup of sugar. Add one egg, vanilla extract, cocoa powder, salt, and red food coloring. Stir until the color is uniform. Gently fold in the flour until just combined. Be careful not to overmix, as this can make the base tough.
- Set aside about 3 tablespoons of the red velvet batter for swirling later. Spread the remaining batter into the bottom of your prepared baking pan, smoothing it into an even layer with a spatula.
- In a separate large bowl, beat the softened cream cheese and 1/2 cup of sugar until smooth and creamy. Add the two eggs and vanilla extract, beating on low speed until just combined. You want a smooth consistency without whipping too much air into the mixture.
- Pour the cheesecake mixture over the red velvet base in the pan. Use a spatula to spread it evenly to the edges. Ensure the white layer completely covers the red layer below.
- Drop small dollops of the reserved red velvet batter onto the top of the cheesecake layer. Use a toothpick or a butter knife to gently swirl the red batter into the white cheesecake. For the “bloody” effect, drop small amounts of the raspberry jam onto the surface and swirl them slightly to create streaks.
- Place the pan in the oven and bake for 35 to 40 minutes. The edges should be slightly golden and set, while the center should still have a slight jiggle. Do not overbake, or the cheesecake may crack.
- Remove the pan from the oven and let it cool to room temperature on a wire rack. Once cooled, cover and refrigerate for at least 4 hours, preferably overnight. Chilling is essential for the cheesecake to set properly and for clean slicing.