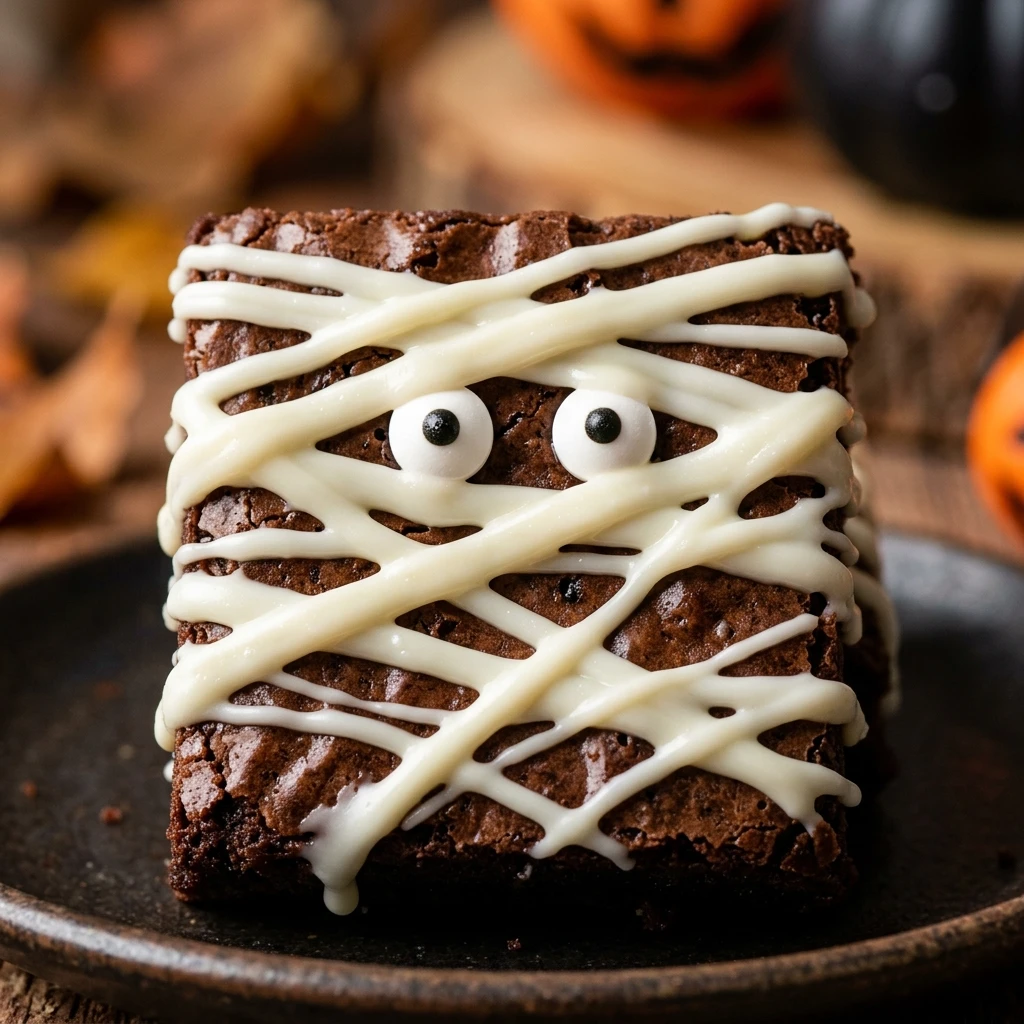

Get ready to add some spooky charm to your dessert table with these adorable Halloween Mummy Brownies. This recipe combines the rich, fudgy goodness of classic brownies with a fun and festive decoration that is perfect for kids and adults alike. Whether you are hosting a haunted house party or just looking for a seasonal treat to enjoy at home, these brownies are sure to be the star of the show.
The beauty of this recipe lies in its simplicity. You do not need to be a professional pastry chef to create these “mummy” masterpieces. With just a few simple ingredients and a little bit of piping, you can transform a standard pan of brownies into a crowd-pleasing Halloween snack. Let’s dive into how you can make these spooky treats today!
Recipe Information
- Prep Time: 15 minutes
- Cook Time: 25 minutes
- Total Time: 40 minutes
- Servings: 12 brownies
- Difficulty Level: Easy
Nutrition Information
- Calories per serving: 285 kcal
- Protein: 3g
- Carbohydrates: 42g
- Fat: 12g
- Fiber: 2g
- Sugar: 31g
- Sodium: 160mg
Why Make This Halloween Mummy Brownies Easy Recipe
This recipe is a fantastic choice for anyone who wants a high-impact dessert with very little effort. Halloween can be a busy time with costumes and trick-or-treating, so having a reliable, quick, and festive recipe in your back pocket is a lifesaver. The contrast between the dark chocolate brownie and the bright white “bandages” makes these treats visually striking and perfect for social media photos.
Beyond the looks, these brownies are absolutely delicious. By using a standard brownie base, you ensure a chewy, chocolatey texture that everyone loves. It is also a wonderful activity for children; they will love helping you place the candy eyes on the mummies and watching the “bandages” appear as you drizzle the frosting.
How to Make Halloween Mummy Brownies Easy Recipe
Making these mummies is a straightforward process that involves baking a perfect batch of brownies and then applying a creative drizzling technique to mimic the look of ancient bandages. Follow these simple steps to ensure your brownies turn out perfectly spooky every time.
Ingredients
- 1 box (18.4 oz) fudge brownie mix
- 1/2 cup vegetable oil
- 1/4 cup water
- 2 large eggs
- 1 cup white chocolate chips or vanilla frosting
- 24 edible candy eyes
Directions
Step 1: Oven and Pan Preparation
Preheat your oven to 350°F (175°C). Grease an 8×8 or 9×9 inch square baking pan with butter or non-stick cooking spray. For even easier removal, line the pan with parchment paper, leaving an overhang on the sides.
Step 2: Mixing the Batter
In a large mixing bowl, combine the brownie mix, vegetable oil, water, and eggs. Stir by hand until the ingredients are just combined. Avoid over-mixing, as this can lead to a cake-like texture rather than a fudgy one.
Step 3: Baking the Brownies
Pour the batter into the prepared baking pan and spread it evenly with a spatula. Bake for 20 to 25 minutes, or until a toothpick inserted into the center comes out with just a few moist crumbs. Do not overbake.
Step 4: Cooling Completely
Remove the pan from the oven and place it on a wire rack to cool completely. This is the most important step! If the brownies are even slightly warm, the white chocolate “bandages” will melt and lose their shape.
Step 5: Cutting into Rectangles
Once cooled, lift the brownies out of the pan using the parchment paper edges. Use a sharp knife to cut them into 12 even rectangular bars. Space them out slightly on a piece of parchment paper to prepare for decorating.
Step 6: Melting the Decoration
Place the white chocolate chips in a microwave-safe bowl. Microwave in 30-second intervals, stirring in between, until the chocolate is completely smooth. Transfer the melted chocolate into a piping bag or a small Ziploc bag with a tiny corner snipped off.
Step 7: Creating the Mummy Look
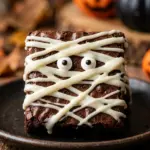
Drizzle the melted white chocolate back and forth across each brownie in a zig-zag motion to create the appearance of mummy bandages. Leave a small space near the top for the eyes. Immediately place two candy eyes in the gap before the chocolate sets.
How to Serve Halloween Mummy Brownies Easy Recipe
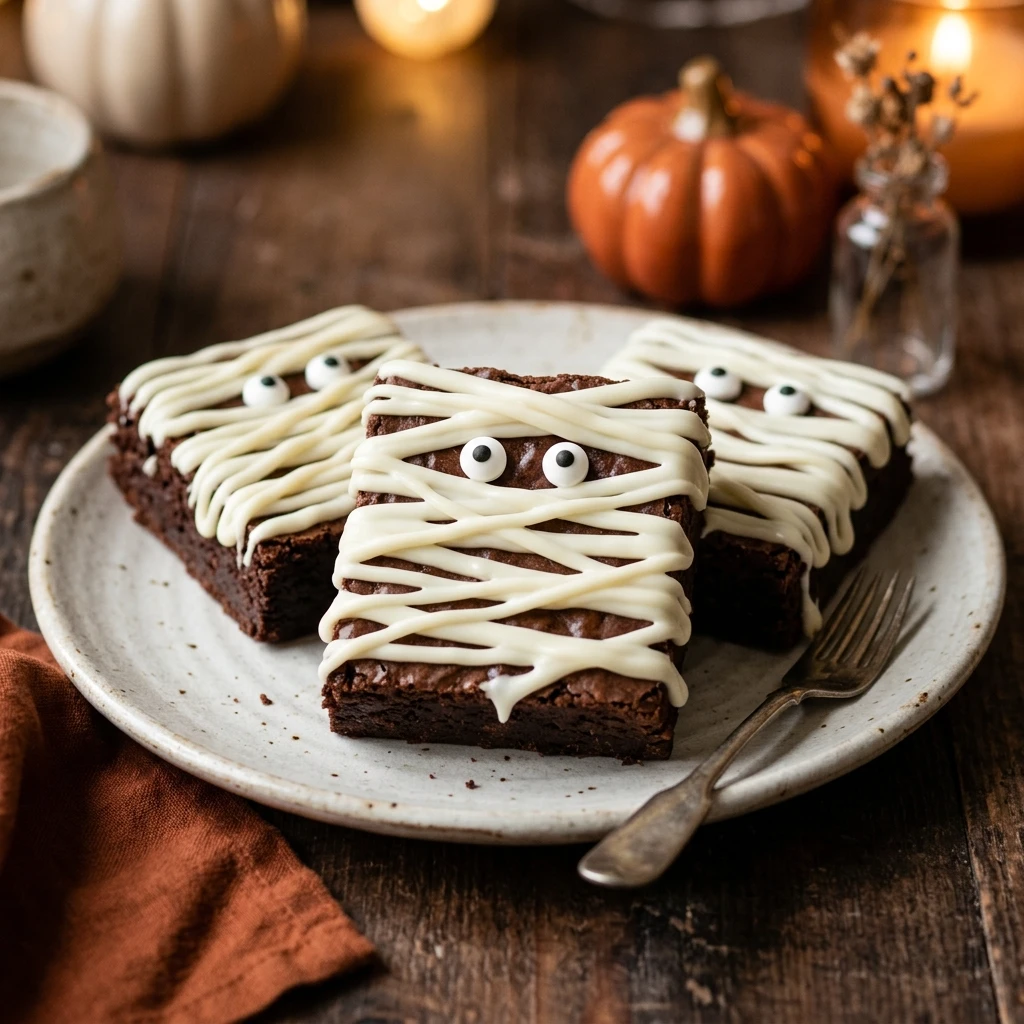
Serve these brownies on a dark-colored platter to make the white mummies pop. You can garnish the plate with plastic spiders or orange and black sprinkles for extra festive flair. They are perfect for school parties, office potlucks, or as a special dessert after a Halloween dinner.
How to Store Halloween Mummy Brownies Easy Recipe
Store your mummy brownies in an airtight container at room temperature for up to 3 days. If your kitchen is particularly warm, you may want to store them in the refrigerator to keep the chocolate decorations from softening. You can also freeze them for up to a month; just place parchment paper between layers so the bandages don’t stick together.
Expert Tips for Perfect Halloween Mummy Brownies Easy Recipe
For the cleanest “bandage” look, use a piping bag with a flat ribbon tip if you have one. If you are using a Ziploc bag, ensure the hole you snip is very small to start with. Another tip is to make sure your brownie edges are trimmed if they are too crusty, as this gives the mummies a more uniform rectangular shape.
Delicious Variations
If you want to change things up, try using a blondie recipe for “light” mummies with dark chocolate bandages. You can also add a teaspoon of peppermint extract to the brownie batter for a “minty mummy” flavor. For those who love peanut butter, drizzle a little melted peanut butter under the white chocolate for an extra layer of taste.
Frequently Asked Questions
Q: Can I use homemade brownies instead of a mix?
Absolutely! Any rectangular or square brownie recipe will work perfectly as long as it is cooled completely before you begin decorating.
Q: What if I can’t find candy eyes?
If you can’t find edible candy eyes, you can use two small dots of white frosting with a tiny dot of dark chocolate or black icing in the center for the pupil.
Q: Why is my white chocolate not drizzling smoothly?
White chocolate can be temperamental. If it’s too thick, add half a teaspoon of coconut oil or vegetable shortening to the melted chocolate to thin it out to a drizzling consistency.
Q: Can I make these gluten-free?
Yes, simply substitute the standard brownie mix with your favorite gluten-free brownie mix or homemade gluten-free recipe. Most candy eyes and white chocolate chips are naturally gluten-free, but always check the labels.
Q: How long does it take for the chocolate bandages to set?
At room temperature, the white chocolate should set within 20 to 30 minutes. You can speed this up by placing the decorated brownies in the refrigerator for 5 to 10 minutes.
Conclusion
Halloween Mummy Brownies are a delightful way to celebrate the spooky season without spending hours in the kitchen. Their charming appearance and classic chocolate taste make them a winner for any occasion. Give this easy recipe a try and enjoy the smiles (and maybe a few “boos”) from your friends and family!
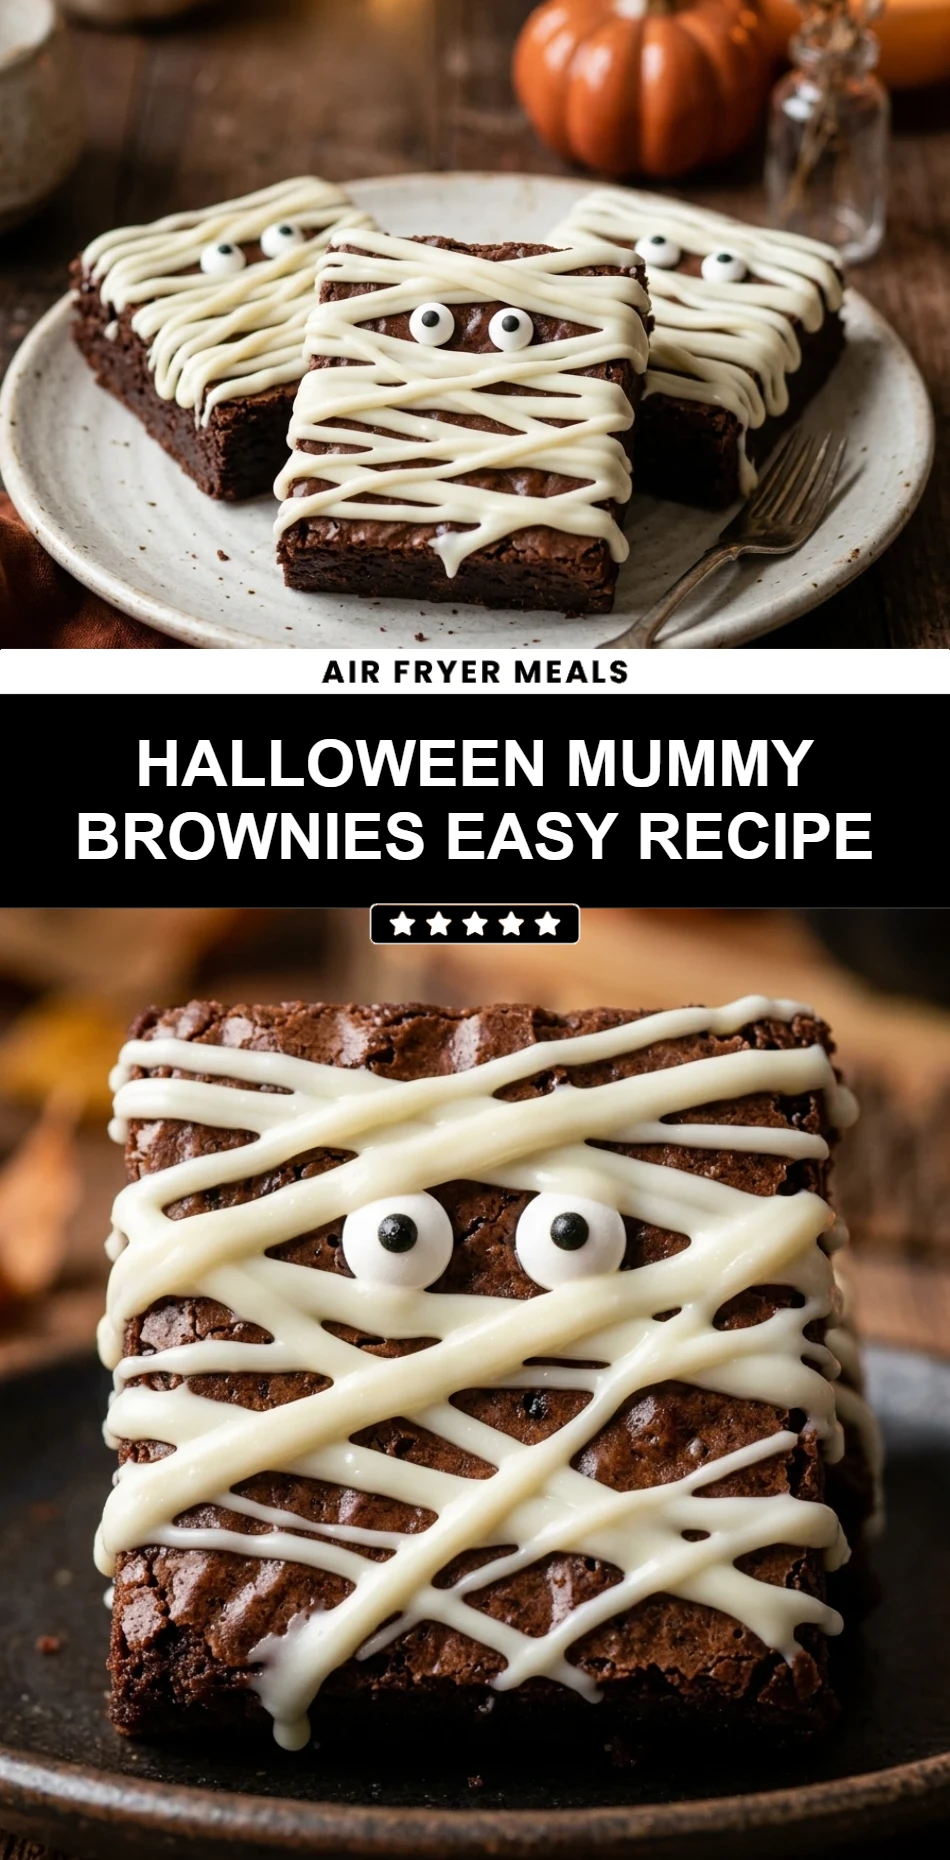
Halloween Mummy Brownies Easy Recipe
- Cook Time: 40 minutes
- Total Time: 40 minutes
- Diet: Vegetarian, Gluten-Free Option
Ingredients
- 1 box (18.4 oz) fudge brownie mix
- 1/2 cup vegetable oil
- 1/4 cup water
- 2 large eggs
- 1 cup white chocolate chips or vanilla frosting
- 24 edible candy eyes
Instructions
- Preheat your oven to 350°F (175°C). Grease an 8×8 or 9×9 inch square baking pan with butter or non-stick cooking spray. For even easier removal, line the pan with parchment paper, leaving an overhang on the sides.
- In a large mixing bowl, combine the brownie mix, vegetable oil, water, and eggs. Stir by hand until the ingredients are just combined. Avoid over-mixing, as this can lead to a cake-like texture rather than a fudgy one.
- Pour the batter into the prepared baking pan and spread it evenly with a spatula. Bake for 20 to 25 minutes, or until a toothpick inserted into the center comes out with just a few moist crumbs. Do not overbake.
- Remove the pan from the oven and place it on a wire rack to cool completely. This is the most important step! If the brownies are even slightly warm, the white chocolate “bandages” will melt and lose their shape.
- Once cooled, lift the brownies out of the pan using the parchment paper edges. Use a sharp knife to cut them into 12 even rectangular bars. Space them out slightly on a piece of parchment paper to prepare for decorating.
- Place the white chocolate chips in a microwave-safe bowl. Microwave in 30-second intervals, stirring in between, until the chocolate is completely smooth. Transfer the melted chocolate into a piping bag or a small Ziploc bag with a tiny corner snipped off.
- Drizzle the melted white chocolate back and forth across each brownie in a zig-zag motion to create the appearance of mummy bandages. Leave a small space near the top for the eyes. Immediately place two candy eyes in the gap before the chocolate sets.