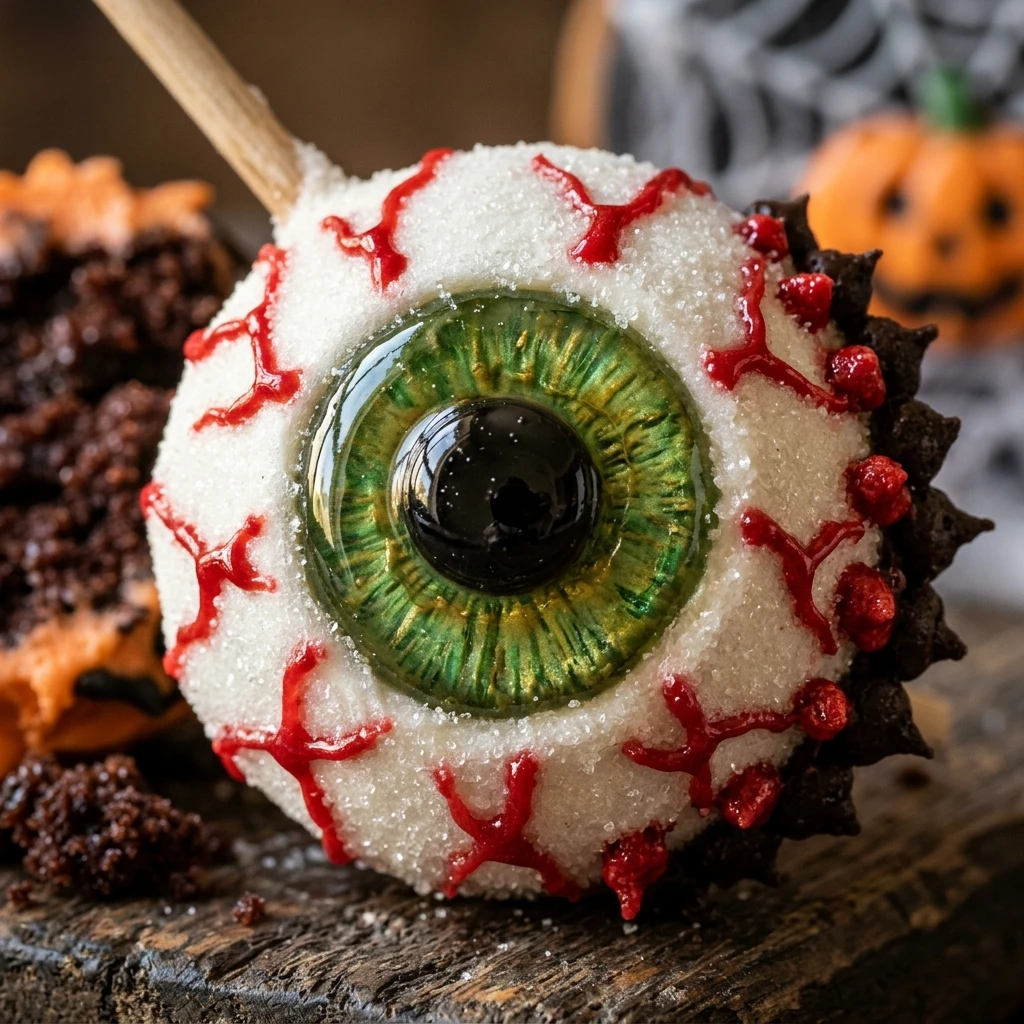

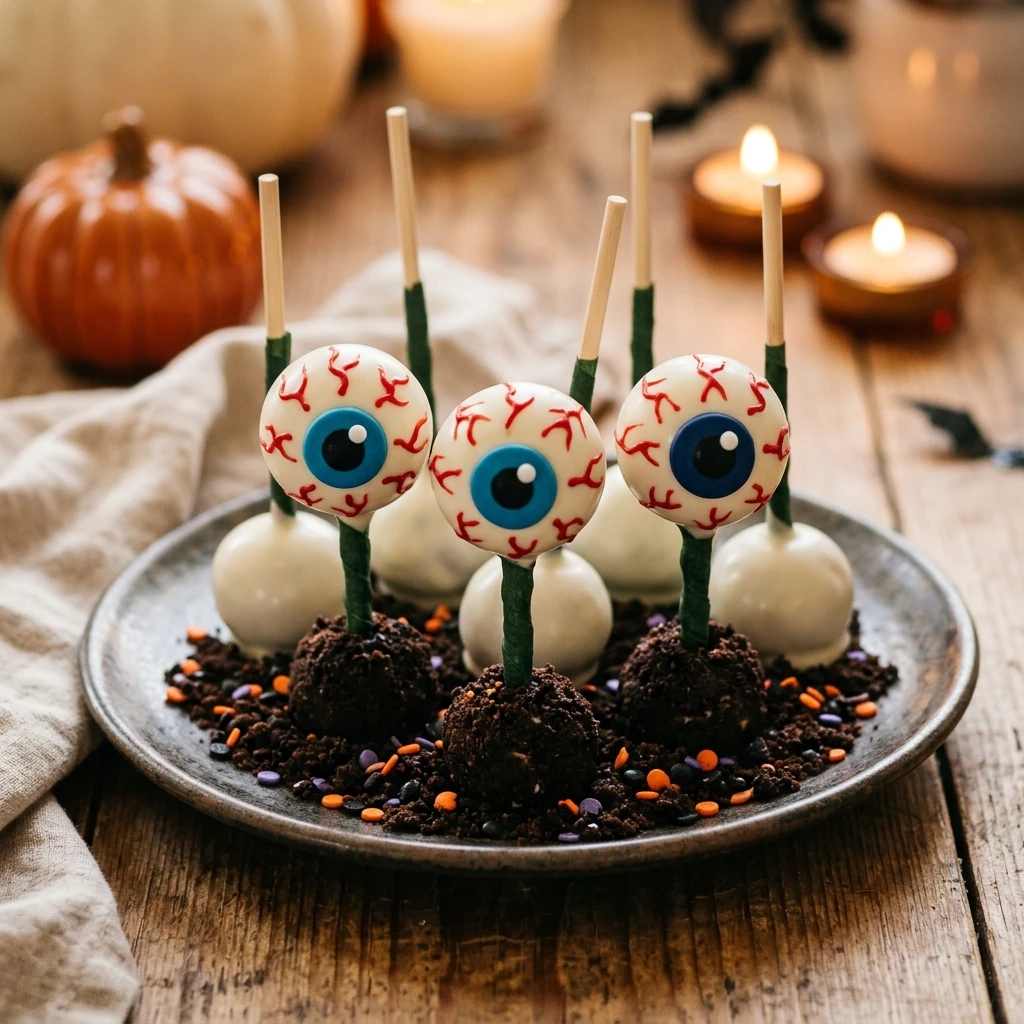
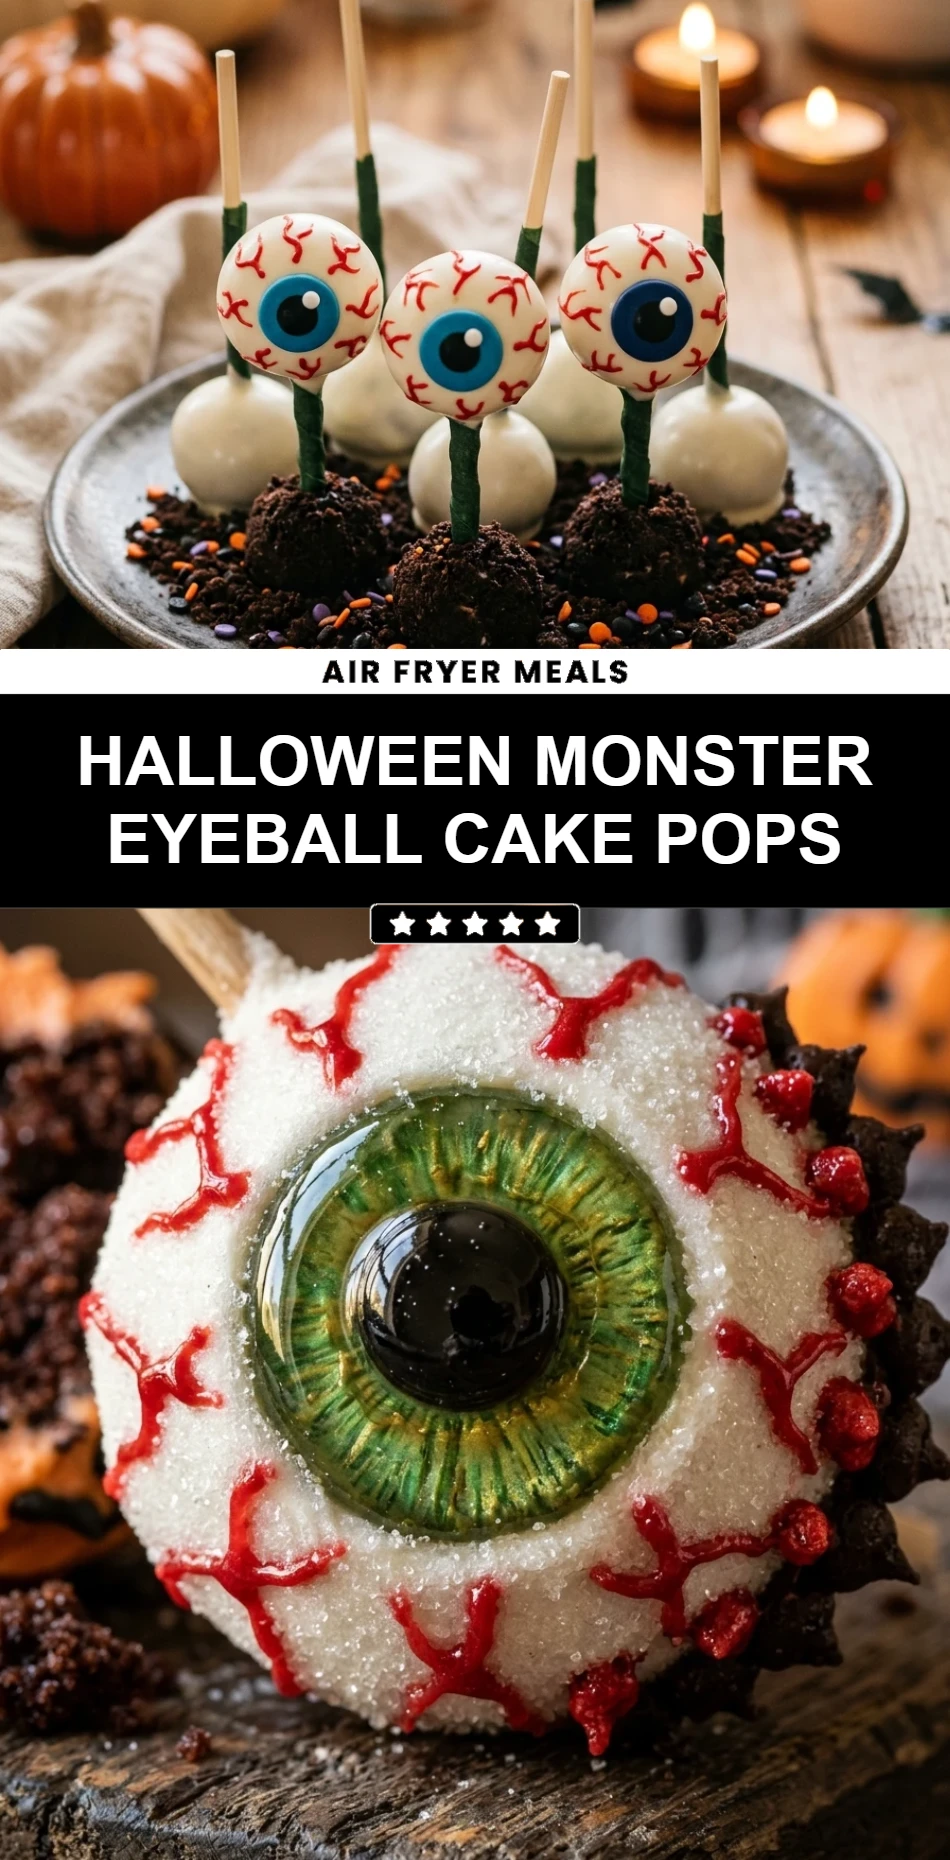
Get ready for the spookiest treat of the season! These Halloween Monster Eyeball Cake Pops are a ghoulishly delightful snack that will be the star of any party or gathering. Combining the moist texture of cake with a sweet candy shell, these treats are designed to look like bloodshot monster eyes that are watching your every move. They are creepy, cute, and absolutely delicious.
Making these cake pops is a fantastic way to get the whole family involved in holiday baking. Kids love crumbling the cake and adding the “bloody” details to the eyes. Whether you are hosting a haunted house party or looking for a unique classroom treat, these edible eyeballs are sure to turn heads and satisfy every sweet tooth.
Recipe Information
- Prep Time: 60 minutes
- Cook Time: 30 minutes
- Total Time: 90 minutes (plus chilling time)
- Servings: 24 pops
- Difficulty Level: Medium
Nutrition Information
- Calories per serving: 195 kcal
- Protein: 2g
- Carbohydrates: 29g
- Fat: 9g
- Fiber: 1g
- Sugar: 21g
- Sodium: 160mg
Why Make This Halloween Monster Eyeball Cake Pops
These cake pops are the ultimate Halloween dessert because they strike the perfect balance between spooky and sweet. Unlike a traditional cake, these are bite-sized and easy to eat while mingling at a party. The visual impact of a platter full of “eyeballs” is unmatched and fits perfectly with any monster or horror theme.
Another great reason to make them is the versatility. You can use any flavor of cake you prefer, from classic vanilla to a “bloody” red velvet. They are also incredibly sturdy once the chocolate sets, making them easy to transport to events without worrying about them falling apart. Plus, the process of decorating them allows for total creative freedom!
How to Make Halloween Monster Eyeball Cake Pops
The process of creating these spooky treats involves baking a delicious cake, crumbling it down to create a truffle-like center, and then using candy melts to bring the monster eyes to life. Follow these steps for the best results.
Ingredients
- 1 box (15.25 oz) chocolate or vanilla cake mix (plus ingredients required on the box)
- 1/2 cup vanilla frosting (store-bought or homemade)
- 24 ounces white candy melts or white chocolate melting wafers
- 24 large candy eyeballs
- Red edible ink marker or red piping gel
- 24 lollipop sticks
- Styrofoam block or cake pop stand (for drying)
Directions
Step 1: Bake the Cake Foundation
Preheat your oven and prepare the cake mix according to the instructions on the box. Pour the batter into a greased baking pan and bake until a toothpick inserted in the center comes out clean. Allow the cake to cool completely before moving to the next step.
Step 2: Create the Cake Crumbs
Once the cake is cool, use your hands to crumble it into very fine pieces in a large mixing bowl. There should be no large chunks remaining. The finer the crumbs, the smoother your cake pops will be.
Step 3: Bind with Frosting
Add about half a cup of vanilla frosting to the cake crumbs. Use a large spoon or your hands to mix the frosting into the crumbs until a dough-like consistency forms. You should be able to roll a small amount into a ball that holds its shape without falling apart.
Step 4: Roll the Cake Balls
Scoop about one tablespoon of the cake mixture and roll it between your palms to form a smooth, round ball. Repeat this until all the mixture is used, placing the balls on a parchment-lined baking sheet.
Step 5: Secure the Lollipop Sticks
Melt a small amount of white candy melts in the microwave. Dip about half an inch of a lollipop stick into the melted chocolate, then push it halfway into a cake ball. This acts as “glue” to keep the pop on the stick. Repeat for all balls.
Step 6: Chill for Stability
Place the baking sheet with the cake pops into the freezer for about 15 to 20 minutes. Chilling them helps them stay firm so they don’t fall apart or melt when you dip them into the warm candy coating later.
Step 7: Dip and Decorate the Eyeballs
Melt the remaining white candy melts in a deep bowl. Dip each chilled cake ball straight down into the chocolate until fully covered. Gently tap the stick on the edge of the bowl to remove excess chocolate. While the chocolate is still wet, press one candy eyeball onto the center of each pop. Place them in a styrofoam block to dry.
Step 8: Add the Bloodshot Details
Once the white coating is completely hardened, use a red edible ink marker or red piping gel to draw squiggly lines radiating from the candy eye. This gives the “eyeballs” a creepy, bloodshot look.
How to Serve Halloween Monster Eyeball Cake Pops
Serve these cake pops by standing them upright in a decorative container filled with black sand, sugar, or foam. This keeps the “eyes” facing your guests. For a more dramatic effect, you can arrange them on a dark platter surrounded by plastic spiders or fake cobwebs. They are best served at room temperature so the cake inside remains soft and moist.
How to Store Halloween Monster Eyeball Cake Pops
Store your finished cake pops in an airtight container in the refrigerator for up to one week. If you need to stack them, place a piece of parchment paper between layers to prevent the decorations from smudging. You can also freeze them for up to six weeks; just be sure to thaw them slowly in the fridge to avoid condensation on the chocolate shells.
Expert Tips for Perfect Halloween Monster Eyeball Cake Pops
Always make sure your cake is completely cool before crumbling, otherwise, the frosting will melt and create a greasy texture. If your candy melts are too thick for dipping, add a teaspoon of coconut oil or vegetable shortening to thin them out. Avoid over-chilling the pops in the freezer; if they are too cold, the warm chocolate coating might crack as it sets.
Delicious Variations
Try using red velvet cake for the center so it looks like “flesh” when someone takes a bite. You can also use green or orange candy melts instead of white to create different colored monster eyes. For an extra spooky touch, use a little bit of black frosting to add pupils or eyelashes to the eyes for more personality.
Frequently Asked Questions
Q: Why did my cake pop fall off the stick?
This usually happens if the cake ball is too heavy or if you skipped dipping the stick in chocolate before inserting it. Make sure your cake-to-frosting ratio is correct so the balls aren’t too soft.
Q: Can I make these a few days in advance?
Yes, these are perfect for making ahead of time. They stay fresh in the refrigerator for up to 7 days, making them a great stress-free party treat.
Q: Do I have to use a cake mix?
Not at all! You can use any homemade cake recipe you enjoy. Just ensure the cake is fully baked and cooled before you begin the crumbling process.
Q: How do I get a smooth chocolate finish?
The key is to use a deep bowl so you can dip the pop in one go. Tap your wrist gently to shake off the excess rather than shaking the pop itself, which can cause air bubbles.
Q: What if I don’t have a styrofoam block?
You can use a cardboard box with small holes poked in it, or even a colander turned upside down. Anything that can hold the sticks upright while the chocolate sets will work.
Conclusion
Halloween Monster Eyeball Cake Pops are the perfect combination of spooky fun and delicious flavor. They are sure to be a conversation starter at your next holiday event. With a little bit of patience and some creative decorating, you can create a professional-looking treat that everyone will love to eat. Happy haunting and happy baking!
Halloween Monster Eyeball Cake Pops
- Cook Time: 90 minutes (plus chilling time)
- Total Time: 1 hour 30 minutes
- Diet: Vegetarian
Ingredients
- 1 box (15.25 oz) chocolate or vanilla cake mix (plus ingredients required on the box)
- 1/2 cup vanilla frosting (store-bought or homemade)
- 24 ounces white candy melts or white chocolate melting wafers
- 24 large candy eyeballs
- Red edible ink marker or red piping gel
- 24 lollipop sticks
- Styrofoam block or cake pop stand (for drying)
Instructions
- Preheat your oven and prepare the cake mix according to the instructions on the box. Pour the batter into a greased baking pan and bake until a toothpick inserted in the center comes out clean. Allow the cake to cool completely before moving to the next step.
- Once the cake is cool, use your hands to crumble it into very fine pieces in a large mixing bowl. There should be no large chunks remaining. The finer the crumbs, the smoother your cake pops will be.
- Add about half a cup of vanilla frosting to the cake crumbs. Use a large spoon or your hands to mix the frosting into the crumbs until a dough-like consistency forms. You should be able to roll a small amount into a ball that holds its shape without falling apart.
- Scoop about one tablespoon of the cake mixture and roll it between your palms to form a smooth, round ball. Repeat this until all the mixture is used, placing the balls on a parchment-lined baking sheet.
- Melt a small amount of white candy melts in the microwave. Dip about half an inch of a lollipop stick into the melted chocolate, then push it halfway into a cake ball. This acts as “glue” to keep the pop on the stick. Repeat for all balls.
- Place the baking sheet with the cake pops into the freezer for about 15 to 20 minutes. Chilling them helps them stay firm so they don’t fall apart or melt when you dip them into the warm candy coating later.
- Melt the remaining white candy melts in a deep bowl. Dip each chilled cake ball straight down into the chocolate until fully covered. Gently tap the stick on the edge of the bowl to remove excess chocolate. While the chocolate is still wet, press one candy eyeball onto the center of each pop. Place them in a styrofoam block to dry.
- Once the white coating is completely hardened, use a red edible ink marker or red piping gel to draw squiggly lines radiating from the candy eye. This gives the “eyeballs” a creepy, bloodshot look.