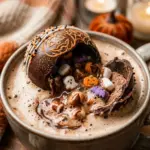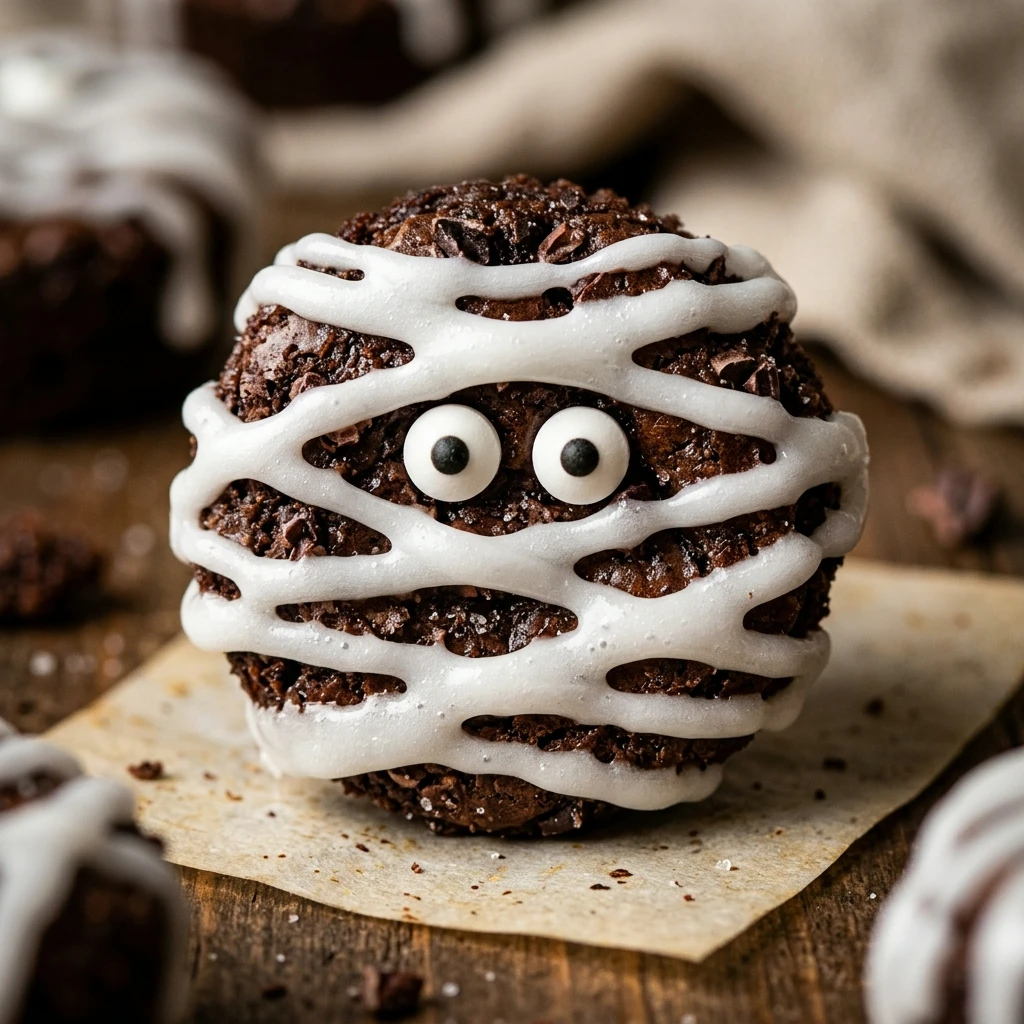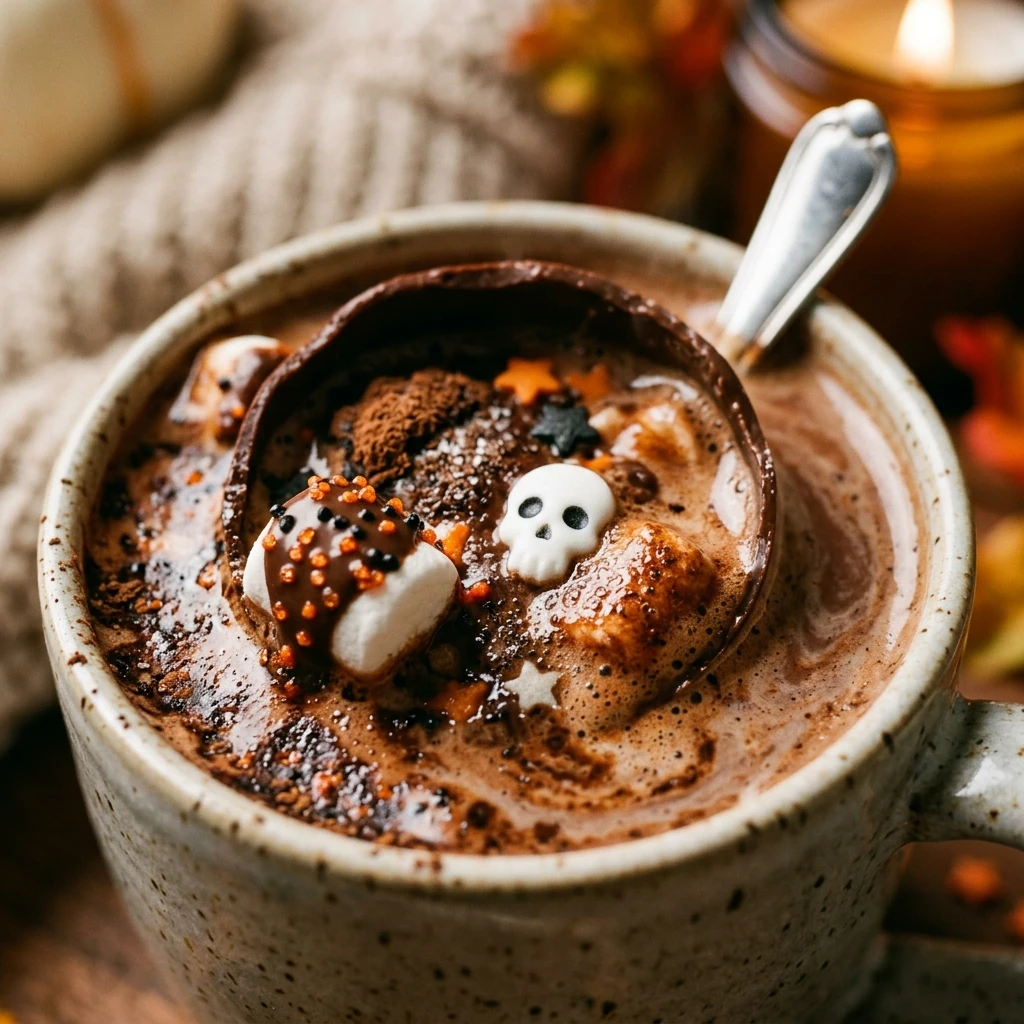

Halloween is the perfect time to get creative in the kitchen with treats that are as fun to make as they are to eat. These Halloween Hot Cocoa Bombs are a spooky twist on the viral sensation that turns a simple cup of milk into a magical, chocolatey experience. Whether you are hosting a haunted house party or snuggling up for a scary movie marathon, these cocoa bombs add a touch of festive flair to your mug.
Making your own cocoa bombs at home is surprisingly easy and allows you to customize the flavors and decorations to fit the holiday spirit. Imagine dropping a shimmering black or orange sphere into hot milk and watching it burst open to reveal a treasure trove of marshmallows and spooky sprinkles. It is a delight for kids and adults alike, making it a must-try recipe for the October season.
Recipe Information
- Prep Time: 40 minutes
- Cook Time: 5 minutes
- Total Time: 45 minutes
- Servings: 6 bombs
- Difficulty Level: Medium
Nutrition Information
- Calories per serving: 320 kcal
- Protein: 3g
- Carbohydrates: 42g
- Fat: 16g
- Fiber: 2g
- Sugar: 36g
- Sodium: 85mg
Why Make This Halloween Hot Cocoa Bombs Recipe
This recipe is the ultimate way to celebrate the spooky season. Unlike store-bought versions, homemade cocoa bombs are made with high-quality chocolate and your favorite cocoa mix, ensuring a much better taste. They serve as a fantastic edible craft that the whole family can participate in, especially when it comes time to decorate with “googly” eyes and bright orange drizzles.
Beyond the taste, these bombs make incredible DIY gifts. Wrap them in cellophane with a festive ribbon, and you have a thoughtful treat for neighbors, teachers, or friends. They are visually stunning, interactive, and bring a sense of wonder to the table that a standard packet of cocoa simply cannot match.
How to Make Halloween Hot Cocoa Bombs Recipe
Creating these treats requires a little bit of patience and a silicone mold, but the results are well worth the effort. Follow these steps to ensure your chocolate shells are sturdy and your decorations are perfectly “frightening.”
Ingredients
- 12 ounces high-quality semi-sweet or dark chocolate melting wafers
- 6 tablespoons premium hot cocoa mix
- 1/2 cup mini marshmallows
- 1/4 cup orange and purple candy melts (for drizzling)
- Halloween-themed sprinkles (bats, pumpkins, or candy eyes)
- Edible gold or silver glitter (optional)
Directions
Step 1: Melt the Chocolate
Place your chocolate melting wafers in a microwave-safe bowl. Heat in 30-second intervals, stirring thoroughly between each session, until the chocolate is completely smooth and glossy. Be careful not to overheat it, as the chocolate can burn and become grainy.
Step 2: Coat the Molds
Using a spoon or a clean pastry brush, apply a thick layer of melted chocolate to the inside of your semi-sphere silicone molds. Make sure to coat the edges well, as this is where the two halves will join. Place the mold in the freezer for about 5 to 10 minutes to set.
Step 3: Add a Second Coat
Once the first layer is firm, apply a second thin coat of chocolate, focusing especially on the rim. This ensures the bombs don’t crack when you handle them. Return the mold to the freezer for another 10 minutes until completely hardened.
Step 4: Remove and Fill
Gently peel the silicone mold away from the chocolate spheres. Set three of the spheres aside. Fill the other three spheres with 1 tablespoon of hot cocoa mix, a handful of mini marshmallows, and some festive sprinkles.
Step 5: Seal the Bombs
Heat a small plate in the microwave or on the stove until warm. Take an empty chocolate sphere and touch the rim to the warm plate for a second to melt the edge. Immediately press it onto a filled sphere to seal them together. Use your finger to smooth any excess chocolate around the seam.
Step 6: Decorate for Halloween
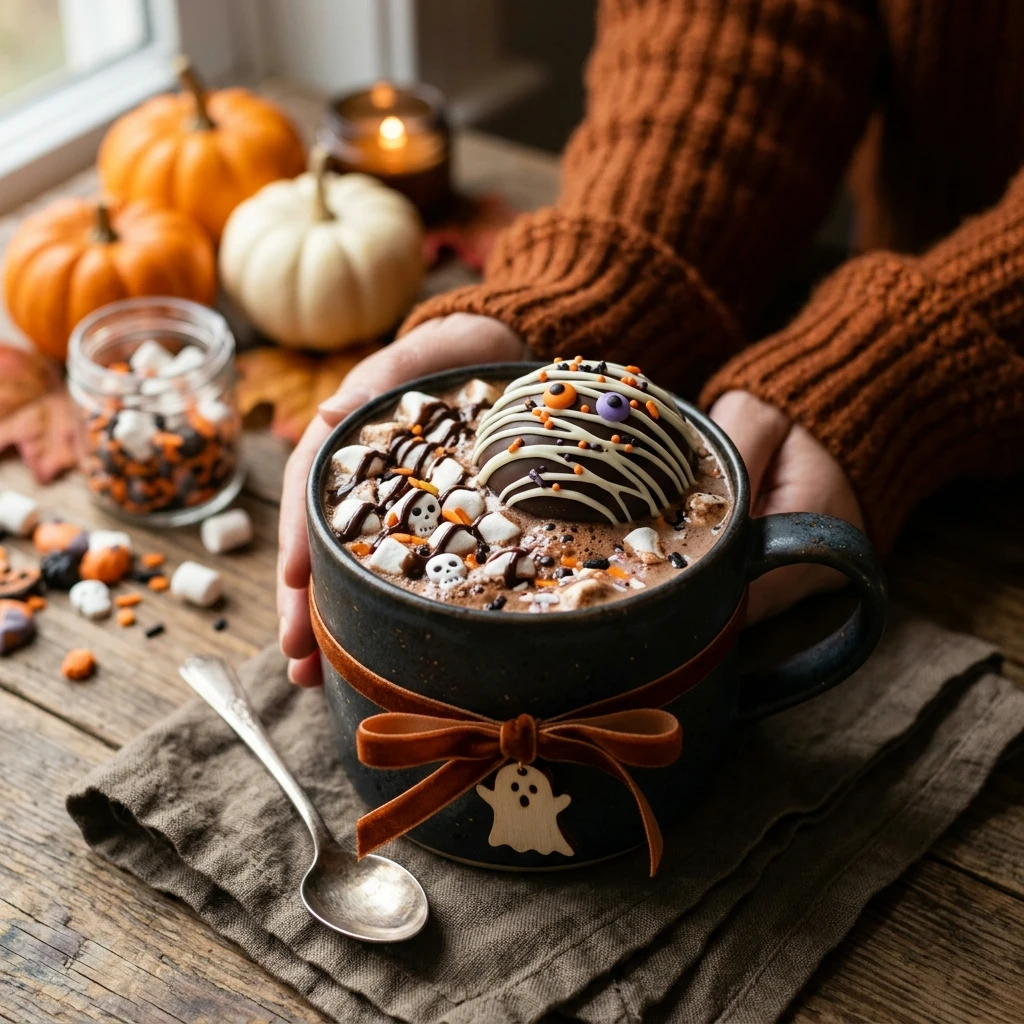
Melt your orange and purple candy melts according to package instructions. Drizzle the colorful chocolate over the sealed bombs and immediately top with candy eyes, bat sprinkles, or edible glitter. Allow them to set completely before serving.
How to Serve Halloween Hot Cocoa Bombs Recipe
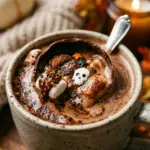
To enjoy your creation, place one Halloween hot cocoa bomb in the bottom of a large mug. Slowly pour 8 to 10 ounces of very hot milk directly over the center of the bomb. Watch as the chocolate melts away, the sphere “pops,” and the marshmallows float to the top. Stir well with a spoon until the chocolate and cocoa mix are fully incorporated into the milk.
How to Store Halloween Hot Cocoa Bombs Recipe
Store your finished cocoa bombs in an airtight container in a cool, dry place. They will stay fresh at room temperature for up to two weeks. Avoid storing them in the refrigerator, as the moisture can cause the chocolate to “bloom” or develop white spots. If your kitchen is very warm, keep them in the coolest spot possible to prevent melting.
Expert Tips for Perfect Halloween Hot Cocoa Bombs Recipe
For the best results, use a pair of food-safe gloves when handling the chocolate spheres to prevent leaving fingerprints on the shiny surface. If you find the chocolate is setting too quickly while you are sealing them, you can use a piping bag of melted chocolate to “glue” the seams together. Always use a high-fat milk or a creamy milk alternative like oat milk for the richest and most indulgent hot chocolate experience.
Delicious Variations
Try using white chocolate melting wafers and decorating them with black icing to look like ghosts or mummies. You can also swap the standard cocoa mix for white chocolate cocoa or pumpkin spice flavored mix for an extra seasonal kick. Adding a pinch of cinnamon or a drop of peppermint extract inside the bomb can also create a unique flavor profile that surprises your guests.
Frequently Asked Questions
Q: What is the best type of chocolate to use?
Melting wafers (like Ghirardelli or Wilton) are best for beginners because they don’t require tempering and set very hard and shiny.
Q: Can I make these dairy-free?
Yes! Simply use dairy-free dark chocolate wafers and fill them with a vegan cocoa mix. Serve with hot almond, soy, or oat milk.
Q: Why did my cocoa bomb break when I touched it?
The walls of the sphere might have been too thin. Ensure you do a solid second coat of chocolate, especially around the rim of the mold.
Q: How hot does the milk need to be?
The milk should be steaming but not boiling. If the milk isn’t hot enough, the chocolate won’t melt quickly enough to create the “pop” effect.
Q: Can I make these in advance?
Absolutely. These are perfect for making a few days before a party. Just keep them in a sealed container away from direct sunlight and heat.
Conclusion
Halloween Hot Cocoa Bombs are a delightful way to bring a little magic to your kitchen this autumn. They are visually impressive, incredibly tasty, and offer a fun activity for everyone involved. Once you master the basic technique, you can experiment with all sorts of spooky designs. Grab your molds and your favorite chocolate, and get ready to enjoy the most festive cup of cocoa you’ve ever had!
Halloween Hot Cocoa Bombs Recipe
- Cook Time: 30 minutes
- Total Time: 30 minutes
- Diet: None
Ingredients
- Refer to article content.
Instructions
- See article directions list.