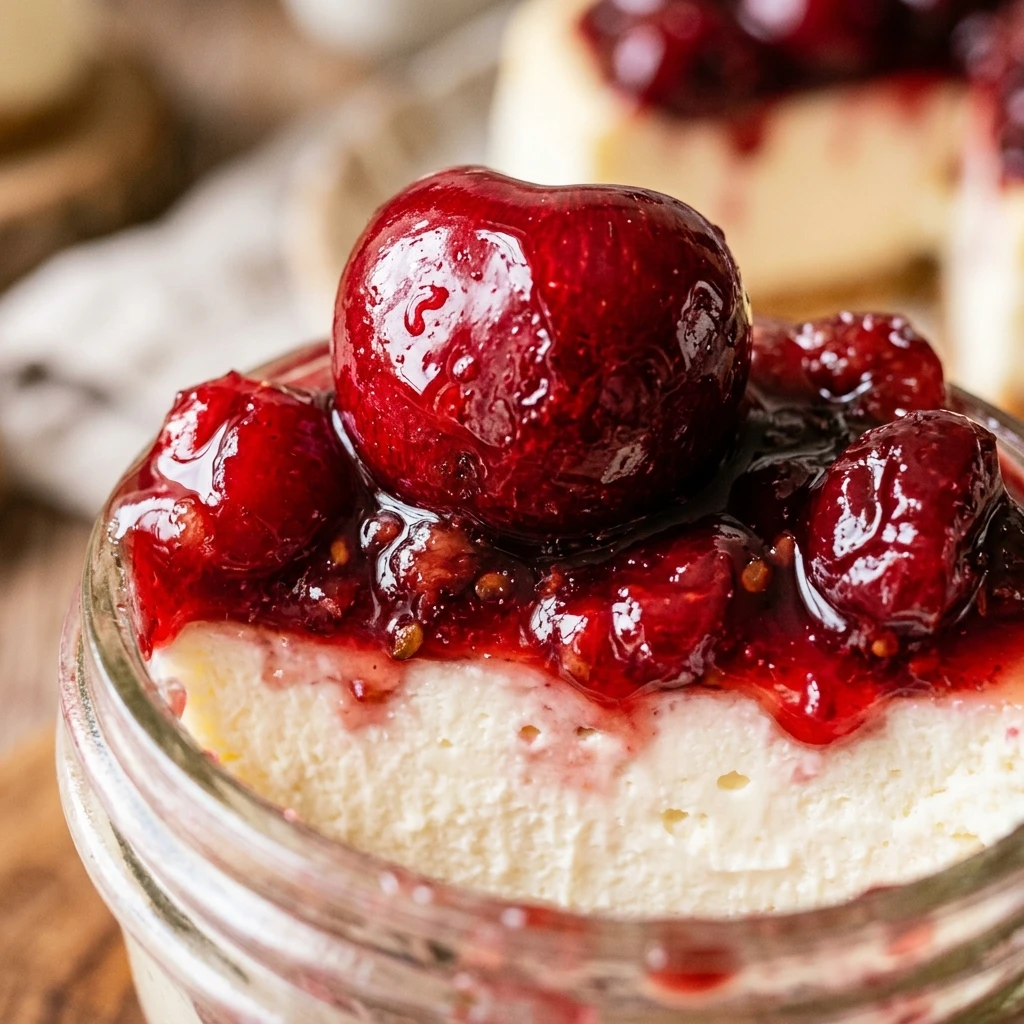

Looking for a spooky treat that tastes absolutely divine? These Bloody Cherry Cheesecake Jars are the perfect combination of creepy and delicious. Whether you are hosting a Halloween party or just want a festive dessert for the family, these individual jars are always a hit. They look like a gourmet dessert but require zero time in the oven.
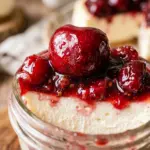
The contrast between the creamy white cheesecake and the deep, dripping red cherry topping creates a dramatic “bloody” effect that fits any macabre theme. Best of all, serving them in jars makes them portable, portion-controlled, and incredibly easy to clean up. Let’s dive into how you can make this hauntingly good treat at home.
Recipe Information
- Prep Time: 20 minutes
- Cook Time: 0 minutes
- Total Time: 2 hours 20 minutes
- Servings: 6 jars
- Difficulty Level: Easy
Nutrition Information
- Calories per serving: 385 kcal
- Protein: 4g
- Carbohydrates: 38g
- Fat: 24g
- Fiber: 1g
- Sugar: 28g
- Sodium: 210mg
Why Make This Bloody Cherry Cheesecake Jars Recipe
This recipe is a game-changer for holiday entertaining. Because it is a no-bake recipe, you do not have to worry about the cheesecake cracking or the oven heating up your kitchen. The individual servings prevent the mess of slicing a traditional cake, ensuring every guest gets a perfectly layered dessert.
Beyond the convenience, the flavor profile is classic and crowd-pleasing. You get the crunch of the buttery graham cracker crust, the silky smoothness of the cream cheese filling, and the tart sweetness of the “bloody” cherries. It is a sophisticated dessert disguised as a fun, spooky snack.
How to Make Bloody Cherry Cheesecake Jars Recipe
Making these jars is a simple process of layering textures. You will start with a solid base, move to a whipped filling, and finish with the dramatic fruit topping. Follow these steps to ensure your layers stay distinct and beautiful.
Ingredients
- 1.5 cups graham cracker crumbs
- 4 tablespoons unsalted butter, melted
- 16 ounces cream cheese, softened to room temperature
- 1 cup powdered sugar
- 1 teaspoon pure vanilla extract
- 1 cup heavy whipping cream, cold
- 21 ounces cherry pie filling
- 2 drops red food coloring (optional, for extra “blood” color)
- 1 teaspoon lemon juice
Directions
Step 1: Prepare the Crust
In a medium bowl, combine the graham cracker crumbs and the melted butter. Stir until the crumbs are evenly moistened. Distribute the mixture evenly among six small mason jars and press down firmly with the back of a spoon to create a solid base.
Step 2: Beat the Cream Cheese
In a large mixing bowl, beat the softened cream cheese, powdered sugar, and vanilla extract together until the mixture is completely smooth and creamy. Make sure there are no lumps remaining before moving to the next step.
Step 3: Whip the Cream
In a separate chilled bowl, whip the heavy cream until stiff peaks form. Gently fold the whipped cream into the cream cheese mixture using a spatula. This keeps the filling light and airy rather than dense.
Step 4: Layer the Cheesecake
Pipe or spoon the cheesecake mixture into the jars over the graham cracker crust. Fill them about three-quarters of the way full, leaving room for the topping. Smooth the tops with a small spoon or spatula.
Step 5: Create the Bloody Topping
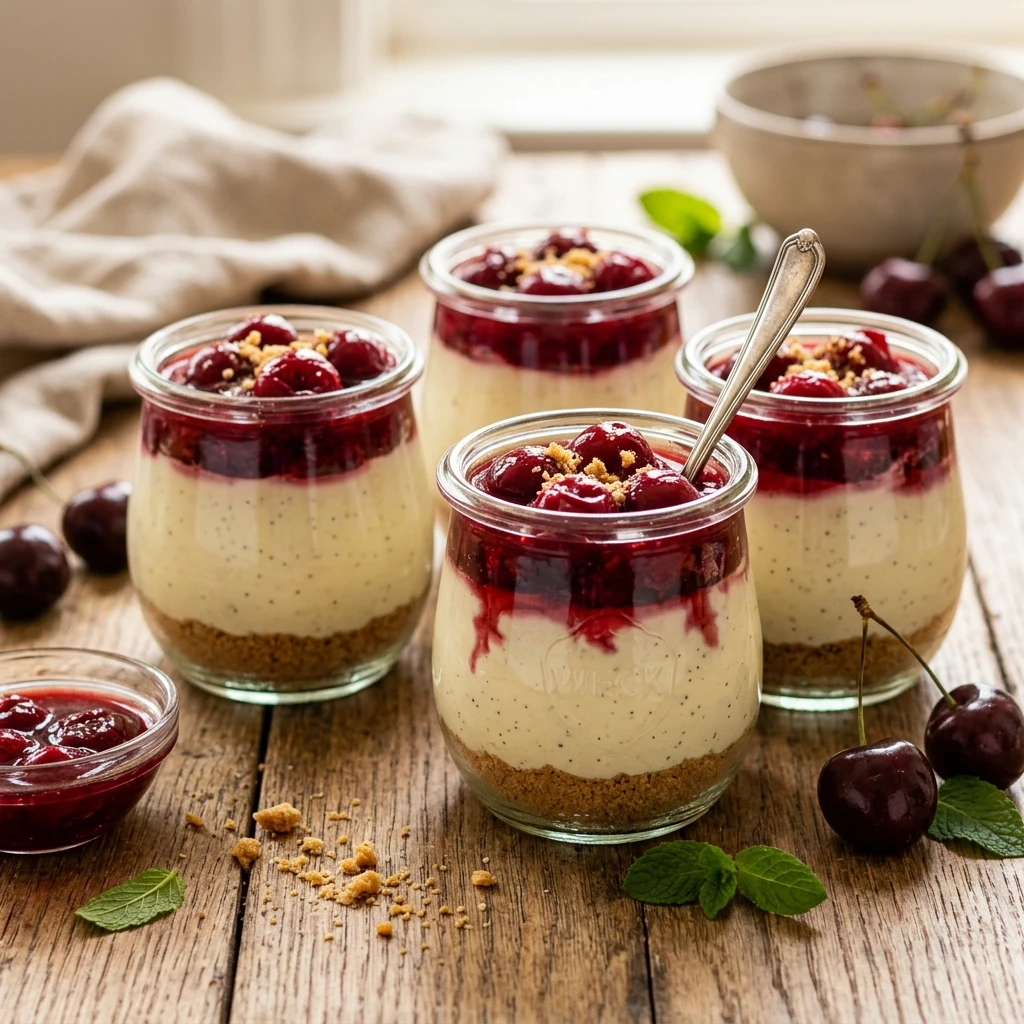
Empty the cherry pie filling into a bowl. If you want a more “vivid” look, stir in a drop or two of red food coloring and the lemon juice to brighten the flavor. Spoon the cherries and the red syrup over the cheesecake layer, allowing some of the red sauce to drip down the inner sides of the jar for a “bloody” effect.
Step 6: Chill and Set
Place the lids on the jars or cover them with plastic wrap. Refrigerate for at least 2 hours to allow the cheesecake to set firmly before serving.
How to Serve Bloody Cherry Cheesecake Jars Recipe
Serve these jars cold directly from the refrigerator. To enhance the spooky theme, you can tie a piece of black twine around the rim of the jar or stick a plastic spider on the lid. For a more elegant look, add a small dollop of extra whipped cream on top of the cherries right before serving. Providing small wooden spoons or silver dessert spoons makes these easy for guests to enjoy while mingling.
How to Store Bloody Cherry Cheesecake Jars Recipe
These cheesecake jars can be stored in the refrigerator for up to 4 days. Keep them tightly sealed with their lids to prevent the cheesecake from absorbing any other odors from the fridge. While you can freeze cheesecake, the texture of the cherry topping may become slightly watery upon thawing, so it is best enjoyed fresh or refrigerated.
Expert Tips for Perfect Bloody Cherry Cheesecake Jars Recipe
The most important tip is to ensure your cream cheese is truly at room temperature. If it is even slightly cold, you will end up with tiny lumps in your filling. Additionally, for the cleanest layers, use a piping bag or a plastic bag with the corner snipped off to fill the jars. This prevents the filling from smearing against the glass where you don’t want it. If your cherry filling is too thick to “drip,” stir in a teaspoon of water or pomegranate juice to thin the syrup slightly.
Delicious Variations
If you want to change things up, try using chocolate sandwich cookie crumbs instead of graham crackers for a “dirt” and blood look. You can also swap the cherry filling for a raspberry or strawberry coulis if you prefer a different fruit flavor. For an adult version, stir a tablespoon of bourbon or almond liqueur into the cherry filling for a sophisticated depth of flavor.
Frequently Asked Questions
Q: Can I use low-fat cream cheese?
You can, but the texture will be less creamy and may not set as firmly. For the best results, full-fat cream cheese is recommended.
Q: Do I have to use heavy cream?
The heavy cream provides the light, mousse-like texture. You can substitute with a whipped topping like Cool Whip, but the flavor will be much sweeter.
Q: Can I make these a day in advance?
Yes! These actually taste better the next day as the flavors have more time to meld together.
Q: How do I get the “bloody” look on the sides?
Use a small spoon to drizzle the red syrup from the cherry filling specifically against the glass walls of the jar before filling the center with the rest of the fruit.
Q: What size jars should I use?
Small 4-ounce or 6-ounce mason jars are perfect for individual portions. You can also use clear plastic cups for a party.
Conclusion
Bloody Cherry Cheesecake Jars are the ultimate stress-free dessert for any festive occasion. With their striking appearance and rich, creamy taste, they are guaranteed to be the star of the dessert table. Simple to make and even easier to eat, this recipe is one you will find yourself coming back to every year. Enjoy your delicious, spooky creation!
Bloody Cherry Cheesecake Jars Recipe
- Cook Time: 2 hours 20 minutes
- Total Time: 2 hours 20 minutes
- Diet: Vegetarian
Ingredients
- 1.5 cups graham cracker crumbs
- 4 tablespoons unsalted butter, melted
- 16 ounces cream cheese, softened to room temperature
- 1 cup powdered sugar
- 1 teaspoon pure vanilla extract
- 1 cup heavy whipping cream, cold
- 21 ounces cherry pie filling
- 2 drops red food coloring (optional, for extra “blood” color)
- 1 teaspoon lemon juice
Instructions
- In a medium bowl, combine the graham cracker crumbs and the melted butter. Stir until the crumbs are evenly moistened. Distribute the mixture evenly among six small mason jars and press down firmly with the back of a spoon to create a solid base.
- In a large mixing bowl, beat the softened cream cheese, powdered sugar, and vanilla extract together until the mixture is completely smooth and creamy. Make sure there are no lumps remaining before moving to the next step.
- In a separate chilled bowl, whip the heavy cream until stiff peaks form. Gently fold the whipped cream into the cream cheese mixture using a spatula. This keeps the filling light and airy rather than dense.
- Pipe or spoon the cheesecake mixture into the jars over the graham cracker crust. Fill them about three-quarters of the way full, leaving room for the topping. Smooth the tops with a small spoon or spatula.
- Empty the cherry pie filling into a bowl. If you want a more “vivid” look, stir in a drop or two of red food coloring and the lemon juice to brighten the flavor. Spoon the cherries and the red syrup over the cheesecake layer, allowing some of the red sauce to drip down the inner sides of the jar for a “bloody” effect.
- Place the lids on the jars or cover them with plastic wrap. Refrigerate for at least 2 hours to allow the cheesecake to set firmly before serving.