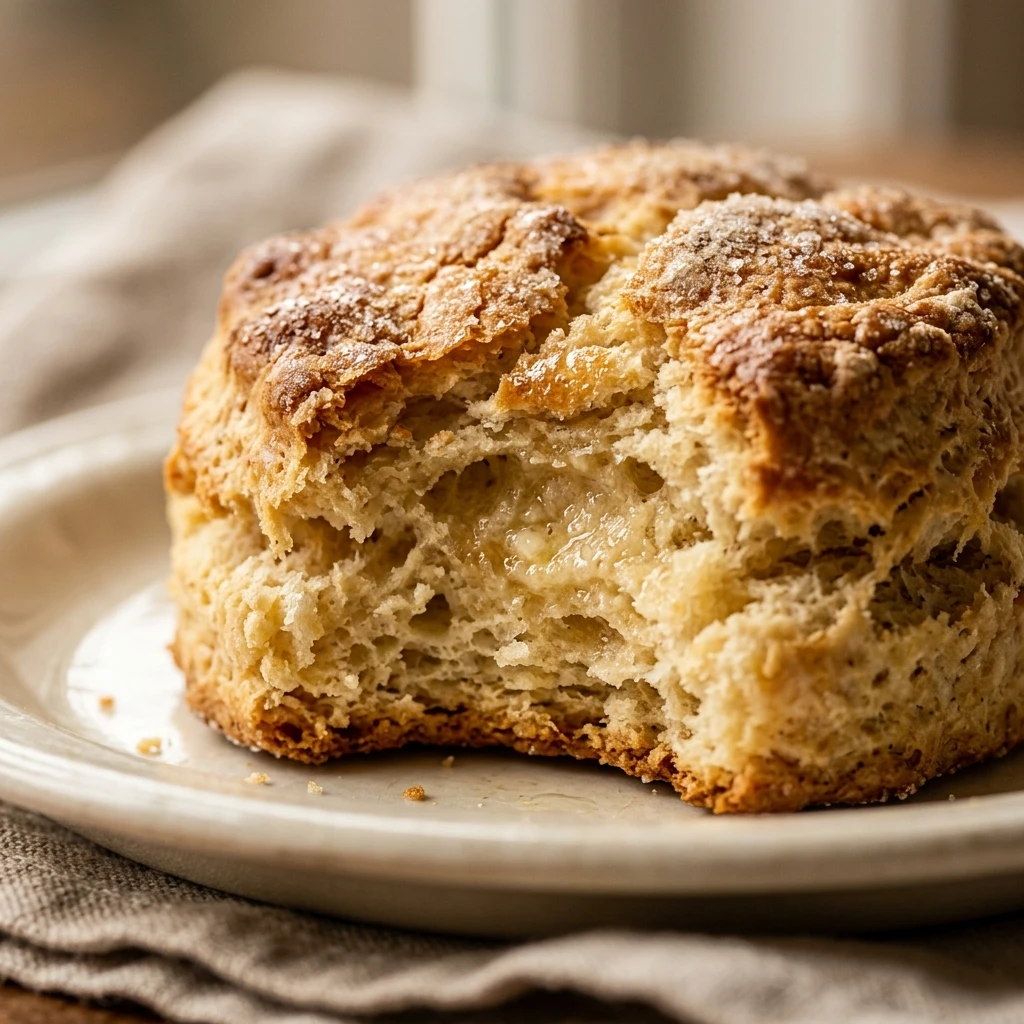

There is nothing quite as comforting as the smell of freshly baked scones wafting through the kitchen. These Classic British 4-Ingredient Scones are the ultimate shortcut to a traditional afternoon tea experience without the fuss of a complicated recipe. They are light, fluffy, and incredibly easy to pull together using basic pantry staples you likely already have on hand.
Whether you are hosting a formal tea party or just looking for a quick treat to enjoy with your morning coffee, this recipe delivers consistent results every time. By focusing on just four high-quality ingredients, you allow the simple, buttery flavor of the pastry to shine through. Let’s dive into how you can master this British classic in less than half an hour.
Recipe Information
- Prep Time: 10 minutes
- Cook Time: 12 minutes
- Total Time: 22 minutes
- Servings: 8 scones
- Difficulty Level: Easy
Nutrition Information
- Calories per serving: 245 kcal
- Protein: 4g
- Carbohydrates: 34g
- Fat: 10g
- Fiber: 1g
- Sugar: 6g
- Sodium: 360mg
Why Make This Classic British 4-Ingredient Scones
The beauty of this recipe lies in its simplicity. Many modern recipes add unnecessary steps and ingredients that can lead to a tough or overly sweet scone. This 4-ingredient version stays true to the rustic roots of British baking, resulting in a tender crumb that is the perfect vessel for jam and cream.
It is also an excellent recipe for beginner bakers. Because there are so few components, you can focus on the technique of handling the dough gently. It is a fast, budget-friendly way to bring a touch of elegance to your table without spending hours in the kitchen.
How to Make Classic British 4-Ingredient Scones
Making these scones is a straightforward process that involves rubbing fat into flour and gently bringing the dough together. Follow these simple steps to achieve a beautiful rise and a golden finish.
Ingredients
- 350g Self-raising flour (plus extra for dusting)
- 85g Chilled unsalted butter, cubed
- 3 tablespoons Caster sugar
- 175ml Whole milk (plus 1 tablespoon for glazing)
Directions
Step 1: Preheat and Prepare
Preheat your oven to 220°C (425°F/Gas Mark 7). Line a large baking sheet with parchment paper or a silicone baking mat to prevent the scones from sticking to the bottom.
Step 2: Rub in the Butter
Sift the self-raising flour into a large mixing bowl. Add the chilled, cubed butter. Use your fingertips to rub the butter into the flour until the mixture resembles fine breadcrumbs. Try to work quickly so the heat from your hands doesn’t melt the butter.
Step 3: Add Sugar and Milk
Stir in the caster sugar. Make a well in the center of the mixture and pour in the milk. Use a blunt knife or a spatula to fold the ingredients together until a soft, slightly sticky dough forms. Avoid over-mixing, as this will make the scones tough.
Step 4: Shape and Cut
Turn the dough out onto a lightly floured surface. Gently fold the dough over a few times just until it is smooth. Pat it down with your hands until it is about 2.5cm (1 inch) thick. Use a 6cm round cutter to stamp out circles. Press straight down and lift up without twisting the cutter to ensure a straight rise.
Step 5: Glaze and Bake
Place the scones on the prepared baking tray. Brush the tops with a little extra milk for a golden finish. Bake for 10 to 12 minutes until they have risen significantly and the tops are a light golden brown. Transfer to a wire rack to cool slightly.
How to Serve Classic British 4-Ingredient Scones
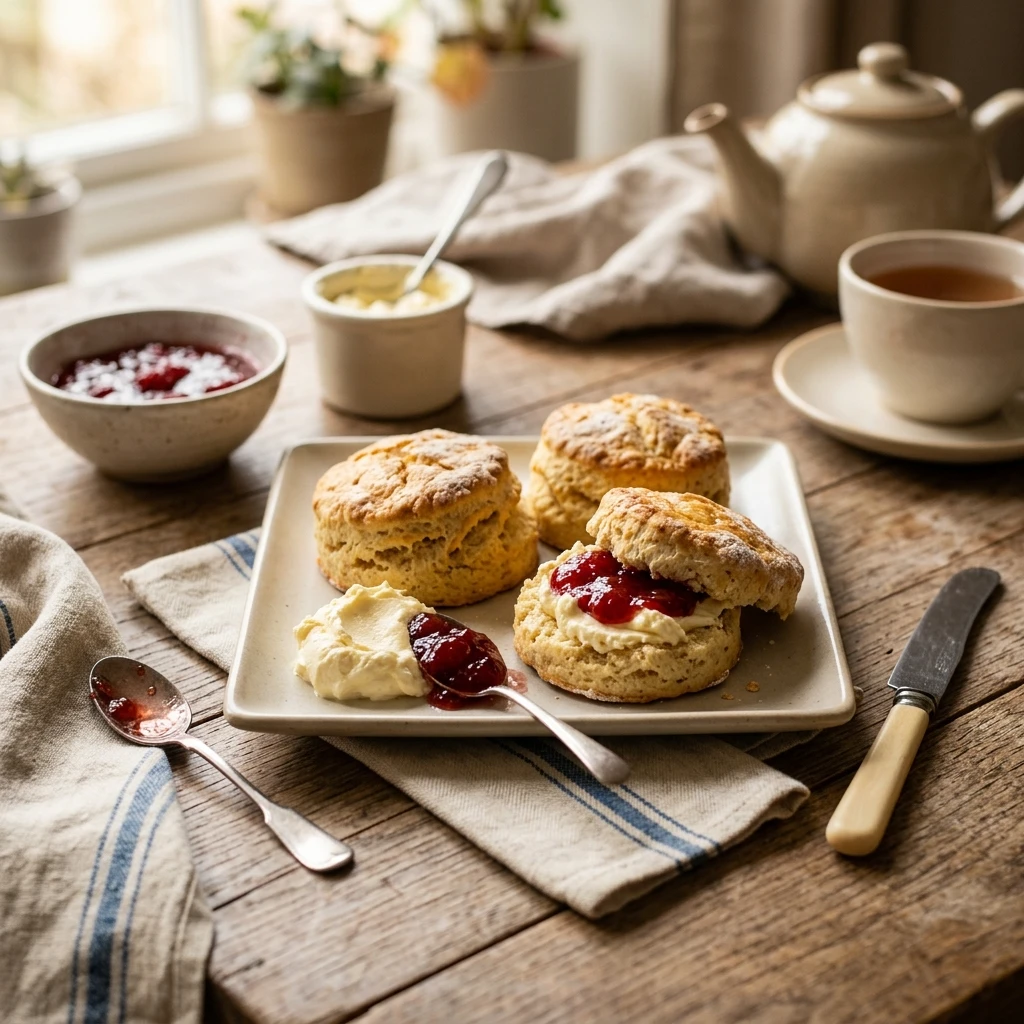
The traditional way to serve these is warm from the oven. Split them in half by hand rather than using a knife to preserve the texture. In Cornwall, the tradition is to spread jam first and then top with a generous spoonful of clotted cream. In Devon, the cream goes on first, followed by the jam. Whichever way you choose, they are best enjoyed with a hot pot of English breakfast tea.
How to Store Classic British 4-Ingredient Scones
Scones are best eaten on the day they are made. However, if you have leftovers, store them in an airtight container at room temperature for up to two days. To refresh them, pop them in a warm oven for 5 minutes before serving. You can also freeze these scones for up to three months. Simply thaw at room temperature and warm through before eating.
Expert Tips for Perfect Classic British 4-Ingredient Scones
One of the most important tips is to keep your ingredients cold, especially the butter. This creates little pockets of steam that help the scones rise. When cutting the dough, never twist the cutter; twisting seals the edges and prevents the scone from rising tall. Finally, handle the dough as little as possible. The less you touch it, the lighter and fluffier your scones will be.
Delicious Variations
While the classic version is wonderful, you can easily adapt this recipe. Add a handful of sultanas or raisins for a traditional fruit scone. If you prefer something savory, omit the sugar and add 100g of grated sharp cheddar cheese and a pinch of mustard powder. For a citrus twist, fold in the zest of one lemon or orange before adding the milk.
Frequently Asked Questions
Q: Can I use plain flour instead of self-raising?
Yes, you can use plain flour, but you must add 2 teaspoons of baking powder per 150g of flour to ensure they rise properly.
Q: Why didn’t my scones rise?
This usually happens if the baking powder in your flour is old, if you twisted the cutter, or if you rolled the dough too thin before cutting.
Q: Can I use a food processor to mix the dough?
You can use a food processor to rub the butter into the flour using the pulse setting, but always mix the milk in by hand to avoid over-working the gluten.
Q: What can I use if I don’t have clotted cream?
Thick whipped cream or even a bit of high-quality butter makes a great substitute if clotted cream isn’t available in your area.
Q: Should I use salted or unsalted butter?
Unsalted butter is preferred so you can control the salt levels, but salted butter works fine too and adds a nice depth of flavor.
Conclusion
Baking doesn’t have to be complicated to be delicious. These Classic British 4-Ingredient Scones prove that with just a few simple components and the right technique, you can create a world-class treat in your own kitchen. Give this recipe a try the next time you need a quick baking win, and enjoy the timeless taste of a British tea room at home.

Classic British 4-Ingredient Scones

- Cook Time: 22 minutes
- Total Time: 22 minutes
- Diet: Vegetarian
Ingredients
- 350g Self-raising flour (plus extra for dusting)
- 85g Chilled unsalted butter, cubed
- 3 tablespoons Caster sugar
- 175ml Whole milk (plus 1 tablespoon for glazing)
Instructions
- Preheat your oven to 220°C (425°F/Gas Mark 7). Line a large baking sheet with parchment paper or a silicone baking mat to prevent the scones from sticking to the bottom.
- Sift the self-raising flour into a large mixing bowl. Add the chilled, cubed butter. Use your fingertips to rub the butter into the flour until the mixture resembles fine breadcrumbs. Try to work quickly so the heat from your hands doesn’t melt the butter.
- Stir in the caster sugar. Make a well in the center of the mixture and pour in the milk. Use a blunt knife or a spatula to fold the ingredients together until a soft, slightly sticky dough forms. Avoid over-mixing, as this will make the scones tough.
- Turn the dough out onto a lightly floured surface. Gently fold the dough over a few times just until it is smooth. Pat it down with your hands until it is about 2.5cm (1 inch) thick. Use a 6cm round cutter to stamp out circles. Press straight down and lift up without twisting the cutter to ensure a straight rise.
- Place the scones on the prepared baking tray. Brush the tops with a little extra milk for a golden finish. Bake for 10 to 12 minutes until they have risen significantly and the tops are a light golden brown. Transfer to a wire rack to cool slightly.