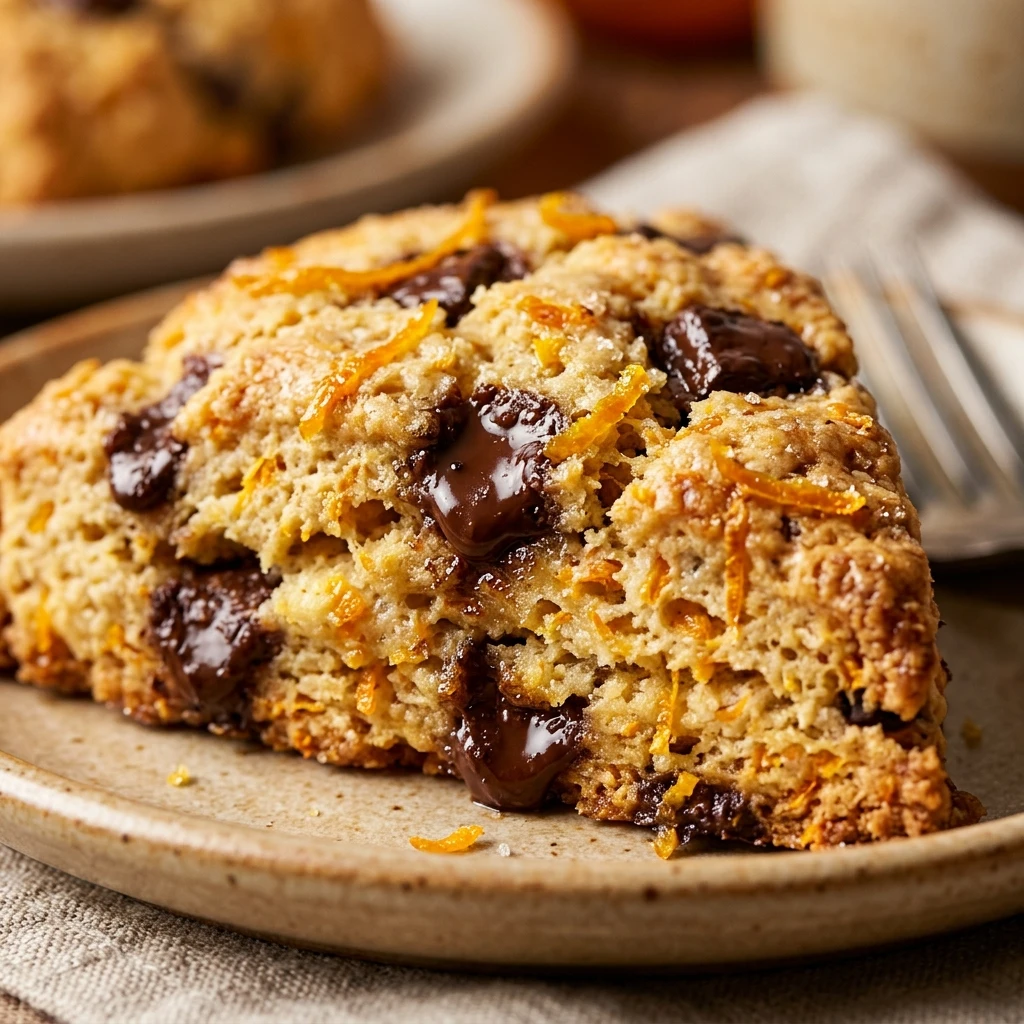

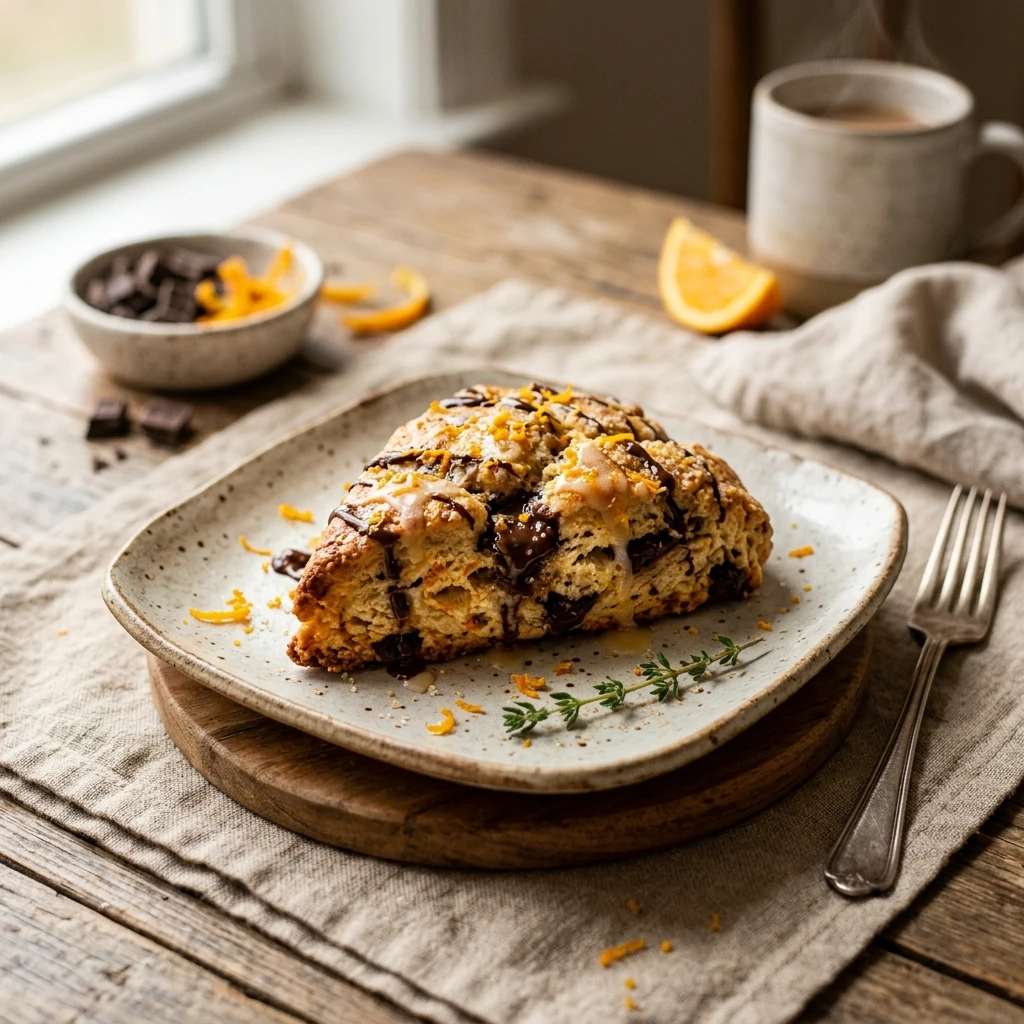
There is something truly magical about the combination of rich chocolate and bright, zesty orange. These Chocolate Orange Zest Scones bring that classic pairing to life in a buttery, flaky pastry that is perfect for breakfast or a cozy afternoon tea. Unlike store-bought versions that can be dry, these homemade scones are tender on the inside with just the right amount of crunch on the exterior.
Making scones at home might seem intimidating, but it is actually one of the simplest baking projects you can take on. The citrus aroma will fill your kitchen as they bake, creating an inviting atmosphere that makes everyone want to gather around the table. Whether you are a seasoned baker or a beginner, this recipe yields consistent, delicious results every single time.
Recipe Information
- Prep Time: 20 minutes
- Cook Time: 18 minutes
- Total Time: 38 minutes
- Servings: 8 scones
- Difficulty Level: Medium
Nutrition Information
- Calories per serving: 345 kcal
- Protein: 5g
- Carbohydrates: 42g
- Fat: 18g
- Fiber: 2g
- Sugar: 14g
- Sodium: 310mg
Why Make This Chocolate Orange Zest Scones
You should make these scones because they offer a sophisticated flavor profile that appeals to both kids and adults. The fresh orange zest cuts through the richness of the butter and chocolate, providing a refreshing lift that makes every bite interesting. They are far superior to anything you can find in a coffee shop because you can control the quality of the ingredients, ensuring the freshest zest and highest quality chocolate.
Another reason to love this recipe is its versatility. These scones are elegant enough for a formal brunch but simple enough for a quick weekend treat. They also freeze beautifully, allowing you to have a gourmet breakfast ready in minutes on busy mornings. Plus, the tactile process of cutting butter into flour is incredibly therapeutic and rewarding.
How to Make Chocolate Orange Zest Scones
Creating these delightful treats involves a few simple techniques that ensure a light, airy texture and a punch of citrus flavor in every bite.
Ingredients
- 2 cups all-purpose flour
- 1/3 cup granulated sugar
- 1 tablespoon baking powder
- 1/2 teaspoon salt
- 1/2 cup unsalted butter, cold and cubed
- 1 tablespoon fresh orange zest (from about 1 large orange)
- 1/2 cup semi-sweet chocolate chips or chopped dark chocolate
- 1/2 cup heavy cream, cold
- 1 large egg
- 1 teaspoon vanilla extract
- 1 tablespoon heavy cream (for brushing the tops)
- 1 tablespoon coarse sparkling sugar (optional for topping)
Directions
Step 1: Prep and Preheat
Start by preheating your oven to 400°F (200°C). Line a large baking sheet with parchment paper or a silicone baking mat to prevent the scones from sticking and to ensure even browning.
Step 2: Combine Dry Ingredients
In a large mixing bowl, whisk together the all-purpose flour, granulated sugar, baking powder, and salt. Ensure there are no large clumps so the leavening agents are evenly distributed throughout the dough.
Step 3: Cut in the Butter
Add the cold, cubed butter to the flour mixture. Using a pastry cutter or two forks, work the butter into the flour until the mixture resembles coarse crumbs with some pea-sized pieces of butter remaining. This cold butter is what creates those flaky layers.
Step 4: Add Zest and Chocolate
Gently stir in the fresh orange zest and the chocolate chips. Tossing them with the flour mixture before adding the liquid ensures that the chocolate and zest are evenly distributed and don’t sink to the bottom.
Step 5: Mix Wet Ingredients
In a separate small bowl, whisk together the heavy cream, egg, and vanilla extract. Pour this liquid mixture into the center of the dry ingredients. Use a spatula to fold the mixture together until just combined. Be careful not to overmix, as this will make the scones tough.
Step 6: Shape and Cut
Turn the dough out onto a lightly floured surface. Gently knead it a few times to bring it together, then pat it into a circle about 1 inch thick. Use a sharp knife to cut the circle into 8 equal wedges. Place the wedges on the prepared baking sheet, leaving about 2 inches of space between each.
Step 7: Bake to Golden Perfection
Brush the tops of the scones with a little heavy cream and sprinkle with sparkling sugar if desired. Bake for 18 to 20 minutes, or until the tops are lightly golden brown. Remove from the oven and let them cool on the pan for 5 minutes before transferring to a wire rack.
How to Serve Chocolate Orange Zest Scones
These scones are best served warm, shortly after they come out of the oven. For an extra touch of indulgence, serve them with a dollop of clotted cream or a spread of high-quality orange marmalade. They also pair wonderfully with a hot cup of Earl Grey tea or a dark roast coffee, which complements the chocolate notes.
If you want to make them look even more professional, you can whisk together a simple glaze using powdered sugar and a splash of orange juice. Drizzle this over the cooled scones for a decorative finish and an extra burst of citrus sweetness.
How to Store Chocolate Orange Zest Scones
Store any leftover scones in an airtight container at room temperature for up to 2 days. To keep them fresh longer, you can store them in the refrigerator for up to 5 days. When you are ready to eat them, a quick 10-second zap in the microwave or 5 minutes in a low oven will restore that freshly-baked warmth and texture.
For long-term storage, these scones freeze exceptionally well. Wrap individual scones tightly in plastic wrap and place them in a freezer-safe bag for up to 3 months. Thaw at room temperature or warm them directly from the freezer in a toaster oven.
Expert Tips for Perfect Chocolate Orange Zest Scones
The most important tip for scone success is to keep your ingredients cold. Use butter straight from the fridge and cold heavy cream. When the cold butter hits the hot oven, it releases steam, which is what creates the lift and flakiness in the dough.
Another tip is to handle the dough as little as possible. Over-kneading develops the gluten in the flour, which results in a bread-like texture rather than a tender, crumbly scone. Work quickly and stop as soon as the dough holds together. If the dough feels too warm at any point, pop it in the fridge for 10 minutes before baking.
Delicious Variations
If you want to switch things up, try using white chocolate chips instead of semi-sweet for a creamier, sweeter flavor profile. You can also add half a cup of dried cranberries or chopped toasted pecans for added texture and a festive holiday twist.
For those who love a stronger citrus flavor, you can add a half teaspoon of orange extract to the wet ingredients. If you prefer a darker chocolate experience, use a chopped bar of 70% cacao chocolate instead of chips for pools of melted dark chocolate in every bite.
Frequently Asked Questions
Q: Can I use milk instead of heavy cream?
While you can use whole milk, the scones will not be quite as rich or tender. Heavy cream provides the fat content necessary for that classic “melt-in-your-mouth” scone texture.
Q: Why didn’t my scones rise?
This usually happens if your baking powder is expired or if the butter was too warm. Make sure your baking powder is fresh and your butter is ice-cold before starting.
Q: Can I make the dough ahead of time?
Yes! You can prepare the dough, cut it into wedges, and keep them in the fridge overnight on a baking sheet covered with plastic wrap. Bake them fresh in the morning.
Q: How do I get that crunchy sugar top?
Use “sparkling sugar” or “sanding sugar,” which has larger crystals that don’t melt easily in the oven. Brushing the tops with cream first helps the sugar stick.
Q: Can I use a food processor for this recipe?
Yes, you can pulse the dry ingredients and butter in a food processor until it looks like crumbs. However, stir in the chocolate chips and orange zest by hand so they don’t get pulverized.
Conclusion
Chocolate Orange Zest Scones are a delightful treat that brings a touch of elegance to any table. By following these simple steps and keeping your ingredients cold, you will achieve professional-quality results right in your own kitchen. Enjoy the bright citrus notes and rich chocolate in every flaky bite, and don’t be surprised if these become a new family favorite!

Chocolate Orange Zest Scones

- Cook Time: 38 minutes
- Total Time: 38 minutes
- Diet: Vegetarian
Ingredients
- 2 cups all-purpose flour
- 1/3 cup granulated sugar
- 1 tablespoon baking powder
- 1/2 teaspoon salt
- 1/2 cup unsalted butter, cold and cubed
- 1 tablespoon fresh orange zest (from about 1 large orange)
- 1/2 cup semi-sweet chocolate chips or chopped dark chocolate
- 1/2 cup heavy cream, cold
- 1 large egg
- 1 teaspoon vanilla extract
- 1 tablespoon heavy cream (for brushing the tops)
- 1 tablespoon coarse sparkling sugar (optional for topping)
Instructions
- Start by preheating your oven to 400°F (200°C). Line a large baking sheet with parchment paper or a silicone baking mat to prevent the scones from sticking and to ensure even browning.
- In a large mixing bowl, whisk together the all-purpose flour, granulated sugar, baking powder, and salt. Ensure there are no large clumps so the leavening agents are evenly distributed throughout the dough.
- Add the cold, cubed butter to the flour mixture. Using a pastry cutter or two forks, work the butter into the flour until the mixture resembles coarse crumbs with some pea-sized pieces of butter remaining. This cold butter is what creates those flaky layers.
- Gently stir in the fresh orange zest and the chocolate chips. Tossing them with the flour mixture before adding the liquid ensures that the chocolate and zest are evenly distributed and don’t sink to the bottom.
- In a separate small bowl, whisk together the heavy cream, egg, and vanilla extract. Pour this liquid mixture into the center of the dry ingredients. Use a spatula to fold the mixture together until just combined. Be careful not to overmix, as this will make the scones tough.
- Turn the dough out onto a lightly floured surface. Gently knead it a few times to bring it together, then pat it into a circle about 1 inch thick. Use a sharp knife to cut the circle into 8 equal wedges. Place the wedges on the prepared baking sheet, leaving about 2 inches of space between each.
- Brush the tops of the scones with a little heavy cream and sprinkle with sparkling sugar if desired. Bake for 18 to 20 minutes, or until the tops are lightly golden brown. Remove from the oven and let them cool on the pan for 5 minutes before transferring to a wire rack.