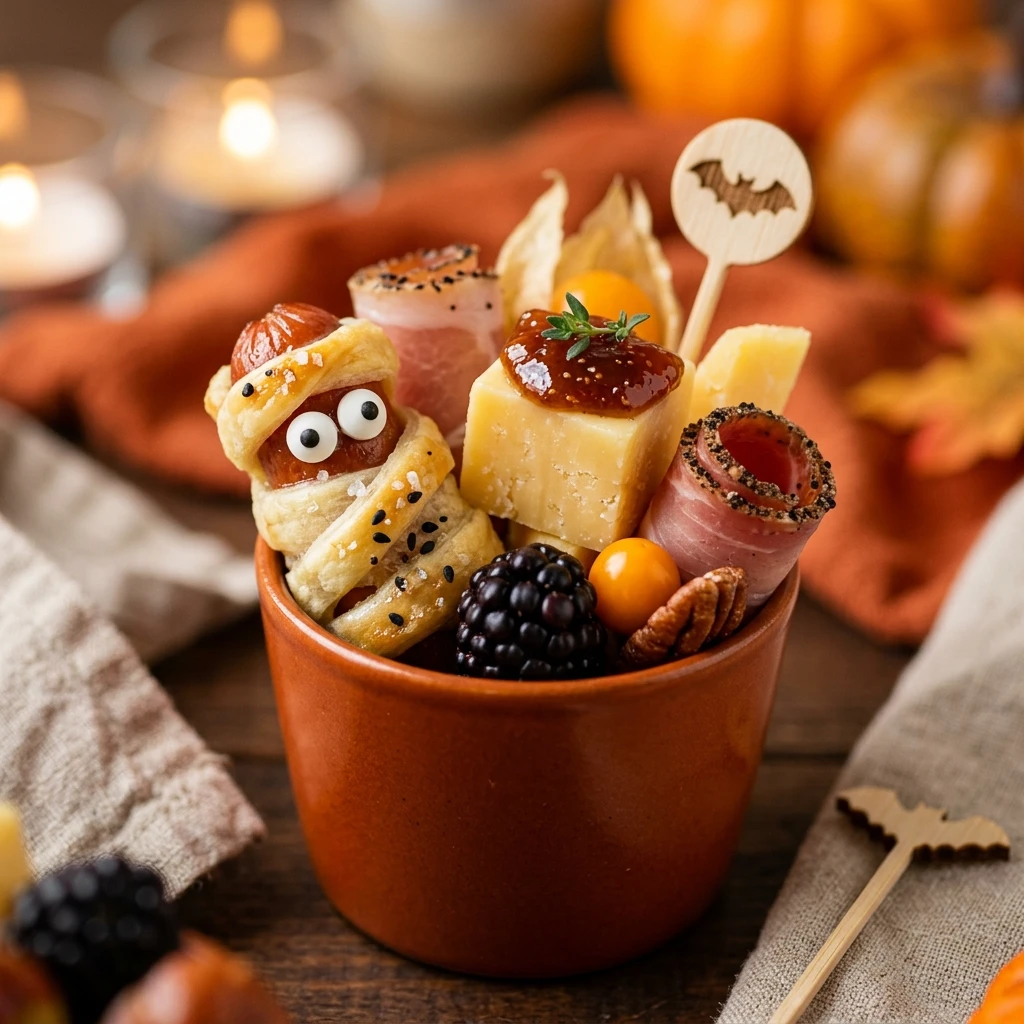

Hosting a Halloween party can be stressful, but these Halloween Charcuterie Cups take all the work out of serving your guests. Instead of a large, messy board that everyone touches, these individual portions are hygienic, portable, and incredibly cute. They allow your guests to mingle while snacking on a perfectly balanced mix of savory meats, salty cheeses, and sweet seasonal fruits.
Whether you are throwing a sophisticated “Boos and Booze” night or a fun party for the kids, these cups are the ultimate festive appetizer. They are easy to customize with spooky decorations like plastic spiders or cheese cut into ghost shapes. Best of all, you can prep most of the components ahead of time so you can actually enjoy your own party!
Recipe Information
- Prep Time: 25 minutes
- Cook Time: 0 minutes
- Total Time: 25 minutes
- Servings: 6 cups
- Difficulty Level: Easy
Nutrition Information
- Calories per serving: 310 kcal
- Protein: 15g
- Carbohydrates: 14g
- Fat: 22g
- Fiber: 2g
- Sugar: 5g
- Sodium: 820mg
Why Make This Halloween Charcuterie Cups Recipe
The biggest benefit of charcuterie cups is their convenience. Traditional boards can get messy quickly as people pick through them. With these cups, every guest gets an equal share of the premium ingredients, and there is no “double-dipping” worry. They fit perfectly in one hand, leaving the other free for a festive cocktail or a pumpkin-shaped treat.
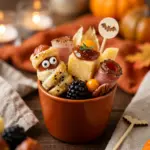
Beyond the practical side, these cups are a visual showstopper. By using dark fruits like blackberries and black grapes alongside spooky-shaped cheeses, you create a sophisticated Gothic aesthetic. They are incredibly photogenic and will likely be the most talked-about item on your snack table. Plus, since there is no cooking involved, it is a stress-free way to provide high-quality food.
How to Make Halloween Charcuterie Cups Recipe
Building the perfect charcuterie cup is all about layering for height and texture. Follow these simple steps to assemble a spooky snack that looks professional and tastes delicious.
Ingredients
- 6 clear plastic or festive paper cups (9 oz to 12 oz size)
- 12 slices of Salami (folded into roses or fans)
- 6 slices of Prosciutto
- 6 thick slices of Sharp Cheddar cheese
- 12 Mini Mozzarella balls (marinated or plain)
- 1 cup Blackberries
- 1 cup Dark purple or black grapes
- 12 Breadsticks or tall crackers
- 1/2 cup Roasted almonds or pecans
- 6 Black olives (pitted)
- 6 Mini honey jars or jam jars
- Spooky decorations: Plastic spiders, edible eyes, or bat-shaped toothpicks
Directions
Step 1: Prepare the Spooky Cheese Shapes
Lay your thick cheddar slices flat on a cutting board. Use small Halloween-themed cookie cutters, such as ghosts, pumpkins, or bats, to cut out shapes. Set these aside to be the “star” of your cup. If you have extra scraps, chop them up to place at the bottom of the cups.
Step 2: Fold and Skewer the Meats
Take your salami slices and fold them into quarters, or roll them tightly into “roses.” Thread them onto a cocktail pick. For the prosciutto, ribbon it back and forth onto another pick. This adds vertical interest and makes the meat easy for guests to grab without getting their hands oily.
Step 3: Create the Bottom Layer
Start by placing a small handful of nuts or the cheddar cheese scraps at the very bottom of each cup. This provides a sturdy base to hold up your taller items. You can also nestle a mini honey or jam jar in this bottom layer if your cups are wide enough.
Step 4: Add the Tall Elements
Place two tall breadsticks or artisanal crackers toward the back of the cup. These act as a “backdrop” for the other ingredients. Having tall items in the back and shorter items in the front creates a beautiful tiered look.
Step 5: Arrange Fruit and Skewers
Tuck a small cluster of grapes and a few blackberries into the middle of the cup. Insert your meat skewers and your shaped cheese picks. Place the mozzarella balls (you can add “edible eye” candies to these to make them look like eyeballs) near the front edge of the cup.
Step 6: Add Final Halloween Garnishes
Finish each cup by adding a black olive on a toothpick or a plastic spider decoration. Ensure the spooky cheese shapes are clearly visible at the top. Serve immediately or store properly until the party begins.
How to Serve Halloween Charcuterie Cups Recipe
For the best presentation, arrange the finished cups on a tiered serving stand or a large wooden board covered in faux spider webs. You can place small bowls of extra nuts or crackers around the base of the stand. If you are serving these outdoors, make sure they are in a shaded area so the cheese doesn’t soften too much. Label each cup if you have made different versions (such as nut-free or vegetarian) so guests can choose easily.
How to Store Halloween Charcuterie Cups Recipe
You can assemble the meat and cheese components up to 4 hours in advance. Keep the cups covered with plastic wrap in the refrigerator. However, do not add the crackers or breadsticks until right before serving, as the moisture from the fridge and the other ingredients will make them soggy. If you have leftovers, remove the crackers and store the remaining ingredients in an airtight container for up to 2 days.
Expert Tips for Perfect Halloween Charcuterie Cups Recipe
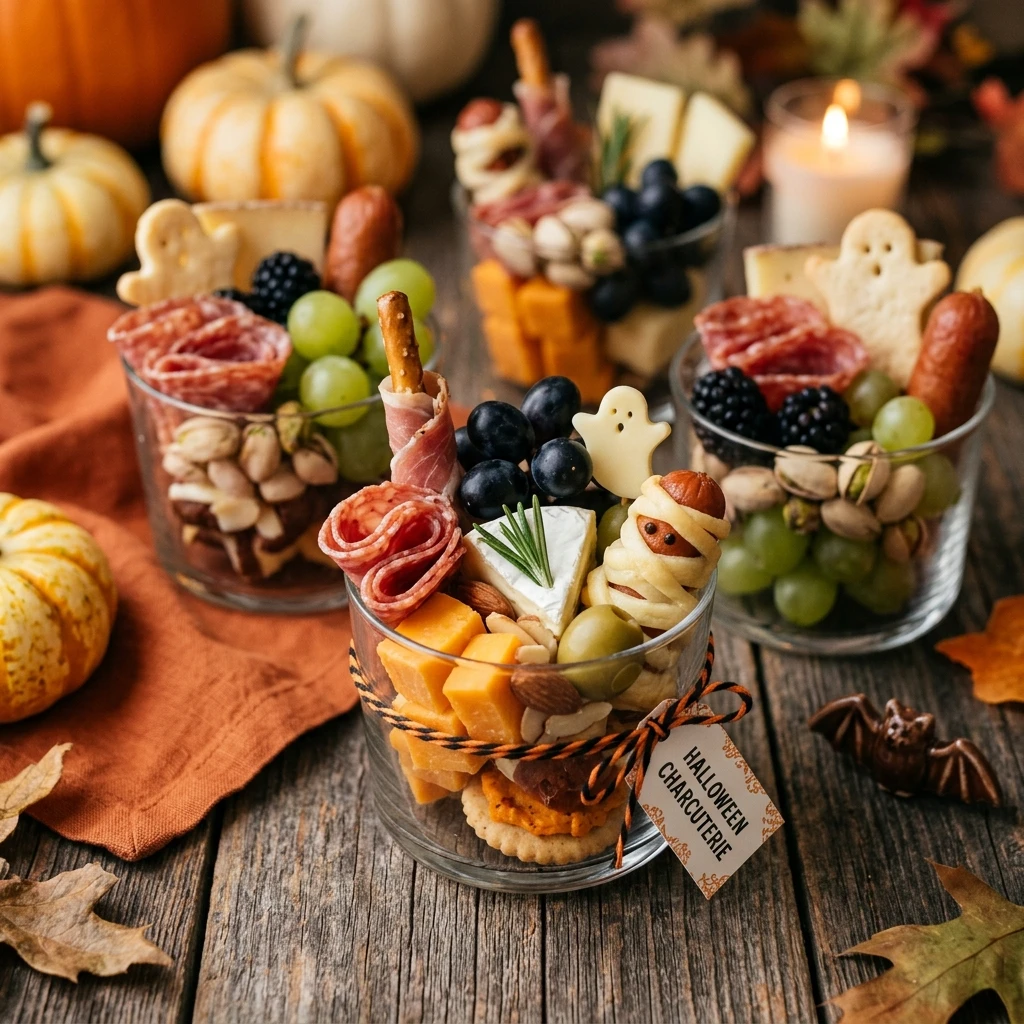
To make your cups look like they came from a high-end catering company, focus on color and variety. Use dark colors like purple, black, and deep red to keep the Halloween theme consistent. Ensure you have a mix of textures: crunchy nuts, creamy cheese, and juicy fruit. If you find your ingredients are leaning too much to one side, use a few extra grapes or nuts at the bottom to “wedge” the taller items in place.
Delicious Variations
For a kid-friendly version, swap the sophisticated meats for turkey rolls and use more familiar fruits like apple slices (brushed with lemon juice to prevent browning). If you want a vegetarian version, replace the meats with marinated artichoke hearts and extra varieties of cheese like brie or gouda. For a “spicy” Halloween twist, use pepper jack cheese and spicy chorizo salami.
Frequently Asked Questions
Q: What size cups are best for charcuterie cups?
The best size is usually 9 oz to 12 oz. This provides enough room for a variety of snacks without being so large that the ingredients fall over or look sparse.
Q: Can I make these the night before?
It is not recommended to fully assemble them the night before because the crackers will get soft. You can, however, cut the cheese and skewer the meats the night before and keep them in bags in the fridge.
Q: How do I make the salami roses?
The easiest way for a cup is to fold the salami in half and then in half again, then thread 3 or 4 of these “fans” onto a toothpick to create a ruffled flower look.
Q: What are the best cheeses for cutting into shapes?
Semi-hard cheeses work best. Sharp cheddar, Provolone, or Gouda hold their shape well when using cookie cutters and won’t crumble.
Q: Are these gluten-free?
You can easily make them gluten-free by using gluten-free breadsticks and crackers. Most meats and cheeses are naturally gluten-free, but always check the labels.
Conclusion
Halloween Charcuterie Cups are the perfect blend of style, safety, and deliciousness. They take the classic grazing board and turn it into a personal experience for every guest. With a little bit of creativity and some spooky decorations, you can create a memorable appetizer that fits perfectly into your Halloween celebrations. Happy snacking and Happy Halloween!
Halloween Charcuterie Cups Recipe
- Cook Time: 25 minutes
- Total Time: 25 minutes
- Diet: Gluten-Free, Vegetarian, Nut-Free (adaptations mentioned)
Ingredients
- 6 clear plastic or festive paper cups (9 oz to 12 oz size)
- 12 slices of Salami (folded into roses or fans)
- 6 slices of Prosciutto
- 6 thick slices of Sharp Cheddar cheese
- 12 Mini Mozzarella balls (marinated or plain)
- 1 cup Blackberries
- 1 cup Dark purple or black grapes
- 12 Breadsticks or tall crackers
- 1/2 cup Roasted almonds or pecans
- 6 Black olives (pitted)
- 6 Mini honey jars or jam jars
- Spooky decorations: Plastic spiders, edible eyes, or bat-shaped toothpicks
Instructions
- Lay your thick cheddar slices flat on a cutting board. Use small Halloween-themed cookie cutters, such as ghosts, pumpkins, or bats, to cut out shapes. Set these aside to be the “star” of your cup. If you have extra scraps, cache them up to place at the bottom of the cups.
- Take your salami slices and fold them into quarters, or roll them tightly into “roses.” Thread them onto a cocktail pick. For the prosciutto, ribbon it back and forth onto another pick. This adds vertical interest and makes the meat easy for guests to grab without getting their hands oily.
- Start by placing a small handful of nuts or the cheddar cheese scraps at the very bottom of each cup. This provides a sturdy base to hold up your taller items. You can also nestle a mini honey or jam jar in this bottom layer if your cups are wide enough.
- Place two tall breadsticks or artisanal crackers toward the back of the cup. These act as a “backdrop” for the other ingredients. Having tall items in the back and shorter items in the front creates a beautiful tiered look.
- Tuck a small cluster of grapes and a few blackberries into the middle of the cup. Insert your meat skewers and your shaped cheese picks. Place the mozzarella balls (you can add “edible eye” candies to these to make them look like eyeballs) near the front edge of the cup.
- Finish each cup by adding a black olive on a toothpick or a plastic spider decoration. Ensure the spooky cheese shapes are clearly visible at the top. Serve immediately or store properly until the party begins.