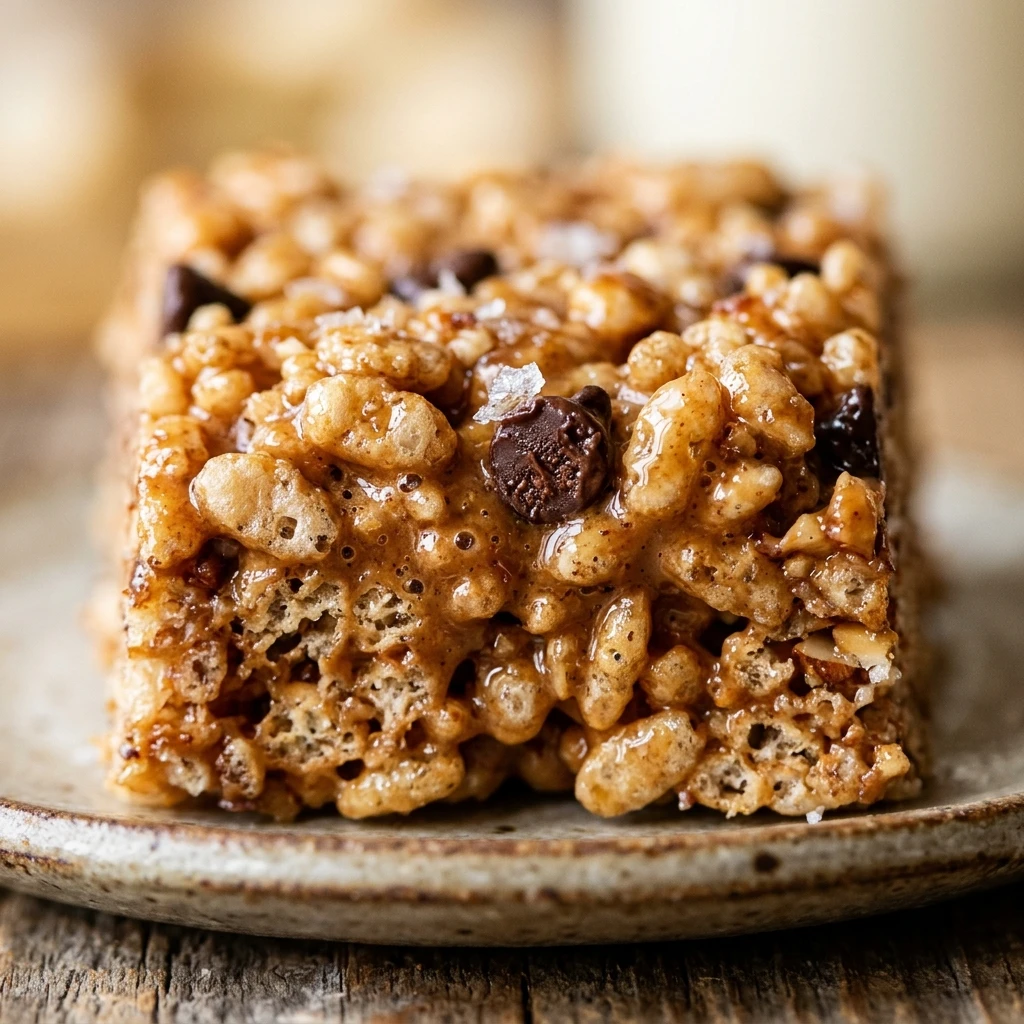

We all remember the sticky, sweet crunch of a classic Rice Krispie treat from our childhood. But for those of us trying to hit our daily protein goals, the traditional version can feel like a sugary indulgence that doesn’t quite fit the plan. That is where these Protein Rice Krispie Treats come in. They deliver that same iconic texture and nostalgic flavor while packing a significant protein punch to help fuel your muscles and keep you satisfied.
These treats are incredibly easy to make and require no baking. Whether you need a quick post-workout snack or a healthier dessert for the kids, this recipe is a total game-changer. You get the crispy, marshmallowy goodness you love, upgraded with high-quality protein to support your active lifestyle.
Recipe Information
- Prep Time: 10 minutes
- Cook Time: 5 minutes
- Total Time: 15 minutes
- Servings: 12
- Difficulty Level: Easy
Nutrition Information
- Calories per serving: 165
- Protein: 10g
- Carbohydrates: 22g
- Fat: 4g
- Fiber: 1g
- Sugar: 9g
- Sodium: 110mg
Why Make This Protein Rice Krispie Treats
This recipe is the perfect solution for anyone who wants a treat without the massive sugar crash. Unlike store-bought versions, these bars are balanced with protein powder, making them a much more functional snack. They are versatile, portable, and take less than 15 minutes to put together.
Furthermore, these treats are great for meal prepping. You can whip up a big batch on Sunday and have a reliable, high-protein snack ready to grab for the entire week. They satisfy that sweet tooth perfectly while keeping you on track with your fitness goals.
How to Make Protein Rice Krispie Treats
Making these bars is just as simple as the original recipe, with one small tweak to ensure the protein powder mixes in smoothly without making the bars chalky. Just follow these easy steps for the ultimate chewy texture.
Ingredients
- 6 cups crispy rice cereal
- 10 oz (1 bag) mini marshmallows
- 3 scoops (approx. 90g) vanilla or unflavored whey protein powder
- 3 tablespoons unsalted butter (or coconut oil)
- 1 teaspoon vanilla extract
- A pinch of sea salt
Directions
Step 1: Preparation
Line an 8×8 or 9×9 inch square baking pan with parchment paper or lightly grease it with cooking spray. This ensures the treats don’t stick and are easy to lift out later.
Step 2: Melting the Base
In a large pot or saucepan, melt the butter over low heat. Once melted, add the marshmallows. Stir constantly until the marshmallows are completely melted and smooth. Remove the pot from the heat immediately to avoid burning.
Step 3: Mixing in Protein
Stir in the vanilla extract and sea salt. Slowly whisk or stir in the protein powder until it is fully combined with the marshmallow mixture. If the mixture seems too thick, you can add a tablespoon of milk to help it smooth out.
Step 4: Folding and Coating
Add the crispy rice cereal to the pot. Using a large spatula, gently fold the cereal into the marshmallow mixture until every piece of cereal is evenly coated.
Step 5: Setting the Treats
Transfer the mixture to your prepared pan. Use a piece of parchment paper or a greased spatula to press the mixture down gently. Do not press too hard, or the bars will become dense and tough. Let them sit at room temperature for at least 30 minutes to set before slicing.
How to Serve Protein Rice Krispie Treats
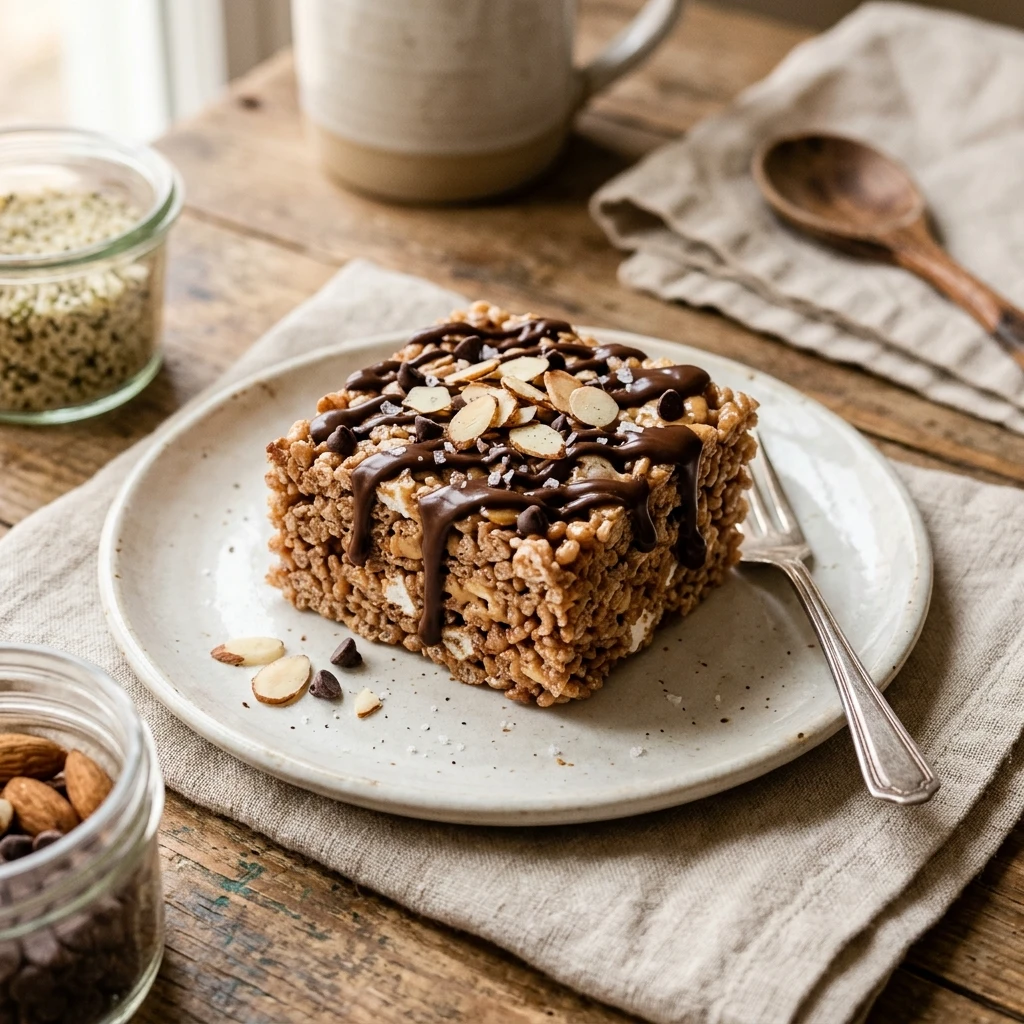
Once the bars are set, lift them out of the pan using the parchment paper and slice them into 12 even squares. These are fantastic on their own, but you can also serve them alongside a cold glass of almond milk or a cup of coffee. For a post-workout boost, they are the ideal portable snack to throw in your gym bag.
How to Store Protein Rice Krispie Treats
To keep your treats fresh and chewy, store them in an airtight container at room temperature for up to 3 days. If you need them to last longer, you can refrigerate them for up to a week, though they may become slightly firmer. You can also freeze them for up to a month; just wrap individual bars in plastic wrap and thaw at room temperature before eating.
Expert Tips for Perfect Protein Rice Krispie Treats
The most important tip is to avoid overheating the marshmallows. If you cook them too long or on too high a heat, they will harden and make your bars difficult to chew. Also, make sure to add the protein powder after you remove the pot from the heat. This prevents the protein from clumping or developing a strange, rubbery texture.
Delicious Variations
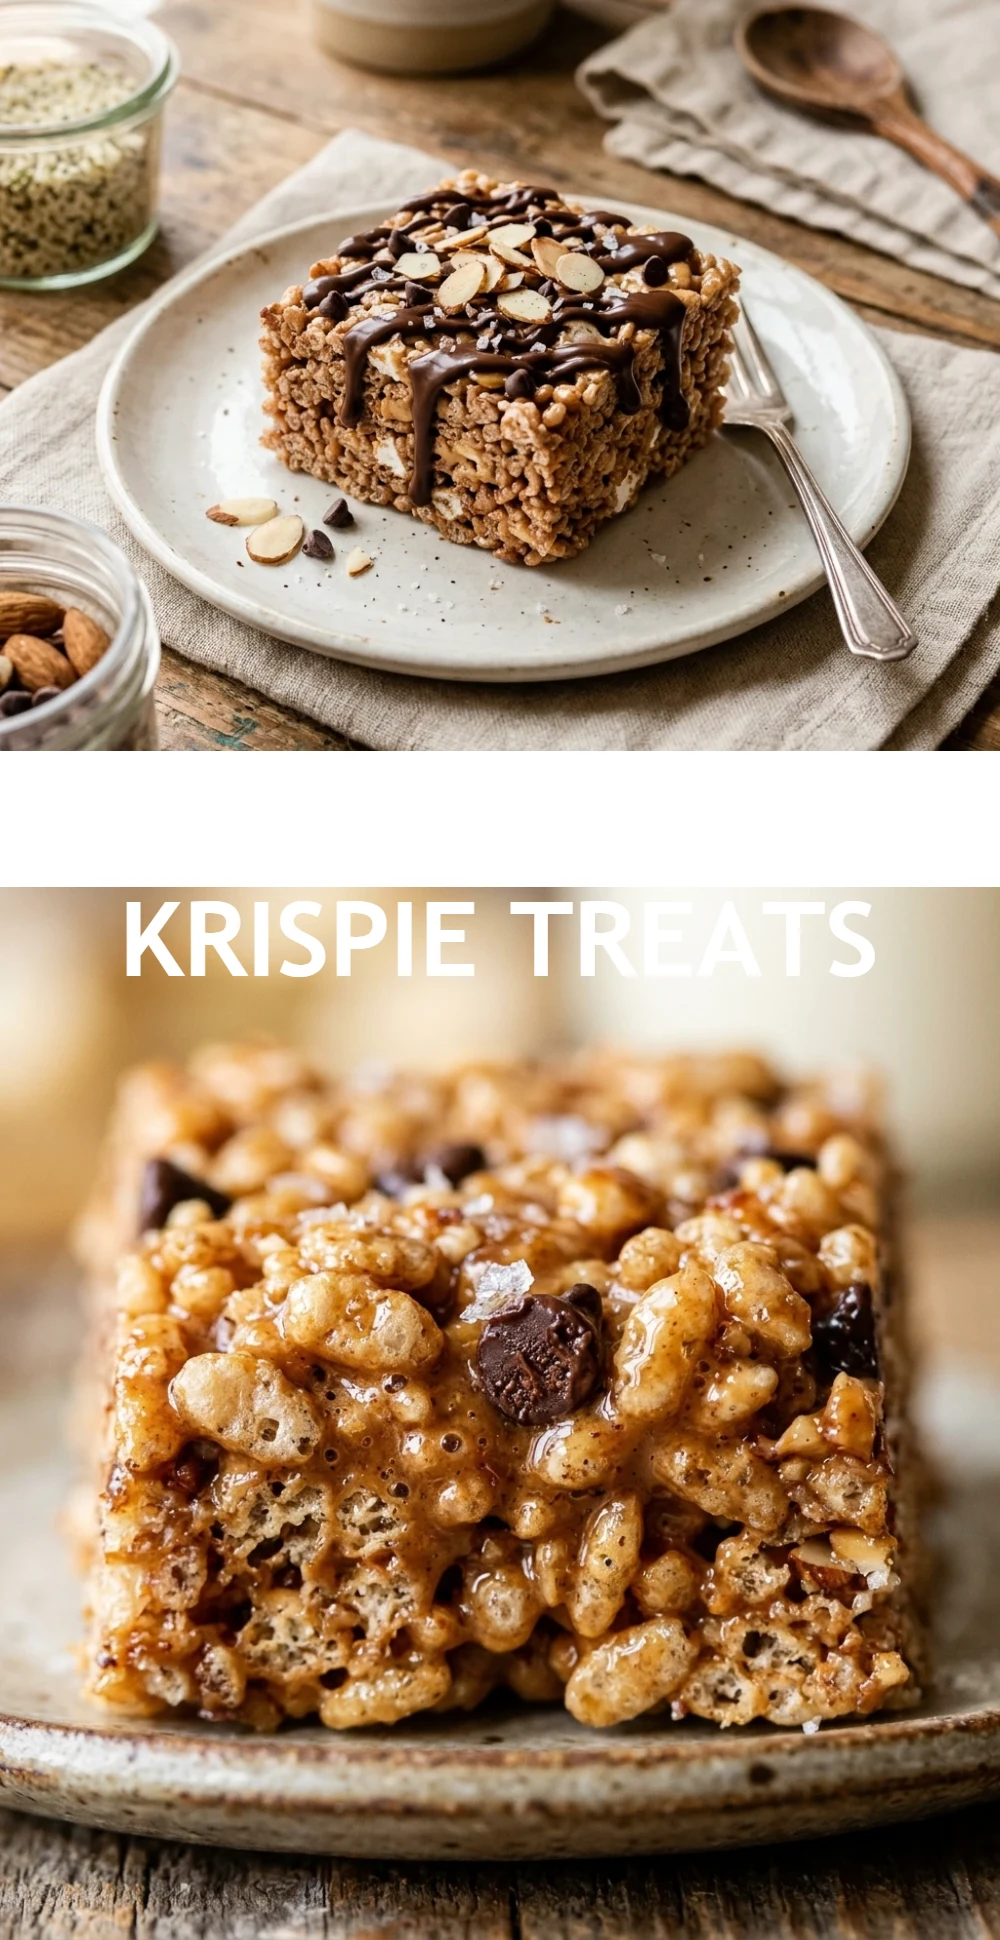
You can easily customize these treats to suit your taste. Try using chocolate protein powder and adding a handful of mini chocolate chips for a double chocolate version. You can also stir in a tablespoon of peanut butter to the melted marshmallow mixture for a nutty flavor profile. For a festive twist, add a sprinkle of colorful sprinkles or a dash of pumpkin spice.
Frequently Asked Questions
Q: Can I use plant-based protein powder?
Yes, you can use pea or soy-based protein powders. However, plant-based proteins tend to absorb more moisture than whey, so you might need to add a splash of milk or an extra teaspoon of oil to keep the bars from becoming too dry.
Q: Why are my treats so hard and crunchy?
This usually happens if the marshmallows were cooked at too high a temperature or if the mixture was pressed too firmly into the pan. Always use low heat and a light touch when pressing the mixture down to keep them airy and soft.
Q: Can I make these without marshmallows?
You can use a mixture of honey or maple syrup and nut butter as a binder instead of marshmallows, though the texture will be more like a chewy granola bar than a traditional, stretchy Rice Krispie treat.
Q: Is it okay to use unflavored protein powder?
Absolutely! Unflavored protein powder works great if you want a more traditional taste. If you use unflavored powder, you might want to add an extra half-teaspoon of vanilla extract to maintain the dessert flavor.
Q: How do I stop the mixture from sticking to my hands when pressing it?
Lightly wet your hands with water or grease them with a little bit of butter or oil before pressing the mixture into the pan. This prevents the sticky marshmallow from clinging to your skin while you flatten the surface.
Conclusion
Protein Rice Krispie Treats are the perfect blend of childhood nostalgia and modern nutrition. They are quick to prepare, taste incredible, and provide that much-needed protein boost without the fuss of baking. Give this recipe a try next time you need a sweet, crunchy snack that actually fuels your body. You will never go back to the store-bought version again!
Protein Rice Krispie Treats
- Cook Time: 15 minutes
- Total Time: 15 minutes
- Diet: High-Protein
Ingredients
- 6 cups crispy rice cereal
- 10 oz (1 bag) mini marshmallows
- 3 scoops (approx. 90g) vanilla or unflavored whey protein powder
- 3 tablespoons unsalted butter (or coconut oil)
- 1 teaspoon vanilla extract
- A pinch of sea salt
Instructions
- Preparation: Line an 8×8 or 9×9 inch square baking pan with parchment paper or lightly grease it with cooking spray. This ensures the treats don’t stick and are easy to lift out later.
- Melting the Base: In a large pot or saucepan, melt the butter over low heat. Once melted, add the marshmallows. Stir constantly until the marshmallows are completely melted and smooth. Remove the pot from the heat immediately to avoid burning.
- Mixing in Protein: Stir in the vanilla extract and sea salt. Slowly whisk or stir in the protein powder until it is fully combined with the marshmallow mixture. If the mixture seems too thick, you can add a tablespoon of milk to help it smooth out.
- Folding and Coating: Add the crispy rice cereal to the pot. Using a large spatula, gently fold the cereal into the marshmallow mixture until every piece of cereal is evenly coated.
- Setting the Treats: Transfer the mixture to your prepared pan. Use a piece of parchment paper or a greased spatula to press the mixture down gently. Do not press too hard, or the bars will become dense and tough. Let them sit at room temperature for at least 30 minutes to set before slicing.