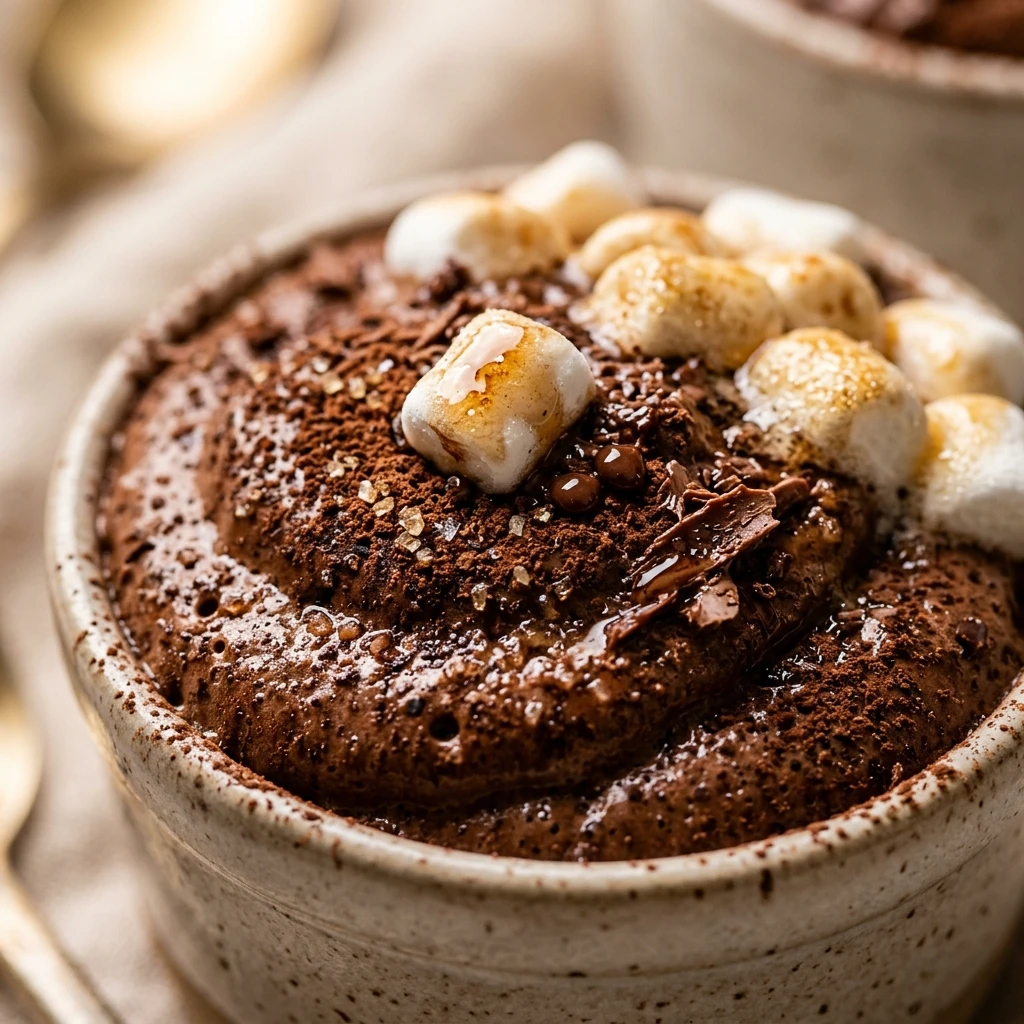
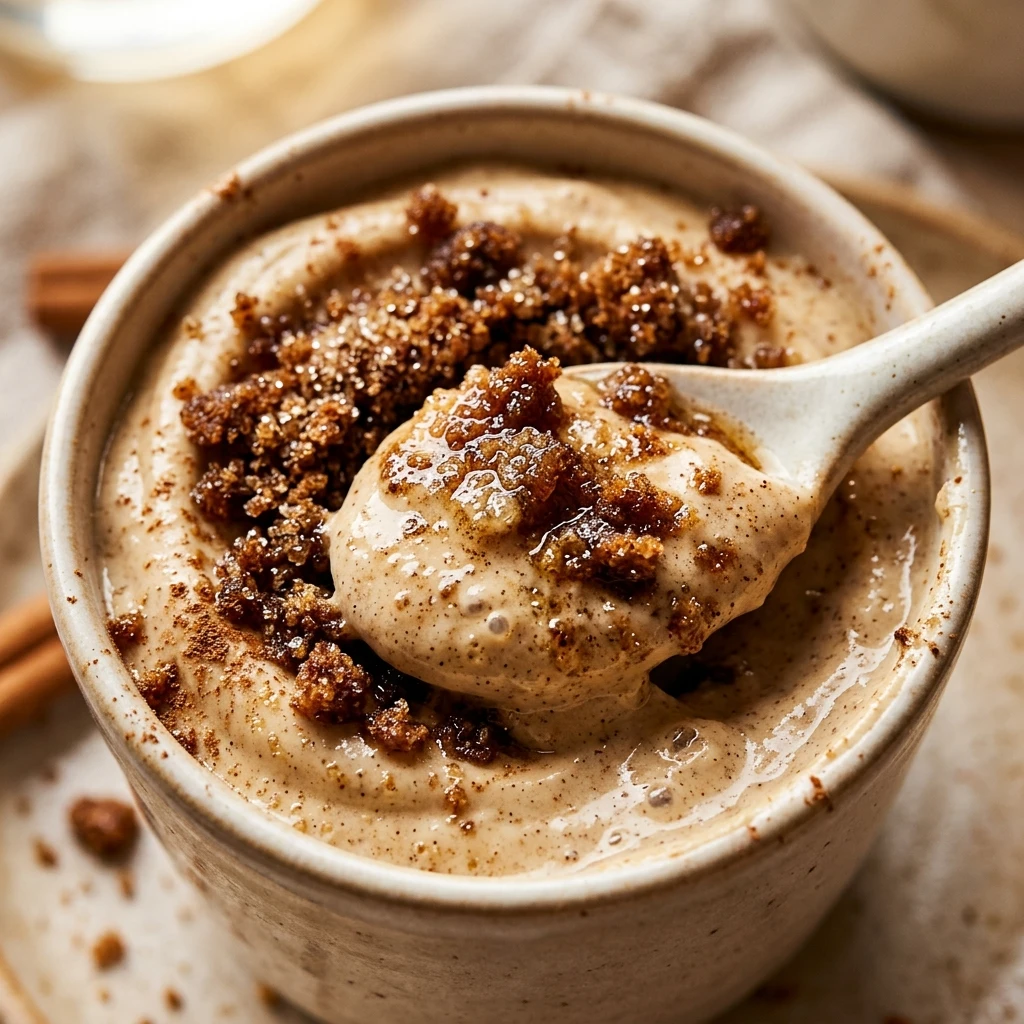

Finding a snack that tastes like a decadent holiday dessert but actually fuels your body can feel like a holiday miracle. These High-Protein Gingerbread Cheesecake Yogurt Cups are the perfect solution for anyone craving the warm, nostalgic flavors of gingerbread without the sugar crash. They combine the spicy notes of ginger and molasses with a creamy, cheesecake-like texture that feels incredibly indulgent.
Whether you need a quick post-workout snack or a light evening treat, these cups are a game changer. They are easy to whip up, require no actual baking, and use simple ingredients you likely already have in your pantry during the festive season. Let’s dive into how you can make these protein-packed delights in just a few minutes.
Recipe Information
- Prep Time: 15 minutes
- Cook Time: 0 minutes
- Total Time: 15 minutes
- Servings: 2 cups
- Difficulty Level: Easy
Nutrition Information
- Calories per serving: 245
- Protein: 26g
- Carbohydrates: 28g
- Fat: 4g
- Fiber: 2g
- Sugar: 14g
- Sodium: 145mg
Why Make This High-Protein Gingerbread Cheesecake Yogurt Cups
The main reason to make this recipe is the incredible balance of nutrition and flavor. Most holiday treats are loaded with empty calories, but this recipe focuses on high-quality protein from Greek yogurt and protein powder. This keeps you full for longer and helps with muscle recovery, making it a functional dessert that actually supports your fitness goals.
Additionally, the flavor profile is spot on. By using real molasses and a blend of warm spices like ginger, cinnamon, and cloves, you get that authentic gingerbread taste. It is a fantastic way to enjoy the spirit of the season while staying on track with your healthy eating habits. Plus, it only takes 15 minutes to prepare!
How to Make High-Protein Gingerbread Cheesecake Yogurt Cups
Creating these yogurt cups is a simple layering process that results in a beautiful and delicious treat. Just follow these easy steps to assemble your protein-packed snack.
Ingredients
- 1.5 cups non-fat plain Greek yogurt
- 1 scoop (30g) vanilla whey or casein protein powder
- 1 tablespoon blackstrap molasses
- 1 teaspoon ground ginger
- 1/2 teaspoon ground cinnamon
- 1/4 teaspoon ground cloves
- 1/4 teaspoon ground nutmeg
- 2 teaspoons maple syrup or honey (optional, for extra sweetness)
- 4 gingersnap cookies, crushed (for the base and topping)
- Optional: Light whipped topping or a sprinkle of extra cinnamon
Directions
Step 1: Prepare the Cookie Base
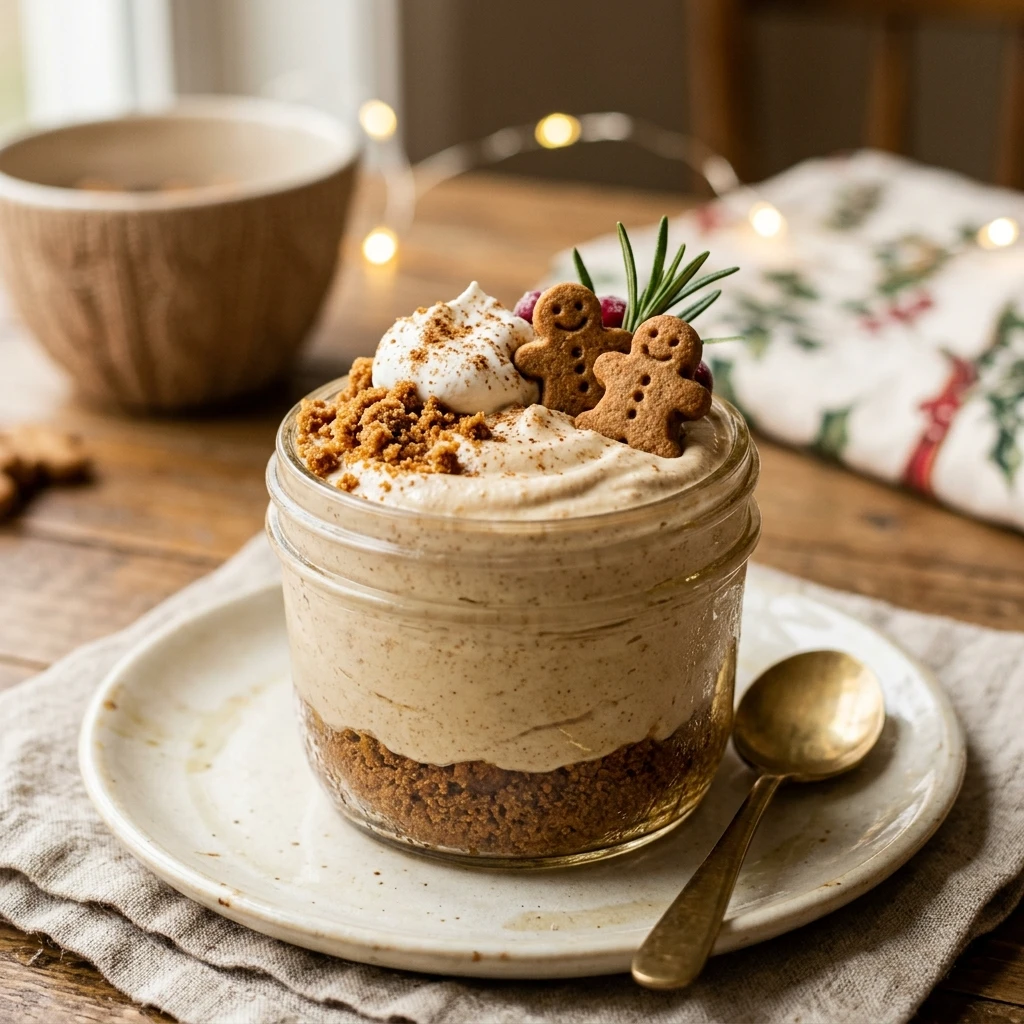
Take two small glasses or jars. Crush half of the gingersnap cookies and divide them evenly between the bottoms of the two containers. Press them down slightly to create a rustic “crust” layer.
Step 2: Mix the Protein Yogurt Filling
In a medium mixing bowl, combine the Greek yogurt, vanilla protein powder, molasses, ginger, cinnamon, cloves, and nutmeg. Stir vigorously until the protein powder is fully incorporated and the mixture is smooth and creamy. If you prefer a sweeter taste, stir in the maple syrup or honey at this stage.
Step 3: Layer the Cups
Spoon the gingerbread yogurt mixture over the cookie base in each jar. Smooth the tops with the back of a spoon to ensure an even layer.
Step 4: Garnish and Chill
Top each cup with the remaining crushed gingersnap cookies. You can also add a dollop of light whipped topping if desired. For the best “cheesecake” experience, let the cups chill in the refrigerator for at least 30 minutes to allow the flavors to meld, though they can be eaten immediately.
How to Serve High-Protein Gingerbread Cheesecake Yogurt Cups
Serve these cups chilled directly in the glass or jar you prepared them in. For a more festive presentation, you can add a whole mini gingersnap cookie on top or a small dusting of cocoa powder. They are perfect for a quick breakfast on the go, a midday snack, or a healthy dessert after dinner.
How to Store High-Protein Gingerbread Cheesecake Yogurt Cups
These yogurt cups can be stored in the refrigerator for up to 3 days. It is best to cover them with plastic wrap or a lid to keep them fresh. Note that the cookie base will soften the longer they sit in the fridge, giving it a texture more like a traditional cheesecake crust.
Expert Tips for Perfect High-Protein Gingerbread Cheesecake Yogurt Cups
To get the best results, use a thick Greek yogurt; Icelandic skyr also works wonderfully for an even thicker consistency. If your protein powder makes the mixture too thick, you can add a teaspoon of almond milk to thin it out. Also, don’t skip the molasses—it is the key ingredient that provides that distinct, deep gingerbread flavor that spices alone cannot replicate.
Delicious Variations
If you want to change things up, try using a chocolate protein powder for a “gingerbread mocha” flavor. For a vegan-friendly version, simply swap the Greek yogurt for a high-protein plant-based yogurt and use a vegan vanilla protein powder. You can also add a layer of sautéed apples or pears between the crust and the yogurt for a fruity twist.
Frequently Asked Questions
Q: Can I use a different type of yogurt?
Yes, you can use any yogurt you like, but Greek yogurt is recommended for its high protein content and thick, creamy texture which mimics cheesecake.
Q: Is there a substitute for molasses?
While molasses gives the most authentic flavor, you can substitute it with dark brown sugar or extra maple syrup, though the flavor will be slightly different.
Q: Can I make this without protein powder?
Absolutely. You can omit the protein powder and add a bit more sweetener and a drop of vanilla extract, but the protein content will be lower.
Q: Are these gluten-free?
The filling is naturally gluten-free. To make the whole recipe gluten-free, ensure your gingersnap cookies are a certified gluten-free brand.
Q: Can I freeze these?
It is not recommended to freeze these, as the texture of the Greek yogurt can become grainy once thawed. They are best enjoyed fresh from the fridge.
Conclusion
High-Protein Gingerbread Cheesecake Yogurt Cups are a delightful way to celebrate the holiday season while maintaining a healthy lifestyle. They are quick to make, nutritionally balanced, and bursting with festive spices. Give this recipe a try next time you need a sweet treat that works as hard for your body as it does for your taste buds!
High-Protein Gingerbread Cheesecake Yogurt Cups

- Cook Time: 15 minutes
- Total Time: 15 minutes
- Diet: Vegetarian
Ingredients
- 1.5 cups non-fat plain Greek yogurt
- 1 scoop (30g) vanilla whey or casein protein powder
- 1 tablespoon blackstrap molasses
- 1 teaspoon ground ginger
- 1/2 teaspoon ground cinnamon
- 1/4 teaspoon ground cloves
- 1/4 teaspoon ground nutmeg
- 2 teaspoons maple syrup or honey (optional, for extra sweetness)
- 4 gingersnap cookies, crushed (for the base and topping)
- Optional: Light whipped topping or a sprinkle of extra cinnamon
Instructions
- Take two small glasses or jars. Crush half of the gingersnap cookies and divide them evenly between the bottoms of the two containers. Press them down slightly to create a rustic “crust” layer.
- In a medium mixing bowl, combine the Greek yogurt, vanilla protein powder, molasses, ginger, cinnamon, cloves, and nutmeg. Stir vigorously until the protein powder is fully incorporated and the mixture is smooth and creamy. If you prefer a sweeter taste, stir in the maple syrup or honey at this stage.
- Spoon the gingerbread yogurt mixture over the cookie base in each jar. Smooth the tops with the back of a spoon to ensure an even layer.
- Top each cup with the remaining crushed gingersnap cookies. You can also add a dollop of light whipped topping if desired. For the best “cheesecake” experience, let the cups chill in the refrigerator for at least 30 minutes to allow the flavors to meld, though they can be eaten immediately.