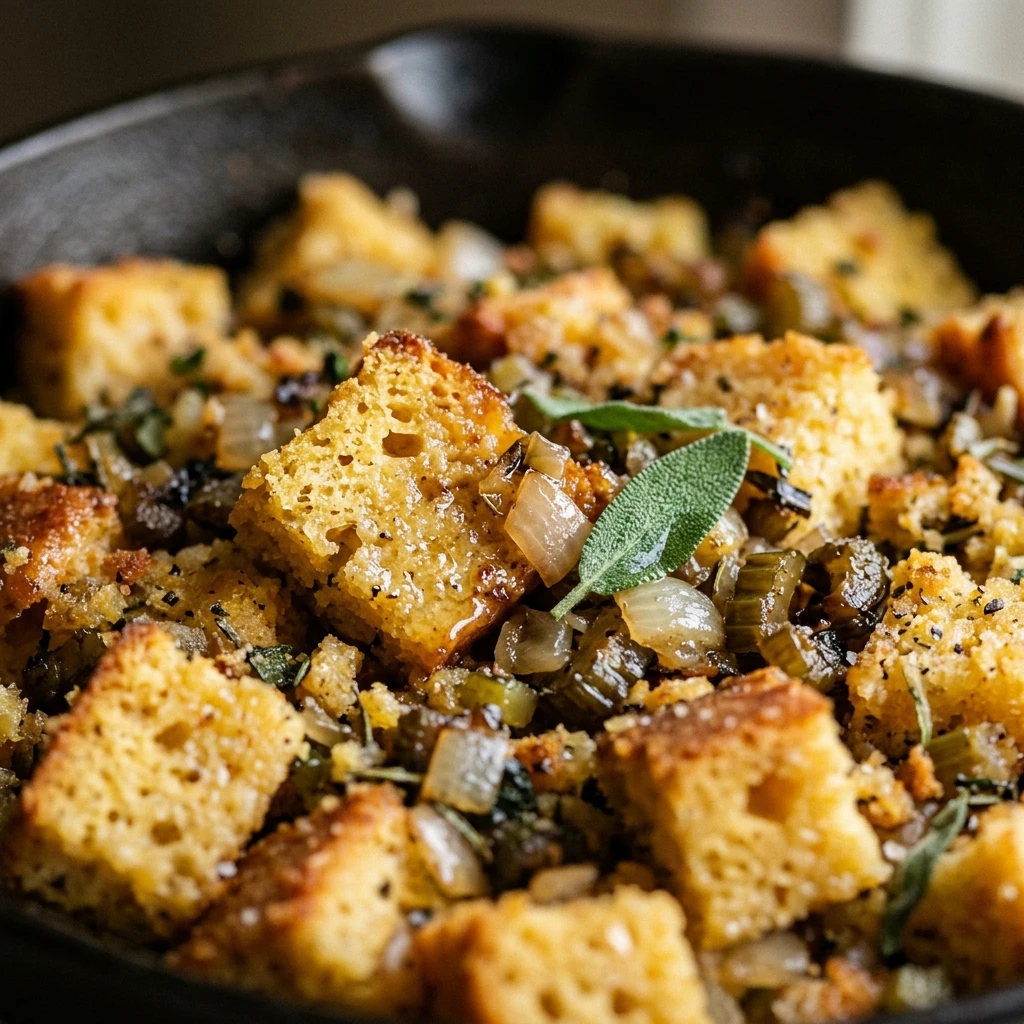

Finding the perfect side dish for your holiday table can be a challenge, especially when you need a gluten-free option that doesn’t sacrifice flavor or texture. This Gluten-Free Skillet Cornbread Stuffing is the answer. It combines the sweet, crumbly goodness of homemade cornbread with savory herbs and aromatics, all cooked to crispy perfection in a cast-iron skillet.
Traditional stuffing can often become soggy, but the use of a skillet ensures those highly-coveted golden-brown edges. Whether you are hosting Thanksgiving or just looking for a comforting winter side, this recipe provides a rustic, hearty experience that everyone at the table will love, regardless of their dietary needs.
Recipe Information
- Prep Time: 20 minutes
- Cook Time: 45 minutes
- Total Time: 65 minutes
- Servings: 8
- Difficulty Level: Medium
Nutrition Information
- Calories per serving: 285 kcal
- Protein: 6g
- Carbohydrates: 34g
- Fat: 14g
- Fiber: 3g
- Sugar: 7g
- Sodium: 480mg
Why Make This Gluten-Free Skillet Cornbread Stuffing
One of the biggest complaints about gluten-free bread products is their texture. By using cornbread as the base, you naturally lean into a grain that performs exceptionally well without gluten. The cornbread absorbs the savory broth and butter while maintaining its structure, preventing the stuffing from turning into a mushy mess. Using a skillet also helps distribute heat evenly, creating a beautiful crust on the bottom and sides.
This recipe is also incredibly versatile. It strikes the perfect balance between sweet and savory, making it a wonderful companion to roasted turkey, glazed ham, or even a vegetarian nut roast. Plus, making it in a skillet gives it a beautiful, “farm-to-table” presentation that looks stunning right in the middle of your dinner spread.
How to Make Gluten-Free Skillet Cornbread Stuffing
Creating this delicious dish involves preparing your cornbread base, sautéing fresh aromatics to build a flavor foundation, and then baking everything together until it reaches the perfect consistency. Follow these steps to ensure a flavorful, moist, and crispy result every time.
Ingredients
- 6 cups gluten-free cornbread, cut into 1-inch cubes and dried
- 4 tablespoons unsalted butter (or dairy-free alternative)
- 1 large yellow onion, finely diced
- 3 stalks celery, thinly sliced
- 2 cloves garlic, minced
- 1 tablespoon fresh sage, chopped
- 1 teaspoon fresh thyme leaves
- 1 teaspoon fresh rosemary, minced
- 1 1/2 to 2 cups low-sodium chicken or vegetable broth
- 2 large eggs, lightly beaten
- 1/2 teaspoon sea salt
- 1/2 teaspoon black pepper
- Optional: 1/2 cup dried cranberries or chopped pecans
Directions
Step 1: Oven and Skillet Preparation
Preheat your oven to 350°F (175°C). Grease a 10-inch or 12-inch cast-iron skillet with a little bit of butter or oil to ensure the stuffing doesn’t stick and to help create a crispy crust.
Step 2: Sauté the Aromatics
Place the skillet over medium heat and melt the 4 tablespoons of butter. Add the diced onion and sliced celery. Cook for about 8 to 10 minutes, stirring occasionally, until the vegetables are soft and translucent.
Step 3: Add Herbs and Garlic
Stir in the minced garlic, sage, thyme, and rosemary. Cook for another 1 to 2 minutes until the herbs are fragrant. Remove the skillet from the heat to prevent the garlic from burning.
Step 4: Combine the Ingredients
In a large mixing bowl, place your dried gluten-free cornbread cubes. Pour the sautéed vegetable and butter mixture over the cubes. In a separate small bowl, whisk together 1 1/2 cups of the broth and the beaten eggs. Slowly pour this liquid over the cornbread. Gently toss until the bread is moistened but not falling apart. If it seems too dry, add the remaining 1/2 cup of broth.
Step 5: Final Seasoning and Baking
Season the mixture with salt and pepper. If you are using cranberries or pecans, fold them in now. Transfer the mixture back into the cast-iron skillet, spreading it evenly. Cover the skillet with foil and bake for 20 minutes. Remove the foil and bake for another 20 to 25 minutes until the top is golden brown and crispy.
How to Serve Gluten-Free Skillet Cornbread Stuffing
This stuffing is best served warm, directly from the skillet for a rustic feel. It pairs beautifully with traditional holiday mains like roasted turkey or chicken. For an extra touch of elegance, garnish the top with a few fresh sprigs of thyme or rosemary before bringing it to the table. If you find the stuffing has dried out slightly before serving, a small drizzle of warm gravy will bring it right back to life.
How to Store Gluten-Free Skillet Cornbread Stuffing
If you have leftovers, store them in an airtight container in the refrigerator for up to 3 to 4 days. To reheat, place the stuffing in an oven-safe dish, cover with foil, and bake at 350°F until warmed through. This prevents it from drying out in the microwave. You can also freeze this stuffing for up to 3 months; just ensure it is completely cool before wrapping it tightly in plastic wrap and foil.
Expert Tips for Perfect Gluten-Free Skillet Cornbread Stuffing
The secret to great cornbread stuffing is using “stale” or dried bread. If your cornbread is fresh, cut it into cubes and bake them at 300°F for 15-20 minutes until they feel toasted. This allows the bread to soak up the broth without becoming mushy. Also, try not to over-mix the ingredients once you add the liquid; you want to keep those distinct cubes for the best texture.
Delicious Variations
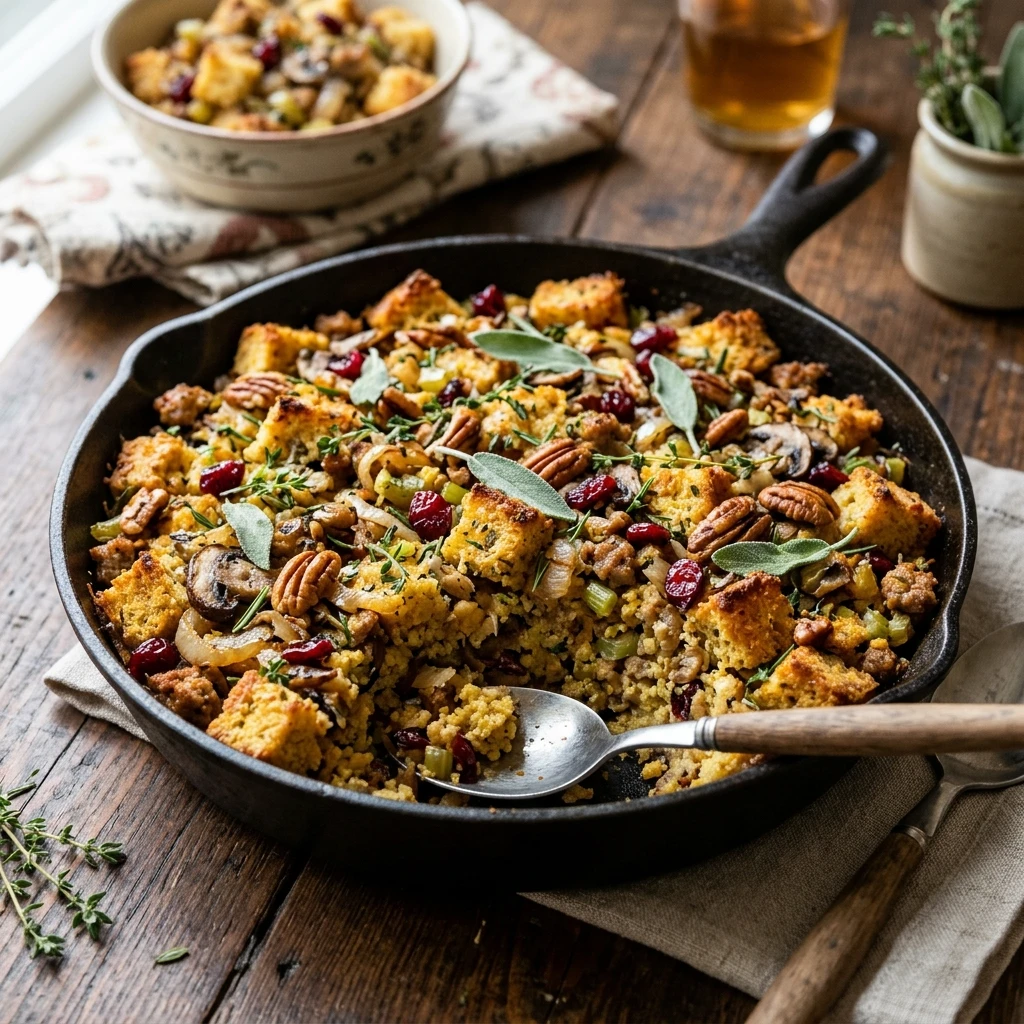
You can easily customize this recipe to suit your taste. For a savory boost, add cooked crumbled spicy sausage or bacon bits to the mix. If you prefer a sweeter profile, add diced apples or raisins. For a vegan version, use vegan butter, a flax egg (1 tbsp ground flaxseed mixed with 3 tbsp water), and vegetable broth.
Frequently Asked Questions
Q: Can I make the cornbread in advance?
Yes, making the cornbread 1 to 2 days in advance is actually recommended. It gives the bread time to dry out, which results in a much better stuffing texture.
Q: What if I don’t have a cast-iron skillet?
You can sauté the vegetables in a regular pan and then transfer the mixture to a standard 9×13 inch baking dish. The edges might not be as crispy, but it will still taste delicious.
Q: Can I use store-bought gluten-free cornbread?
Absolutely. If you are short on time, store-bought gluten-free cornbread or even a gluten-free cornbread mix works perfectly well for this recipe.
Q: Is this stuffing dairy-free?
As written, it contains butter. However, you can easily make it dairy-free by substituting the butter with olive oil or a plant-based butter alternative.
Q: Why did my stuffing turn out soggy?
Soggy stuffing usually happens if the cornbread wasn’t dried out enough or if too much broth was added at once. Always add the broth gradually until the bread is moist but still holds its shape.
Conclusion
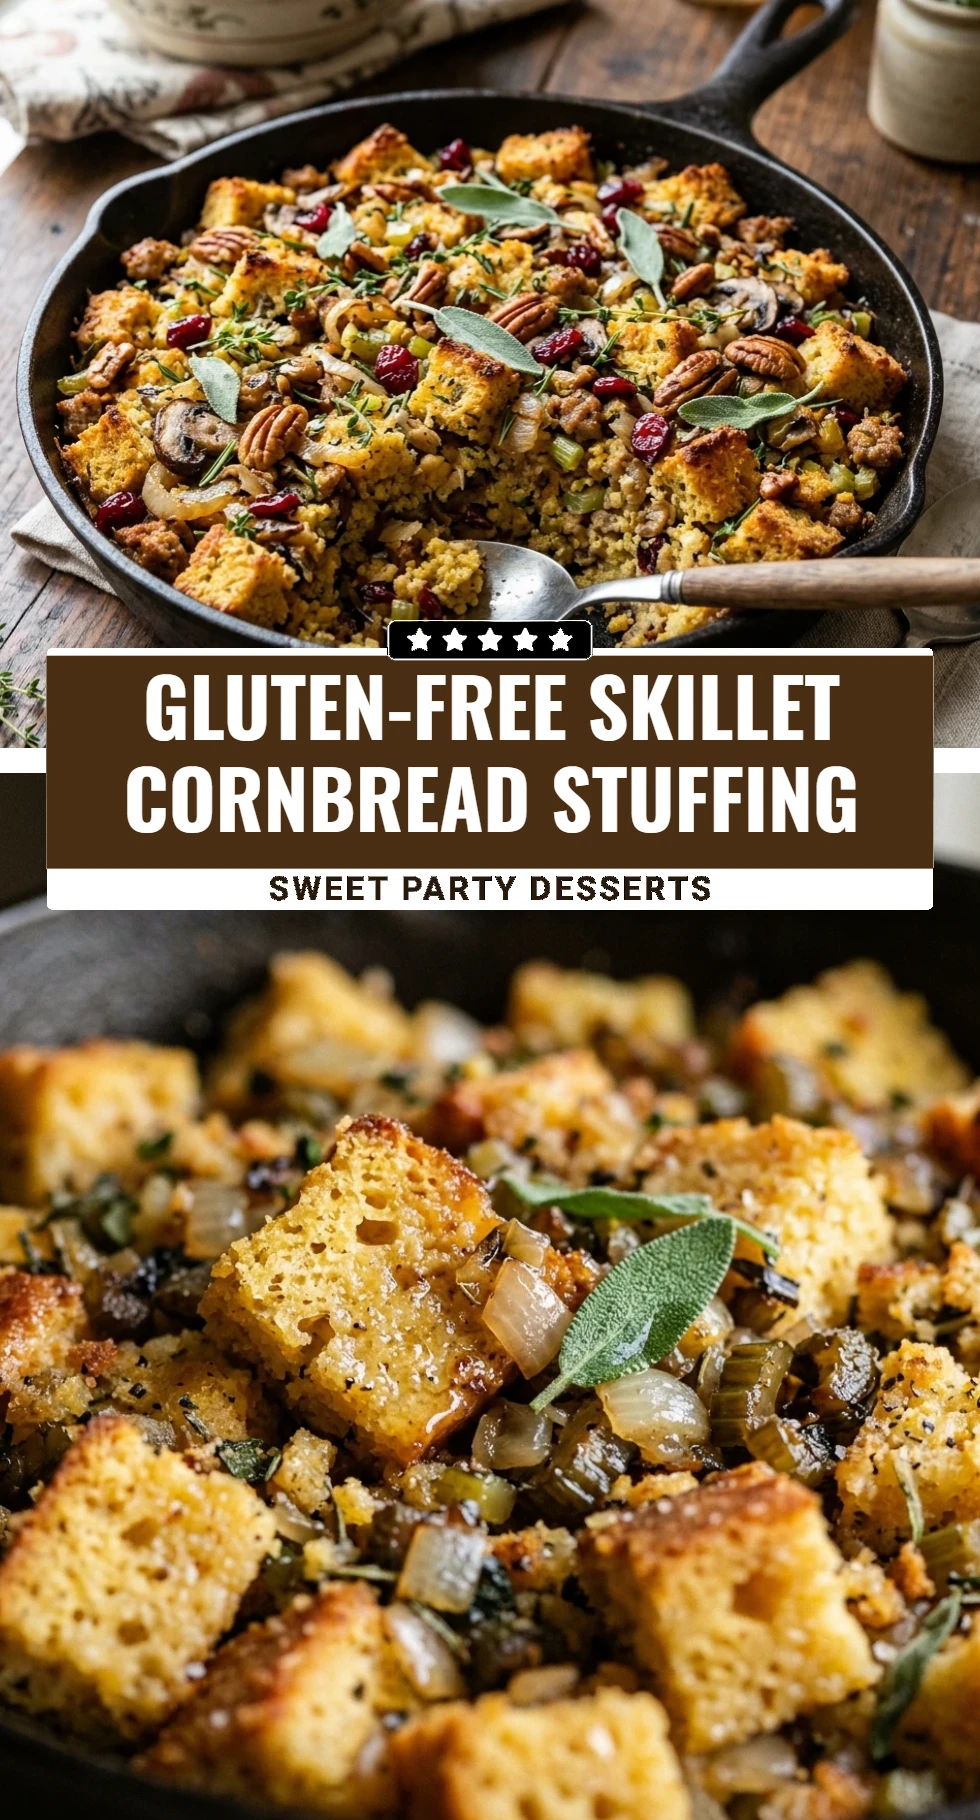
This Gluten-Free Skillet Cornbread Stuffing proves that dietary restrictions don’t have to mean missing out on holiday favorites. With its crispy edges, moist center, and deeply savory herb profile, it is sure to become a new tradition in your household. Simple to prepare and beautiful to serve, it’s the ultimate comfort food for any celebration.
Gluten-Free Skillet Cornbread Stuffing
- Cook Time: 65 minutes
- Total Time: 1 hour 5 minutes
- Diet: Gluten-Free
Ingredients
- 6 cups gluten-free cornbread, cut into 1-inch cubes and dried
- 4 tablespoons unsalted butter (or dairy-free alternative)
- 1 large yellow onion, finely diced
- 3 stalks celery, thinly sliced
- 2 cloves garlic, minced
- 1 tablespoon fresh sage, chopped
- 1 teaspoon fresh thyme leaves
- 1 teaspoon fresh rosemary, minced
- 1 1/2 to 2 cups low-sodium chicken or vegetable broth
- 2 large eggs, lightly beaten
- 1/2 teaspoon sea salt
- 1/2 teaspoon black pepper
- Optional: 1/2 cup dried cranberries or chopped pecans
Instructions
- Step 1: Oven and Skillet Preparation
Preheat your oven to 350°F (175°C). Grease a 10-inch or 12-inch cast-iron skillet with a little bit of butter or oil to ensure the stuffing doesn’t stick and to help create a crispy crust. - Step 2: Sauté the Aromatics
Place the skillet over medium heat and melt the 4 tablespoons of butter. Add the diced onion and sliced celery. Cook for about 8 to 10 minutes, stirring occasionally, until the vegetables are soft and translucent. - Step 3: Add Herbs and Garlic
Stir in the minced garlic, sage, thyme, and rosemary. Cook for another 1 to 2 minutes until the herbs are fragrant. Remove the skillet from the heat to prevent the garlic from burning. - Step 4: Combine the Ingredients
In a large mixing bowl, place your dried gluten-free cornbread cubes. Pour the sautéed vegetable and butter mixture over the cubes. In a separate small bowl, whisk together 1 1/2 cups of the broth and the beaten eggs. Slowly pour this liquid over the cornbread. Gently toss until the bread is moistened but not falling apart. If it seems too dry, add the remaining 1/2 cup of broth. - Step 5: Final Seasoning and Baking
Season the mixture with salt and pepper. If you are using cranberries or pecans, fold them in now. Transfer the mixture back into the cast-iron skillet, spreading it evenly. Cover the skillet with foil and bake for 20 minutes. Remove the foil and bake for another 20 to 25 minutes until the top is golden brown and crispy.