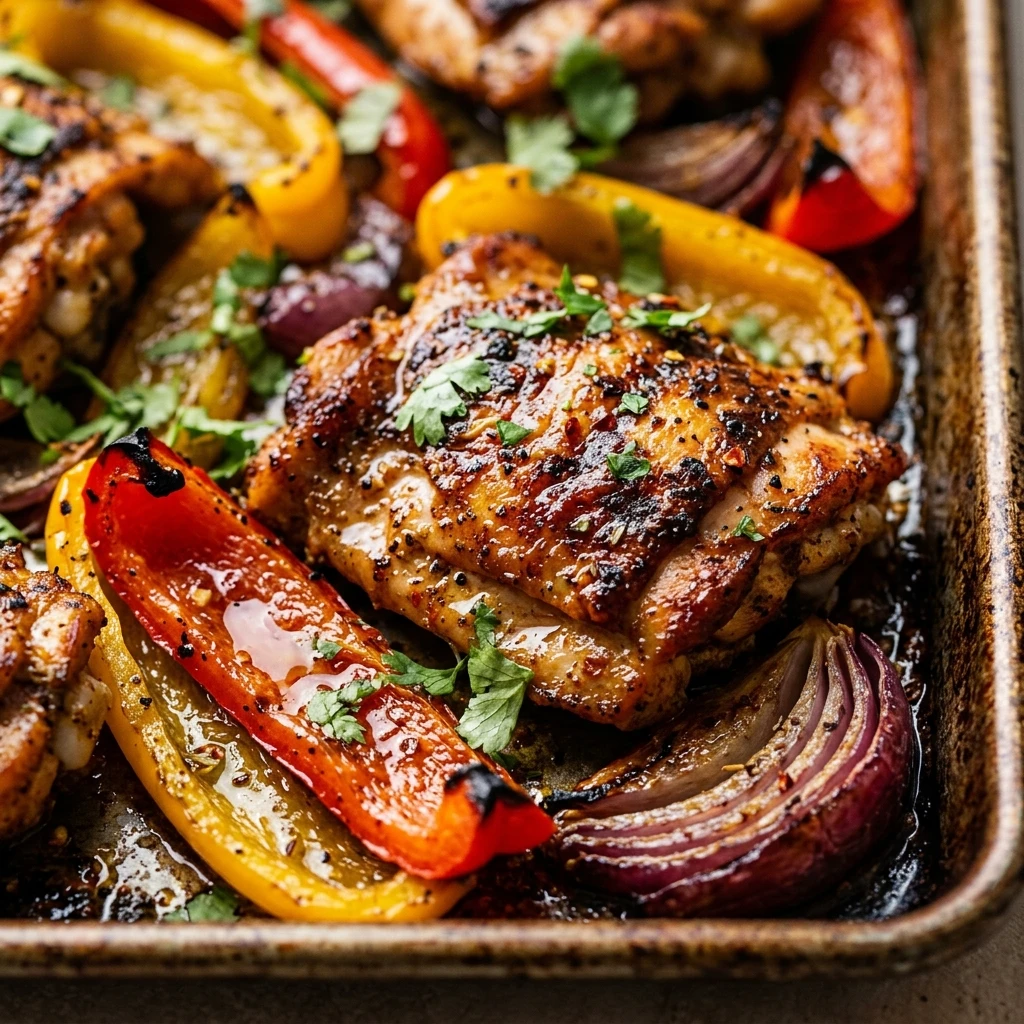

Sheet pan chicken fajitas are the ultimate solution for busy weeknights when you want a healthy, delicious meal without a sink full of dishes. This recipe brings all the vibrant flavors of traditional Mexican-style fajitas—sizzling peppers, onions, and perfectly seasoned chicken—straight to your oven. Everything cooks together on a single tray, allowing the juices to mingle and the vegetables to caramelize beautifully.
Whether you are meal prepping for the week or looking for a fun family dinner, these fajitas never disappoint. They are colorful, packed with protein, and incredibly easy to customize based on your preference for spice and toppings. Plus, the cleanup is as simple as tossing a piece of parchment paper!
Recipe Information
- Prep Time: 15 minutes
- Cook Time: 20 minutes
- Total Time: 35 minutes
- Servings: 4
- Difficulty Level: Easy
Nutrition Information
- Calories per serving: 325 kcal
- Protein: 38g
- Carbohydrates: 11g
- Fat: 14g
- Fiber: 3g
- Sugar: 5g
- Sodium: 820mg
Why Make This Sheet Pan Chicken Fajitas
The primary reason to love this recipe is the convenience. Traditional fajitas require you to stand over a hot stove, stirring constantly to prevent burning while managing multiple pans. With the sheet pan method, the oven does all the heavy lifting. This allows you to set the timer and walk away to spend time with your family or get a head start on tidying up.
Another major benefit is the consistent flavor. When you toss the chicken and vegetables in a single bowl with oil and spices, every piece gets evenly coated. As they roast at a high temperature, the natural sugars in the bell peppers and onions intensify, creating a depth of flavor that is hard to achieve in a crowded skillet. It is a nutritious, low-carb friendly meal that feels like a treat.
How to Make Sheet Pan Chicken Fajitas
Making these fajitas is a straightforward process that involves just a bit of chopping and tossing. Once your ingredients are prepped, the oven transforms them into a sizzling masterpiece in just twenty minutes. Follow these simple steps for a perfect result every time.
Ingredients
- 1.5 lbs boneless, skinless chicken breasts, sliced into thin strips
- 3 large bell peppers (red, yellow, and green), sliced into strips
- 1 large red onion, sliced into wedges
- 2 tablespoons olive oil
- 1 tablespoon chili powder
- 1 teaspoon ground cumin
- 1 teaspoon garlic powder
- 1 teaspoon onion powder
- 1 teaspoon smoked paprika
- 1/2 teaspoon salt
- 1/4 teaspoon black pepper
- 1 tablespoon fresh lime juice
- Warm flour or corn tortillas for serving
Directions
Step 1: Preheat and Prepare the Pan
Begin by preheating your oven to 400°F (200°C). For the easiest cleanup, line a large rimmed baking sheet with parchment paper or aluminum foil. If using foil, a light spray of non-stick cooking oil can help prevent the chicken from sticking.
Step 2: Slice the Chicken and Vegetables
On a clean cutting board, slice your chicken breasts into thin, even strips about half an inch wide. Slice the bell peppers and red onion into similar-sized strips. Keeping the sizes uniform ensures that everything cooks at the same rate.
Step 3: Season and Toss
In a large mixing bowl, combine the chicken strips, peppers, and onions. Drizzle with olive oil and sprinkle the chili powder, cumin, garlic powder, onion powder, smoked paprika, salt, and pepper over the top. Toss everything together with your hands or tongs until every piece is thoroughly coated in oil and spices.
Step 4: Arrange on the Sheet Pan
Spread the mixture out onto your prepared baking sheet in a single, even layer. Avoid overcrowding the pan; if the ingredients are piled too high, they will steam rather than roast and won’t get those delicious charred edges.
Step 5: Roast to Perfection
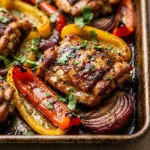
Place the baking sheet in the center of the oven and bake for 20 to 25 minutes. About halfway through, give the ingredients a quick stir or shake the pan. The chicken should be cooked through (internal temperature of 165°F), and the vegetables should be tender and slightly charred.
Step 6: Finish with Lime
Remove the pan from the oven and immediately drizzle the fresh lime juice over the hot chicken and vegetables. This adds a bright pop of acidity that balances the smoky spices. Garnish with fresh cilantro if desired.
How to Serve Sheet Pan Chicken Fajitas
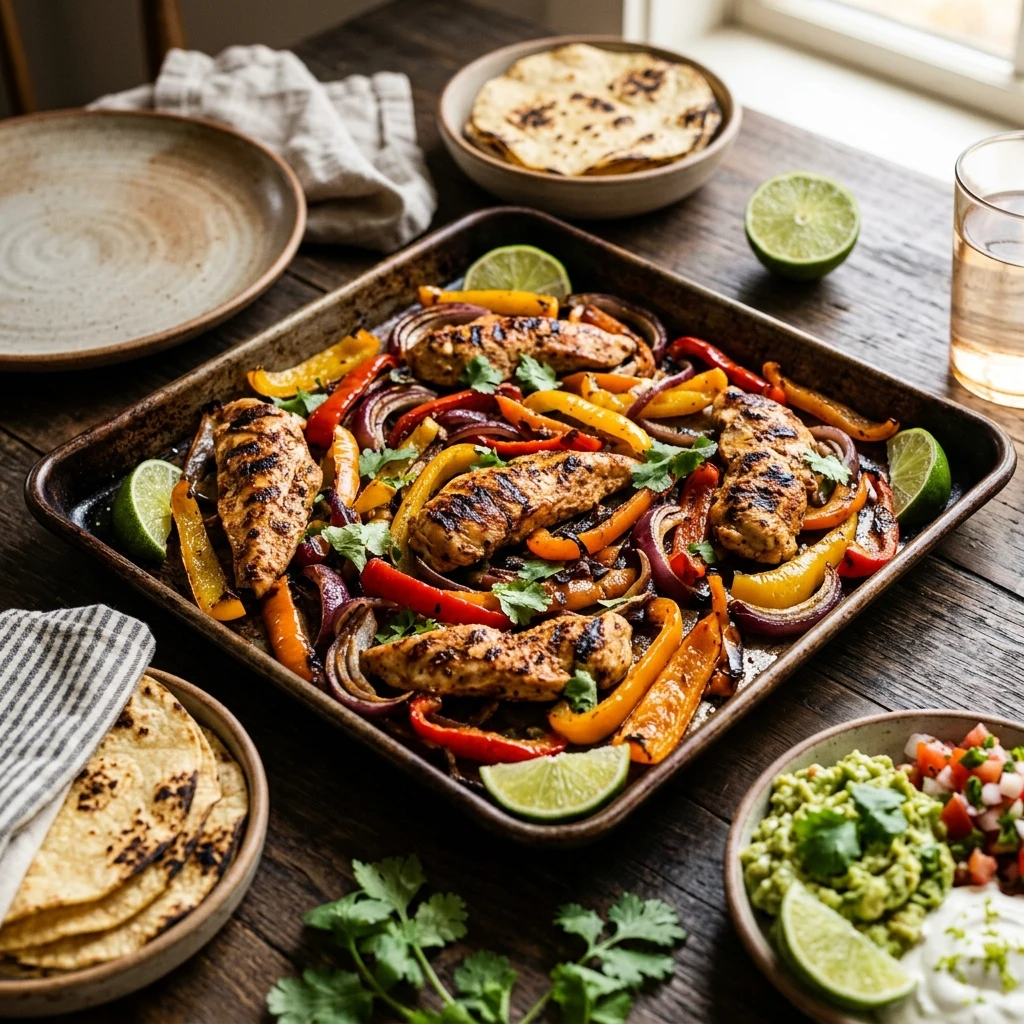
The best way to enjoy these fajitas is served family-style right from the pan or transferred to a large platter. Provide a stack of warm tortillas—you can warm them directly over a gas flame for a few seconds or wrap them in foil and place them in the oven during the last 5 minutes of cooking. Common toppings include sliced avocado or guacamole, sour cream or Greek yogurt, shredded cheese, and fresh pico de gallo or salsa.
How to Store Sheet Pan Chicken Fajitas
If you have leftovers, they store beautifully. Place the cooled chicken and vegetable mixture in an airtight container and refrigerate for up to 4 days. To reheat, you can use a microwave, but for the best texture, toss them back into a hot skillet for a few minutes until warmed through. This recipe is also great for cold salads the next day!
Expert Tips for Perfect Sheet Pan Chicken Fajitas
For the best results, make sure your chicken is completely thawed before slicing and cooking. If the chicken is still icy, it will release too much water, making the vegetables soggy. Another tip is to use a very large baking sheet. If you only have smaller pans, divide the ingredients between two sheets to ensure they have enough space to roast properly. Finally, don’t skip the lime juice at the end; it’s the secret ingredient that makes the flavors truly sing.
Delicious Variations
You can easily adapt this recipe to suit your dietary needs or what you have in the fridge. Swap the chicken for flank steak or shrimp (though keep in mind shrimp only needs about 8-10 minutes to cook). For a vegetarian version, use extra firm tofu or sliced portobello mushrooms. If you want more heat, add a sliced jalapeño to the mix or a pinch of cayenne pepper to the spice blend.
Frequently Asked Questions
Q: Can I use chicken thighs instead of breasts?
Absolutely! Chicken thighs are very forgiving and stay juicy at high temperatures. Just ensure they are trimmed of excess fat and sliced into even strips.
Q: Can I make this recipe ahead of time?
Yes. You can slice the chicken and vegetables and toss them in the oil and spices up to 24 hours in advance. Keep the mixture in a sealed container in the fridge until you are ready to bake.
Q: What if I don’t have all the individual spices?
You can substitute the individual spices with 2 to 3 tablespoons of a high-quality store-bought taco or fajita seasoning mix. Just be mindful of the salt content in pre-made mixes.
Q: Do I need to cover the pan with foil while baking?
No, do not cover the pan. Leaving it uncovered allows the moisture to evaporate, which helps the vegetables caramelize and the chicken to get a nice roasted exterior.
Q: Are these fajitas gluten-free?
The chicken and vegetable mixture itself is naturally gluten-free. To keep the whole meal gluten-free, serve them with corn tortillas or over a bed of rice or cauliflower rice.
Conclusion
Sheet pan chicken fajitas are a testament to the fact that healthy cooking doesn’t have to be complicated or time-consuming. With just a few minutes of prep and one pan, you can enjoy a restaurant-quality meal in the comfort of your own home. Give this recipe a try tonight and see how easy it is to bring bold, zesty flavors to your dinner table!
Sheet Pan Chicken Fajitas
- Cook Time: 35 minutes
- Total Time: 35 minutes
- Diet: Low-Carb, Gluten-Free
Ingredients
- 1.5 lbs boneless, skinless chicken breasts, sliced into thin strips
- 3 large bell peppers (red, yellow, and green), sliced into strips
- 1 large red onion, sliced into wedges
- 2 tablespoons olive oil
- 1 tablespoon chili powder
- 1 teaspoon ground cumin
- 1 teaspoon garlic powder
- 1 teaspoon onion powder
- 1 teaspoon smoked paprika
- 1/2 teaspoon salt
- 1/4 teaspoon black pepper
- 1 tablespoon fresh lime juice
- Warm flour or corn tortillas for serving
Instructions
- Begin by preheating your oven to 400°F (200°C). For the easiest cleanup, line a large rimmed baking sheet with parchment paper or aluminum foil. If using foil, a light spray of non-stick cooking oil can help prevent the chicken from sticking.
- On a clean cutting board, slice your chicken breasts into thin, even strips about half an inch wide. Slice the bell peppers and red onion into similar-sized strips. Keeping the sizes uniform ensures that everything cooks at the same rate.
- In a large mixing bowl, combine the chicken strips, peppers, and onions. Drizzle with olive oil and sprinkle the chili powder, cumin, garlic powder, onion powder, smoked paprika, salt, and pepper over the top. Toss everything together with your hands or tongs until every piece is thoroughly coated in oil and spices.
- Spread the mixture out onto your prepared baking sheet in a single, even layer. Avoid overcrowding the pan; if the ingredients are piled too high, they will steam rather than roast and won’t get those delicious charred edges.
- Place the baking sheet in the center of the oven and bake for 20 to 25 minutes. About halfway through, give the ingredients a quick stir or shake the pan. The chicken should be cooked through (internal temperature of 165°F), and the vegetables should be tender and slightly charred.
- Remove the pan from the oven and immediately drizzle the fresh lime juice over the hot chicken and vegetables. This adds a bright pop of acidity that balances the smoky spices. Garnish with fresh cilantro if desired.