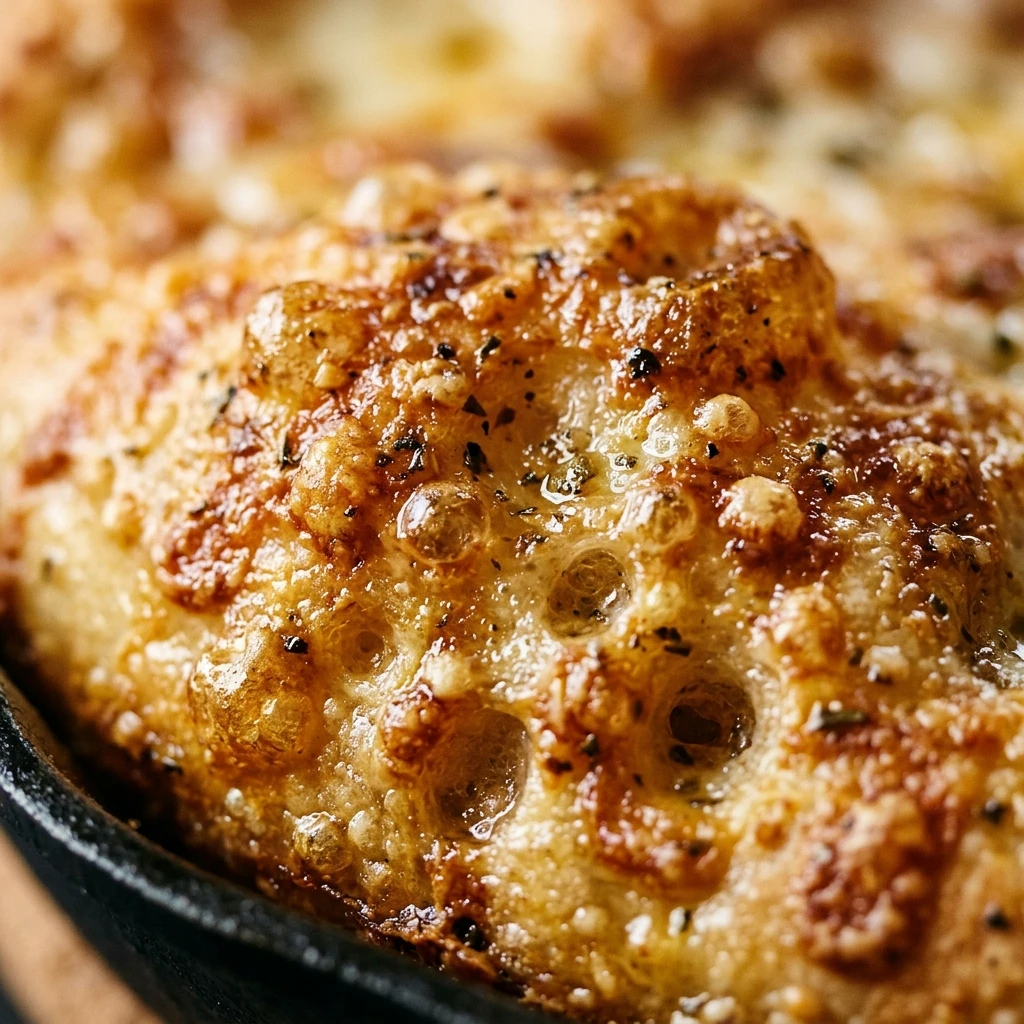

There is something truly nostalgic about the taste of a classic Pizza Hut pan pizza. That signature golden-brown, “fried” crust combined with a light and airy center is a texture that many of us grew up loving. Bringing that specific restaurant-quality experience into your own kitchen is easier than you might think, and it all starts with the perfect dough.
This copycat recipe captures the essence of the original by using a few secret ingredients, like non-fat dry milk, to achieve that specific crumb and flavor. Whether you are hosting a family movie night or just craving a deep-dish delight, this dough recipe will give you a crust that is crispy on the outside and wonderfully soft on the inside.
Recipe Information
- Prep Time: 20 minutes
- Cook Time: 15 minutes
- Total Time: 2 hours 5 minutes (includes rising time)
- Servings: 2 large pizzas (8 slices each)
- Difficulty Level: Easy
Nutrition Information
- Calories per serving: 280 kcal
- Protein: 7g
- Carbohydrates: 42g
- Fat: 9g
- Fiber: 2g
- Sugar: 3g
- Sodium: 310mg
Why Make This Pizza Hut-Style Pan Pizza Dough
Making your own Pizza Hut-style dough at home is incredibly rewarding. Not only does it save you money on delivery fees, but it also allows you to control the quality of the ingredients. You get to enjoy that famous buttery, crispy texture without the mystery additives found in commercial fast food. Plus, the smell of fresh dough rising and baking in your oven is better than any air freshener.
This recipe is also very forgiving for beginners. Unlike some artisan sourdough recipes that require days of preparation, this dough is ready in about two hours. It is the perfect balance of convenience and authentic flavor, making it a reliable go-to for any homemade pizza enthusiast.
How to Make Pizza Hut-Style Pan Pizza Dough
Creating this iconic crust requires a specific sequence of mixing and proofing to get the rise just right. Follow these steps carefully to ensure your dough turns out light, fluffy, and perfectly golden.
Ingredients
- 1 1/3 cups warm water (approx. 105°F)
- 1/4 cup non-fat dry milk
- 1/2 teaspoon salt
- 4 cups all-purpose flour
- 1 tablespoon granulated sugar
- 1 packet (2 1/4 teaspoons) active dry yeast
- 2 tablespoons vegetable oil (for the dough)
- 6 to 9 ounces vegetable oil (divided between two 9-inch or 12-inch cake pans or cast-iron skillets)
Directions
Step 1: Proof the Yeast
In a small bowl, combine the warm water, sugar, and yeast. Stir gently and let it sit for about 5 to 10 minutes until the mixture becomes foamy. This ensures your yeast is active and ready to make the dough rise.
Step 2: Combine Dry Ingredients
In a large mixing bowl or the bowl of a stand mixer, whisk together the flour, non-fat dry milk, and salt. Make a well in the center of the dry ingredients to prepare for the liquids.
Step 3: Mix the Dough
Pour the yeast mixture and the 2 tablespoons of vegetable oil into the center of the flour. Using a dough hook or a sturdy spoon, mix until a shaggy dough forms and starts to pull away from the sides of the bowl.
Step 4: Knead the Dough
Knead the dough for about 5 to 8 minutes by hand on a lightly floured surface, or for 5 minutes using a stand mixer on low speed. The dough should be smooth, elastic, and slightly tacky but not sticky.
Step 5: Prepare the Pans
Pour 3 to 4.5 ounces of oil into each of your two baking pans (cake pans or cast-iron skillets work best). Tilt the pans to ensure the bottom and sides are thoroughly coated. This oil is what “fries” the bottom of the crust to give it that Pizza Hut crunch.
Step 6: Divide and Proof
Divide the dough into two equal balls. Place each ball into a prepared pan and turn it over to coat it with oil. Use your fingertips to gently press the dough toward the edges of the pan. Cover with plastic wrap and let the dough rise in a warm place for 1 to 1.5 hours until it has doubled in height.
Step 7: Topping and Baking
Preheat your oven to 475°F. Once the dough has risen, add your favorite sauce, cheese, and toppings. Bake for 12 to 15 minutes, or until the cheese is bubbly and the edges of the crust are deep golden brown.
How to Serve Pizza Hut-Style Pan Pizza Dough
Once the pizza comes out of the oven, let it rest in the pan for about 2 minutes. This allows the crust to set so it stays crispy when you remove it. Carefully slide a spatula under the crust to lift it onto a cutting board. Slice it into wedges and serve while the cheese is still stretchy. It pairs perfectly with a side of garlic dipping sauce or a fresh garden salad to balance the richness of the buttery crust.
How to Store Pizza Hut-Style Pan Pizza Dough
If you have leftover dough that hasn’t been baked, you can store it in an airtight container in the refrigerator for up to 3 days. For longer storage, wrap the dough balls tightly in plastic wrap and place them in a freezer bag; they will stay fresh in the freezer for up to 3 months. When you are ready to use frozen dough, let it thaw in the refrigerator overnight and bring it to room temperature before pressing it into your oiled pans.
Expert Tips for Perfect Pizza Hut-Style Pan Pizza Dough
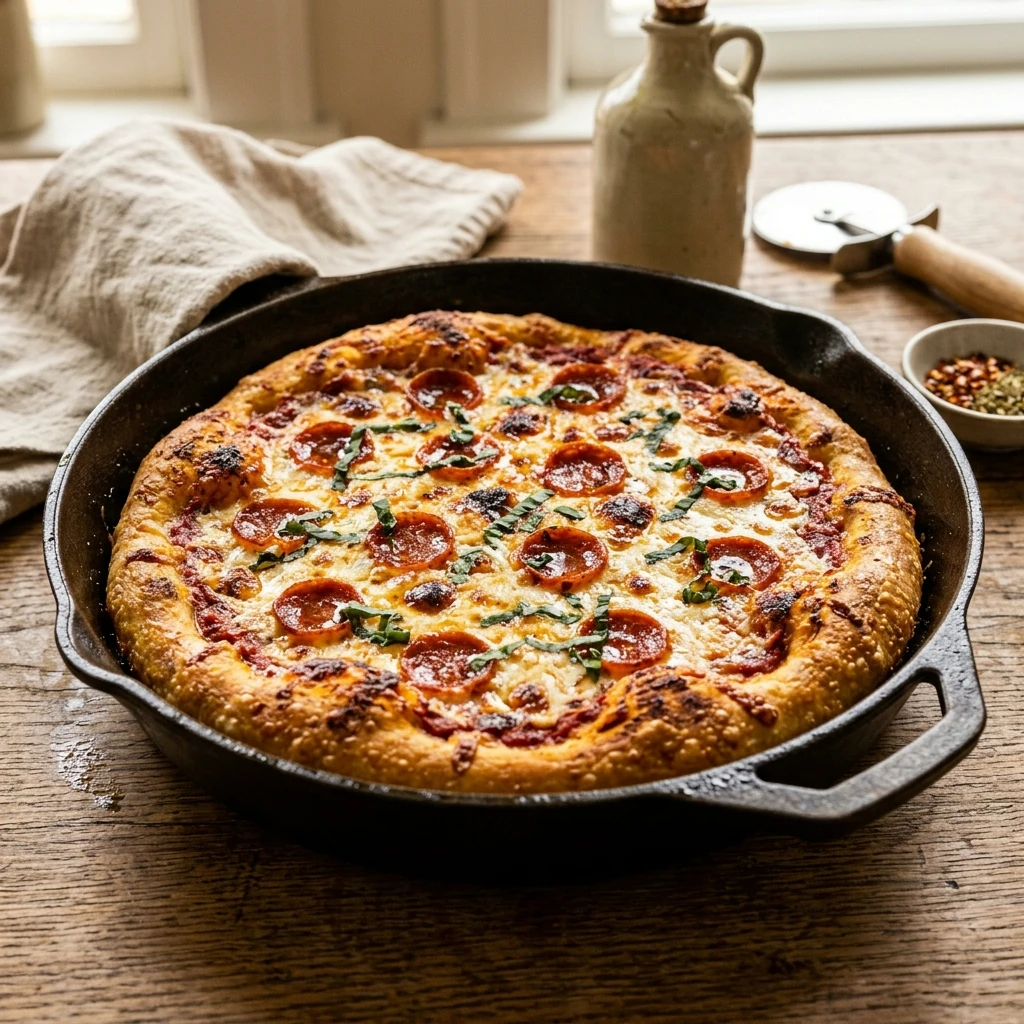
To get the most authentic results, do not skimp on the oil in the pan. It might seem like a lot, but that is the secret to the crispy, fried texture. Additionally, make sure your water is not too hot (above 115°F) or it will kill the yeast. Using a cast-iron skillet is highly recommended as it retains heat exceptionally well, helping to create a more uniform and crunchy bottom crust than standard baking sheets.
Delicious Variations
You can easily customize this dough to suit your taste. For a garlic-parmesan crust, brush the edges with melted butter mixed with garlic powder and grated parmesan cheese immediately after baking. If you prefer a herb-infused crust, add a teaspoon of dried oregano and basil directly into the flour mixture before kneading. You can even create a stuffed crust by placing string cheese along the edges of the dough and folding the dough over it before the final rise.
Frequently Asked Questions
Q: Can I use all-purpose flour instead of bread flour?
Yes, this recipe specifically calls for all-purpose flour to achieve that soft, cake-like interior. However, bread flour can be used if you prefer a chewier, more bread-like texture.
Q: Why do I need dry milk powder?
Dry milk powder is the secret to the specific flavor and tender crumb of Pizza Hut dough. It helps the crust brown beautifully while keeping the inside soft.
Q: Can I use Instant Yeast instead of Active Dry Yeast?
Yes. If using Instant Yeast, you can mix it directly with the dry ingredients and skip the proofing step in water. Just ensure your water is warm when adding it to the mix.
Q: My dough isn’t stretching to the edges of the pan, what should I do?
If the dough keeps snapping back, let it rest for another 10 minutes to allow the gluten to relax. After resting, it should be much easier to press to the edges.
Q: Can I make this dough ahead of time?
Absolutely. You can prepare the dough and let it rise slowly in the refrigerator for 24 hours. Cold fermentation actually improves the flavor of the dough.
Conclusion
Recreating the iconic Pizza Hut-Style Pan Pizza Dough at home is a fun and delicious way to level up your pizza nights. With its crispy, golden base and fluffy center, this recipe is sure to become a family favorite. Follow the steps, don’t be afraid of the oil, and enjoy the satisfaction of a perfect homemade deep-dish pizza!

Pizza Hut-Style Pan Pizza Dough

- Cook Time: 2 hours 5 minutes (includes rising time)
- Total Time: 2 hours 5 minutes
- Diet: Vegetarian
Ingredients
- 1 1/3 cups warm water (approx. 105°F)
- 1/4 cup non-fat dry milk
- 1/2 teaspoon salt
- 4 cups all-purpose flour
- 1 tablespoon granulated sugar
- 1 packet (2 1/4 teaspoons) active dry yeast
- 2 tablespoons vegetable oil (for the dough)
- 6 to 9 ounces vegetable oil (divided between two 9-inch or 12-inch cake pans or cast-iron skillets)
Instructions
- Step 1: Proof the Yeast. In a small bowl, combine the warm water, sugar, and yeast. Stir gently and let it sit for about 5 to 10 minutes until the mixture becomes foamy. This ensures your yeast is active and ready to make the dough rise.
- Step 2: Combine Dry Ingredients. In a large mixing bowl or the bowl of a stand mixer, whisk together the flour, non-fat dry milk, and salt. Make a well in the center of the dry ingredients to prepare for the liquids.
- Step 3: Mix the Dough. Pour the yeast mixture and the 2 tablespoons of vegetable oil into the center of the flour. Using a dough hook or a sturdy spoon, mix until a shaggy dough forms and starts to pull away from the sides of the bowl.
- Step 4: Knead the Dough. Knead the dough for about 5 to 8 minutes by hand on a lightly floured surface, or for 5 minutes using a stand mixer on low speed. The dough should be smooth, elastic, and slightly tacky but not sticky.
- Step 5: Prepare the Pans. Pour 3 to 4.5 ounces of oil into each of your two baking pans (cake pans or cast-iron skillets work best). Tilt the pans to ensure the bottom and sides are thoroughly coated. This oil is what “fries” the bottom of the crust to give it that Pizza Hut crunch.
- Step 6: Divide and Proof. Divide the dough into two equal balls. Place each ball into a prepared pan and turn it over to coat it with oil. Use your fingertips to gently press the dough toward the edges of the pan. Cover with plastic wrap and let the dough rise in a warm place for 1 to 1.5 hours until it has doubled in height.
- Step 7: Topping and Baking. Preheat your oven to 475°F. Once the dough has risen, add your favorite sauce, cheese, and toppings. Bake for 12 to 15 minutes, or until the cheese is bubbly and the edges of the crust are deep golden brown.