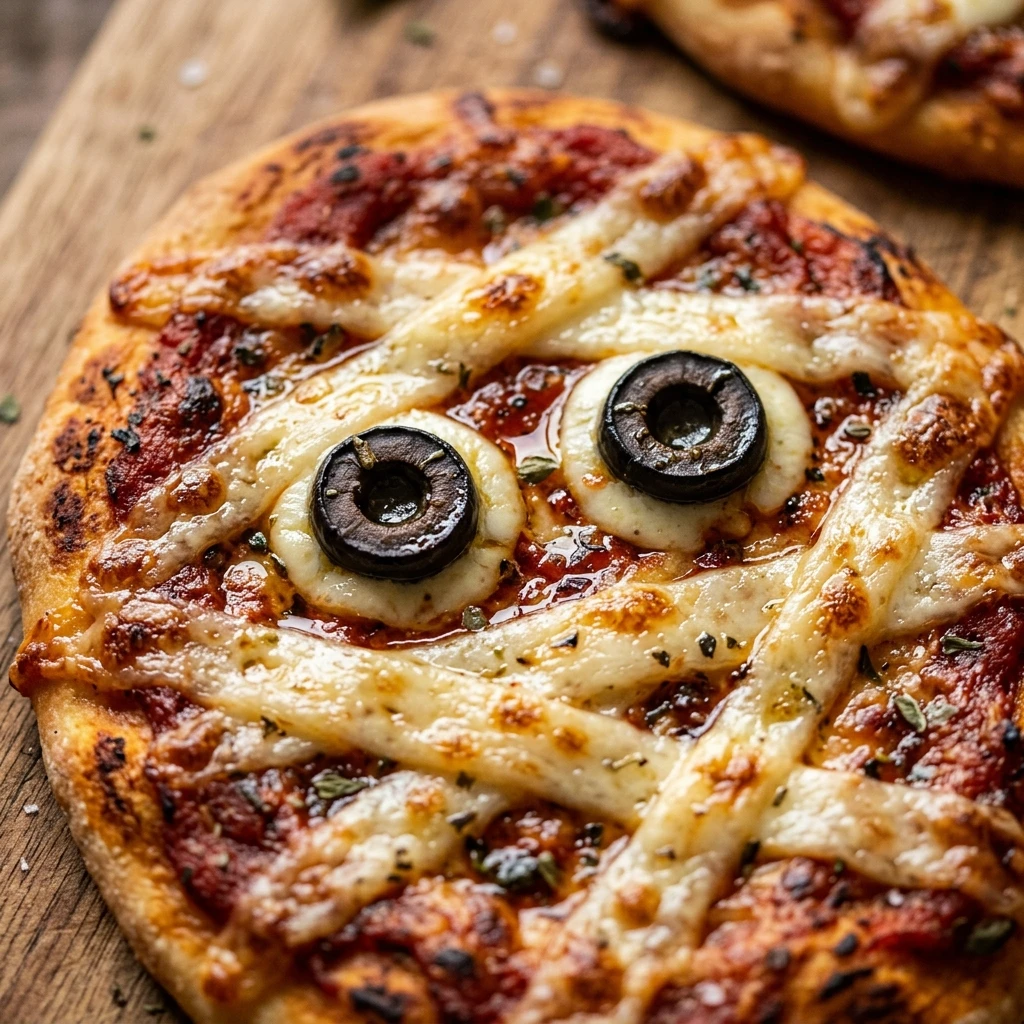

Halloween is the perfect time to get creative in the kitchen, and nothing says “spooky” quite like a batch of Halloween Spooky Mummy Pizzas. These adorable mini-pizzas are a hit at parties and a fantastic way to get children involved in the cooking process. Using simple ingredients and a bit of imagination, you can transform a basic snack into a festive masterpiece that tastes just as good as it looks.
Whether you are hosting a neighborhood gathering or just want to make a special October dinner for the family, these pizzas are the ideal solution. They are quick to assemble, fun to decorate, and incredibly satisfying to eat. Let’s dive into how you can bring these tasty little monsters to life!
Recipe Information
- Prep Time: 15 minutes
- Cook Time: 10 minutes
- Total Time: 25 minutes
- Servings: 4 servings
- Difficulty Level: Easy
Nutrition Information
- Calories per serving: 285 kcal
- Protein: 14g
- Carbohydrates: 32g
- Fat: 11g
- Fiber: 2g
- Sugar: 4g
- Sodium: 680mg
Why Make This Halloween Spooky Mummy Pizza Recipe
This recipe is a winner because it combines convenience with creativity. You don’t need to be a professional chef to make these pizzas look amazing. Since they use pre-made bases like English muffins or pita bread, you save time on dough preparation and can focus entirely on the fun part—the decorating!
Furthermore, these pizzas are highly customizable. If you have picky eaters, you can hide extra veggies under the “mummy wraps” or use different types of cheese. They are also the perfect size for little hands, making them a great finger food option for any spooky-themed celebration.
How to Make Halloween Spooky Mummy Pizza Recipe
Making these pizzas is more like an art project than a chore. Follow these simple steps to create your very own edible mummies that the whole family will love.
Ingredients
- 4 English muffins (split in half) or small pre-made pizza crusts
- 1/2 cup pizza sauce or marinara sauce
- 8 pieces of string cheese or slices of mozzarella cheese
- 1 can of sliced black olives
- Optional: Pepperoni slices or finely chopped bell peppers (to hide under the cheese)
Directions
Step 1: Preheat and Prepare
Preheat your oven to 400°F (200°C). Line a large baking sheet with parchment paper or silicone baking mats to prevent the pizzas from sticking and to make cleanup easier.
Step 2: Apply the Base Sauce
Place your English muffin halves or pizza crusts onto the prepared baking sheet. Spread about 1 tablespoon of pizza sauce onto each piece, covering it almost to the edges.
Step 3: Create the Mummy Wraps
If using string cheese, pull it apart into thin strips. If using sliced mozzarella, cut the slices into thin ribbons. Lay the strips of cheese across the sauce-covered bases in a staggered, crisscross pattern to look like mummy bandages. Be sure to leave a small gap near the top for the “eyes.”
Step 4: Add the Mummy Eyes
Place two sliced black olives in the gap you left between the cheese strips on each pizza. These will serve as the eyes looking out from the bandages. If you want a “pupil,” you can place a tiny piece of green bell pepper or a drop of sauce in the center of the olive hole.
Step 5: Bake to Perfection
Place the baking sheet in the oven and bake for 8 to 10 minutes. You want the cheese to be melted and bubbly, and the edges of the bread to be slightly crisp. Watch closely so the cheese doesn’t brown too much, as you want the “bandages” to stay white.
Step 6: Cool and Serve
Remove the pizzas from the oven and let them cool for 2-3 minutes. This allows the cheese to set slightly so the “eyes” don’t slide off when you serve them.
How to Serve Halloween Spooky Mummy Pizza Recipe
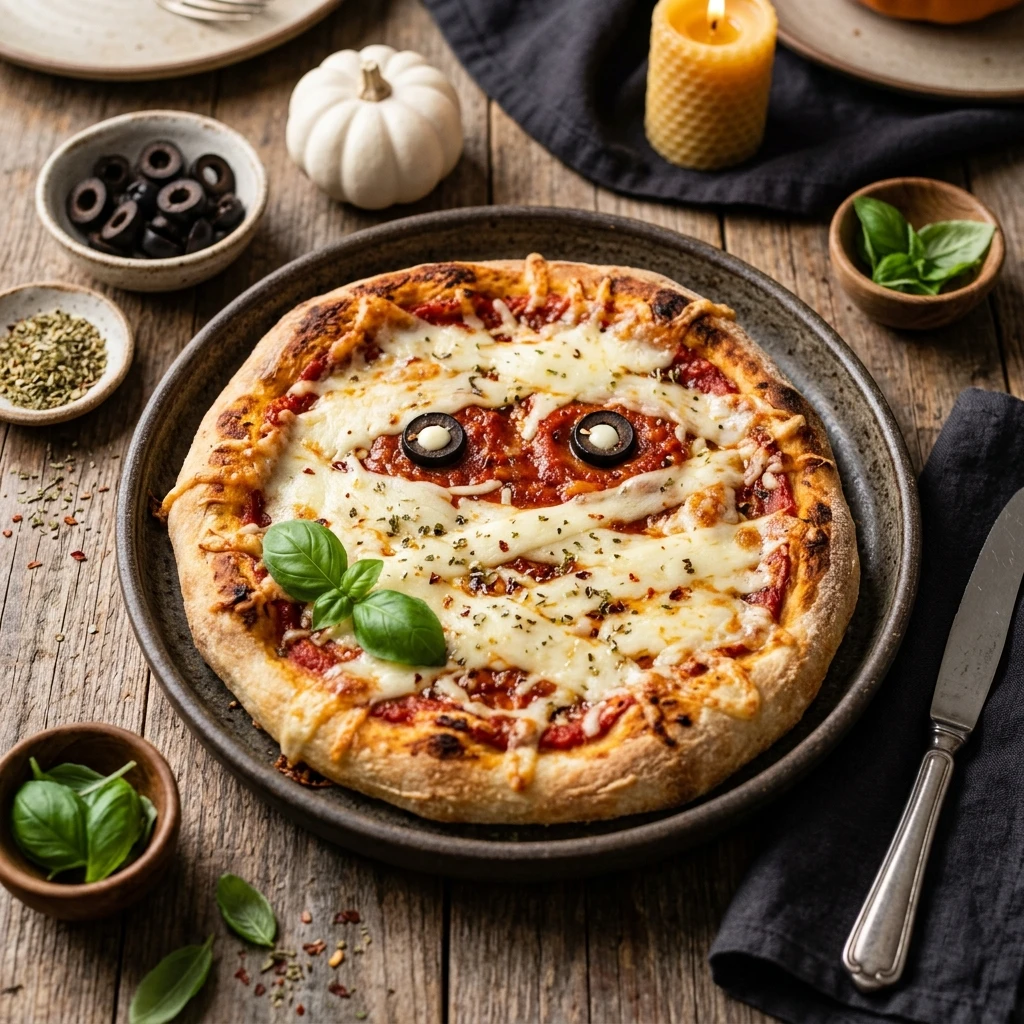
Serve these pizzas on a dark-colored platter to make the white “mummy wraps” pop. You can garnish the plate with a few plastic spiders or serve them alongside “blood” (extra marinara sauce) for dipping. They pair perfectly with a fresh green salad or some roasted carrots cut into pumpkin shapes.
How to Store Halloween Spooky Mummy Pizza Recipe
If you have leftovers, store them in an airtight container in the refrigerator for up to 3 days. To reheat, place them in a toaster oven or a regular oven at 350°F until the cheese is melted again. Using a microwave is possible, but the crust may become soft rather than crunchy.
Expert Tips for Perfect Halloween Spooky Mummy Pizza Recipe
To get the best look, try not to overlap the cheese too much in one spot, or it will melt into a single blob rather than looking like individual bandages. Also, ensure your pizza sauce isn’t too watery; a thicker sauce helps the cheese strips stay in place during the baking process.
Delicious Variations
For a different flavor profile, use white garlic sauce instead of red marinara for a “ghostly” base. You can also use green olives with pimentos for “spooky” glowing eyes. For a meat-lover’s version, place a thin layer of pepperoni under the cheese strips so the mummy looks like it has a little extra “gore” underneath!
Frequently Asked Questions
Q: Can I use regular pizza dough instead of English muffins?
Yes! Just roll out the dough and cut it into small circles. Pre-bake the dough for about 5 minutes before adding the toppings to ensure it cooks through.
Q: What is the best cheese to use for the mummy bandages?
String cheese is the easiest because it naturally pulls apart into strips. However, thin slices of provolone or mozzarella also work very well when cut with a knife or kitchen shears.
Q: Can I make these pizzas ahead of time?
You can assemble the pizzas a few hours in advance and keep them in the fridge. Bake them right before you are ready to serve so they are hot and fresh.
Q: How do I make these vegan?
Simply use a vegan-friendly bread base and replace the cheese with vegan mozzarella shreds or slices cut into strips. Make sure your pizza sauce is also vegan-certified.
Q: Are these pizzas suitable for school lunches?
Absolutely! They are delicious even at room temperature. Just make sure to pack them in a way that the olive eyes don’t get squashed against the lid of the lunchbox.
Conclusion
The Halloween Spooky Mummy Pizza Recipe is a delightful way to celebrate the season with food that is both fun and functional. With minimal ingredients and a quick cooking time, you can spend less time in the kitchen and more time enjoying the holiday festivities. Happy Halloween and enjoy your spooky snack!
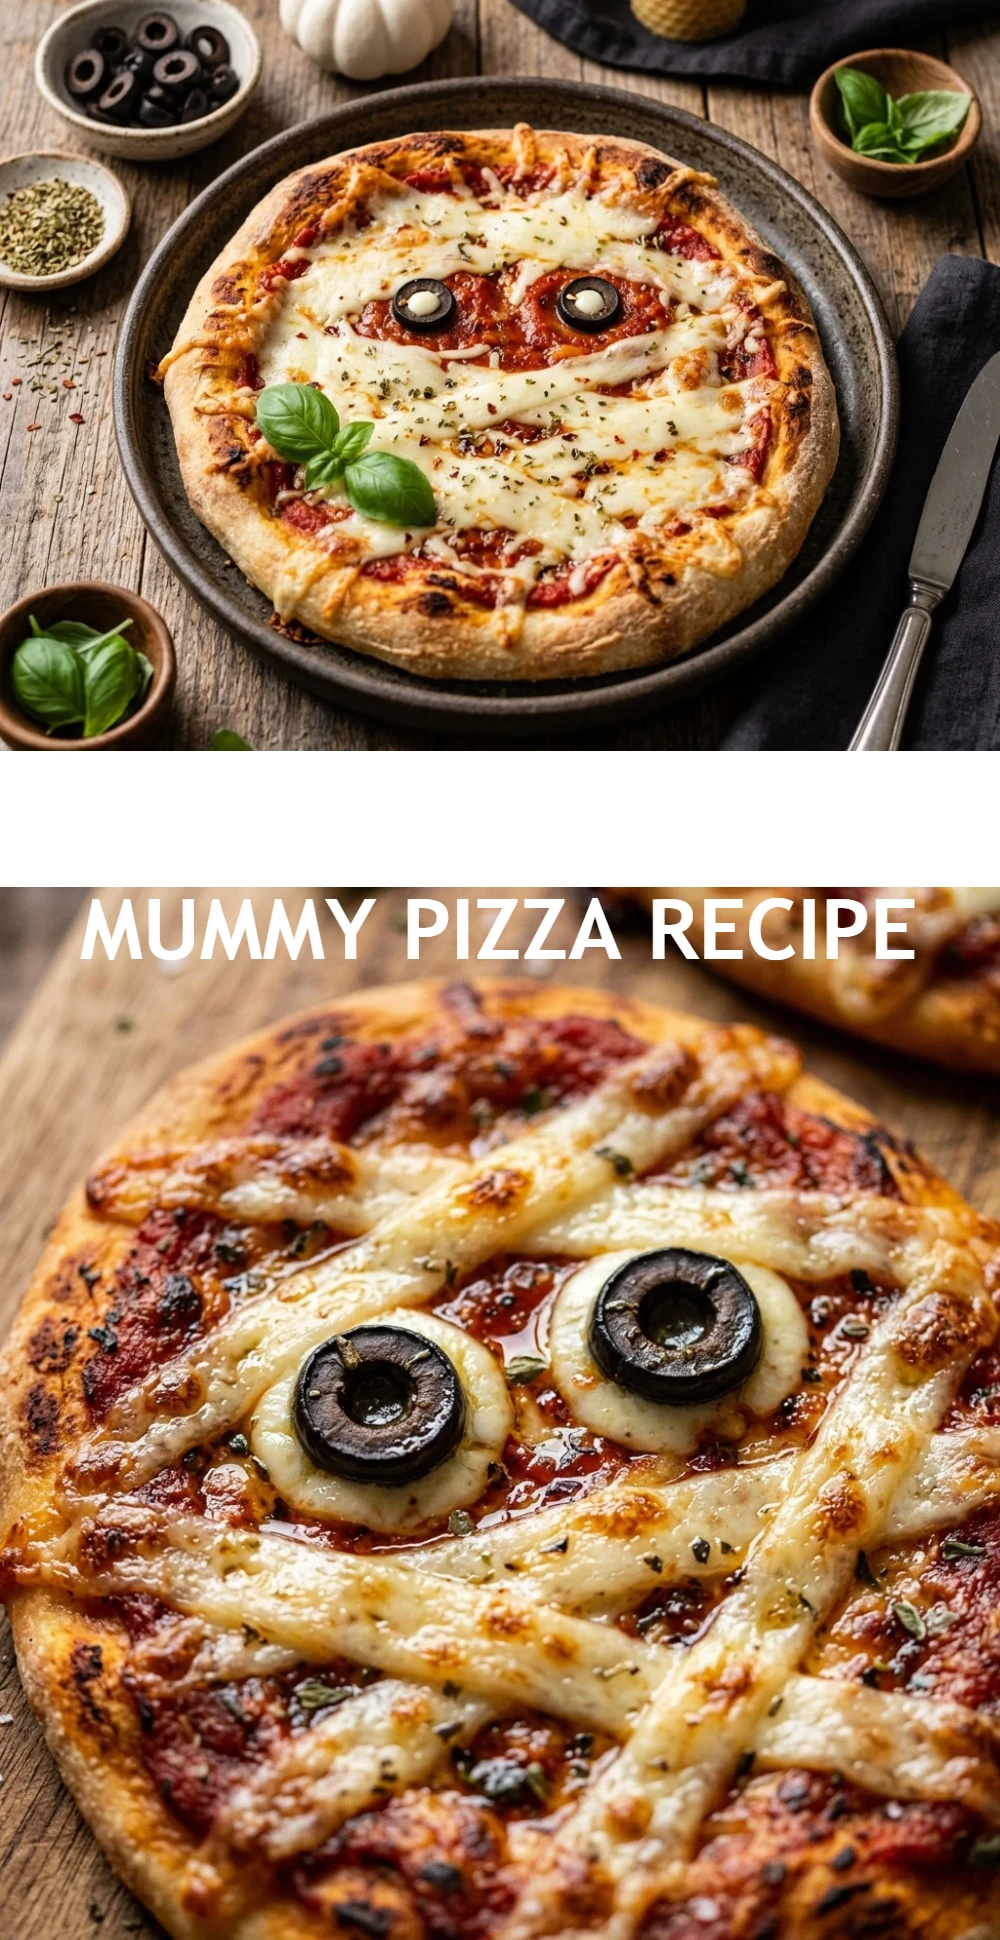
Halloween Spooky Mummy Pizza Recipe
- Cook Time: 25 minutes
- Total Time: 25 minutes
- Diet: Vegetarian
Ingredients
- 4 English muffins (split in half) or small pre-made pizza crusts
- 1/2 cup pizza sauce or marinara sauce
- 8 pieces of string cheese or slices of mozzarella cheese
- 1 can of sliced black olives
- Optional: Pepperoni slices or finely chopped bell peppers (to hide under the cheese)
Instructions
- Preheat your oven to 400°F (200°C). Line a large baking sheet with parchment paper or silicone baking mats to prevent the pizzas from sticking and to make cleanup easier.
- Place your English muffin halves or pizza crusts onto the prepared baking sheet. Spread about 1 tablespoon of pizza sauce onto each piece, covering it almost to the edges.
- If using string cheese, pull it apart into thin strips. If using sliced mozzarella, cut the slices into thin ribbons. Lay the strips of cheese across the sauce-covered bases in a staggered, crisscross pattern to look like mummy bandages. Be sure to leave a small gap near the top for the “eyes.”
- Place two sliced black olives in the gap you left between the cheese strips on each pizza. These will serve as the eyes looking out from the bandages. If you want a “pupil,” you can place a tiny piece of green bell pepper or a drop of sauce in the center of the olive hole.
- Place the baking sheet in the oven and bake for 8 to 10 minutes. You want the cheese to be melted and bubbly, and the edges of the bread to be slightly crisp. Watch closely so the cheese doesn’t brown too much, as you want the “bandages” to stay white.
- Remove the pizzas from the oven and let them cool for 2-3 minutes. This allows the cheese to set slightly so the “eyes” don’t slide off when you serve them.