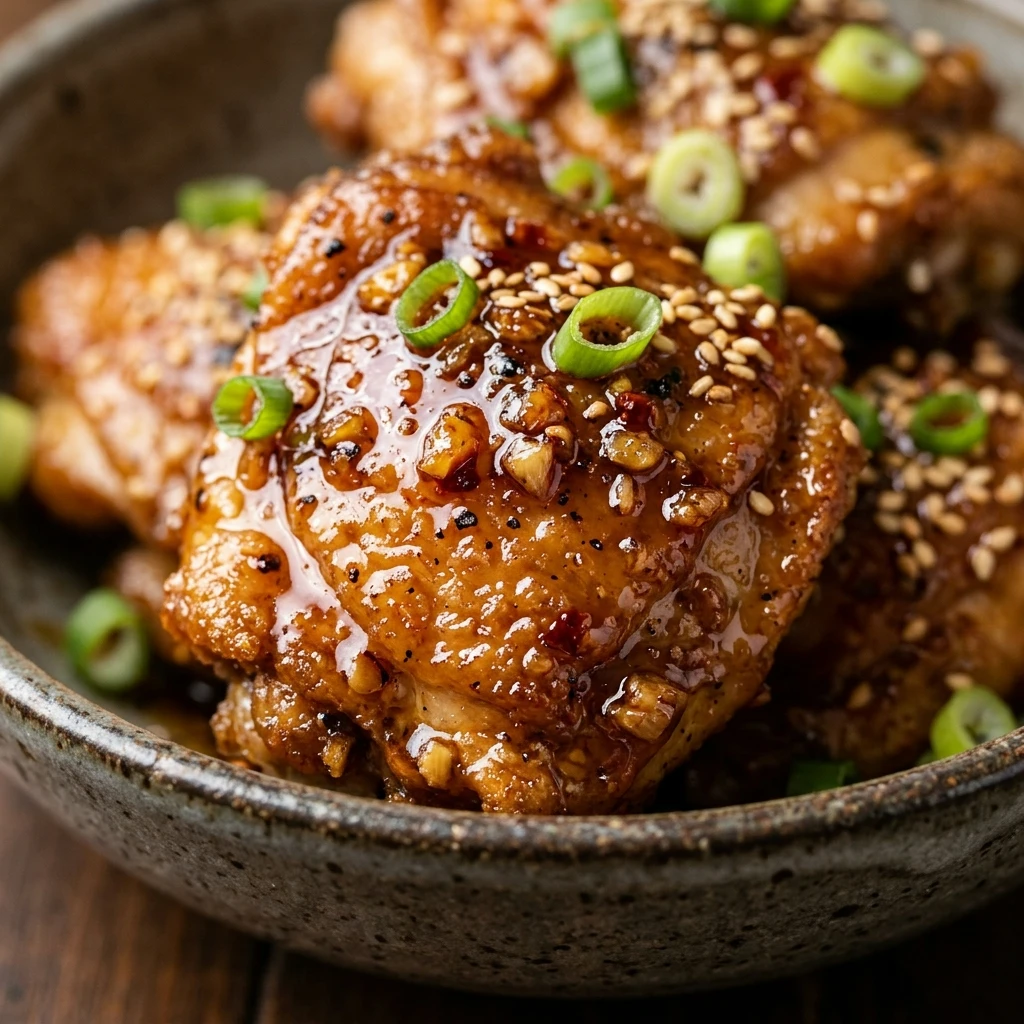

Craving your favorite takeout but want to skip the delivery fees and mystery ingredients? This Better-Than-Takeout Honey Garlic Chicken is the ultimate solution. It is sweet, savory, and incredibly easy to whip up in your own kitchen. In less time than it takes for a delivery driver to arrive, you can have a steaming plate of crispy, saucy chicken that the whole family will love.
The beauty of this dish lies in its simplicity. With just a handful of pantry staples like honey, soy sauce, and garlic, you can create a high-quality meal that tastes like it came from a professional kitchen. It is the perfect balance of sticky sauce and tender meat, making it a go-to recipe for busy weeknights or a cozy weekend treat.
Recipe Information
- Prep Time: 15 minutes
- Cook Time: 15 minutes
- Total Time: 30 minutes
- Servings: 4
- Difficulty Level: Easy
Nutrition Information
- Calories per serving: 385 kcal
- Protein: 28g
- Carbohydrates: 36g
- Fat: 12g
- Fiber: 1g
- Sugar: 22g
- Sodium: 840mg
Why Make This Better-Than-Takeout Honey Garlic Chicken
Making this dish at home gives you full control over the quality of your ingredients. Unlike restaurant versions that can be loaded with excess sodium or preservatives, you can adjust the sweetness and saltiness to your exact preference. Plus, using fresh garlic and ginger provides a punch of flavor that bottled sauces simply cannot match.
Another reason to love this recipe is its speed. It is a true 30-minute meal. By cutting the chicken into small bite-sized pieces, it cooks quickly and ensures every morsel is coated in that delicious glaze. It is budget-friendly, healthier than deep-fried takeout, and uses items you likely already have in your kitchen.
How to Make Better-Than-Takeout Honey Garlic Chicken
Creating this flavorful dish is a straightforward process that involves searing the chicken to golden perfection before tossing it in a signature homemade sauce. Follow these simple steps to master this classic stir-fry.
Ingredients
- 1.5 lbs chicken breasts or thighs, cut into 1-inch pieces
- 1/3 cup cornstarch
- 1/2 teaspoon salt
- 1/4 teaspoon black pepper
- 2 tablespoons vegetable oil
- 1/2 cup honey
- 1/4 cup low-sodium soy sauce
- 4 cloves garlic, minced
- 1 tablespoon fresh ginger, grated
- 1 tablespoon apple cider vinegar
- Optional garnish: Sesame seeds and sliced green onions
Directions
Step 1: Prepare and Coat the Chicken
Start by patting your chicken pieces dry with a paper towel. In a large bowl or a zip-top bag, combine the cornstarch, salt, and pepper. Add the chicken pieces and toss thoroughly until every piece is evenly coated. This cornstarch coating is the secret to getting a crispy exterior without deep frying.
Step 2: Sear the Chicken
Heat the vegetable oil in a large skillet or wok over medium-high heat. Once the oil is shimmering, add the chicken in a single layer. Cook for 5-7 minutes, turning occasionally, until the chicken is golden brown and cooked through. Depending on the size of your pan, you may need to do this in batches to avoid crowding.
Step 3: Whisk the Sauce
While the chicken is browning, whisk together the honey, soy sauce, minced garlic, grated ginger, and apple cider vinegar in a small bowl. Ensure the honey is well incorporated into the liquids so the sauce is smooth.
Step 4: Combine and Simmer
Once the chicken is fully cooked, pour the sauce mixture directly into the skillet over the chicken. Stir constantly to coat every piece. Let the sauce simmer for 2-3 minutes. You will notice the sauce beginning to thicken and turn into a glossy glaze that clings to the chicken.
Step 5: Garnish and Finish
Remove the pan from the heat once the sauce has reached your desired thickness. Sprinkle with sesame seeds and freshly sliced green onions for a pop of color and extra texture.
How to Serve Better-Than-Takeout Honey Garlic Chicken
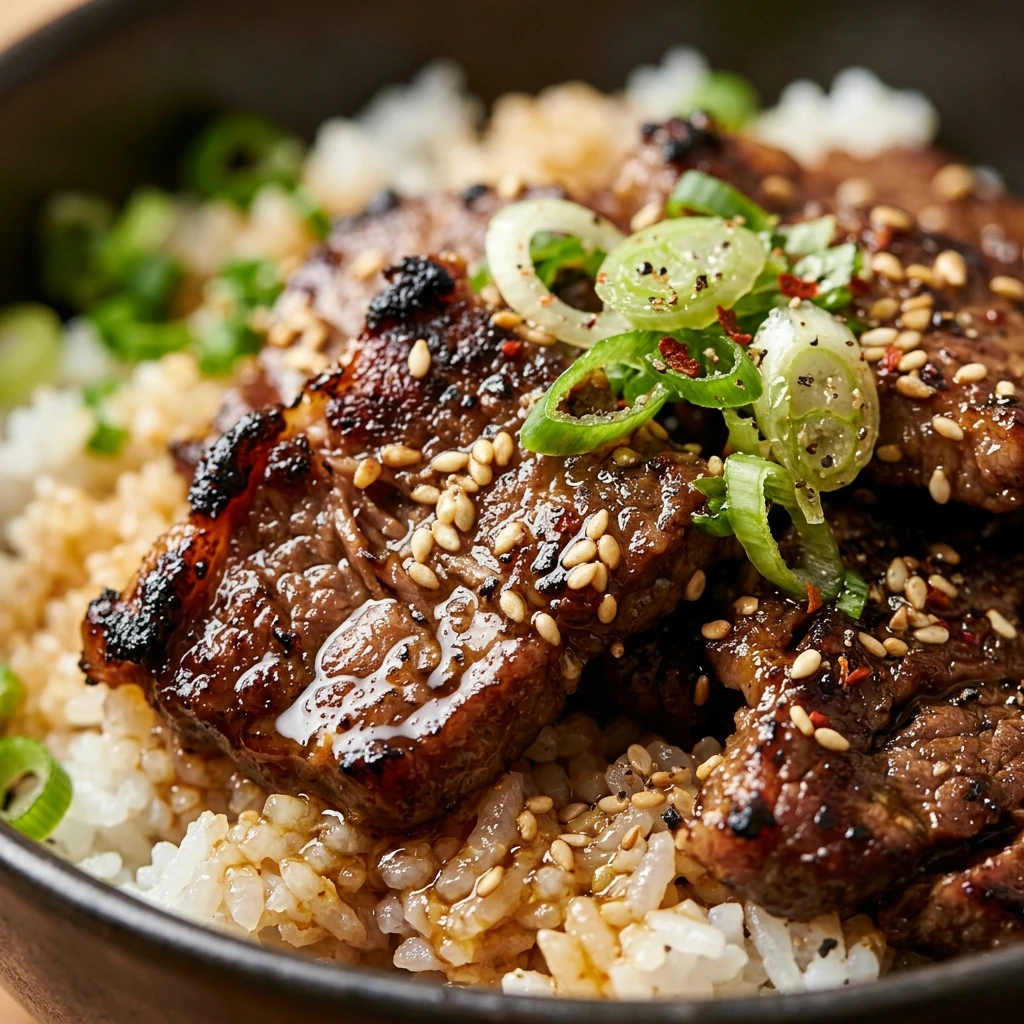
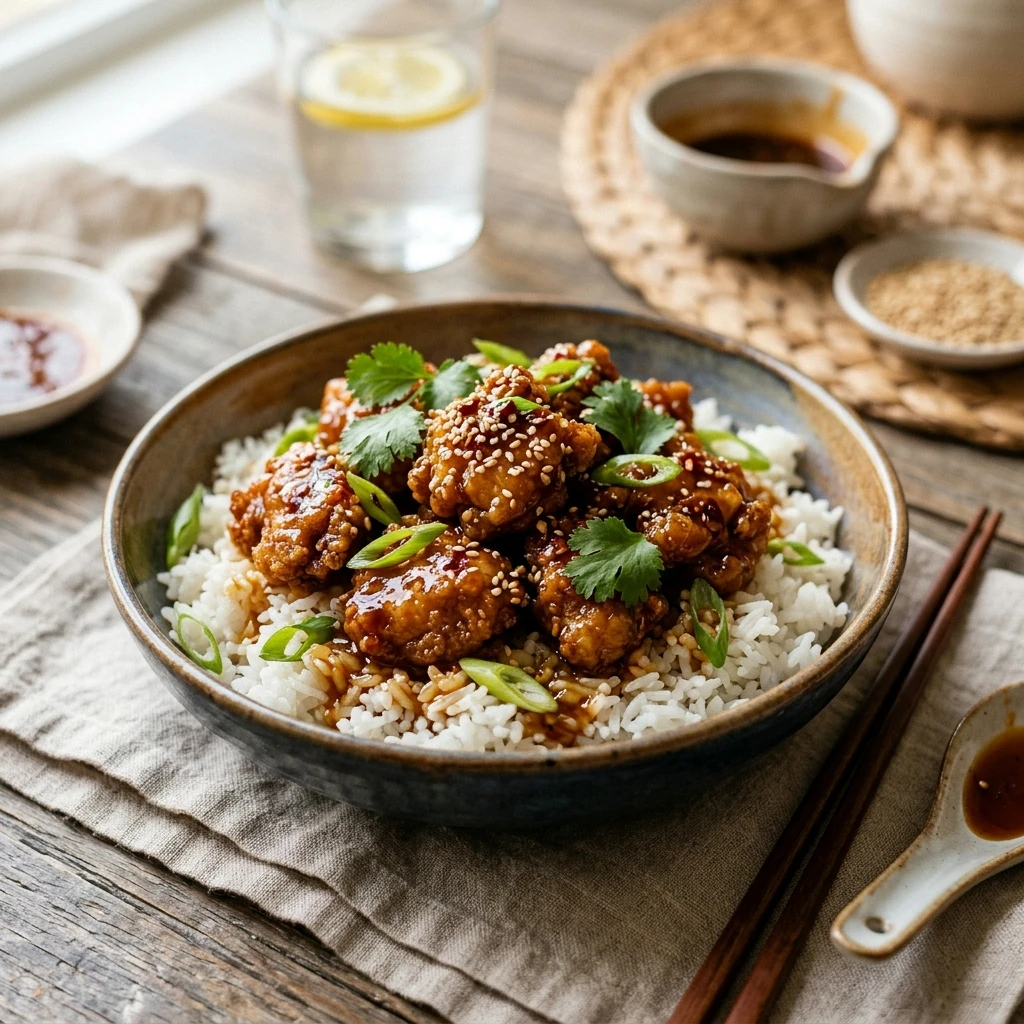
This chicken is best served hot over a bed of fluffy white rice, jasmine rice, or brown rice to soak up all that extra sauce. For a lower-carb option, try serving it over cauliflower rice or zucchini noodles. Adding a side of steamed broccoli, snap peas, or roasted bell peppers creates a well-balanced and colorful plate.
How to Store Better-Than-Takeout Honey Garlic Chicken
Store any leftovers in an airtight container in the refrigerator for up to 3 to 4 days. To reheat, place the chicken in a skillet over medium-low heat with a splash of water or chicken broth to loosen the sauce. You can also microwave it in 30-second intervals until warmed through, though the skillet method helps maintain a better texture.
Expert Tips for Perfect Better-Than-Takeout Honey Garlic Chicken
For the best results, use fresh garlic and ginger rather than the powdered versions. The aromatic oils in fresh produce make a world of difference in the depth of the sauce. Also, make sure your pan is truly hot before adding the chicken; this ensures a golden crust rather than soggy meat. If you prefer a thicker sauce, you can mix a teaspoon of cornstarch with a teaspoon of water and stir it into the simmering glaze at the very end.
Delicious Variations
If you like a bit of heat, add a teaspoon of red pepper flakes or a squeeze of sriracha to the sauce. You can also swap the chicken for shrimp or firm cubes of tofu for a different protein source. For a “Honey Garlic Butter” twist, melt a tablespoon of unsalted butter into the sauce just before serving for a richer, velvety finish.
Frequently Asked Questions
Q: Can I use chicken thighs instead of breasts?
Yes! Chicken thighs are actually preferred by many because they stay juicier and are more forgiving during the searing process. Just ensure they are trimmed of excess fat.
Q: Is there a substitute for apple cider vinegar?
If you don’t have apple cider vinegar, you can use rice vinegar or white wine vinegar. Even a squeeze of fresh lemon juice will provide the necessary acidity to balance the sweetness of the honey.
Q: How do I make this gluten-free?
To make this recipe gluten-free, simply swap the soy sauce for tamari or coconut aminos. Ensure your cornstarch is certified gluten-free as well.
Q: Can I bake the chicken instead of pan-frying it?
Yes. You can toss the coated chicken in a bit of oil and bake at 400°F (200°C) for about 15-20 minutes until crispy. Then, toss it with the sauce in a pan on the stovetop to glaze it.
Q: Why is my sauce too thin?
The sauce needs to simmer to reduce and thicken. If it is still too thin after a few minutes, use a small cornstarch slurry (1 tsp cornstarch mixed with 1 tsp water) to help it reach the right consistency.
Conclusion
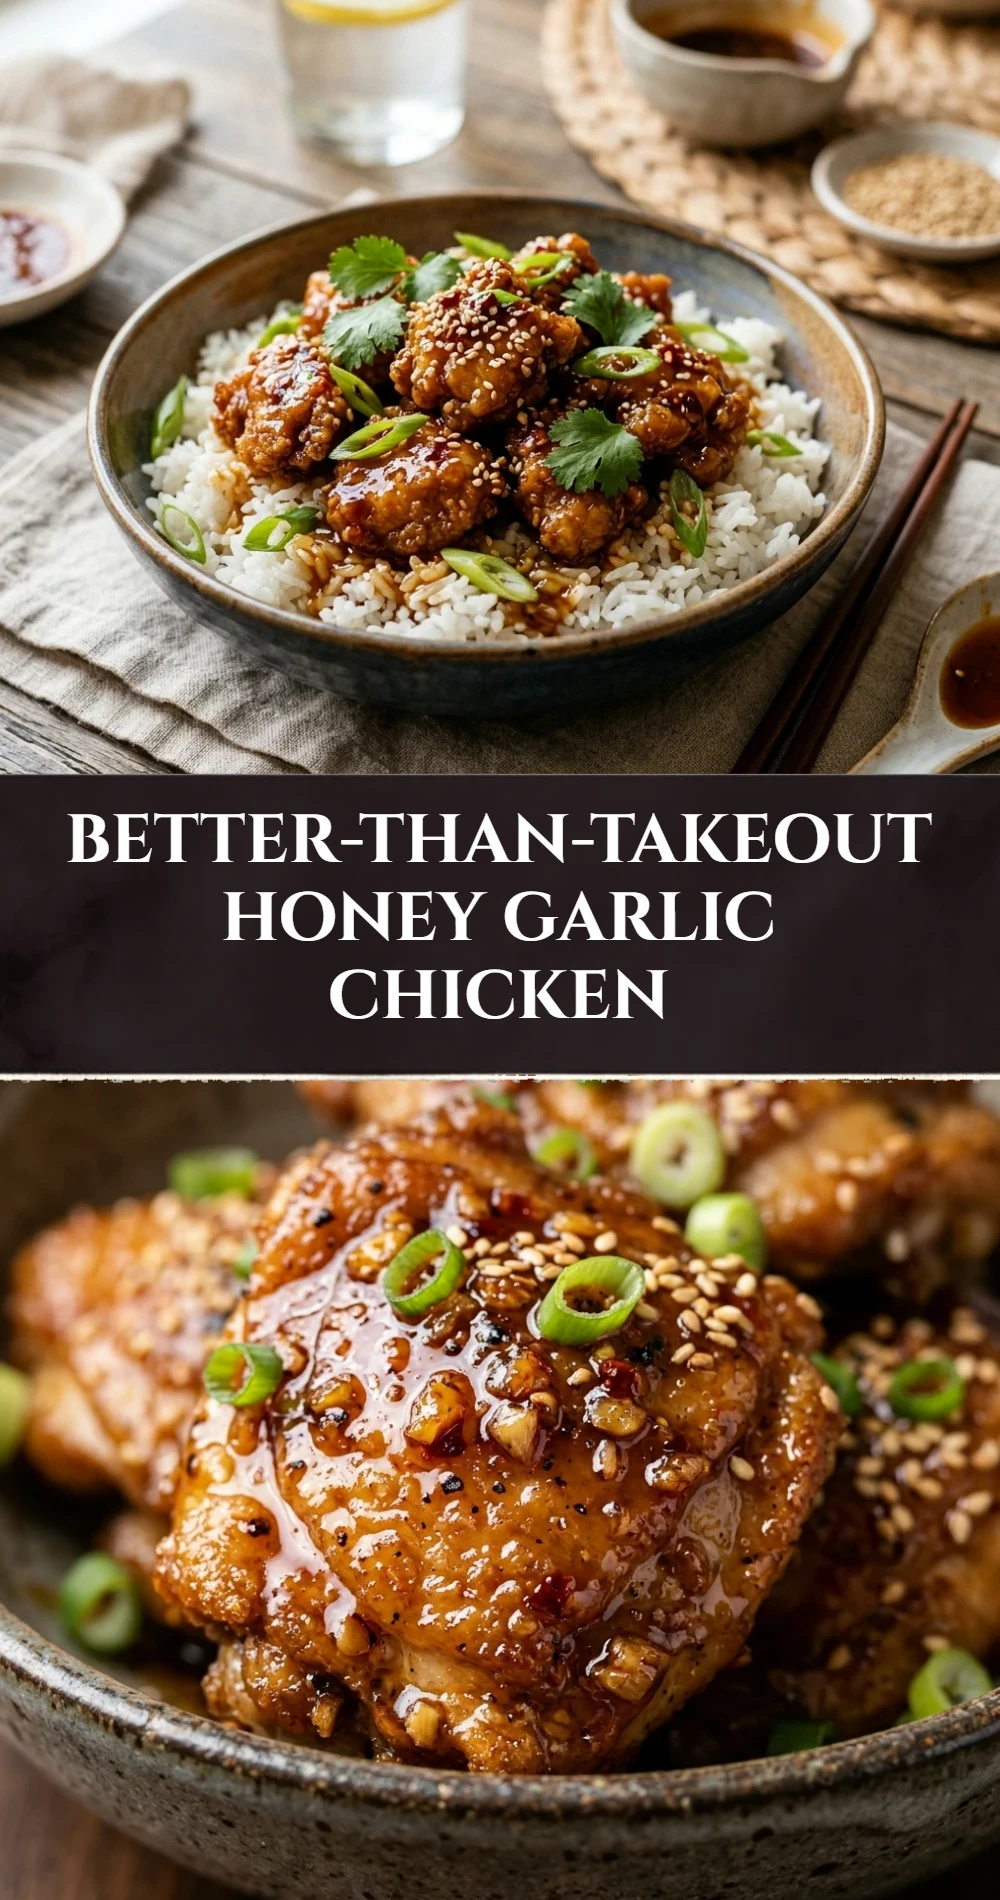
Better-Than-Takeout Honey Garlic Chicken is a versatile, fast, and incredibly satisfying meal that proves you don’t need to leave your house for high-quality Asian-inspired cuisine. With its perfect balance of flavors and simple preparation, it is sure to become a recurring favorite in your meal rotation. Give it a try tonight and enjoy a delicious dinner that is better, faster, and healthier than delivery!
Better-Than-Takeout Honey Garlic Chicken
- Cook Time: 30 minutes
- Total Time: 30 minutes
- Diet: Gluten-Free Option, Low-Carb Option
Ingredients
- 1.5 lbs chicken breasts or thighs, cut into 1-inch pieces
- 1/3 cup cornstarch
- 1/2 teaspoon salt
- 1/4 teaspoon black pepper
- 2 tablespoons vegetable oil
- 1/2 cup honey
- 1/4 cup low-sodium soy sauce
- 4 cloves garlic, minced
- 1 tablespoon fresh ginger, grated
- 1 tablespoon apple cider vinegar
- Optional garnish: Sesame seeds and sliced green onions
Instructions
- Start by patting your chicken pieces dry with a paper towel. In a large bowl or a zip-top bag, combine the cornstarch, salt, and pepper. Add the chicken pieces and toss thoroughly until every piece is evenly coated. This cornstarch coating is the secret to getting a crispy exterior without deep frying.
- Heat the vegetable oil in a large skillet or wok over medium-high heat. Once the oil is shimmering, add the chicken in a single layer. Cook for 5-7 minutes, turning occasionally, until the chicken is golden brown and cooked through. Depending on the size of your pan, you may need to do this in batches to avoid crowding.
- While the chicken is browning, whisk together the honey, soy sauce, minced garlic, grated ginger, and apple cider vinegar in a small bowl. Ensure the honey is well incorporated into the liquids so the sauce is smooth.
- Once the chicken is fully cooked, pour the sauce mixture directly into the skillet over the chicken. Stir constantly to coat every piece. Let the sauce simmer for 2-3 minutes. You will notice the sauce beginning to thicken and turn into a glossy glaze that clings to the chicken.
- Remove the pan from the heat once the sauce has reached your desired thickness. Sprinkle with sesame seeds and freshly sliced green onions for a pop of color and extra texture.