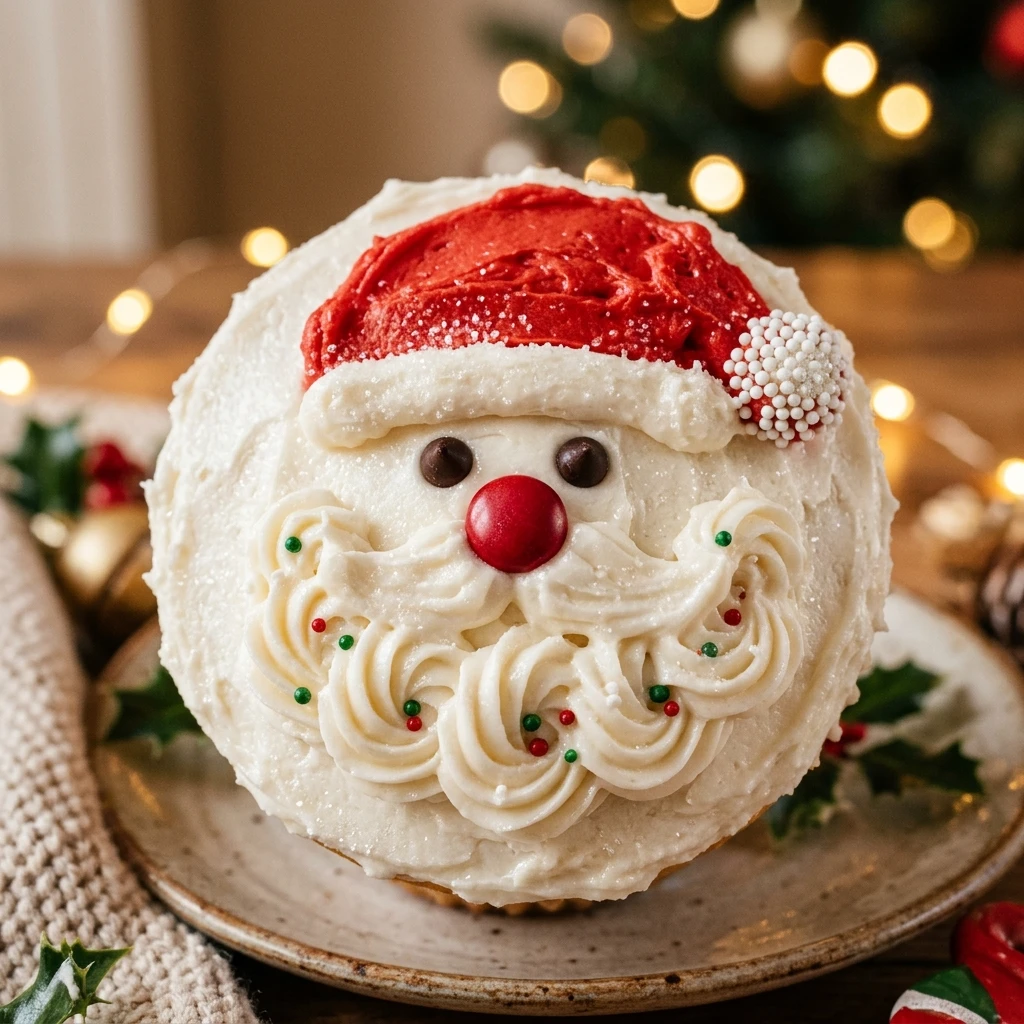

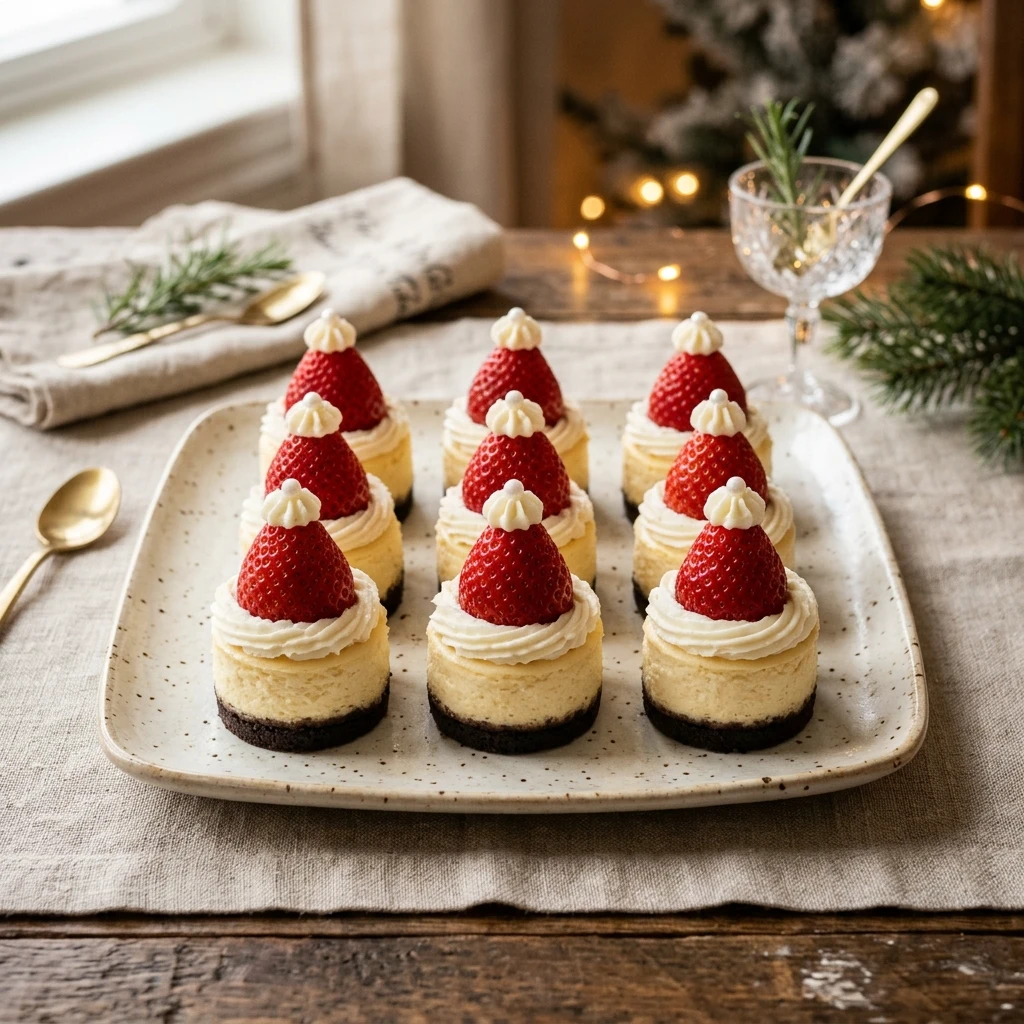
Get ready to bring some festive cheer to your holiday table with these adorable Santa Hat Cheesecake Bites. These mini desserts are as delicious as they are cute, featuring a creamy cheesecake base topped with a vibrant strawberry “hat” and a fluffy whipped cream trim. They are the perfect size for parties, cookie exchanges, or a special Christmas Eve treat.
The combination of a buttery graham cracker crust, velvety smooth cheesecake, and fresh fruit makes these a guaranteed crowd-pleaser. Whether you are a seasoned baker or looking for a fun project to do with the family, these festive bites are simple to assemble and look professionally made once finished.
Recipe Information
- Prep Time: 25 minutes
- Cook Time: 25 minutes
- Total Time: 50 minutes
- Servings: 24 bites
- Difficulty Level: Medium
Nutrition Information
- Calories per serving: 145 kcal
- Protein: 2g
- Carbohydrates: 12g
- Fat: 10g
- Fiber: 0.5g
- Sugar: 9g
- Sodium: 110mg
Why Make This Santa Hat Cheesecake Bites
These Santa Hat Cheesecake Bites are the ultimate holiday dessert because they strike the perfect balance between flavor and presentation. Unlike a full-sized cheesecake which can be intimidating to slice and serve at a party, these pre-portioned bites allow guests to enjoy a decadent treat without needing a plate or fork. They add a pop of bright red and white to your dessert spread, making your table look instantly more festive.
Beyond their looks, the taste is classic and nostalgic. The slight tang of the cream cheese pairs beautifully with the sweetness of the fresh strawberries. It is a light yet indulgent dessert that feels special without being overly heavy after a big holiday meal. Plus, you can make the cheesecake base a day in advance, saving you precious time on the day of your event.
How to Make Santa Hat Cheesecake Bites
Creating these festive treats involves baking a simple cheesecake in a square pan, chilling it thoroughly, and then using fresh strawberries and whipped cream to create the iconic Santa hat look. Follow these steps for a perfect result every time.
Ingredients
- 1.5 cups graham cracker crumbs
- 1/4 cup granulated sugar (for crust)
- 6 tablespoons unsalted butter, melted
- 16 ounces cream cheese, softened to room temperature
- 1/2 cup granulated sugar (for filling)
- 1 large egg, room temperature
- 1 teaspoon vanilla extract
- 24 small to medium fresh strawberries, hulled and tops cut flat
- 1 cup heavy whipping cream (or canned whipped cream for convenience)
- 2 tablespoons powdered sugar (for whipped cream)
Directions
Step 1: Preparation and Oven Setup
Preheat your oven to 325°F (160°C). Line an 8×8 inch square baking pan with parchment paper, leaving an overhang on the sides. This will make it much easier to lift the cheesecake out once it has cooled and set.
Step 2: Create the Graham Cracker Crust
In a medium bowl, stir together the graham cracker crumbs, 1/4 cup of sugar, and the melted butter until the mixture looks like wet sand. Press the mixture firmly into the bottom of the prepared baking pan. Bake the crust for 8 to 10 minutes, then remove it from the oven and let it cool slightly while you prepare the filling.
Step 3: Mix the Cheesecake Filling
In a large bowl, beat the softened cream cheese and 1/2 cup of sugar together until smooth and creamy. Add the egg and vanilla extract, mixing on low speed just until combined. Avoid over-beating the batter at this stage to prevent air bubbles from forming in the cheesecake.
Step 4: Bake the Cheesecake Base
Pour the cream cheese mixture over the pre-baked crust and spread it evenly with a spatula. Bake for 25 to 30 minutes, or until the edges are set but the center still has a slight jiggle. Remove from the oven and let it cool completely at room temperature.
Step 5: Chill and Cut
Place the cooled cheesecake in the refrigerator for at least 3 to 4 hours, or overnight. Once fully chilled, use the parchment paper handles to lift the cheesecake out of the pan. Use a sharp knife to cut the cheesecake into 24 even squares.
Step 6: Assemble the Santa Hats
Whip the heavy cream and powdered sugar until stiff peaks form. Place a small dollop of whipped cream in the center of each cheesecake square. Place a strawberry (flat side down) on top of the cream. Use a piping bag or a small spoon to add a tiny dot of whipped cream to the tip of each strawberry to finish the hat look.
How to Serve Santa Hat Cheesecake Bites
Serve these bites chilled on a large white platter to make the red strawberries stand out. If you want to get extra fancy, you can dust the platter with a little bit of powdered sugar to mimic fallen snow. These are best served within an hour of assembly to ensure the whipped cream stays stable and the strawberries remain fresh and juicy.
How to Store Santa Hat Cheesecake Bites
Store any leftovers in an airtight container in the refrigerator. Note that the whipped cream and strawberries may lose some of their structure after 24 hours. For the best quality, store the cheesecake squares and strawberries separately and assemble them just before you plan to eat them. The plain cheesecake squares will stay fresh in the fridge for up to 4 days.
Expert Tips for Perfect Santa Hat Cheesecake Bites
- Room Temperature Ingredients: Ensure your cream cheese and egg are at room temperature. This prevents lumps in your batter and ensures a silky texture.
- Clean Cuts: To get perfectly clean squares, wipe your knife with a warm, damp cloth between every single cut.
- Dry Your Berries: After washing the strawberries, pat them completely dry with a paper towel. If they are wet, the whipped cream will slide right off.
- Use Stable Cream: If you are making these ahead of time, consider using a stabilized whipped cream (adding a bit of mascarpone or gelatin) so the “fur” on the hats doesn’t melt.
Delicious Variations
- Chocolate Crust: Swap the graham cracker crumbs for crushed Oreo cookies to make a chocolatey base.
- Peppermint Flavor: Add 1/4 teaspoon of peppermint extract to the cheesecake batter for a cool, wintry twist.
- Berry Swap: If strawberries aren’t available, you can use large raspberries for “Miniature Elf Hats.”
- Drizzled Chocolate: Drizzle the finished bites with white or dark chocolate for an even more decadent look.
Frequently Asked Questions
Q: Can I use store-bought cheesecake for this recipe?
Yes, you can buy a plain frozen or bakery cheesecake, cut it into squares, and simply add the strawberry and whipped cream toppings to save time.
Q: How do I stop my cheesecake from cracking?
Cracks usually happen from over-baking or over-mixing. Mix the egg in on low speed and remove the cheesecake from the oven while the center is still a bit wobbly.
Q: Can I make these gluten-free?
Absolutely! Simply use gluten-free graham cracker crumbs or crushed gluten-free ginger snap cookies for the crust.
Q: Can I use frozen strawberries?
I do not recommend frozen strawberries for this recipe. As they thaw, they release a lot of liquid and become mushy, which will ruin the appearance and texture of the bites.
Q: Can I freeze the finished bites?
You can freeze the plain baked cheesecake squares, but do not freeze them once the strawberries and whipped cream are added, as the fruit will not survive the freezing process well.
Conclusion
Santa Hat Cheesecake Bites are a delightful way to celebrate the holiday season. They are simple to prepare, incredibly festive, and offer the perfect bite-sized portion of creamy cheesecake goodness. Whether you’re hosting a party or looking for a fun kitchen activity with the kids, these little hats are sure to bring a smile to everyone’s face. Give them a try this Christmas and enjoy the sweet taste of the holidays!

Santa Hat Cheesecake Bites
- Cook Time: 50 minutes
- Total Time: 50 minutes
- Diet: Vegetarian
Ingredients
- 1.5 cups graham cracker crumbs
- 1/4 cup granulated sugar (for crust)
- 6 tablespoons unsalted butter, melted
- 16 ounces cream cheese, softened to room temperature
- 1/2 cup granulated sugar (for filling)
- 1 large egg, room temperature
- 1 teaspoon vanilla extract
- 24 small to medium fresh strawberries, hulled and tops cut flat
- 1 cup heavy whipping cream (or canned whipped cream for convenience)
- 2 tablespoons powdered sugar (for whipped cream)
Instructions
- Preheat your oven to 325°F (160°C). Line an 8×8 inch square baking pan with parchment paper, leaving an overhang on the sides. This will make it much easier to lift the cheesecake out once it has cooled and set.
- In a medium bowl, stir together the graham cracker crumbs, 1/4 cup of sugar, and the melted butter until the mixture looks like wet sand. Press the mixture firmly into the bottom of the prepared baking pan. Bake the crust for 8 to 10 minutes, then remove it from the oven and let it cool slightly while you prepare the filling.
- In a large bowl, beat the softened cream cheese and 1/2 cup of sugar together until smooth and creamy. Add the egg and vanilla extract, mixing on low speed just until combined. Avoid over-beating the batter at this stage to prevent air bubbles from forming in the cheesecake.
- Pour the cream cheese mixture over the pre-baked crust and spread it evenly with a spatula. Bake for 25 to 30 minutes, or until the edges are set but the center still has a slight jiggle. Remove from the oven and let it cool completely at room temperature.
- Place the cooled cheesecake in the refrigerator for at least 3 to 4 hours, or overnight. Once fully chilled, use the parchment paper handles to lift the cheesecake out of the pan. Use a sharp knife to cut the cheesecake into 24 even squares.
- Whip the heavy cream and powdered sugar until stiff peaks form. Place a small dollop of whipped cream in the center of each cheesecake square. Place a strawberry (flat side down) on top of the cream. Use a piping bag or a small spoon to add a tiny dot of whipped cream to the tip of each strawberry to finish the hat look.