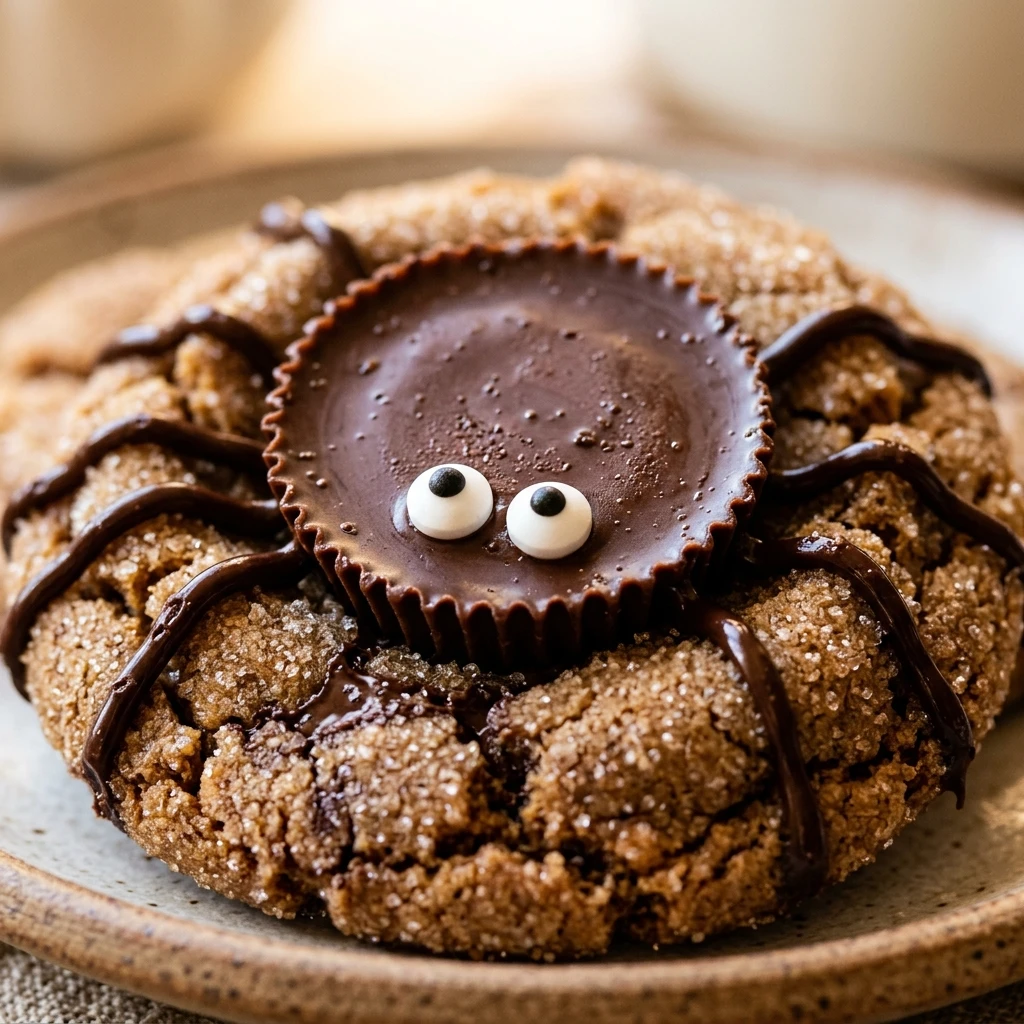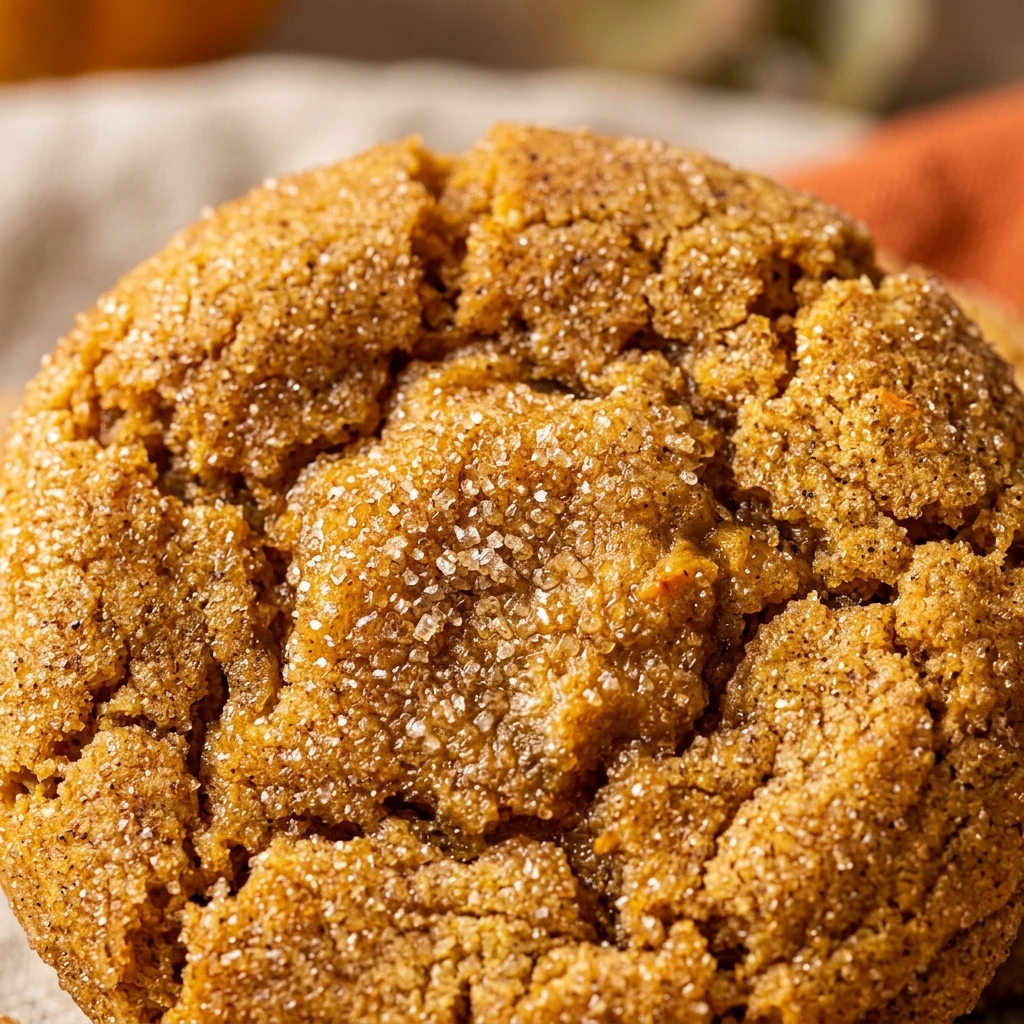

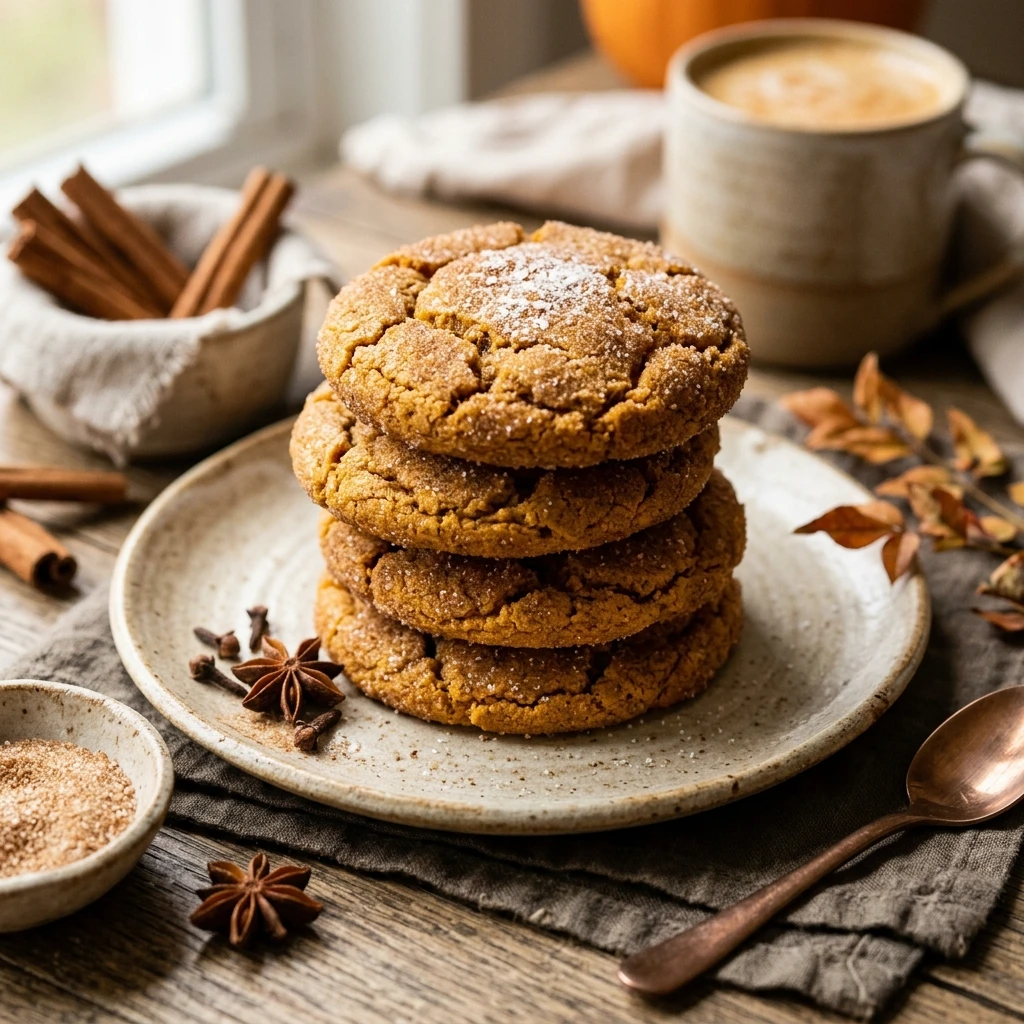
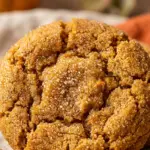
As the leaves begin to turn and the air grows crisp, nothing beats the cozy aroma of warm spices wafting through the kitchen. These Pumpkin Snickerdoodle Cookies are the ultimate autumn treat, combining the tangy, chewy texture of a classic snickerdoodle with the rich, earthy sweetness of real pumpkin. They are soft, pillowy, and rolled in a sparkling cinnamon-sugar coating that provides the perfect crunch in every bite.
Whether you are hosting a festive gathering or simply want a sweet snack to enjoy with a cup of hot cider, this recipe is a guaranteed winner. The addition of pumpkin puree makes these cookies incredibly moist, while the traditional cream of tartar ensures they maintain that signature snickerdoodle tang. Get ready to fall in love with your new favorite seasonal cookie.
Recipe Information
- Prep Time: 20 minutes (plus 30 minutes chilling time)
- Cook Time: 10 minutes
- Total Time: 60 minutes
- Servings: 24 cookies
- Difficulty Level: Easy
Nutrition Information
- Calories per serving: 165 kcal
- Protein: 2g
- Carbohydrates: 24g
- Fat: 8g
- Fiber: 1g
- Sugar: 14g
- Sodium: 145mg
Why Make This Pumpkin Snickerdoodle Cookies Recipe
This recipe is the perfect bridge between summer and winter. It takes everything you love about a traditional cookie and infuses it with the soul-warming flavors of pumpkin pie. Unlike some pumpkin cookies that can turn out cakey, these stay chewy and dense thanks to the specific ratio of sugars and the chilling process. They are a fantastic way to use up that leftover pumpkin puree in your pantry.
Additionally, these cookies are incredibly easy to make with standard pantry staples. They look impressive with their crackled, sugary tops but require very little technical skill. Kids love helping with the rolling and coating process, making it a wonderful family activity for a rainy afternoon. If you want a cookie that tastes like a warm hug, this is the one for you.
How to Make Pumpkin Snickerdoodle Cookies Recipe
Creating these cookies is a simple process of layering flavors and textures. Follow these easy steps to achieve a perfectly spiced, melt-in-your-mouth cookie that will have everyone asking for the recipe.
Ingredients
- 1 cup unsalted butter, softened to room temperature
- 1 cup granulated white sugar
- 1/2 cup packed light brown sugar
- 1/2 cup canned pumpkin puree (not pumpkin pie filling)
- 1 large egg, room temperature
- 1 teaspoon pure vanilla extract
- 3 cups all-purpose flour
- 1 teaspoon baking soda
- 1 teaspoon cream of tartar
- 1/2 teaspoon salt
- 1 teaspoon pumpkin pie spice
- For the coating: 1/4 cup granulated sugar mixed with 1 tablespoon ground cinnamon
Directions
Step 1: Creaming the Butter and Sugars
In a large mixing bowl or the bowl of a stand mixer, beat the softened butter, 1 cup of white sugar, and the brown sugar together. Continue mixing on medium-high speed for about 2-3 minutes until the mixture is light, fluffy, and well-combined.
Step 2: Incorporating Wet Ingredients
Add the pumpkin puree, the egg, and the vanilla extract to the creamed butter. Beat again until smooth. Don’t worry if the mixture looks slightly curdled at this stage; it will come together once the dry ingredients are added.
Step 3: Whisking Dry Ingredients
In a separate medium-sized bowl, whisk together the all-purpose flour, baking soda, cream of tartar, salt, and pumpkin pie spice. Ensure there are no large lumps of flour or spices left in the bowl.
Step 4: Combining the Dough
Turn your mixer to low speed and gradually add the dry ingredients to the wet mixture. Mix only until the white streaks of flour disappear. Overmixing at this stage can lead to a tougher cookie, so keep it brief.
Step 5: Chilling the Dough
Cover the bowl with plastic wrap and place it in the refrigerator for at least 30 minutes. This step is crucial because pumpkin dough is naturally sticky; chilling makes it much easier to handle and prevents the cookies from spreading too much in the oven.
Step 6: Preparation and Coating
Preheat your oven to 350°F (175°C) and line two large baking sheets with parchment paper. In a small shallow bowl, stir together the remaining 1/4 cup sugar and 1 tablespoon of cinnamon for the coating.
Step 7: Shaping and Rolling
Scoop about 1.5 tablespoons of dough and roll it into a 1-inch ball using your hands. Roll the ball through the cinnamon-sugar mixture until it is fully and evenly coated. Place the balls on the prepared baking sheets, spacing them about 2 inches apart.
Step 8: Baking the Cookies
Bake for 10-12 minutes. The edges should be set and the tops should have a beautiful crackled appearance, but the centers should still look slightly soft. Let them cool on the baking sheet for 5 minutes before transferring them to a wire rack to cool completely.
How to Serve Pumpkin Snickerdoodle Cookies Recipe
These cookies are best served slightly warm, when the cinnamon-sugar crust is at its crispiest. They pair beautifully with a cold glass of milk, a hot cup of coffee, or even a spicy chai latte. For a truly decadent dessert, try sandwiching a scoop of vanilla bean or salted caramel ice cream between two cookies to make a seasonal ice cream sandwich.
How to Store Pumpkin Snickerdoodle Cookies Recipe
Store your cookies in an airtight container at room temperature for up to 5 days. To keep them extra soft, you can place a small piece of white bread in the container to maintain moisture levels. If you want to keep them longer, these cookies freeze exceptionally well. Simply place them in a freezer-safe bag for up to 3 months. Thaw at room temperature for an hour before serving.
Expert Tips for Perfect Pumpkin Snickerdoodle Cookies Recipe
For the best texture, blot your pumpkin puree with a paper towel before adding it to the bowl. This removes excess moisture, ensuring the cookies stay chewy rather than cake-like. Additionally, make sure your cream of tartar is fresh; this ingredient is what provides that iconic “tang” and helps the cookies rise and crack correctly. Always use room temperature ingredients to ensure a smooth, emulsified dough.
Delicious Variations
If you want to add a bit of texture, fold in 1/2 cup of white chocolate chips or chopped pecans to the dough. For a deeper spice profile, add a pinch of ground ginger or cloves to the cinnamon-sugar coating. You can also press a small indentation into the center of the dough balls before baking and fill them with a dollop of cream cheese frosting once they have cooled for a “pumpkin cheesecake” style cookie.
Frequently Asked Questions
Q: Can I use pumpkin pie filling instead of pumpkin puree?
No, pumpkin pie filling contains added sugars and spices that will throw off the balance of the recipe. Always use 100% pure canned pumpkin puree.
Q: Why do I need to use cream of tartar?
Cream of tartar is a key ingredient in snickerdoodles. It provides the signature slightly sour flavor and creates the specific chewy texture that sets these apart from standard sugar cookies.
Q: Can I make the dough ahead of time?
Yes! You can make the dough and keep it in the refrigerator for up to 48 hours before rolling and baking. Just make sure it is tightly covered so it doesn’t dry out.
Q: My cookies didn’t spread, why?
If your cookies stayed in tall balls, you might have measured your flour too heavily. Always spoon and level your flour rather than scooping directly with the measuring cup. You can also gently press the balls down slightly before baking.
Q: Can I make these gluten-free?
Yes, you can substitute the all-purpose flour with a high-quality 1:1 gluten-free baking flour blend. Results may vary slightly in texture, but they will still be delicious.
Conclusion
Pumpkin Snickerdoodle Cookies are a delightful way to celebrate the flavors of the season. With their soft centers and spiced, sugary exterior, they are sure to become a staple in your autumn baking rotation. Simple to prepare and even easier to eat, these cookies offer a nostalgic taste with a festive pumpkin twist. Happy baking!
Pumpkin Snickerdoodle Cookies Recipe
- Cook Time: 60 minutes
- Total Time: 1 hour
- Diet: Vegetarian
Ingredients
- 1 cup unsalted butter, softened to room temperature
- 1 cup granulated white sugar
- 1/2 cup packed light brown sugar
- 1/2 cup canned pumpkin puree (not pumpkin pie filling)
- 1 large egg, room temperature
- 1 teaspoon pure vanilla extract
- 3 cups all-purpose flour
- 1 teaspoon baking soda
- 1 teaspoon cream of tartar
- 1/2 teaspoon salt
- 1 teaspoon pumpkin pie spice
- For the coating: 1/4 cup granulated sugar mixed with 1 tablespoon ground cinnamon
Instructions
- In a large mixing bowl or the bowl of a stand mixer, beat the softened butter, 1 cup of white sugar, and the brown sugar together. Continue mixing on medium-high speed for about 2-3 minutes until the mixture is light, fluffy, and well-combined.
- Add the pumpkin puree, the egg, and the vanilla extract to the creamed butter. Beat again until smooth. Don’t worry if the mixture looks slightly curdled at this stage; it will come together once the dry ingredients are added.
- In a separate medium-sized bowl, whisk together the all-purpose flour, baking soda, cream of tartar, salt, and pumpkin pie spice. Ensure there are no large lumps of flour or spices left in the bowl.
- Turn your mixer to low speed and gradually add the dry ingredients to the wet mixture. Mix only until the white streaks of flour disappear. Overmixing at this stage can lead to a tougher cookie, so keep it brief.
- Cover the bowl with plastic wrap and place it in the refrigerator for at least 30 minutes. This step is crucial because pumpkin dough is naturally sticky; chilling makes it much easier to handle and prevents the cookies from spreading too much in the oven.
- Preheat your oven to 350°F (175°C) and line two large baking sheets with parchment paper. In a small shallow bowl, stir together the remaining 1/4 cup sugar and 1 tablespoon of cinnamon for the coating.
- Scoop about 1.5 tablespoons of dough and roll it into a 1-inch ball using your hands. Roll the ball through the cinnamon-sugar mixture until it is fully and evenly coated. Place the balls on the prepared baking sheets, spacing them about 2 inches apart.
- Bake for 10-12 minutes. The edges should be set and the tops should have a beautiful crackled appearance, but the centers should still look slightly soft. Let them cool on the baking sheet for 5 minutes before transferring them to a wire rack to cool completely.