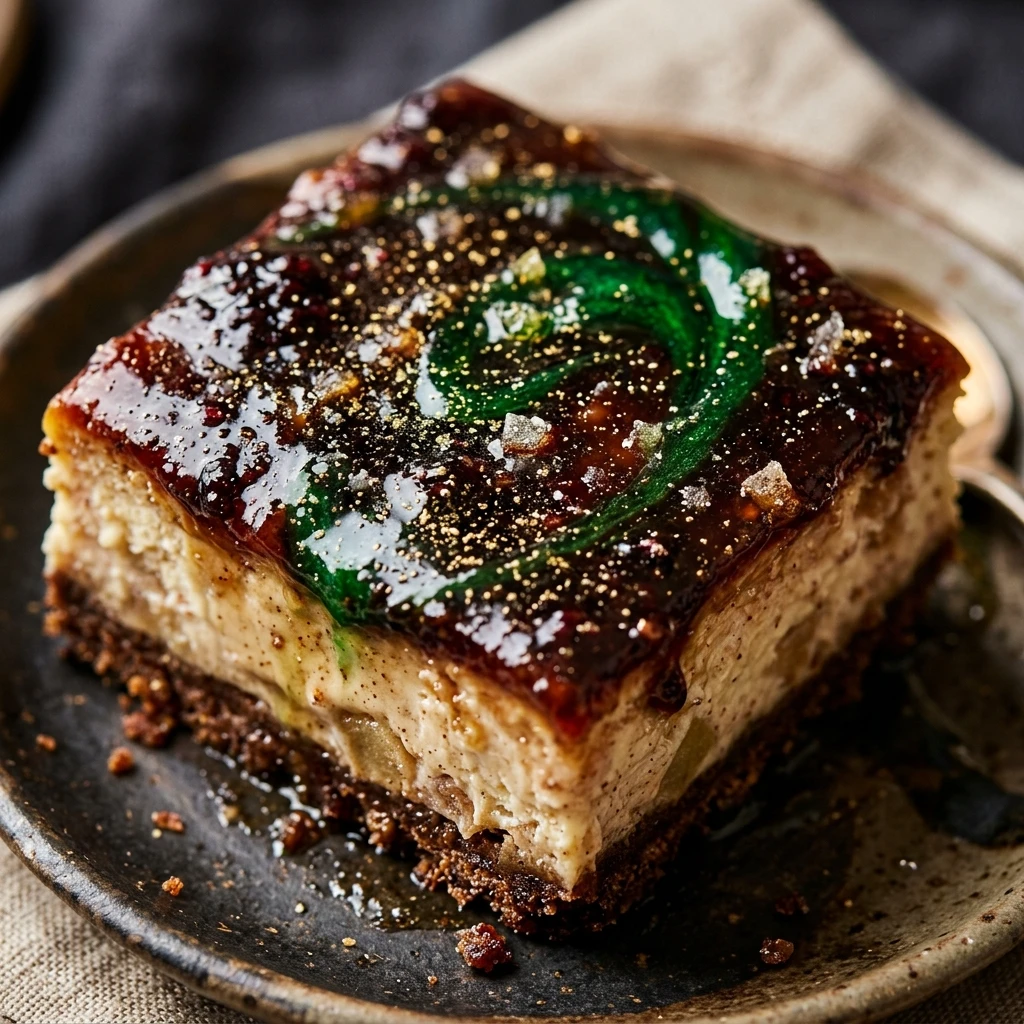

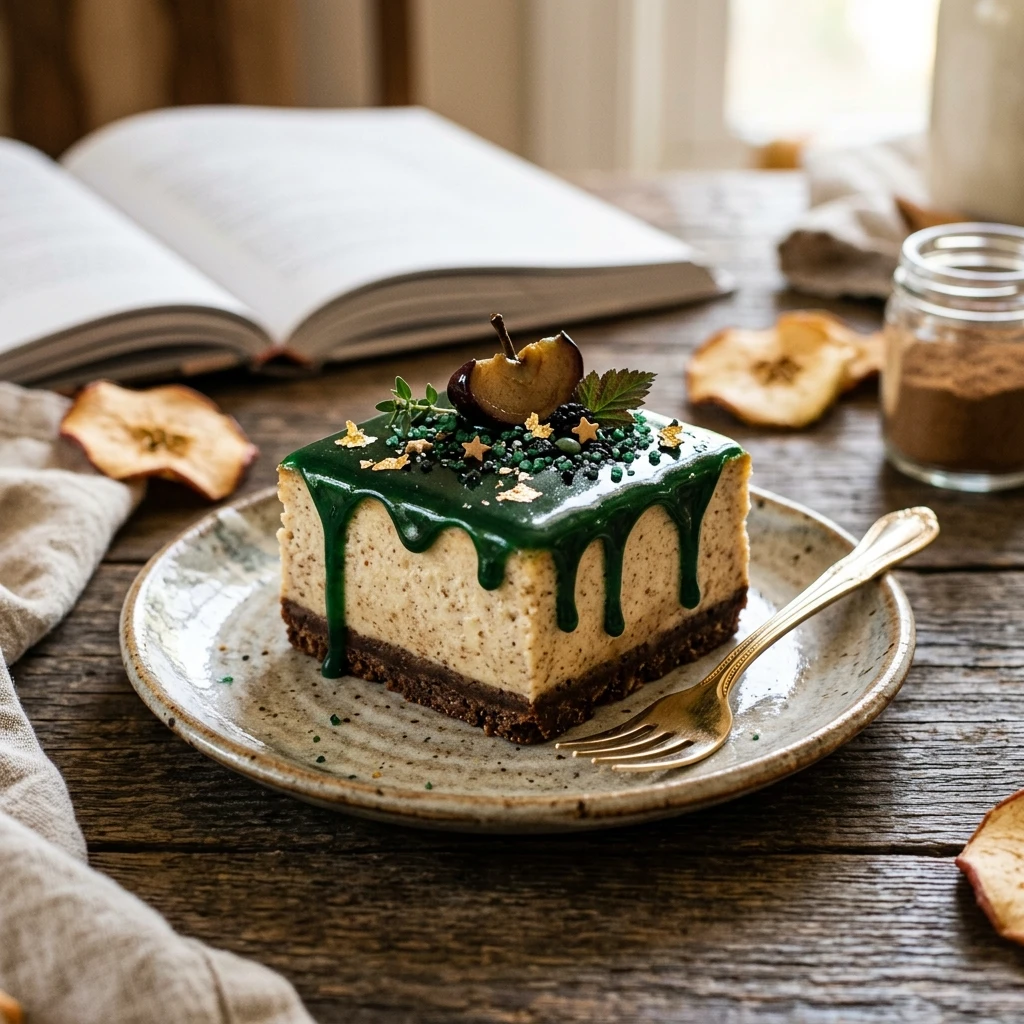
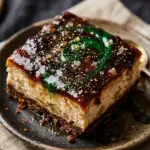
Get ready to cast a delicious spell on your dessert table with these Poison Apple Cheesecake Bars. Perfectly themed for Halloween or any villain-inspired party, these bars combine a buttery graham cracker crust with a vibrant green, creamy cheesecake layer and a spiced apple topping. The finishing touch is a dramatic dark glaze that creates that iconic, spooky “poison” look everyone loves.
Whether you are hosting a haunted gathering or just want a festive treat for the family, these bars are a showstopper. They offer the comforting flavors of a classic apple cheesecake but with a wicked twist that makes them visually stunning. Let’s dive into how you can create this eerie and edible masterpiece in your own kitchen.
Recipe Information
- Prep Time: 25 minutes
- Cook Time: 45 minutes
- Total Time: 70 minutes
- Servings: 16 bars
- Difficulty Level: Medium
Nutrition Information
- Calories per serving: 315 kcal
- Protein: 5g
- Carbohydrates: 34g
- Fat: 19g
- Fiber: 1g
- Sugar: 22g
- Sodium: 215mg
Why Make This Poison Apple Cheesecake Bars Recipe
This recipe is the ultimate crowd-pleaser for the spooky season. It moves away from the traditional pumpkin flavors and highlights the crisp, tart, and sweet profile of apples. The striking neon green color contrasted with the dark “poison” drizzle makes it an instant conversation starter at any event.
Beyond the looks, the texture is incredible. You get a crunchy base, a velvety smooth cheesecake center, and chunks of tender apples. It is a sophisticated dessert disguised as a fun, spooky treat, making it perfect for both kids and adults who appreciate a well-balanced dessert.
How to Make Poison Apple Cheesecake Bars Recipe
Making these bars is a fun process that involves layering different textures and colors. You will start with a solid base, move into a colorful mixing phase, and finish with a creative decorating session that brings the “poison” theme to life.
Ingredients
- 2 cups graham cracker crumbs
- 1/2 cup unsalted butter, melted
- 24 oz cream cheese, softened to room temperature
- 1 cup granulated sugar
- 3 large eggs
- 1 teaspoon vanilla extract
- Neon green gel food coloring
- 21 oz canned apple pie filling (chopped into smaller pieces)
- 1/2 cup dark chocolate chips or black candy melts
- 2 tablespoons heavy cream
- Optional: Green sanding sugar or spooky sprinkles
Directions
Step 1: Preheat and Prepare
Preheat your oven to 350°F (175°C). Line a 9×9 inch square baking pan with parchment paper, leaving an overhang on the sides so you can easily lift the bars out later. Lightly grease the parchment with non-stick spray.
Step 2: Construct the Crust
In a medium bowl, combine the graham cracker crumbs and the melted butter. Stir until the mixture looks like wet sand. Press the mixture firmly into the bottom of your prepared baking pan. Bake for 8-10 minutes, then remove from the oven and let it cool slightly while you make the filling.
Step 3: Mix the Cheesecake Base
In a large mixing bowl, beat the softened cream cheese and granulated sugar together until smooth and creamy. Add the vanilla extract. Add the eggs one at a time, beating on low speed just until combined. Be careful not to overmix, as this can cause cracks in the cheesecake.
Step 4: Add the Wicked Color
Add a few drops of neon green gel food coloring to the cheesecake batter. Stir gently until the color is uniform. Adjust the amount of coloring until you reach your desired “poisonous” green hue. Pour the batter over the pre-baked crust.
Step 5: Incorporate the Apples
Take your chopped apple pie filling and spoon it gently over the green cheesecake layer. You can use a knife to lightly swirl some of the apples into the batter, but keep most of them near the top for a beautiful textured look.
Step 6: Bake the Bars
Bake for 40-45 minutes, or until the edges are set but the center still has a slight jiggle. Turn off the oven and crack the door open, letting the cheesecake sit inside for 10 minutes to prevent cracking. Remove from the oven and cool completely at room temperature, then refrigerate for at least 4 hours.
Step 7: Apply the Poison Drizzle
Once the bars are chilled and firm, melt the dark chocolate chips (or black candy melts) with the heavy cream in the microwave in 30-second intervals. Stir until smooth. Drizzle the dark mixture over the top of the bars in a “dripping” pattern to mimic poison. Add sprinkles if desired. Slice into 16 squares and serve.
How to Serve Poison Apple Cheesecake Bars Recipe
Serve these bars chilled for the best texture. To get clean slices, use a sharp knife dipped in hot water and wiped dry between each cut. You can plate them on a dark platter to make the green color pop even more. For an extra touch of indulgence, serve with a dollop of whipped cream or a small scoop of vanilla bean ice cream on the side.
How to Store Poison Apple Cheesecake Bars Recipe
Keep any leftover bars in an airtight container in the refrigerator. They will stay fresh and delicious for up to 5 days. If you need to stack them, place a layer of parchment paper between the bars so the “poison” drizzle doesn’t stick to the bottom of the next layer. You can also freeze these bars for up to 2 months; just thaw them in the fridge overnight before serving.
Expert Tips for Perfect Poison Apple Cheesecake Bars Recipe
To ensure your bars come out perfectly, always use room temperature cream cheese and eggs. Cold ingredients can lead to a lumpy batter. When adding the food coloring, use gel rather than liquid to ensure you get a vibrant color without thinning out the cheesecake mixture. Lastly, don’t rush the cooling process; the slow chill in the fridge is what gives the bars their signature dense and creamy texture.
Delicious Variations
If you want to change things up, try using a chocolate cookie crust instead of graham crackers for a “dirt” look. You can also add a teaspoon of cinnamon to the cheesecake batter for more warmth. For a different “poison” effect, use a purple gel icing or a dark caramel sauce tinted with black food coloring instead of the chocolate drizzle.
Frequently Asked Questions
Q: Can I use fresh apples instead of canned pie filling?
Yes, you can. Sauté 2 cups of peeled, diced apples with a little butter, sugar, and cinnamon until tender before adding them to the cheesecake layer.
Q: Why did my cheesecake crack on top?
Cracks usually happen from overbeating the eggs or cooling the cheesecake too quickly. Follow the “oven-door-ajar” cooling method to minimize this risk.
Q: Do I have to use gel food coloring?
Gel is highly recommended because it provides intense color with very little liquid, which preserves the consistency of the cheesecake batter.
Q: How do I get the “drip” effect perfectly?
Use a piping bag or a spoon to carefully apply the glaze at the edges of the bars first, allowing it to run down slightly, before filling in the rest of the top.
Q: Can I make these bars ahead of time?
Absolutely! These bars are actually better when made a day in advance as it gives the flavors time to meld and the cheesecake time to fully set.
Conclusion
These Poison Apple Cheesecake Bars are the perfect blend of spooky aesthetics and delicious flavors. They are easy to customize and guaranteed to be the star of your next themed gathering. Give this recipe a try and enjoy a treat that is as fun to look at as it is to eat!
Poison Apple Cheesecake Bars Recipe
- Cook Time: 70 minutes
- Total Time: 1 hour 10 minutes
- Diet: Vegetarian
Ingredients
- 2 cups graham cracker crumbs
- 1/2 cup unsalted butter, melted
- 24 oz cream cheese, softened to room temperature
- 1 cup granulated sugar
- 3 large eggs
- 1 teaspoon vanilla extract
- Neon green gel food coloring
- 21 oz canned apple pie filling (chopped into smaller pieces)
- 1/2 cup dark chocolate chips or black candy melts
- 2 tablespoons heavy cream
- Optional: Green sanding sugar or spooky sprinkles
Instructions
- Preheat your oven to 350°F (175°C). Line a 9×9 inch square baking pan with parchment paper, leaving an overhang on the sides so you can easily lift the bars out later. Lightly grease the parchment with non-stick spray.
- In a medium bowl, combine the graham cracker crumbs and the melted butter. Stir until the mixture looks like wet sand. Press the mixture firmly into the bottom of your prepared baking pan. Bake for 8-10 minutes, then remove from the oven and let it cool slightly while you make the filling.
- In a large mixing bowl, beat the softened cream cheese and granulated sugar together until smooth and creamy. Add the vanilla extract. Add the eggs one at a time, beating on low speed just until combined. Be careful not to overmix, as this can cause cracks in the cheesecake.
- Add a few drops of neon green gel food coloring to the cheesecake batter. Stir gently until the color is uniform. Adjust the amount of coloring until you reach your desired “poisonous” green hue. Pour the batter over the pre-baked crust.
- Take your chopped apple pie filling and spoon it gently over the green cheesecake layer. You can use a knife to lightly swirl some of the apples into the batter, but keep most of them near the top for a beautiful textured look.
- Bake for 40-45 minutes, or until the edges are set but the center still has a slight jiggle. Turn off the oven and crack the door open, letting the cheesecake sit inside for 10 minutes to prevent cracking. Remove from the oven and cool completely at room temperature, then refrigerate for at least 4 hours.
- Once the bars are chilled and firm, melt the dark chocolate chips (or black candy melts) with the heavy cream in the microwave in 30-second intervals. Stir until smooth. Drizzle the dark mixture over the top of the bars in a “dripping” pattern to mimic poison. Add sprinkles if desired. Slice into 16 squares and serve.