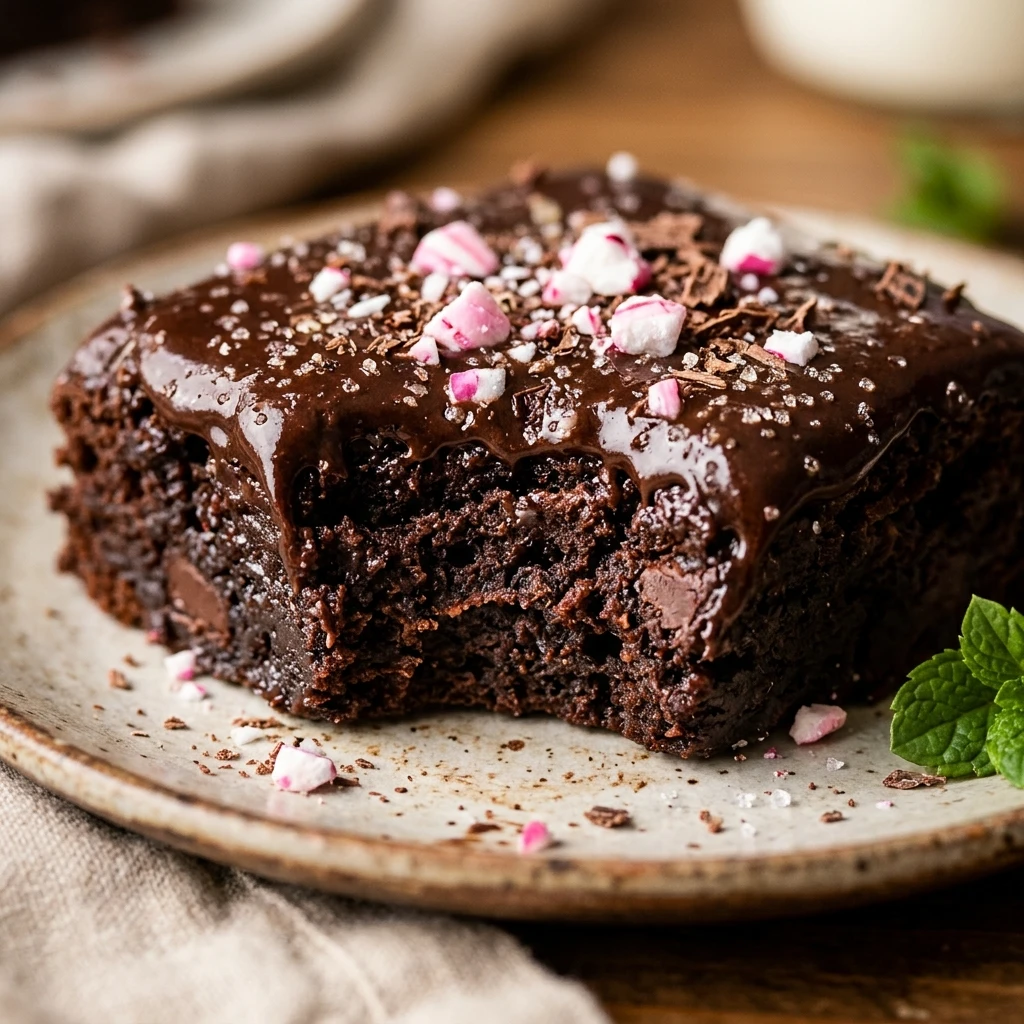
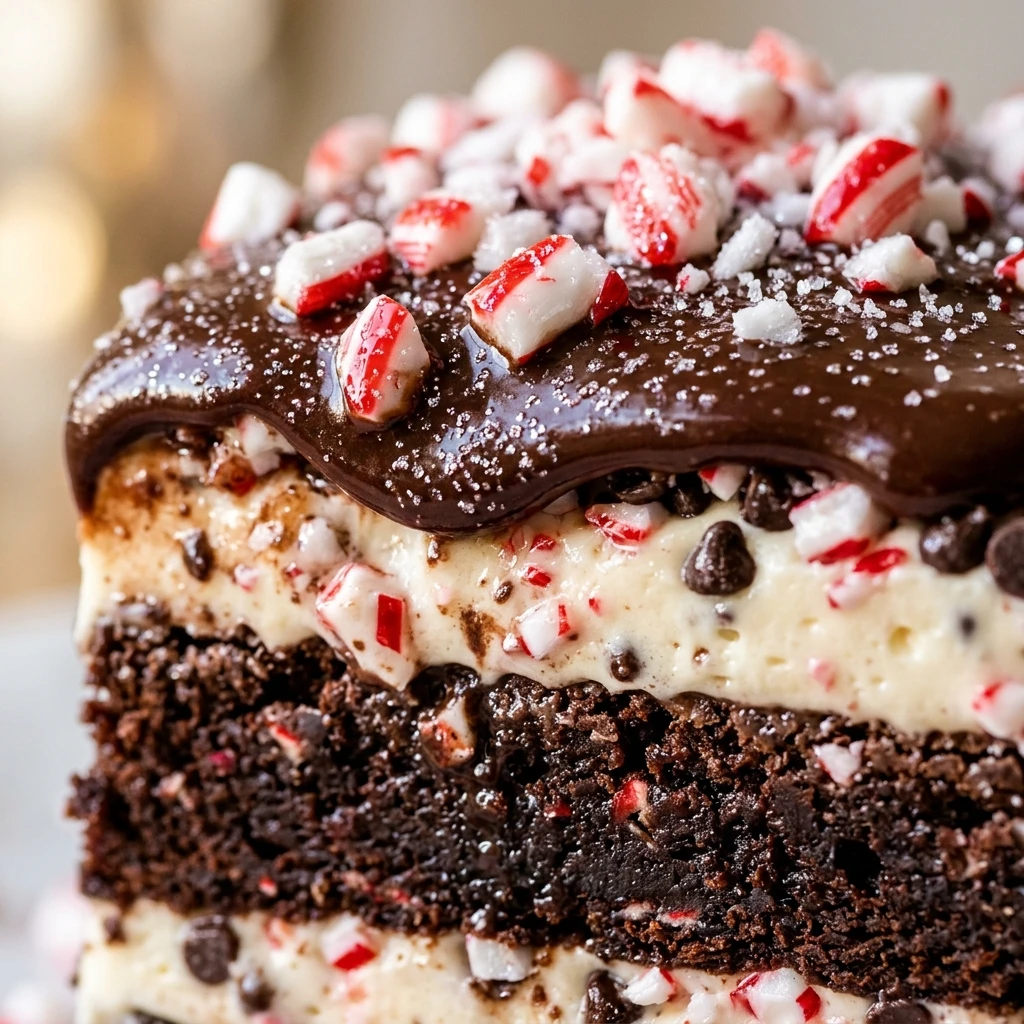

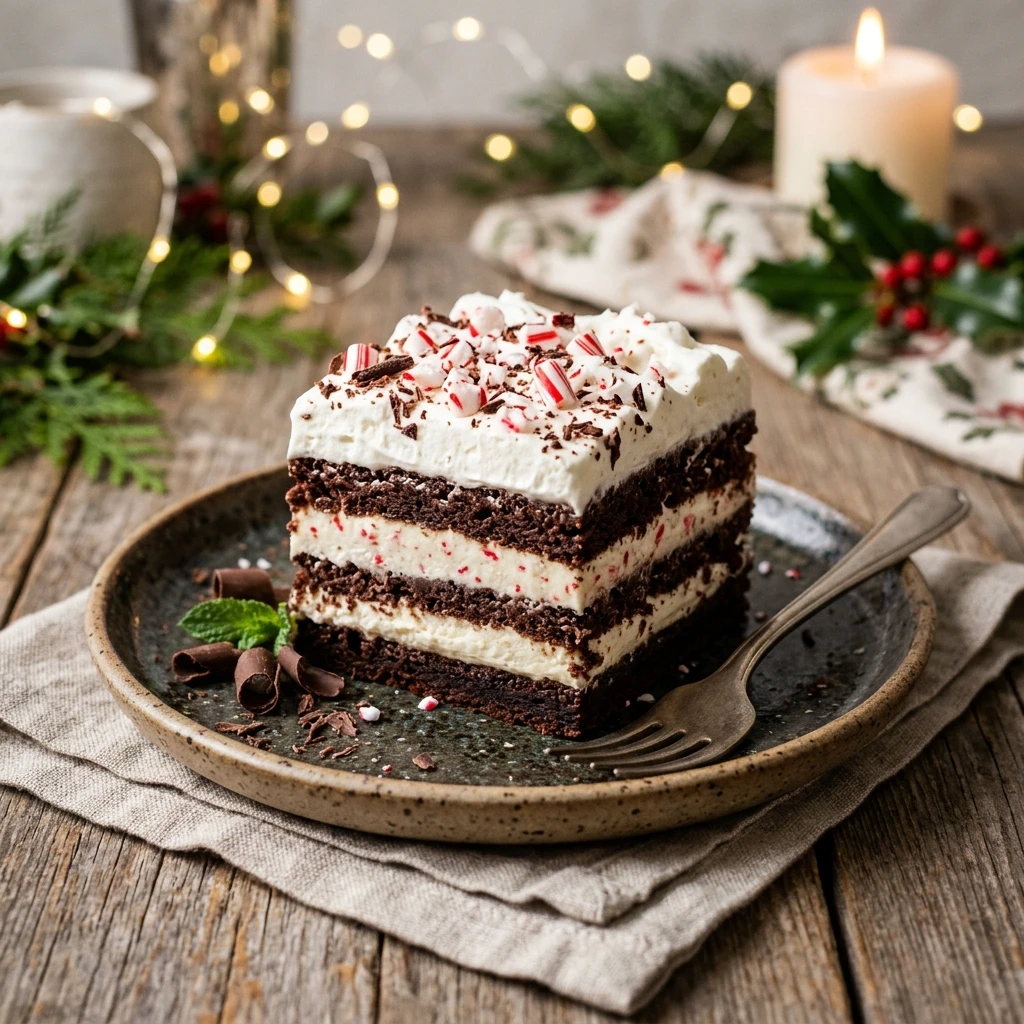
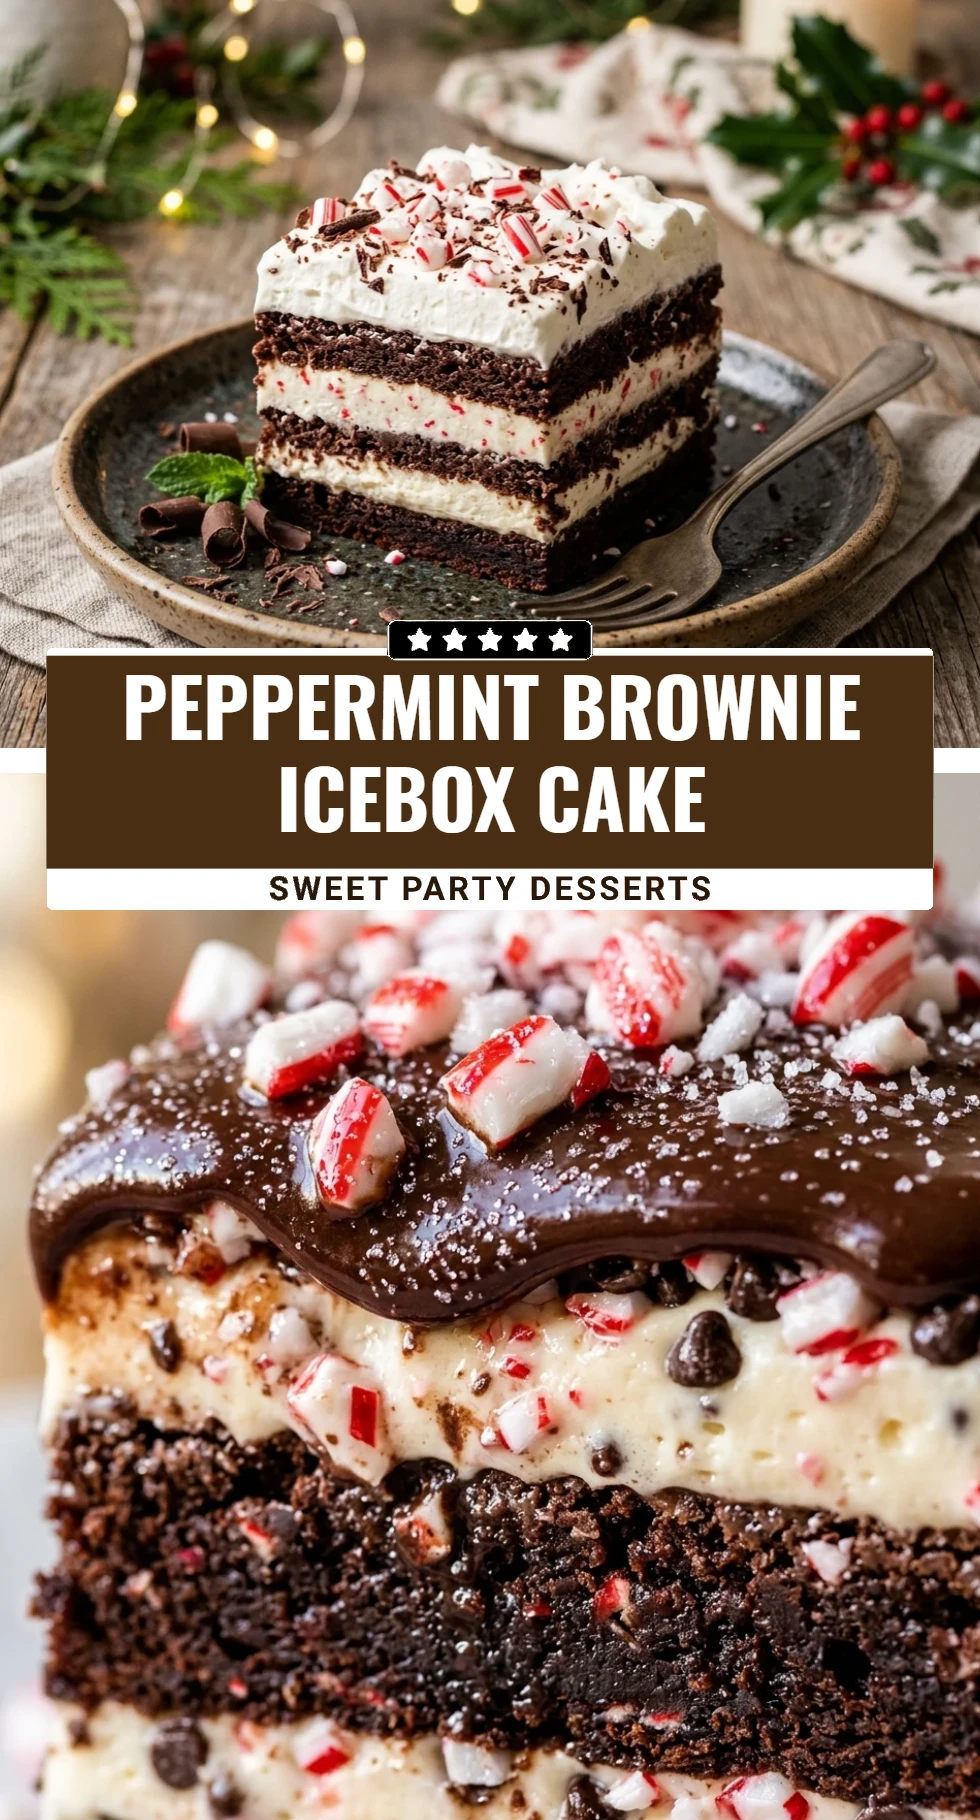
The holiday season calls for desserts that are as impressive as they are effortless. This Peppermint Brownie Icebox Cake is the perfect solution for busy hosts and chocolate lovers alike. By combining the chewy, rich texture of fudge brownies with a light, airy peppermint cream, you create a layered masterpiece that looks stunning in a glass dish.
What makes an icebox cake so special is the magic that happens in the refrigerator. As the dessert sits, the flavors meld together and the textures soften into a cohesive, melt-in-your-mouth treat. Whether you are hosting a festive dinner party or just want a sweet treat to enjoy by the fireplace, this peppermint-infused delight is sure to be a crowd-pleaser.
Recipe Information
- Prep Time: 30 minutes
- Cook Time: 25 minutes
- Total Time: 55 minutes
- Servings: 12
- Difficulty Level: Easy
Nutrition Information
- Calories per serving: 410 kcal
- Protein: 4g
- Carbohydrates: 48g
- Fat: 22g
- Fiber: 2g
- Sugar: 35g
- Sodium: 210mg
Why Make This Peppermint Brownie Icebox Cake
This recipe is a lifesaver during the hectic holiday months. Because it needs to chill for several hours, it is the ultimate make-ahead dessert. You can prepare it a full day in advance, leaving you more time to focus on your guests and other meal preparations. It takes the classic “brownies and ice cream” combo and elevates it into something much more elegant.
The contrast between the deep chocolate and the cooling peppermint is timeless. Plus, using a brownie mix as the base keeps things simple without sacrificing that homemade taste. It is visually striking with its white and red layers, making it a beautiful centerpiece for any holiday dessert table.
How to Make Peppermint Brownie Icebox Cake
Creating this dessert is a simple process of baking, whipping, and layering. Follow these easy steps to build your own festive icebox cake.
Ingredients
- 1 box (18 oz) fudge brownie mix (plus eggs, oil, and water as required by the box)
- 2 cups heavy whipping cream, very cold
- 1/2 cup powdered sugar
- 1 teaspoon peppermint extract
- 1/2 cup crushed candy canes or peppermint rounds
- 1/2 cup mini semi-sweet chocolate chips
- Optional: 2 drops red food coloring for a pink tint
Directions
Step 1: Bake the Brownie Base
Preheat your oven according to the brownie mix instructions. Prepare the batter in a large bowl and bake it in a square pan. Once finished, remove the brownies from the oven and let them cool completely on a wire rack. This is crucial, as warm brownies will melt the whipped cream.
Step 2: Prepare the Peppermint Whipped Cream
In a large chilled mixing bowl, pour in the cold heavy whipping cream. Use a hand mixer or stand mixer to beat the cream on medium-high speed. Gradually add the powdered sugar and peppermint extract. Continue beating until stiff peaks form. If you want a festive pink look, fold in a couple of drops of red food coloring at the very end.
Step 3: Prepare the Layers
Once the brownies are entirely cool, cut them into small 1-inch squares. Set aside a few of the best-looking squares or some extra brownie crumbs to use for the final garnish on top of the cake.
Step 4: Assemble the Cake
Take a glass trifle bowl or a deep 9×13 inch dish. Create the first layer by placing half of the brownie squares in the bottom. Spread half of the peppermint whipped cream over the brownies. Sprinkle with half of the crushed candy canes and half of the mini chocolate chips.
Step 5: Final Layering and Chilling
Repeat the process by adding the remaining brownie squares, followed by the rest of the whipped cream. Garnish the top with the remaining crushed candy canes and chocolate chips. Cover the dish tightly with plastic wrap and place it in the refrigerator for at least 4 to 6 hours, or overnight, to allow the layers to set.
How to Serve Peppermint Brownie Icebox Cake
Serve this cake straight from the refrigerator to ensure the whipped cream stays firm and refreshing. Use a large serving spoon to scoop deep into the dish, making sure every serving gets a bit of every layer. For an extra touch of elegance, garnish each individual plate with a fresh mint leaf or a small drizzle of chocolate syrup right before serving.
How to Store Peppermint Brownie Icebox Cake
Keep any leftovers in the refrigerator, covered tightly with plastic wrap or stored in an airtight container. It will stay fresh and delicious for up to 3 days. Note that the candy canes may start to soften or “bleed” their color into the cream after the first day, but it will still taste wonderful. This cake does not freeze well once assembled, as the texture of the whipped cream can change upon thawing.
Expert Tips for Perfect Peppermint Brownie Icebox Cake
Always start with a chilled bowl and chilled beaters when making whipped cream; this helps the cream reach its maximum volume more quickly. Ensure your brownies are completely cold before assembly; even a slight warmth can turn your whipped cream into a liquid mess. For the best flavor, use a high-quality peppermint extract rather than mint extract, which can sometimes taste more like spearmint.
Delicious Variations
For a “Double Chocolate” version, fold some cocoa powder into the whipped cream before layering. You can also swap the brownie mix for a blondie mix if you prefer a vanilla-butterscotch base. If you want more crunch, try adding a layer of crushed chocolate sandwich cookies (like Oreos) between the brownie and cream layers. For an adult version, you can add a tablespoon of peppermint schnapps to the cream instead of the extract.
Frequently Asked Questions
Q: Can I use store-bought brownies instead of baking them?
Yes! If you are short on time, you can buy pre-made fudge brownies from the bakery section of your grocery store. Just cut them into squares and proceed with the recipe.
Q: Can I use whipped topping (like Cool Whip) instead of heavy cream?
Absolutely. You can substitute 16 ounces of thawed whipped topping for the heavy cream and sugar. Simply fold in the peppermint extract and proceed with layering.
Q: How do I crush the candy canes without making a mess?
Place the unwrapped candy canes in a heavy-duty zip-top bag. Use a rolling pin or a meat mallet to gently tap them until they reach your desired consistency.
Q: Is it okay to make this two days in advance?
While the cake is best after 24 hours, after 48 hours the brownies may become a bit too soft and the whipped cream may start to lose its air. For the best texture, serve within 24 hours of assembly.
Q: What if I don’t have a trifle bowl?
No problem! You can use any deep glass bowl, a 9×9 inch baking pan, or even assemble them into individual mason jars for cute, portable party servings.
Conclusion
The Peppermint Brownie Icebox Cake is a delightful, stress-free dessert that captures the essence of the holidays. With its beautiful layers and refreshing flavor, it is guaranteed to become a new seasonal favorite in your household. It proves that you don’t need to spend all day in the kitchen to create something truly spectacular. Enjoy the cool, chocolatey goodness and the smiles it brings to your table!
Peppermint Brownie Icebox Cake
- Cook Time: 55 minutes
- Total Time: 55 minutes
- Diet: Vegetarian
Ingredients
- 1 box (18 oz) fudge brownie mix (plus eggs, oil, and water as required by the box)
- 2 cups heavy whipping cream, very cold
- 1/2 cup powdered sugar
- 1 teaspoon peppermint extract
- 1/2 cup crushed candy canes or peppermint rounds
- 1/2 cup mini semi-sweet chocolate chips
- Optional: 2 drops red food coloring for a pink tint
Instructions
- Preheat your oven according to the brownie mix instructions. Prepare the batter in a large bowl and bake it in a square pan. Once finished, remove the brownies from the oven and let them cool completely on a wire rack. This is crucial, as warm brownies will melt the whipped cream.
- In a large chilled mixing bowl, pour in the cold heavy whipping cream. Use a hand mixer or stand mixer to beat the cream on medium-high speed. Gradually add the powdered sugar and peppermint extract. Continue beating until stiff peaks form. If you want a festive pink look, fold in a couple of drops of red food coloring at the very end.
- Once the brownies are entirely cool, cut them into small 1-inch squares. Set aside a few of the best-looking squares or some extra brownie crumbs to use for the final garnish on top of the cake.
- Take a glass trifle bowl or a deep 9×13 inch dish. Create the first layer by placing half of the brownie squares in the bottom. Spread half of the peppermint whipped cream over the brownies. Sprinkle with half of the crushed candy canes and half of the mini chocolate chips.
- Repeat the process by adding the remaining brownie squares, followed by the rest of the whipped cream. Garnish the top with the remaining crushed candy canes and chocolate chips. Cover the dish tightly with plastic wrap and place it in the refrigerator for at least 4 to 6 hours, or overnight, to allow the layers to set.