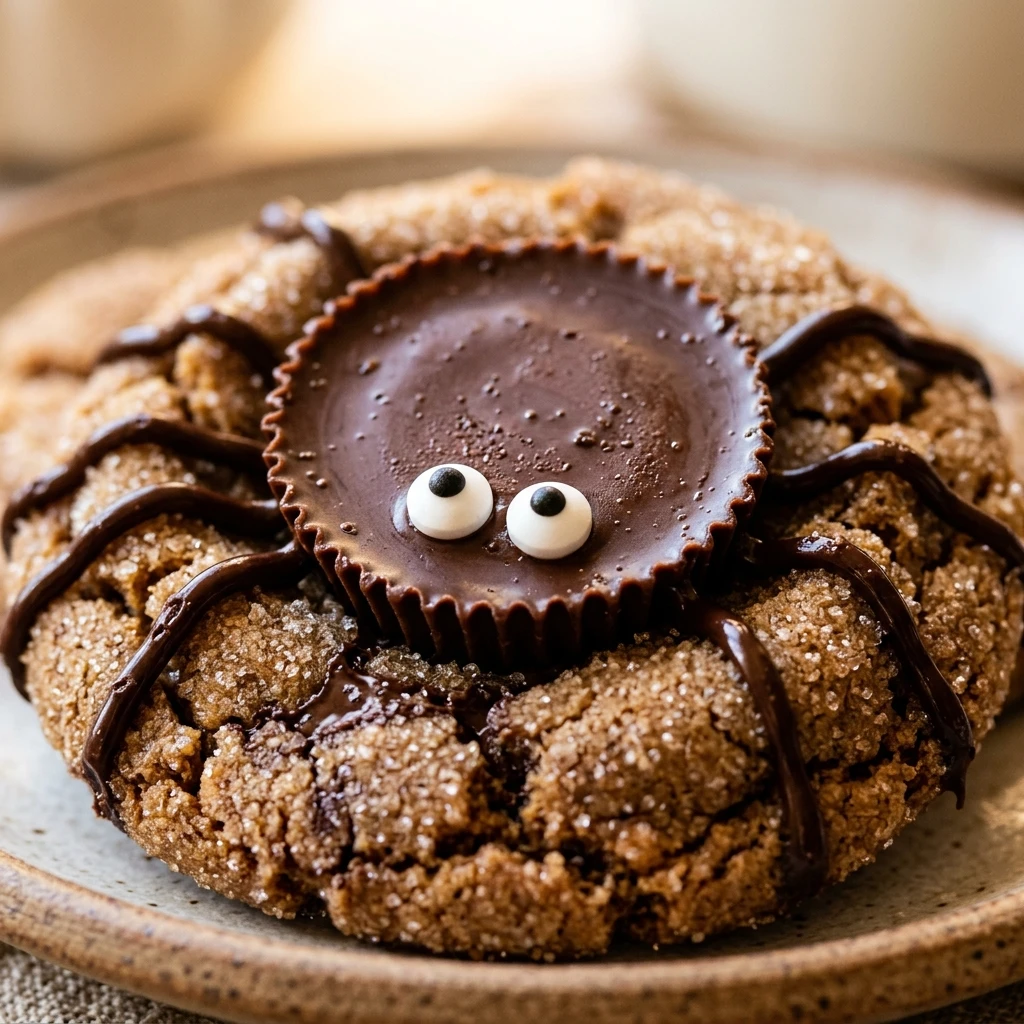

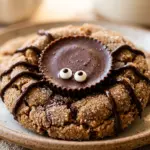
These Peanut Butter Cup Spider Cookies are the ultimate spooky treat for your next Halloween gathering. They combine a chewy peanut butter cookie base with a miniature chocolate peanut butter cup to create a festive and adorable spider shape. Kids and adults alike will love the combination of salty peanut butter and sweet chocolate.
The best part about these cookies is how easy they are to put together. You don’t need to be a professional baker to make these look amazing. With just a few simple steps, you will have a tray of creepy-crawly treats that are more sweet than scary. Let’s get baking!
Recipe Information
- Prep Time: 25 minutes
- Cook Time: 10 minutes
- Total Time: 35 minutes
- Servings: 24 cookies
- Difficulty Level: Easy
Nutrition Information
- Calories per serving: 215 kcal
- Protein: 4g
- Carbohydrates: 24g
- Fat: 12g
- Fiber: 1g
- Sugar: 17g
- Sodium: 155mg
Why Make This Peanut Butter Cup Spider Cookies Recipe
This recipe is a must-try because it is the perfect blend of a classic dessert and a fun holiday craft. Peanut butter and chocolate are a match made in heaven, and using pre-made candies makes the decorating process quick and enjoyable for the whole family. It is a fantastic way to get children involved in the kitchen without a lot of stress.
In addition to being visually striking, these cookies are incredibly delicious. The cookie base stays soft and tender, while the peanut butter cup adds a rich, creamy center. They make for a great centerpiece on a dessert table and are guaranteed to be the first thing to disappear at a party.
How to Make Peanut Butter Cup Spider Cookies Recipe
Creating these festive treats is a simple process that starts with a basic peanut butter cookie dough and ends with a fun decorating session. Follow these easy steps to bring your spiders to life!
Ingredients
- 1/2 cup unsalted butter, softened
- 1/2 cup creamy peanut butter
- 1/2 cup granulated sugar
- 1/2 cup packed light brown sugar
- 1 large egg
- 1 teaspoon vanilla extract
- 1 1/2 cups all-purpose flour
- 3/4 teaspoon baking soda
- 1/2 teaspoon baking powder
- 24 miniature chocolate peanut butter cups, unwrapped and frozen
- 48 edible candy eyes
- 1/2 cup semi-sweet chocolate chips, melted
Directions
Step 1: Preheat and Prep
Preheat your oven to 350°F (175°C). Line two large baking sheets with parchment paper or silicone baking mats to prevent the cookies from sticking.
Step 2: Cream the Butter and Sugars
In a large mixing bowl, cream together the softened butter, peanut butter, granulated sugar, and brown sugar until the mixture is light and fluffy. This usually takes about 2 to 3 minutes with an electric mixer.
Step 3: Add Wet Ingredients
Beat in the egg and the vanilla extract. Scrape down the sides of the bowl to ensure everything is well combined and the texture is smooth.
Step 4: Combine Dry Ingredients
In a separate small bowl, whisk together the flour, baking soda, and baking powder. Gradually add the dry ingredients to the peanut butter mixture, mixing on low speed until just combined. Do not overmix.
Step 5: Shape and Bake
Roll the dough into 1-inch balls (about a tablespoon of dough each). Place them 2 inches apart on the prepared baking sheets. Bake for 8 to 10 minutes, or until the edges are just lightly golden. The centers should still look slightly soft.
Step 6: Add the Spider Body
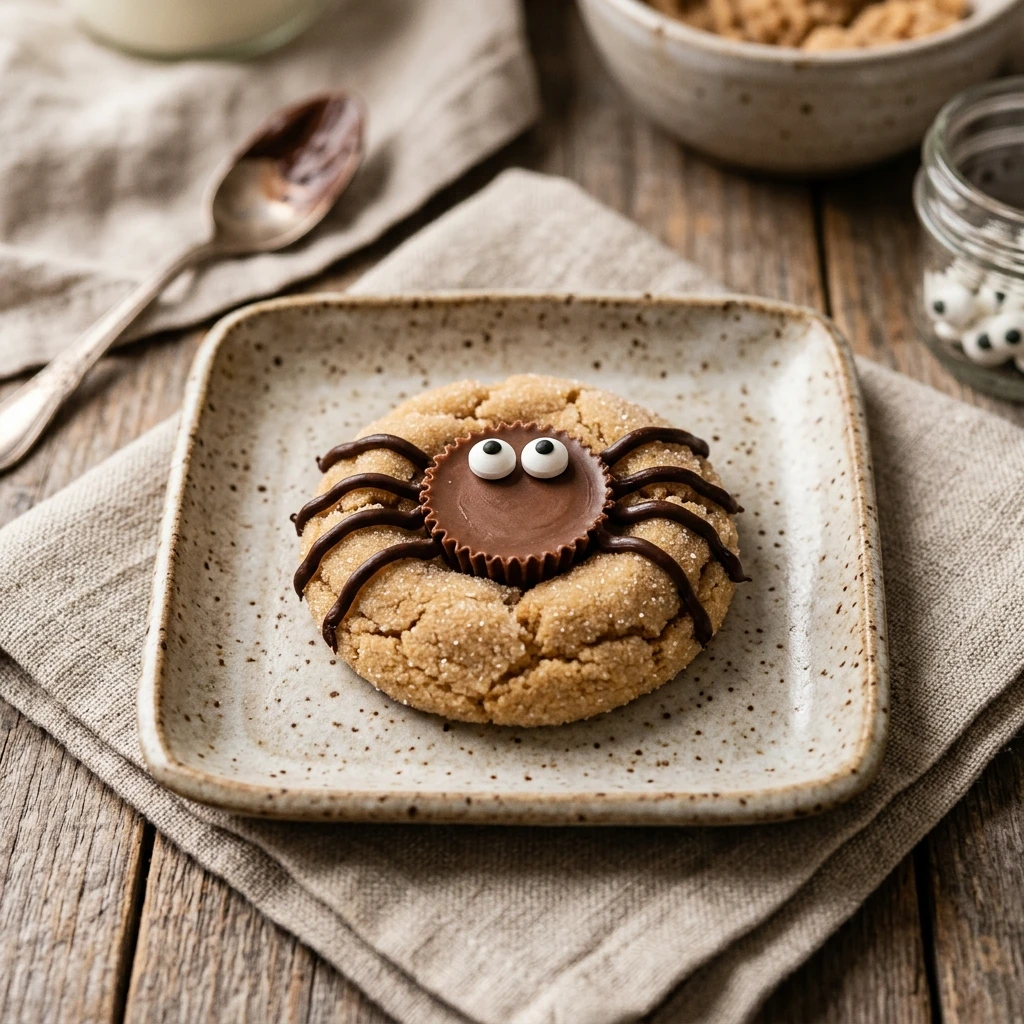
As soon as you remove the cookies from the oven, immediately press a frozen miniature peanut butter cup upside down into the center of each cookie. The heat from the cookie will slightly melt the bottom of the cup, helping it stick. Move the cookies to a wire rack to cool completely.
Step 7: Decorate the Spider
Once the cookies are cool, use a toothpick or a small piping bag to draw eight legs on each cookie using the melted chocolate chips, starting from the peanut butter cup and extending outward. Use a tiny dot of melted chocolate to “glue” two candy eyes onto the front of each peanut butter cup.
How to Serve Peanut Butter Cup Spider Cookies Recipe
These cookies look best when served on a dark platter to make the “spiders” pop. You can even create a “cobweb” effect on the serving plate using white chocolate or icing. They are perfect with a cold glass of milk or served alongside other Halloween-themed snacks like pumpkin-shaped treats or “mummy” jalapeño poppers.
How to Store Peanut Butter Cup Spider Cookies Recipe
Store these cookies in an airtight container at room temperature for up to 5 days. If your kitchen is very warm, the chocolate legs or the peanut butter cup might soften, so you may want to store them in a cool, dry place. You can also freeze the baked cookies for up to 2 months; just be careful when thawing so the decorations remain intact.
Expert Tips for Perfect Peanut Butter Cup Spider Cookies Recipe
The most important tip is to freeze your peanut butter cups before you start. This prevents them from melting into a puddle when you press them into the hot cookies. Also, wait until the cookies are completely cool before adding the legs, or the chocolate might run. If you find your dough is too soft to roll into balls, chill it in the refrigerator for 30 minutes before baking.
Delicious Variations
If you want to change things up, try using different types of chocolate cups, such as white chocolate or dark chocolate versions. You can also use different colors of melted chocolate for the legs, like orange or purple, to add more Halloween flair. For a different flavor profile, swap the peanut butter cookie base for a double chocolate chip cookie base to make “black widow” spiders.
Frequently Asked Questions
Q: Can I use store-bought peanut butter cookie dough?
Yes, you can use a refrigerated tube of peanut butter cookie dough to save time. Just follow the baking instructions on the package and then proceed with adding the cups and decorations.
Q: My candy eyes are sliding off. What should I do?
Wait until the peanut butter cup has cooled and set slightly. Use a small dab of melted chocolate or icing as glue. If the cup is too warm, the eyes will melt or slide.
Q: What can I use instead of candy eyes?
If you cannot find candy eyes, you can use small dots of white icing with a tiny speck of black icing in the center, or even tiny white nonpareil sprinkles.
Q: Do I have to use miniature peanut butter cups?
Miniature cups work best for the scale of a standard cookie, but you could use Rolo candies or even large chocolate truffles for a bigger “spider.”
Q: Can I make these gluten-free?
Yes, you can substitute the all-purpose flour for a 1:1 gluten-free flour blend. Just ensure your peanut butter and candies are also certified gluten-free.
Conclusion
Peanut Butter Cup Spider Cookies are a delightful way to celebrate the Halloween season. They are simple to bake, incredibly fun to decorate, and deliver that iconic chocolate-peanut butter flavor everyone loves. Whether you’re hosting a party or just want a festive afternoon activity with the kids, these cookies are sure to be a hit. Happy Halloween and happy baking!
Peanut Butter Cup Spider Cookies Recipe
- Cook Time: 35 minutes
- Total Time: 35 minutes
- Diet: Vegetarian
Ingredients
- 1/2 cup unsalted butter, softened
- 1/2 cup creamy peanut butter
- 1/2 cup granulated sugar
- 1/2 cup packed light brown sugar
- 1 large egg
- 1 teaspoon vanilla extract
- 1 1/2 cups all-purpose flour
- 3/4 teaspoon baking soda
- 1/2 teaspoon baking powder
- 24 miniature chocolate peanut butter cups, unwrapped and frozen
- 48 edible candy eyes
- 1/2 cup semi-sweet chocolate chips, melted
Instructions
- Step 1: Preheat and Prep
Preheat your oven to 350°F (175°C). Line two large baking sheets with parchment paper or silicone baking mats to prevent the cookies from sticking. - Step 2: Cream the Butter and Sugars
In a large mixing bowl, cream together the softened butter, peanut butter, granulated sugar, and brown sugar until the mixture is light and fluffy. This usually takes about 2 to 3 minutes with an electric mixer. - Step 3: Add Wet Ingredients
Beat in the egg and the vanilla extract. Scrape down the sides of the bowl to ensure everything is well combined and the texture is smooth. - Step 4: Combine Dry Ingredients
In a separate small bowl, whisk together the flour, baking soda, and baking powder. Gradually add the dry ingredients to the peanut butter mixture, mixing on low speed until just combined. Do not overmix. - Step 5: Shape and Bake
Roll the dough into 1-inch balls (about a tablespoon of dough each). Place them 2 inches apart on the prepared baking sheets. Bake for 8 to 10 minutes, or until the edges are just lightly golden. The centers should still look slightly soft. - Step 6: Add the Spider Body
As soon as you remove the cookies from the oven, immediately press a frozen miniature peanut butter cup upside down into the center of each cookie. The heat from the cookie will slightly melt the bottom of the cup, helping it stick. Move the cookies to a wire rack to cool completely. - Step 7: Decorate the Spider
Once the cookies are cool, use a toothpick or a small piping bag to draw eight legs on each cookie using the melted chocolate chips, starting from the peanut butter cup and extending outward. Use a tiny dot of melted chocolate to “glue” two candy eyes onto the front of each peanut butter cup.