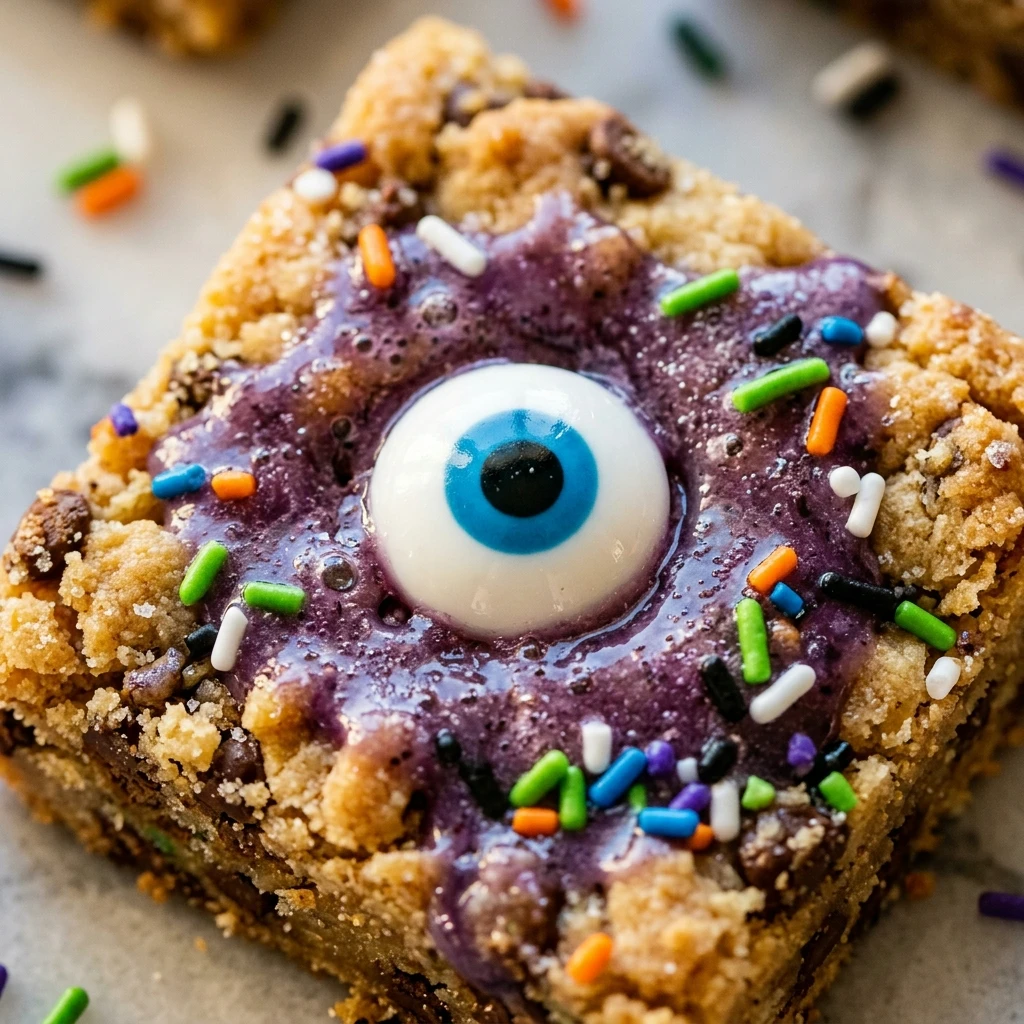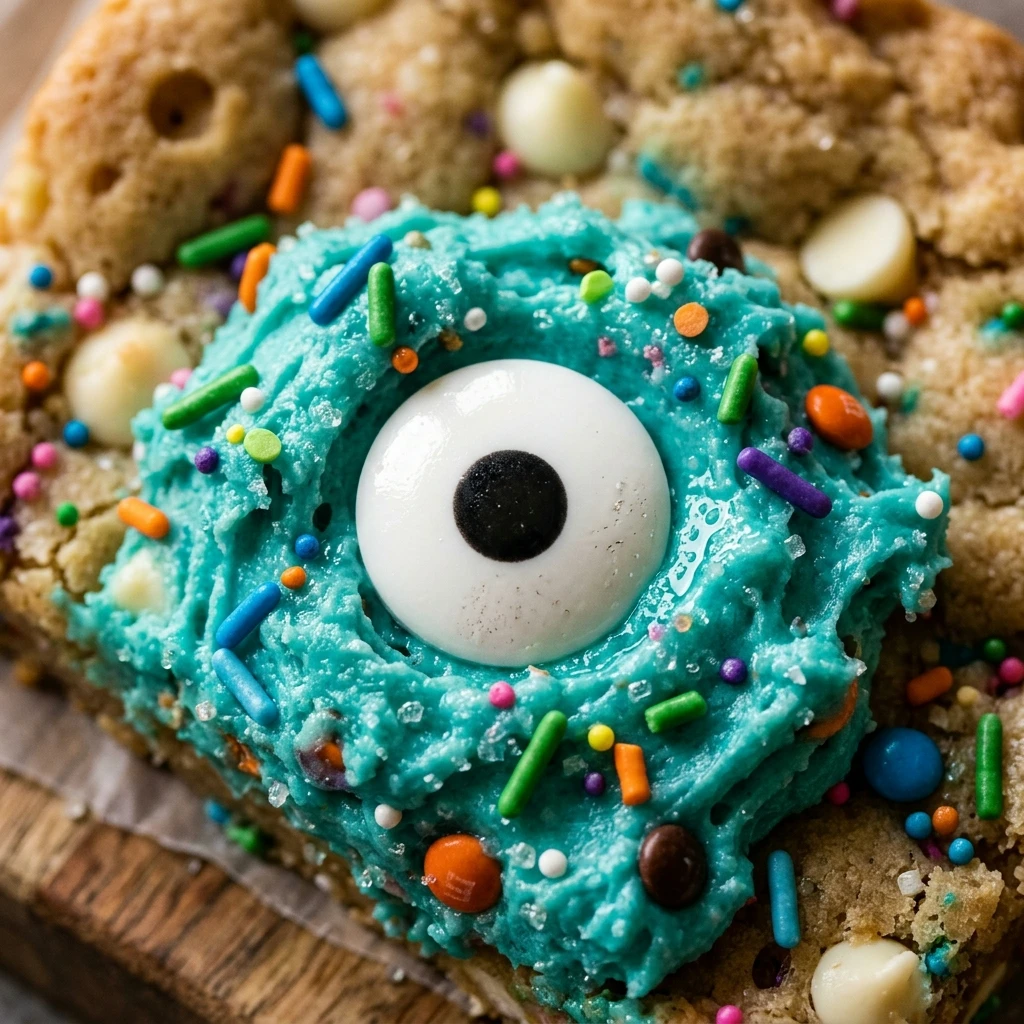

Spooky season is the perfect time to get creative in the kitchen, and these Monster Eye Sugar Cookie Bars are about to become your new favorite tradition. Whether you are hosting a neighborhood Halloween party or looking for a fun weekend activity with the kids, these bars offer the perfect blend of buttery sweetness and creepy-cute charm. They are bright, colorful, and just the right amount of “scary” for guests of all ages.
Unlike traditional sugar cookies that require chilling, rolling, and individual cutting, these bars are made in one pan. This saves you time without sacrificing that classic soft, chewy texture we all love. With vibrant frosting and an assortment of googly candy eyes, they look like professional bakery treats but are incredibly simple to assemble at home.
Recipe Information
- Prep Time: 15 minutes
- Cook Time: 25 minutes
- Total Time: 40 minutes
- Servings: 24 bars
- Difficulty Level: Easy
Nutrition Information
- Calories per serving: 195 kcal
- Protein: 2g
- Carbohydrates: 28g
- Fat: 9g
- Fiber: 0.5g
- Sugar: 18g
- Sodium: 115mg
Why Make This Monster Eye Sugar Cookie Bars Recipe
One of the best reasons to make this recipe is the convenience factor. Scooping out dozens of individual cookies can be tedious, but pressing the dough into a single baking sheet is a breeze. This format ensures that every piece is perfectly thick and soft, providing a sturdy base for all that fun frosting and decoration.
Furthermore, these bars are a fantastic way to involve children in the kitchen. Once the bars have cooled and been frosted, kids can take over the “monster making” by placing candy eyes of different sizes all over the top. It is a creative, mess-friendly project that results in a delicious treat everyone will enjoy eating.
How to Make Monster Eye Sugar Cookie Bars Recipe
Making these spooky treats is a straightforward process that starts with a simple sugar cookie base and ends with a burst of color and personality. Follow these steps to create your own tray of edible monsters.
Ingredients
- 1 cup unsalted butter, softened to room temperature
- 1 1/2 cups granulated sugar
- 1 large egg
- 1 1/2 teaspoons vanilla extract
- 1/2 teaspoon almond extract (optional)
- 2 1/2 cups all-purpose flour
- 1 teaspoon baking powder
- 1/2 teaspoon salt
- 1 can (16 oz) vanilla frosting or homemade buttercream
- Neon green, purple, or orange food coloring
- 1/2 cup assorted candy eyeballs (various sizes)
Directions
Step 1: Prep and Preheat
Preheat your oven to 350°F (175°C). Line a 9×13 inch baking pan with parchment paper, leaving a little overhang on the sides for easy removal, or grease the pan thoroughly with non-stick cooking spray.
Step 2: Cream Butter and Sugar
In a large mixing bowl or using a stand mixer, cream together the softened butter and granulated sugar until the mixture is light and fluffy. This usually takes about 2 to 3 minutes of mixing on medium speed.
Step 3: Add Wet Ingredients
Beat in the egg, vanilla extract, and almond extract. Continue mixing until the ingredients are fully combined and the batter looks smooth.
Step 4: Mix in Dry Ingredients
In a separate small bowl, whisk together the flour, baking powder, and salt. Gradually add the dry ingredients to the wet mixture, mixing on low speed just until a soft dough forms. Be careful not to overmix at this stage.
Step 5: Bake the Cookie Base
Press the cookie dough evenly into the prepared 9×13 pan. Bake for 20 to 25 minutes, or until the edges are very lightly golden brown. The center should look set but still soft. Remove from the oven and let the bars cool completely in the pan.
Step 6: Color the Frosting
Divide your frosting into different bowls if you want multiple colors, or keep it in one bowl for a single-colored monster look. Add a few drops of food coloring and stir until you reach your desired vibrant shade.
Step 7: Frost and Decorate
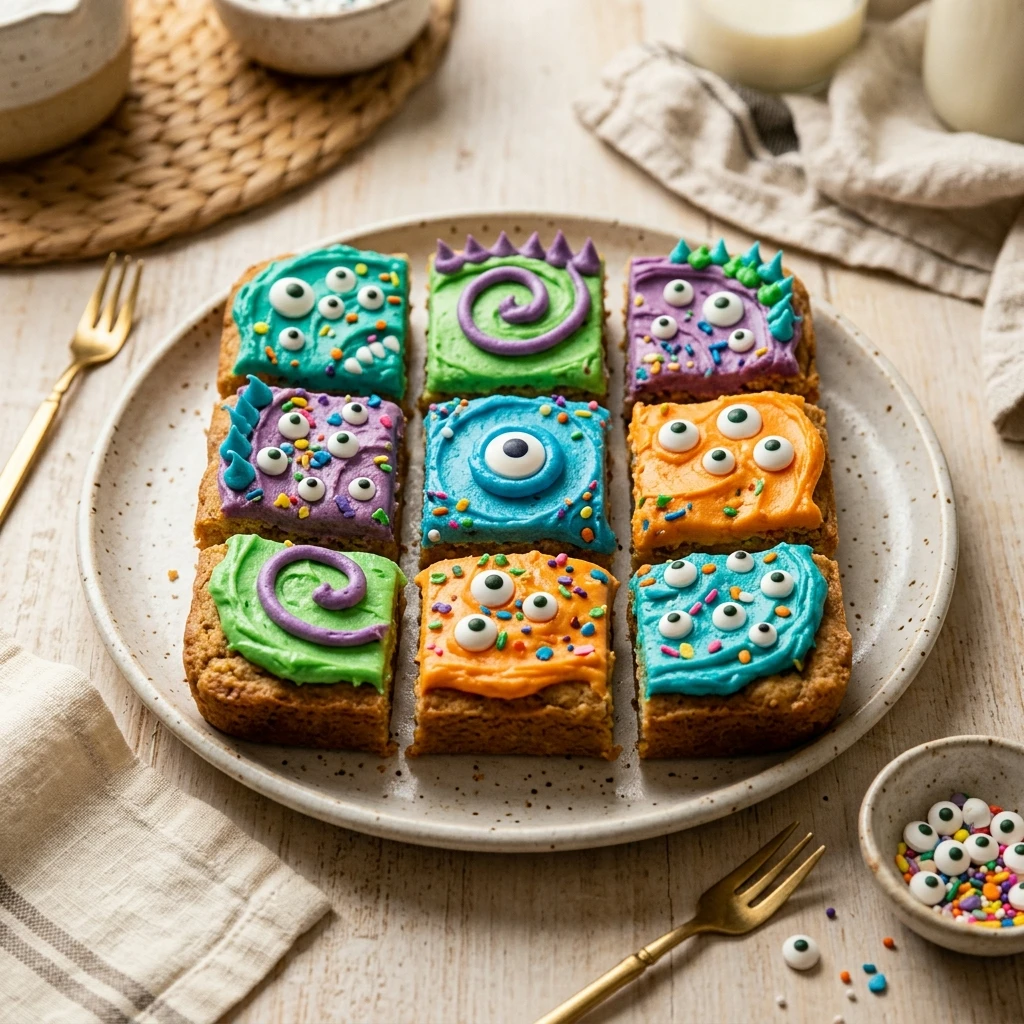
Once the cookie base is totally cool, spread the frosting evenly over the top. Immediately press the candy eyeballs into the frosting in random patterns—some close together, some far apart—to give your monsters character. Lift the bars out of the pan using the parchment paper and cut into 24 squares.
How to Serve Monster Eye Sugar Cookie Bars Recipe
These bars look fantastic when arranged on a large black platter to make the colors pop. For a Halloween party, you can place them alongside other spooky snacks like “mummy” hot dogs or pumpkin-shaped pretzels. If you want to get extra fancy, serve them with a side of “witch’s brew” (green fruit punch) for a themed snack time.
How to Store Monster Eye Sugar Cookie Bars Recipe
To keep your monster eyes looking their best, store these bars in a single layer in an airtight container. If you must stack them, place a sheet of parchment paper between layers so the frosting and eyes don’t get squished. They will stay fresh at room temperature for up to 3 days or in the refrigerator for up to 5 days.
Expert Tips for Perfect Monster Eye Sugar Cookie Bars Recipe
For the softest bars, ensure your butter is truly at room temperature before starting. If it is too cold, the dough won’t cream properly; if it’s melted, the bars may become too dense. Also, wait until the bars are completely cold before frosting. If the base is even slightly warm, the frosting will melt and the candy eyes will slide right off!
Delicious Variations
If you want to change things up, try using a chocolate cookie base by replacing 1/2 cup of flour with cocoa powder. You can also experiment with different frosting textures; using a piping bag with a multi-opening tip can create a “furry” monster look. For a different flavor profile, try lemon extract in the dough and a zesty lemon frosting.
Frequently Asked Questions
Q: Can I use store-bought cookie dough for this recipe?
Yes, you can use two rolls of refrigerated sugar cookie dough. Just press them into the pan and adjust the baking time according to the package directions, usually around 20 minutes.
Q: Do the candy eyes melt in the oven?
No, because you add the candy eyes after the bars have been baked and cooled. Never put the candy eyes in the oven as they are made of sugar and will melt or discolor.
Q: Can I freeze these cookie bars?
It is best to freeze the cookie base before frosting it. Once frosted and decorated with candy eyes, freezing is not recommended as the eyes can “bleed” color or soften when thawing.
Q: How do I get clean cuts when slicing the bars?
For the cleanest edges, chill the frosted bars in the fridge for about 30 minutes before cutting. Use a sharp knife and wipe it clean between every single cut.
Q: My frosting is too thin, what should I do?
If your frosting is too runny to hold the eyes in place, stir in a few tablespoons of powdered sugar to thicken it up before spreading it on the bars.
Conclusion
Monster Eye Sugar Cookie Bars are a delightful, stress-free way to celebrate the holiday season. With their soft texture and whimsical design, they are guaranteed to be the star of any dessert table. Give this recipe a try, and enjoy watching these little monsters disappear from the plate in record time!
Monster Eye Sugar Cookie Bars Recipe
- Cook Time: 40 minutes
- Total Time: 40 minutes
- Diet: Vegetarian
Ingredients
- 1 cup unsalted butter, softened to room temperature
- 1 1/2 cups granulated sugar
- 1 large egg
- 1 1/2 teaspoons vanilla extract
- 1/2 teaspoon almond extract (optional)
- 2 1/2 cups all-purpose flour
- 1 teaspoon baking powder
- 1/2 teaspoon salt
- 1 can (16 oz) vanilla frosting or homemade buttercream
- Neon green, purple, or orange food coloring
- 1/2 cup assorted candy eyeballs (various sizes)
Instructions
- Preheat your oven to 350°F (175°C). Line a 9×13 inch baking pan with parchment paper, leaving a little overhang on the sides for easy removal, or grease the pan thoroughly with non-stick cooking spray.
- In a large mixing bowl or using a stand mixer, cream together the softened butter and granulated sugar until the mixture is light and fluffy. This usually takes about 2 to 3 minutes of mixing on medium speed.
- Beat in the egg, vanilla extract, and almond extract. Continue mixing until the ingredients are fully combined and the batter looks smooth.
- In a separate small bowl, whisk together the flour, baking powder, and salt. Gradually add the dry ingredients to the wet mixture, mixing on low speed just until a soft dough forms. Be careful not to overmix at this stage.
- Press the cookie dough evenly into the prepared 9×13 pan. Bake for 20 to 25 minutes, or until the edges are very lightly golden brown. The center should look set but still soft. Remove from the oven and let the bars cool completely in the pan.
- Divide your frosting into different bowls if you want multiple colors, or keep it in one bowl for a single-colored monster look. Add a few drops of food coloring and stir until you reach your desired vibrant shade.
- Once the cookie base is totally cool, spread the frosting evenly over the top. Immediately press the candy eyeballs into the frosting in random patterns—some close together, some far apart—to give your monsters character. Lift the bars out of the pan using the parchment paper and cut into 24 squares.