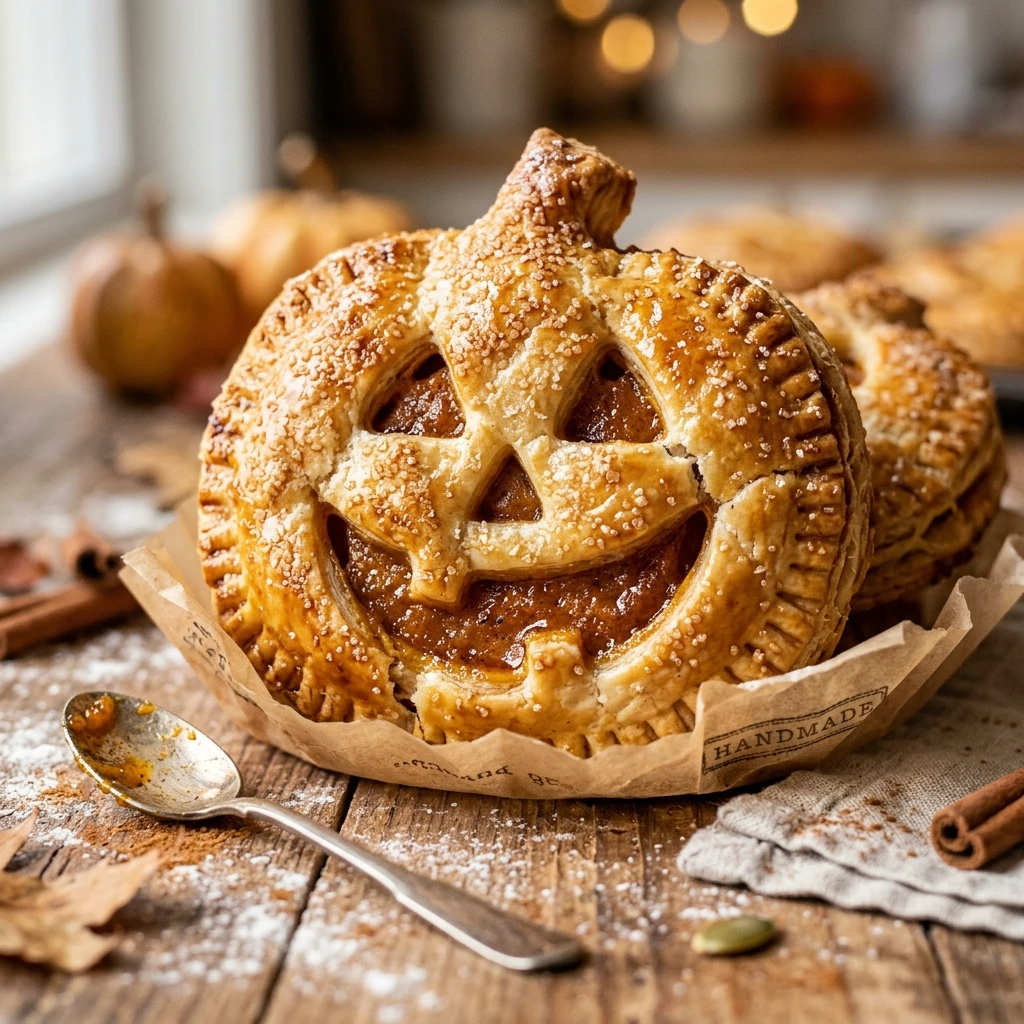

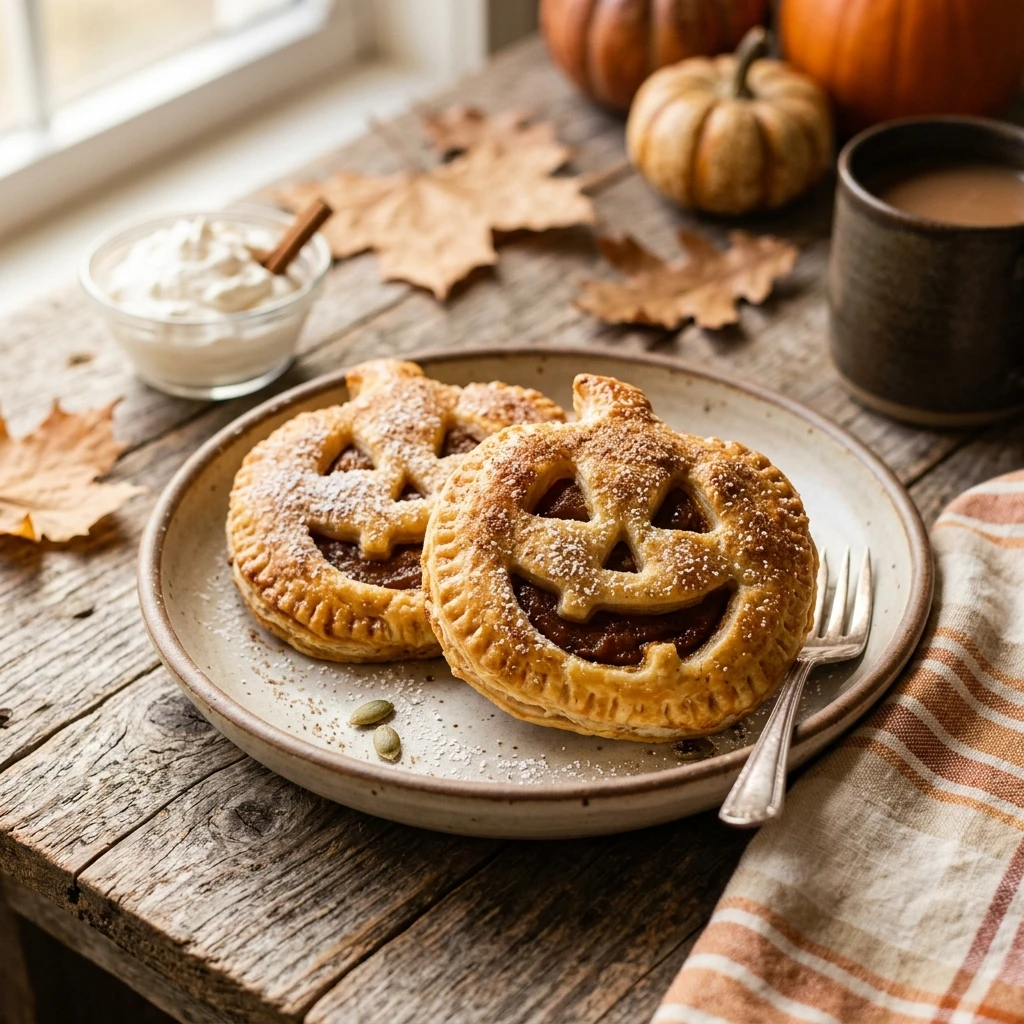
Halloween is the time for spooky fun, and there is nothing better than a treat that looks as good as it tastes. These Jack O Lantern Hand Pies are the ultimate festive snack for your next October gathering. They feature a flaky, golden crust and a warm, spiced pumpkin filling that captures the essence of autumn in every bite. Whether you are hosting a costume party or looking for a fun kitchen project with the kids, these portable pies are sure to be a hit.
Making these hand pies is a delightful way to celebrate the season. You get all the flavor of a traditional pumpkin pie but in a convenient, hand-held form. The best part is carving the tiny, glowing faces into the dough, giving each pie its own unique personality. They are charming, delicious, and surprisingly simple to put together using just a few pantry staples.
Recipe Information
- Prep Time: 30 minutes
- Cook Time: 20 minutes
- Total Time: 50 minutes
- Servings: 8 pies
- Difficulty Level: Easy
Nutrition Information
- Calories per serving: 245 kcal
- Protein: 3g
- Carbohydrates: 28g
- Fat: 14g
- Fiber: 2g
- Sugar: 12g
- Sodium: 210mg
Why Make This Jack O Lantern Hand Pies Recipe
This recipe is a must-make because it combines creativity with classic comfort food. Most people love pumpkin pie, but eating a slice with a fork isn’t always practical at a busy party. These hand pies solve that problem by being perfectly portioned and easy to eat while mingling. They also make for incredible photos, adding a touch of homemade magic to your Halloween spread.
Beyond their looks, the flavor profile is balanced and satisfying. The crispness of the pastry provides a wonderful contrast to the smooth, creamy filling. It is a fantastic recipe for beginners because using pre-made pie crust saves time, allowing you to focus on the fun part: the carving. Plus, your kitchen will smell like a cozy autumn dream while they bake!
How to Make Jack O Lantern Hand Pies Recipe
Get ready to transform simple dough into edible art! Follow these straightforward steps to create your own patch of pumpkin-shaped treats that are as spooky as they are tasty.
Ingredients
- 1 box (14.1 oz) refrigerated pie crusts (2 rolls)
- 1 cup pumpkin puree (not pumpkin pie mix)
- 1/4 cup light brown sugar, packed
- 1 teaspoon pumpkin pie spice
- 1/2 teaspoon vanilla extract
- 1 large egg (for egg wash)
- 1 tablespoon water
- Coarse sugar for sprinkling (optional)
Directions
Step 1: Preparation and Preheating
Preheat your oven to 375°F (190°C). Line two large baking sheets with parchment paper or silicone baking mats to ensure the pies do not stick and for easy cleanup later.
Step 2: Prepare the Pumpkin Filling
In a medium mixing bowl, combine the pumpkin puree, brown sugar, pumpkin pie spice, and vanilla extract. Stir until the mixture is smooth and the sugar has fully incorporated. Set this aside while you work on the crust.
Step 3: Cut the Pumpkin Shapes
Unroll the pie crusts onto a lightly floured surface. Using a pumpkin-shaped cookie cutter (about 3-4 inches wide), cut out 16 pumpkin shapes. You may need to gather the dough scraps and re-roll them to get all 16 shapes.
Step 4: Carve the Faces
Take 8 of the pumpkin cutouts and use a small paring knife to carve out triangles for eyes and a mouth. These will be the “tops” of your hand pies. Leave the other 8 shapes solid; these will be the “bottoms.”
Step 5: Assemble the Hand Pies
Place the 8 solid pumpkin shapes onto the prepared baking sheets. Spoon about 1 to 1.5 tablespoons of the pumpkin filling into the center of each shape, leaving a small border around the edges. Be careful not to overfill, as it might leak out during baking.
Step 6: Seal the Pies
Lightly brush the edges of the bottom crusts with a little bit of water. Place the carved “face” crusts on top of the filling. Use a fork to crimp the edges firmly together, sealing the filling inside.
Step 7: Egg Wash and Bake
In a small bowl, whisk together the egg and 1 tablespoon of water. Lightly brush the top of each hand pie with the egg wash. This gives them a beautiful golden-brown finish. If desired, sprinkle with coarse sugar. Bake for 15 to 20 minutes, or until the pastry is golden and crisp.
Step 8: Cooling
Remove the pans from the oven and let the pies cool on the baking sheet for at least 5 to 10 minutes. This allows the filling to set so you don’t burn your mouth when taking that first delicious bite.
How to Serve Jack O Lantern Hand Pies Recipe
These pies are best served warm or at room temperature. For a truly decadent treat, serve them with a side of whipped cream or a small scoop of vanilla bean ice cream. If you are serving them at a party, arrange them on a wooden board decorated with autumn leaves or mini pumpkins. They also pair perfectly with a hot cup of apple cider or a spiced latte.
How to Store Jack O Lantern Hand Pies Recipe
If you have leftovers, store them in an airtight container at room temperature for up to 2 days. For longer storage, keep them in the refrigerator for up to 5 days. To regain that fresh-baked crunch, reheat them in a toaster oven or a regular oven at 350°F for about 5 minutes. Avoid the microwave if possible, as it can make the pastry soft.
Expert Tips for Perfect Jack O Lantern Hand Pies Recipe
Keep your pie dough cold! If the dough gets too warm while you are carving the faces, it can become sticky and difficult to handle. If this happens, pop it back in the fridge for 10 minutes. Also, make sure your pumpkin filling is thick. If it seems too watery, the crust might get soggy. Lastly, don’t forget to crimp the edges tightly with a fork to prevent the “jack o lanterns” from opening up in the oven.
Delicious Variations
While pumpkin is the classic choice, you can fill these with apple butter or thick cherry preserves for a “bloody” look. For a savory twist, fill them with a mixture of cooked sausage and cheddar cheese. You can also add a pinch of cayenne pepper to the pumpkin filling if you want a little “kick” to go with your “treat.” If you don’t have a pumpkin cutter, you can use a round glass to make “circle” lanterns instead.
Frequently Asked Questions
Q: Can I use homemade pie crust instead of store-bought?
Absolutely! A homemade buttery pie crust will taste even better. Just ensure it is rolled out to a similar thickness as the store-bought version.
Q: Can I make these ahead of time?
Yes, you can assemble the pies and keep them covered in the refrigerator for up to 24 hours before baking. Just add the egg wash right before they go into the oven.
Q: My filling is leaking out, what did I do wrong?
This usually happens if the pies are overfilled or the edges weren’t sealed tightly enough. Try using a little less filling next time and press down harder with the fork tines.
Q: Can I freeze these hand pies?
Yes, you can freeze the unbaked pies. Freeze them in a single layer on a tray, then transfer to a freezer bag. Bake from frozen, adding an extra 5-8 minutes to the cook time.
Q: Do I have to use an egg wash?
While not strictly necessary for flavor, the egg wash is what gives the pies that professional, shiny, golden look. You can substitute with a little milk if you have an egg allergy.
Conclusion
Jack O Lantern Hand Pies are a whimsical and delicious addition to any Halloween celebration. They are easy enough for a weeknight activity but impressive enough to serve at a festive party. With their flaky crust and warm pumpkin spice filling, they embody the very best of fall flavors. Give this recipe a try and enjoy the smiles (and the spooky faces) they bring to your table!
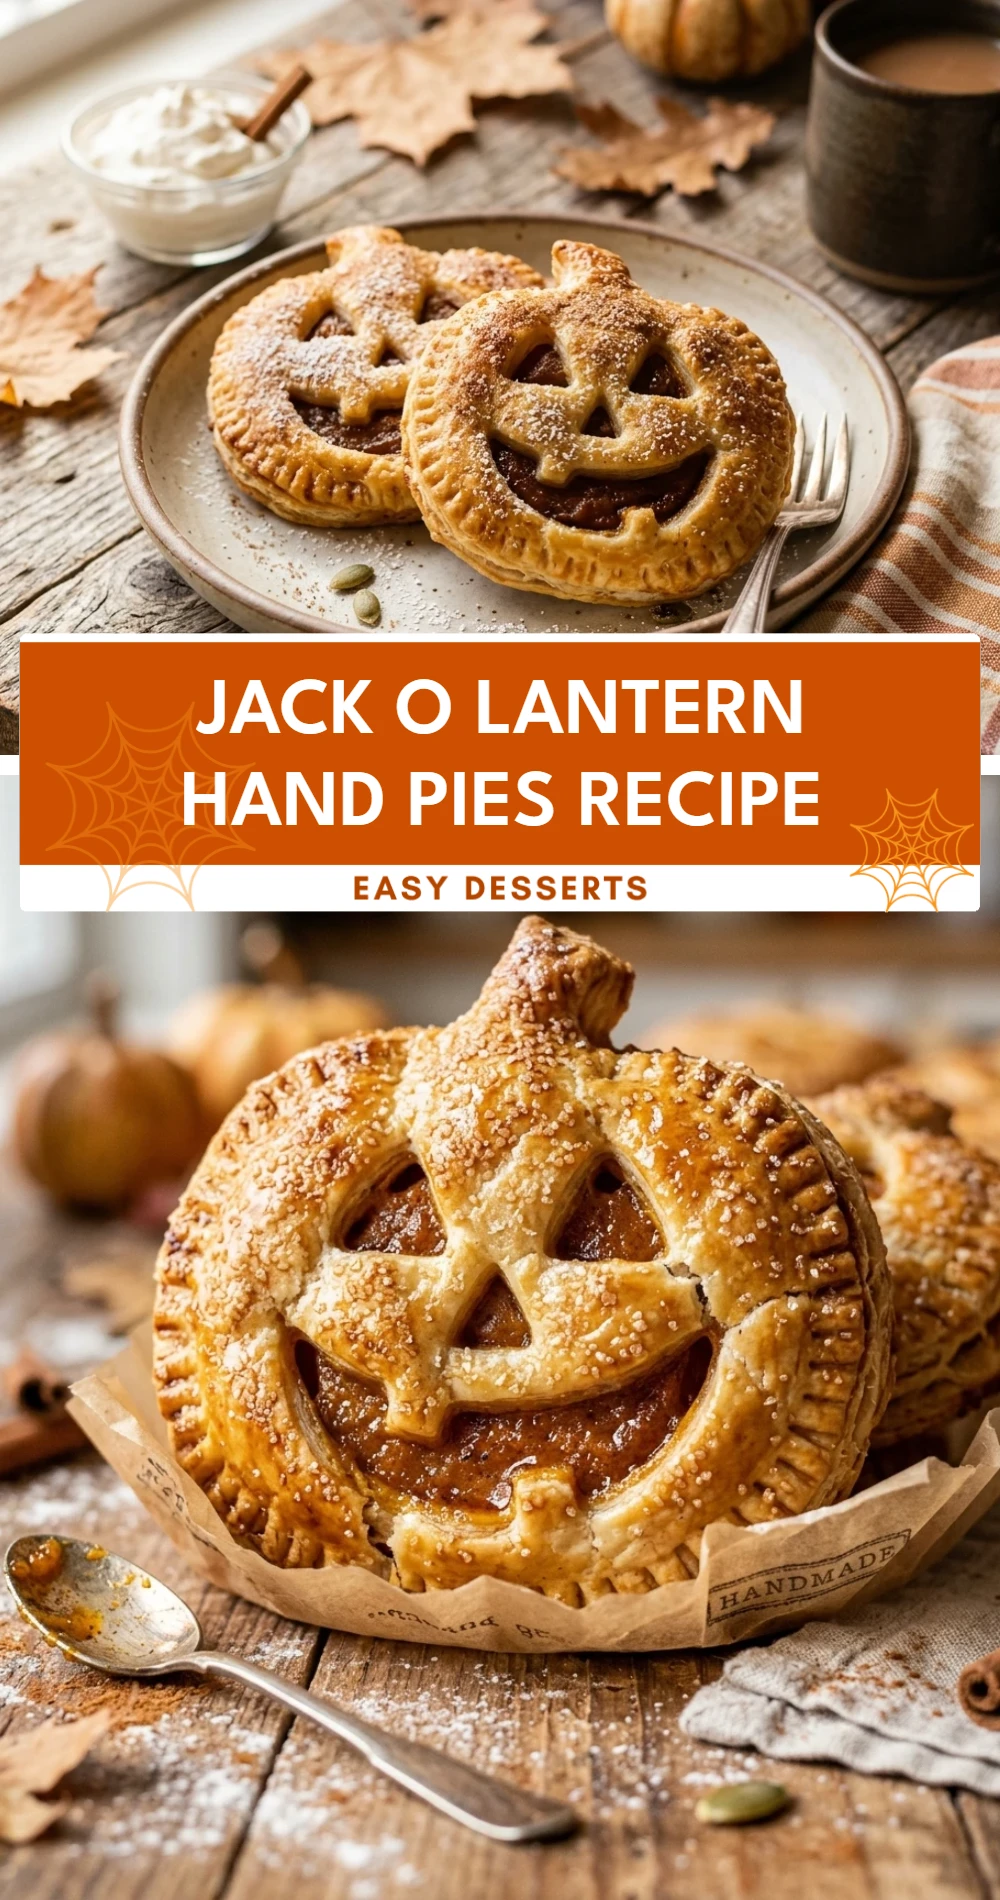
Jack O Lantern Hand Pies Recipe

- Cook Time: 50 minutes
- Total Time: 50 minutes
- Diet: Vegetarian
Ingredients
- 1 box (14.1 oz) refrigerated pie crusts (2 rolls)
- 1 cup pumpkin puree (not pumpkin pie mix)
- 1/4 cup light brown sugar, packed
- 1 teaspoon pumpkin pie spice
- 1/2 teaspoon vanilla extract
- 1 large egg (for egg wash)
- 1 tablespoon water
- Coarse sugar for sprinkling (optional)
Instructions
- Preheat your oven to 375°F (190°C). Line two large baking sheets with parchment paper or silicone baking mats to ensure the pies do not stick and for easy cleanup later.
- In a medium mixing bowl, combine the pumpkin puree, brown sugar, pumpkin pie spice, and vanilla extract. Stir until the mixture is smooth and the sugar has fully incorporated. Set this aside while you work on the crust.
- Unroll the pie crusts onto a lightly floured surface. Using a pumpkin-shaped cookie cutter (about 3-4 inches wide), cut out 16 pumpkin shapes. You may need to gather the dough scraps and re-roll them to get all 16 shapes.
- Take 8 of the pumpkin cutouts and use a small paring knife to carve out triangles for eyes and a mouth. These will be the “tops” of your hand pies. Leave the other 8 shapes solid; these will be the “bottoms.”
- Place the 8 solid pumpkin shapes onto the prepared baking sheets. Spoon about 1 to 1.5 tablespoons of the pumpkin filling into the center of each shape, leaving a small border around the edges. Be careful not to overfill, as it might leak out during baking.
- Lightly brush the edges of the bottom crusts with a little bit of water. Place the carved “face” crusts on top of the filling. Use a fork to crimp the edges firmly together, sealing the filling inside.
- In a small bowl, whisk together the egg and 1 tablespoon of water. Lightly brush the top of each hand pie with the egg wash. This gives them a beautiful golden-brown finish. If desired, sprinkle with coarse sugar. Bake for 15 to 20 minutes, or until the pastry is golden and crisp.
- Remove the pans from the oven and let the pies cool on the baking sheet for at least 5 to 10 minutes. This allows the filling to set so you don’t burn your mouth when taking that first delicious bite.