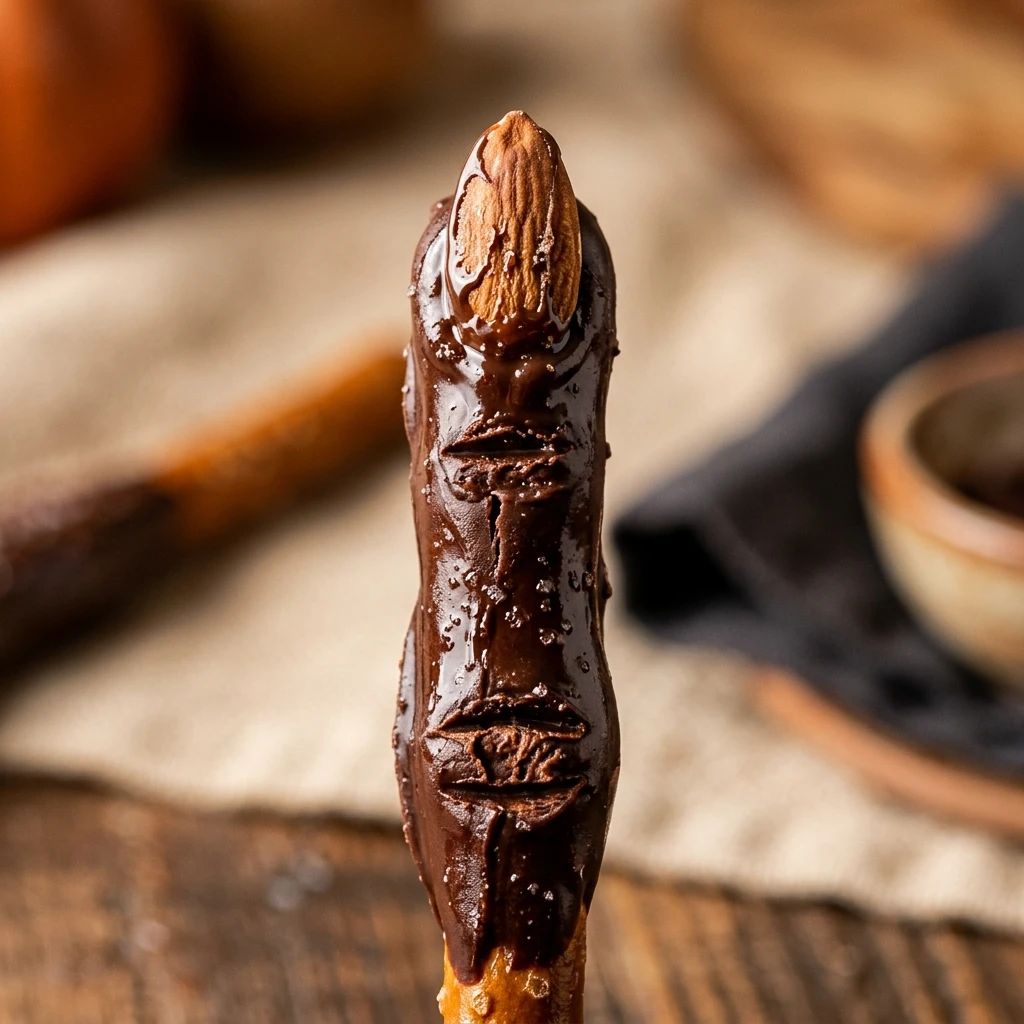

Halloween is the perfect time to get creative in the kitchen with treats that look spooky but taste delicious. These Halloween Witch Finger Pretzel Rods are a fantastic addition to any holiday spread. They combine the crunch of a salty pretzel with the sweetness of vanilla-flavored candy coating. Best of all, they are a no-bake treat that kids and adults alike will love to help assemble.
Whether you are hosting a haunted house party or looking for a fun snack to pack in a lunchbox, these “fingers” are sure to be a hit. The vibrant green color and the almond “fingernail” give them a creepy, lifelike appearance that fits right in with your Halloween decor. Let’s get started on making these ghoulishly good snacks!
Recipe Information
- Prep Time: 20 minutes
- Cook Time: 5 minutes
- Total Time: 25 minutes
- Servings: 12 pretzel rods
- Difficulty Level: Easy
Nutrition Information
- Calories per serving: 145 kcal
- Protein: 2g
- Carbohydrates: 22g
- Fat: 6g
- Fiber: 1g
- Sugar: 12g
- Sodium: 210 mg
Why Make This Halloween Witch Finger Pretzel Rods Recipe
This recipe is a must-make because it requires very few ingredients and zero actual baking. It is perfect for busy parents or last-minute party planners who want a high-impact dessert without spending hours in the kitchen. The combination of textures—the snap of the pretzel and the smooth candy coating—is incredibly satisfying.
Additionally, these treats are highly customizable. You can change the “skin” color of the fingers or add “blood” for a gorier effect. They are easy to transport, making them the ideal contribution to a school bake sale or an office potluck. Plus, they stay fresh for a long time, so you can make them a few days in advance.
How to Make Halloween Witch Finger Pretzel Rods Recipe
Creating these spooky treats is a simple process of melting, dipping, and decorating. Follow these easy steps to bring your witchy fingers to life.
Ingredients
- 12 pretzel rods
- 10 oz green candy melts (vanilla flavored)
- 12 sliced almonds (or whole almonds)
- 1 teaspoon coconut oil or vegetable shortening (optional, for thinning)
- Red decorating gel (optional, for “blood”)
Directions
Step 1: Prepare the Workspace
Line a large baking sheet with parchment paper or a silicone baking mat. This ensures your pretzel rods won’t stick once the candy coating begins to harden. Set your sliced almonds aside in a small bowl so they are ready for quick assembly.
Step 2: Melt the Candy Coating
Place the green candy melts in a microwave-safe bowl or a tall microwave-safe glass. Heat in 30-second intervals, stirring well between each session. If the candy is too thick, stir in a teaspoon of coconut oil or shortening to reach a smooth, dipping consistency. Do not overheat, or the candy will become clumpy.
Step 3: Dip the Pretzel Rods
Dip each pretzel rod into the melted green candy, leaving about two inches at the bottom uncoated to serve as a handle. Use a spoon to help pour the candy over the rod if your container isn’t deep enough. Gently tap the pretzel against the side of the container to shake off any excess coating.
Step 4: Apply the Fingernail
Place the coated pretzel onto the prepared baking sheet. While the candy is still wet, immediately press a sliced almond onto the tip of the pretzel to create the “fingernail.” Press it down slightly so it stays secure as the candy sets.
Step 5: Create the Knuckle Lines
Let the candy set for about 2 to 3 minutes until it is tacky but not fully hardened. Use a toothpick or the edge of a butter knife to gently press two or three lines into the middle of the pretzel rod. This creates the appearance of “knuckles,” giving the fingers a realistic, bony look.
Step 6: Let the Fingers Set
Allow the pretzel rods to sit at room temperature for about 30 minutes until the candy coating is completely firm. If you are in a hurry, you can place the baking sheet in the refrigerator for 10 minutes to speed up the process.
How to Serve Halloween Witch Finger Pretzel Rods Recipe
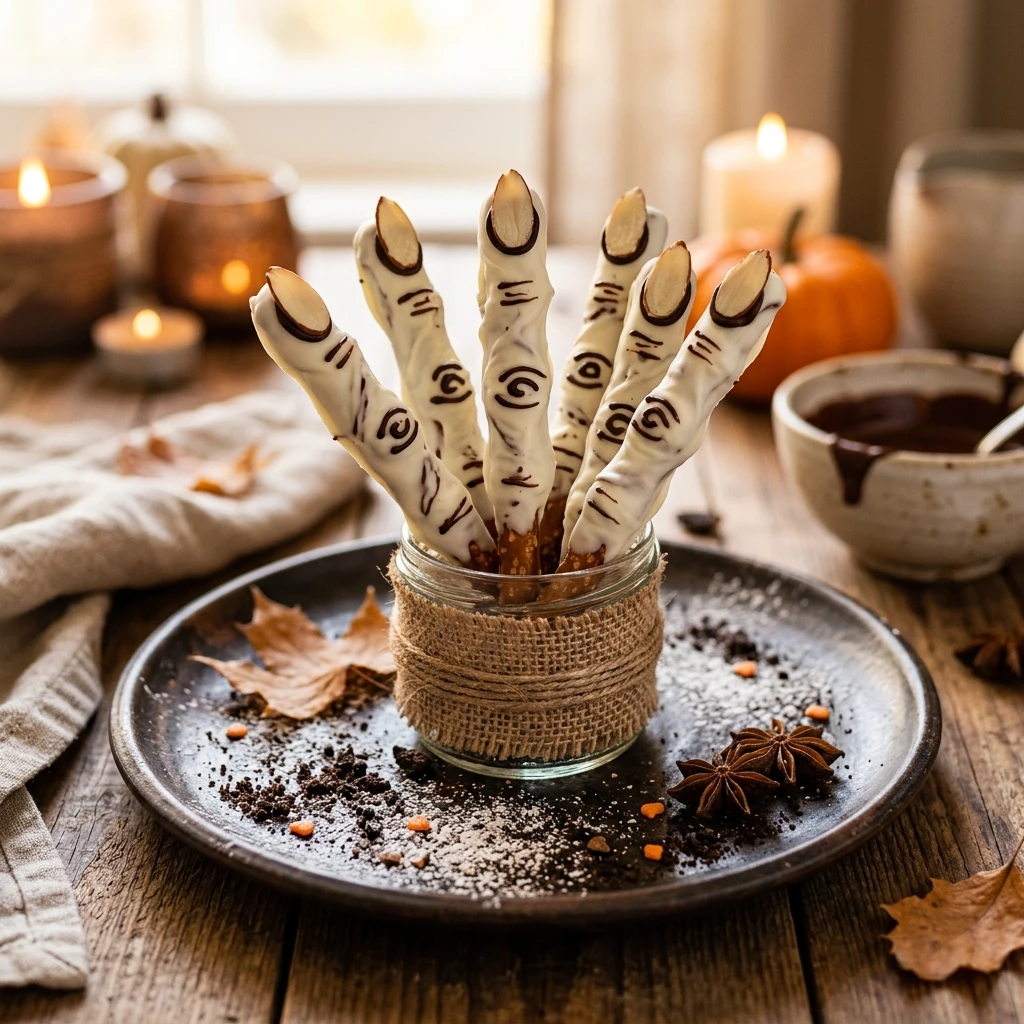
For a festive presentation, stand the witch fingers upright in a tall glass jar filled with black sanding sugar or chocolate cookie crumbs (to look like dirt). You can also lay them out on a dark platter surrounded by plastic spiders or fake cobwebs. If you want a more gruesome look, dab a little red decorating gel around the base of the almond “nail” to mimic blood.
How to Store Halloween Witch Finger Pretzel Rods Recipe
Store these treats in an airtight container at room temperature in a cool, dry place. They will stay fresh and crunchy for up to two weeks. Avoid storing them in the refrigerator for long periods, as the moisture can make the pretzels lose their crunch and cause the candy coating to sweat.
Expert Tips for Perfect Halloween Witch Finger Pretzel Rods Recipe
To get the best results, use a tall, narrow glass for dipping. This allows you to submerge the pretzel rod deeply without needing a massive amount of candy melts. Also, make sure your almonds are ready before you start dipping; the candy coating sets quickly, and the “nail” needs to be applied while it’s still wet to stick properly.
Delicious Variations
You can experiment with different colors like vibrant purple or pale flesh tones for different types of monster fingers. If you prefer a different flavor, use white chocolate chips tinted with green food coloring instead of candy melts. For a nut-free version, use a pumpkin seed or a piece of black fondant shaped like a nail instead of an almond.
Frequently Asked Questions
Q: Can I use white chocolate instead of candy melts?
Yes, you can use white chocolate chips or bark. Just add a drop of oil-based green food coloring to achieve the desired witchy shade.
Q: My candy coating is too thick. What should I do?
Stir in a small amount of coconut oil or vegetable shortening. This thins out the candy and makes it much easier to dip the pretzels smoothly.
Q: How do I prevent the pretzels from getting soggy?
Ensure your pretzels are fresh before dipping and store the finished product in a completely airtight container away from humidity.
Q: Can I make these ahead of time?
Absolutely! These can be made up to a week in advance. They are very shelf-stable as long as they are kept in a cool environment.
Q: What if the almond falls off after the candy dries?
Simply dab a tiny bit of melted candy coating or frosting onto the back of the almond and press it back onto the pretzel tip. It will act like glue.
Conclusion
These Halloween Witch Finger Pretzel Rods are the ultimate spooky treat for your October celebrations. They are simple, affordable, and visually impressive. With their perfect balance of salty and sweet, they are guaranteed to disappear quickly from your party table. Happy Halloween and happy snacking!
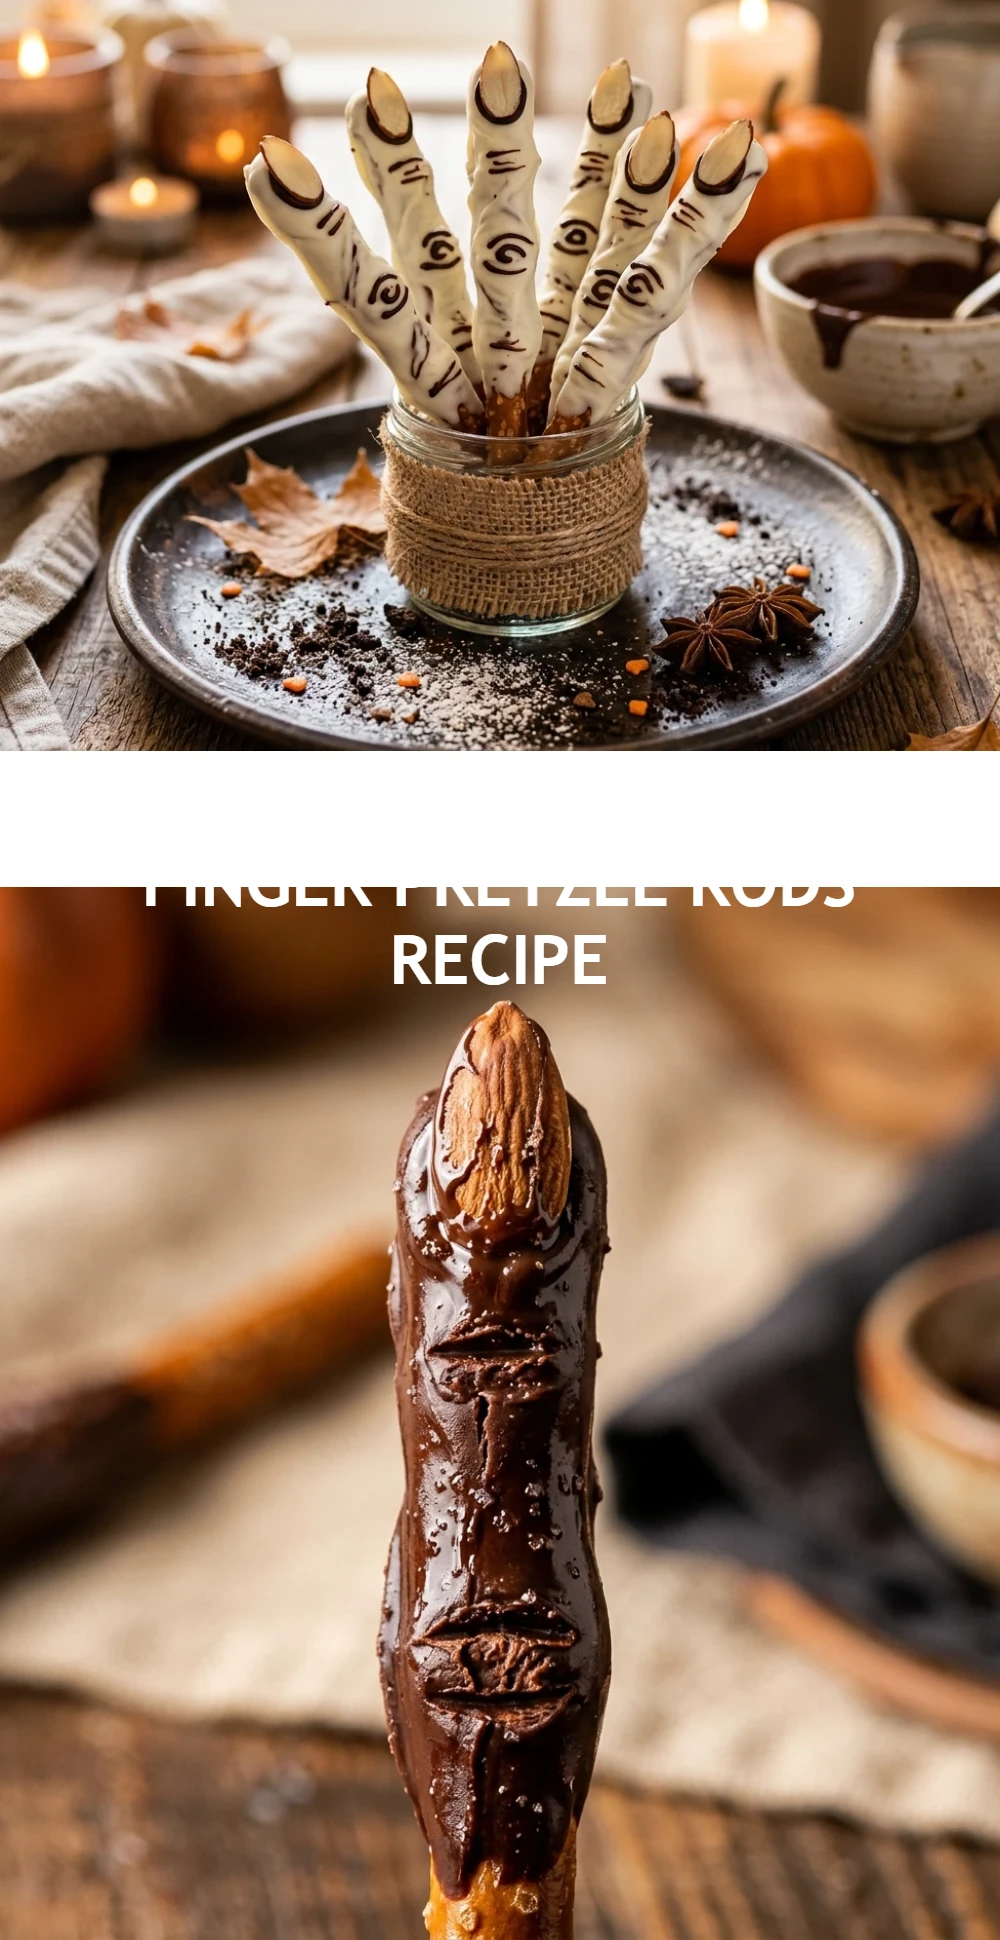
Halloween Witch Finger Pretzel Rods Recipe
- Cook Time: 25 minutes
- Total Time: 25 minutes
- Diet: Vegetarian
Ingredients
- 12 pretzel rods
- 10 oz green candy melts (vanilla flavored)
- 12 sliced almonds (or whole almonds)
- 1 teaspoon coconut oil or vegetable shortening (optional, for thinning)
- Red decorating gel (optional, for “blood”)
Instructions
- Step 1: Prepare the Workspace
Line a large baking sheet with parchment paper or a silicone baking mat. This ensures your pretzel rods won’t stick once the candy coating begins to harden. Set your sliced almonds aside in a small bowl so they are ready for quick assembly.
- Step 2: Melt the Candy Coating
Place the green candy melts in a microwave-safe bowl or a tall microwave-safe glass. Heat in 30-second intervals, stirring well between each session. If the candy is too thick, stir in a teaspoon of coconut oil or shortening to reach a smooth, dipping consistency. Do not overheat, or the candy will become clumpy.
- Step 3: Dip the Pretzel Rods
Dip each pretzel rod into the melted green candy, leaving about two inches at the bottom uncoated to serve as a handle. Use a spoon to help pour the candy over the rod if your container isn’t deep enough. Gently tap the pretzel against the side of the container to shake off any excess coating.
- Step 4: Apply the Fingernail
Place the coated pretzel onto the prepared baking sheet. While the candy is still wet, immediately press a sliced almond onto the tip of the pretzel to create the “fingernail.” Press it down slightly so it stays secure as the candy sets.
- Step 5: Create the Knuckle Lines
Let the candy set for about 2 to 3 minutes until it is tacky but not fully hardened. Use a toothpick or the edge of a butter knife to gently press two or three lines into the middle of the pretzel rod. This creates the appearance of “knuckles,” giving the fingers a realistic, bony look.
- Step 6: Let the Fingers Set
Allow the pretzel rods to sit at room temperature for about 30 minutes until the candy coating is completely firm. If you are in a hurry, you can place the baking sheet in the refrigerator for 10 minutes to speed up the process.