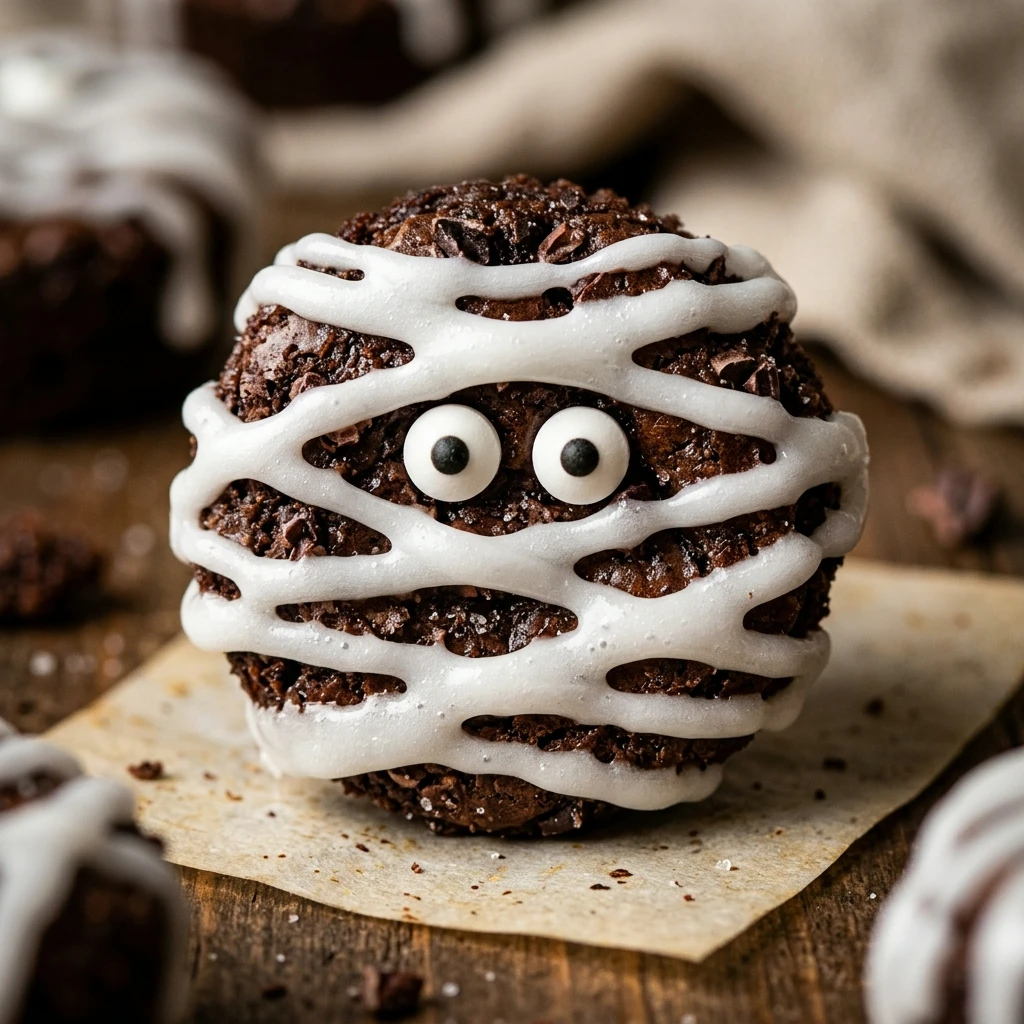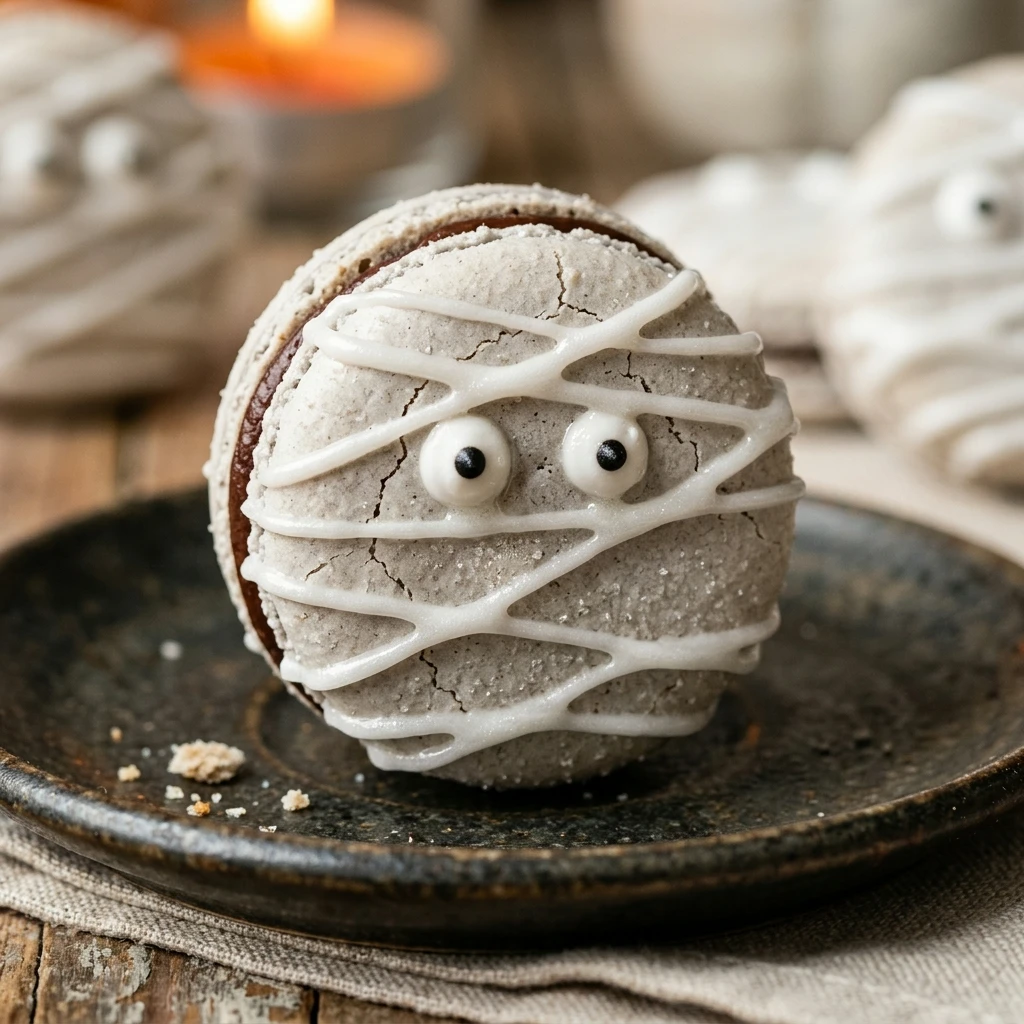

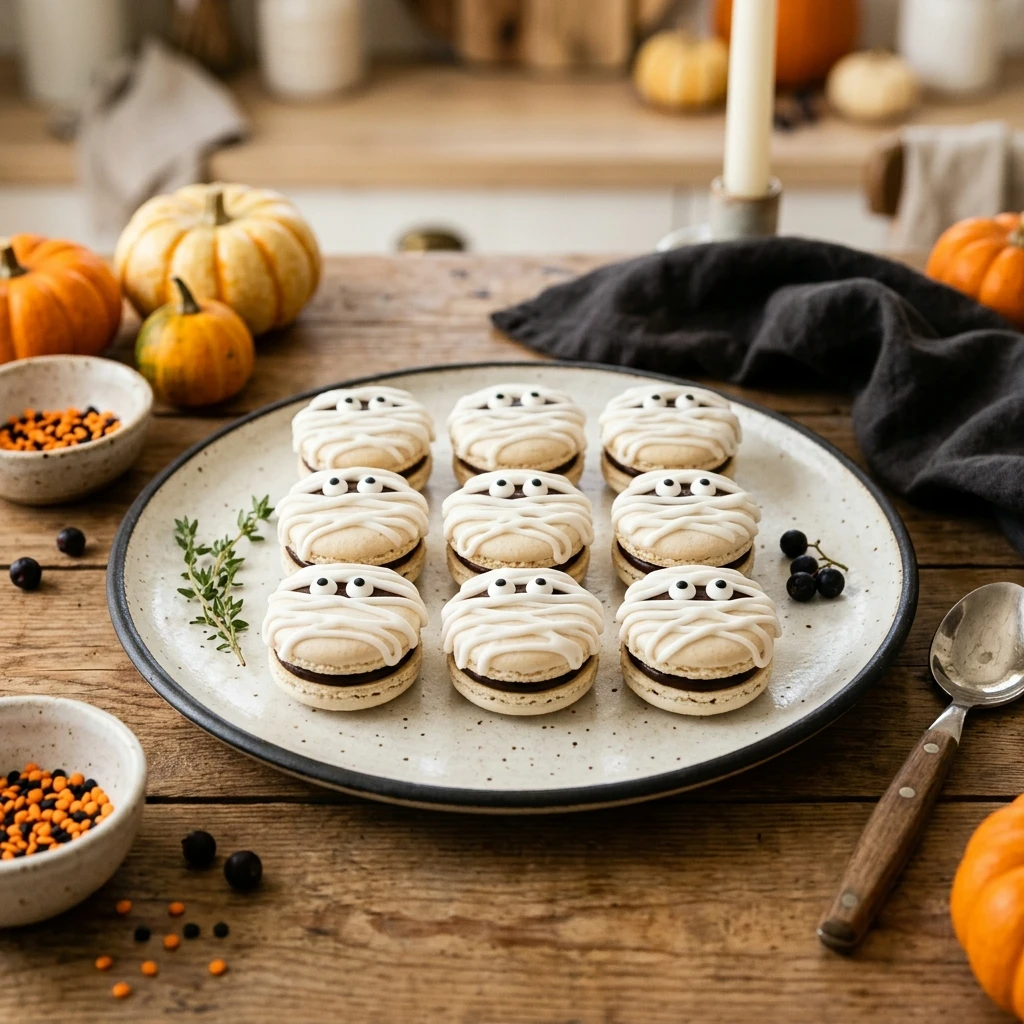
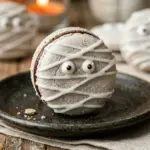
Halloween is the perfect time to get creative in the kitchen, and nothing says “spooky-chic” quite like a batch of Halloween Mummy Macarons. These delightful French pastries are given a festive makeover with simple white chocolate drizzling and tiny candy eyes, making them a hit at any October gathering. While macarons have a reputation for being finicky, this recipe breaks down the process into manageable steps so you can achieve that perfect shell and chewy center.
Whether you are hosting a costume party or looking for a unique treat to share with neighbors, these mummy-themed sweets are sure to impress. They combine the sophisticated flavor of almond flour and vanilla with a playful aesthetic that kids and adults alike will love. Get ready to master the art of the macaron while embracing the spirit of the season.
Recipe Information
- Prep Time: 45 minutes
- Cook Time: 15 minutes
- Total Time: 60 minutes
- Servings: 24 macarons
- Difficulty Level: Hard
Nutrition Information
- Calories per serving: 145 kcal
- Protein: 3g
- Carbohydrates: 19g
- Fat: 7g
- Fiber: 1g
- Sugar: 16g
- Sodium: 20mg
Why Make This Halloween Mummy Macarons Recipe
This recipe is the ultimate way to show off your baking skills while keeping things fun. Macarons are naturally gluten-free, making them a great option for guests with dietary restrictions. The “mummy” decoration is incredibly forgiving; because mummies are supposed to look wrapped in bandages, your chocolate drizzling doesn’t have to be perfect. In fact, the more haphazard the lines, the more authentic the mummy looks!
Beyond the looks, the flavor profile is a classic crowd-pleaser. The almond-based shells paired with a creamy vanilla buttercream create a balanced sweetness. These macarons are also highly “Instagrammable,” ensuring your Halloween dessert spread stands out from the usual bowl of store-bought candy.
How to Make Halloween Mummy Macarons Recipe
Making these macarons requires patience and precision, particularly when folding the batter and resting the shells. Follow these steps carefully to ensure your mummies have the signature “feet” and a smooth, shiny top before you begin the spooky transformation.
Ingredients
- 1 ¾ cups powdered sugar
- 1 cup superfine almond flour
- 3 large egg whites (room temperature)
- ¼ cup granulated sugar
- ½ teaspoon vanilla extract
- ¼ teaspoon cream of tartar
- 1 cup vanilla buttercream or white chocolate ganache (for filling)
- ½ cup white chocolate melting wafers (for decoration)
- 48 small candy eyes
Directions
Step 1: Sift the Dry Ingredients
In a large bowl, sift together the powdered sugar and the almond flour. If there are large bits of almond left in the sifter, discard them. Whisk the two together until perfectly combined and airy. This ensures your macaron shells are smooth and free of bumps.
Step 2: Whip the Meringue
In a clean glass or metal bowl, beat the egg whites and cream of tartar on medium speed until soft peaks form. Gradually add the granulated sugar one tablespoon at a time. Increase the speed to high and beat until stiff, glossy peaks form. Stir in the vanilla extract at the very end.
Step 3: The Macaronage Process
Gently fold the dry ingredients into the meringue in three additions. Use a spatula to fold from the bottom, up over the top, and then cut through the center. Continue folding until the batter reaches a “lava-like” consistency and you can draw a figure-eight with the batter without it breaking.
Step 4: Pipe and Rest the Shells
Transfer the batter to a piping bag fitted with a round tip. Pipe 1.5-inch circles onto a baking sheet lined with parchment paper. Tap the tray firmly on the counter 5 times to release air bubbles. Let the shells sit at room temperature for 30 to 60 minutes until a “skin” forms and they are no longer sticky to the touch.
Step 5: Baking
Preheat your oven to 300°F (150°C). Bake the macarons for 14-16 minutes. They are done when the shells are set and do not move on their “feet” when lightly touched. Allow them to cool completely on the baking sheet before removing them.
Step 6: Filling and Assembly
Match up the cooled shells by size. Pipe a small amount of buttercream or ganache onto the flat side of one shell and sandwich it with its partner. Repeat until all macarons are filled.
Step 7: Decorate the Mummies
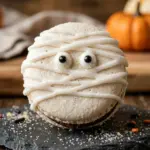
Melt the white chocolate wafers in the microwave in 30-second intervals. Transfer the melted chocolate to a small piping bag or use a fork to drizzle “bandage” lines back and forth across the top of the macarons. While the chocolate is still wet, place two candy eyes on each macaron, peeking out from between the bandages.
How to Serve Halloween Mummy Macarons Recipe
Serve these macarons on a dark slate board or a bright orange platter to make the white “mummies” pop. They look fantastic when paired with other Halloween-themed treats like pumpkin cupcakes or chocolate “dirt” pudding cups. For the best texture, serve them at room temperature so the filling is soft and the shell is chewy.
How to Store Halloween Mummy Macarons Recipe
Macarons actually taste better after they have “matured” in the fridge for 24 hours. Store them in an airtight container in the refrigerator for up to 5 days. If you want to keep them longer, they can be frozen for up to a month. Just be sure to thaw them in the fridge overnight before serving.
Expert Tips for Perfect Halloween Mummy Macarons Recipe
The most important tip for macarons is to avoid humidity; if it’s a very rainy day, your shells may take much longer to dry. Always use room temperature egg whites, as they whip up much better than cold ones. If you don’t have candy eyes, you can use two small dots of dark chocolate or black icing to create the eyes instead.
Delicious Variations
While vanilla is the standard, you can easily change the flavor of your mummies. Add a teaspoon of pumpkin pie spice to the dry ingredients for a seasonal twist. You could also use a dark chocolate ganache filling to create a “black and white” contrast inside the mummy. If you want “vampire mummies,” use a red raspberry jam in the center for a surprise “bloody” bite!
Frequently Asked Questions
Q: Why did my macarons crack on top?
Usually, cracking happens because the shells didn’t rest long enough to form a skin, or your oven temperature was too high. Make sure they are dry to the touch before baking.
Q: Can I use liquid food coloring?
It is best to avoid liquid coloring as it can change the consistency of the batter. Use gel or powder food coloring if you want to tint the shells.
Q: Why are my macarons hollow?
Hollow shells are often caused by over-whipping the meringue or not folding the batter enough. Aim for a sturdy but flexible meringue and a smooth macaronage step.
Q: Can I use almond meal instead of almond flour?
Almond meal is usually too coarse and contains skins. For the smoothest mummy shells, use “superfine” blanched almond flour.
Q: How do I know when the chocolate is the right temperature for drizzling?
The chocolate should be warm and fluid but not runny. If it’s too hot, it will melt the macaron shell; if it’s too cold, it won’t drizzle into the thin “bandage” lines needed for the mummy look.
Conclusion
These Halloween Mummy Macarons are a sophisticated yet spooky addition to your holiday baking repertoire. While they require a bit of practice to perfect the shell, the end result is incredibly rewarding and visually stunning. Whether you are a seasoned baker or a Halloween enthusiast, these little mummies are guaranteed to bring a smile to everyone’s face this spooky season. Happy baking!
Halloween Mummy Macarons Recipe
- Cook Time: 60 minutes
- Total Time: 1 hour
- Diet: Gluten-Free
Ingredients
- 1 ¾ cups powdered sugar
- 1 cup superfine almond flour
- 3 large egg whites (room temperature)
- ¼ cup granulated sugar
- ½ teaspoon vanilla extract
- ¼ teaspoon cream of tartar
- 1 cup vanilla buttercream or white chocolate ganache (for filling)
- ½ cup white chocolate melting wafers (for decoration)
- 48 small candy eyes
Instructions
- Sift the Dry Ingredients: In a large bowl, sift together the powdered sugar and the almond flour. If there are large bits of almond left in the sifter, discard them. Whisk the two together until perfectly combined and airy. This ensures your macaron shells are smooth and free of bumps.
- Whip the Meringue: In a clean glass or metal bowl, beat the egg whites and cream of tartar on medium speed until soft peaks form. Gradually add the granulated sugar one tablespoon at a time. Increase the speed to high and beat until stiff, glossy peaks form. Stir in the vanilla extract at the very end.
- The Macaronage Process: Gently fold the dry ingredients into the meringue in three additions. Use a spatula to fold from the bottom, up over the top, and then cut through the center. Continue folding until the batter reaches a “lava-like” consistency and you can draw a figure-eight with the batter without it breaking.
- Pipe and Rest the Shells: Transfer the batter to a piping bag fitted with a round tip. Pipe 1.5-inch circles onto a baking sheet lined with parchment paper. Tap the tray firmly on the counter 5 times to release air bubbles. Let the shells sit at room temperature for 30 to 60 minutes until a “skin” forms and they are no longer sticky to the touch.
- Baking: Preheat your oven to 300°F (150°C). Bake the macarons for 14-16 minutes. They are done when the shells are set and do not move on their “feet” when lightly touched. Allow them to cool completely on the baking sheet before removing them.
- Filling and Assembly: Match up the cooled shells by size. Pipe a small amount of buttercream or ganache onto the flat side of one shell and sandwich it with its partner. Repeat until all macarons are filled.
- Decorate the Mummies: Melt the white chocolate wafers in the microwave in 30-second intervals. Transfer the melted chocolate to a small piping bag or use a fork to drizzle “bandage” lines back and forth across the top of the macarons. While the chocolate is still wet, place two candy eyes on each macaron, peeking out from between the bandages.