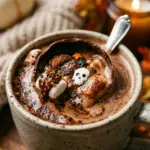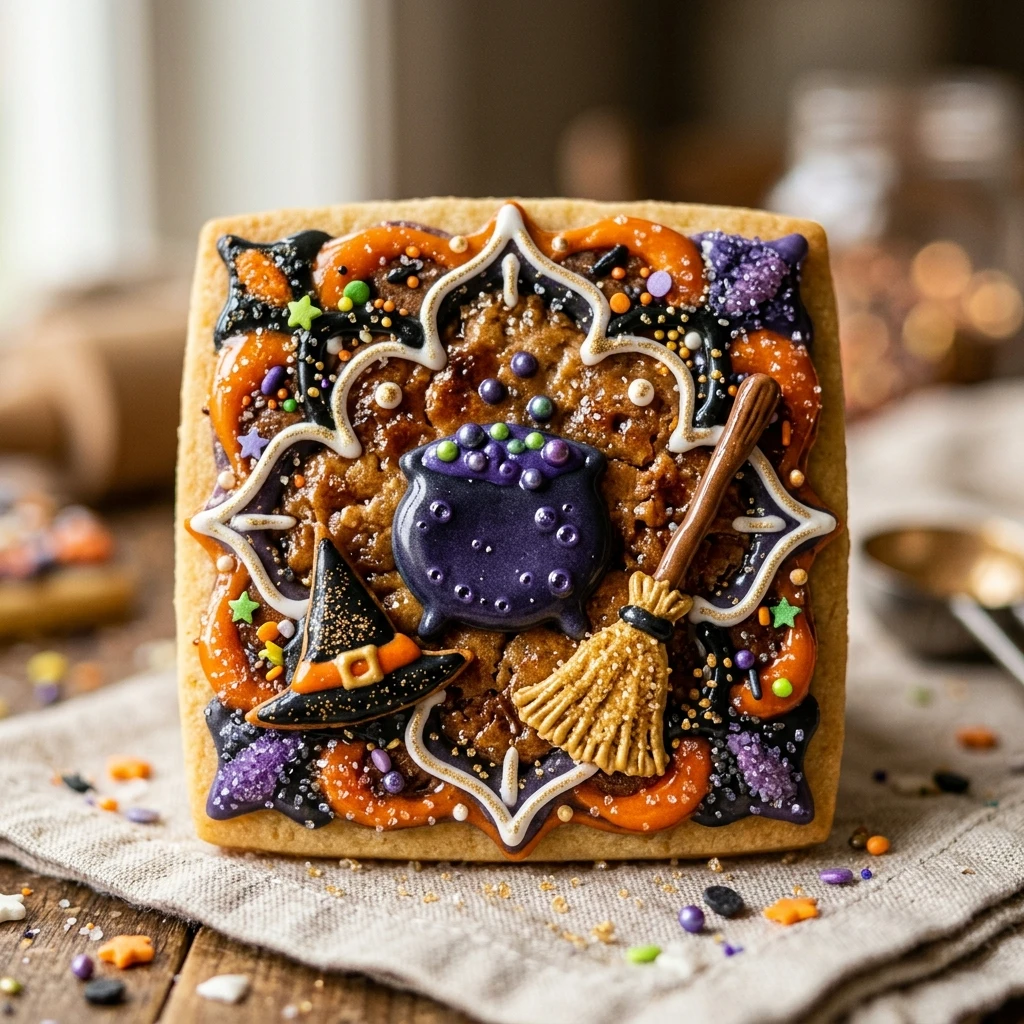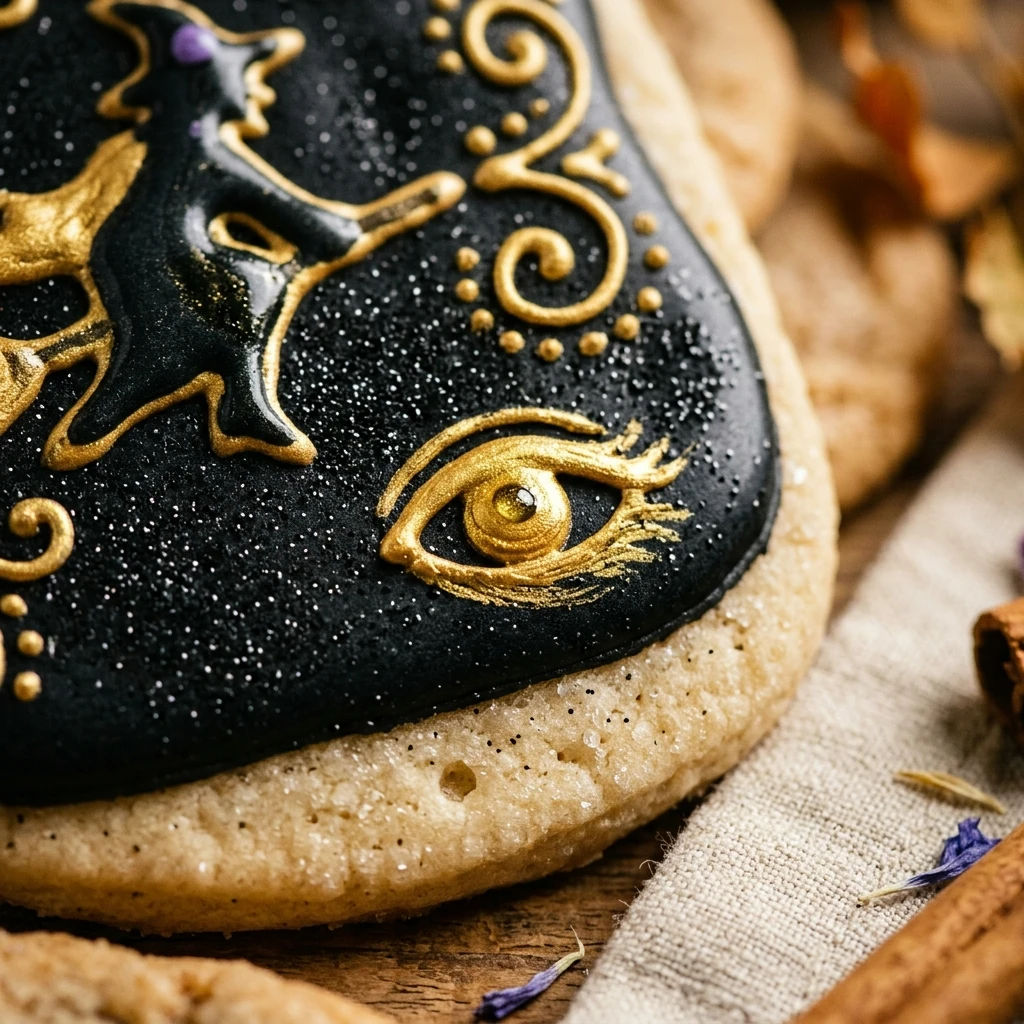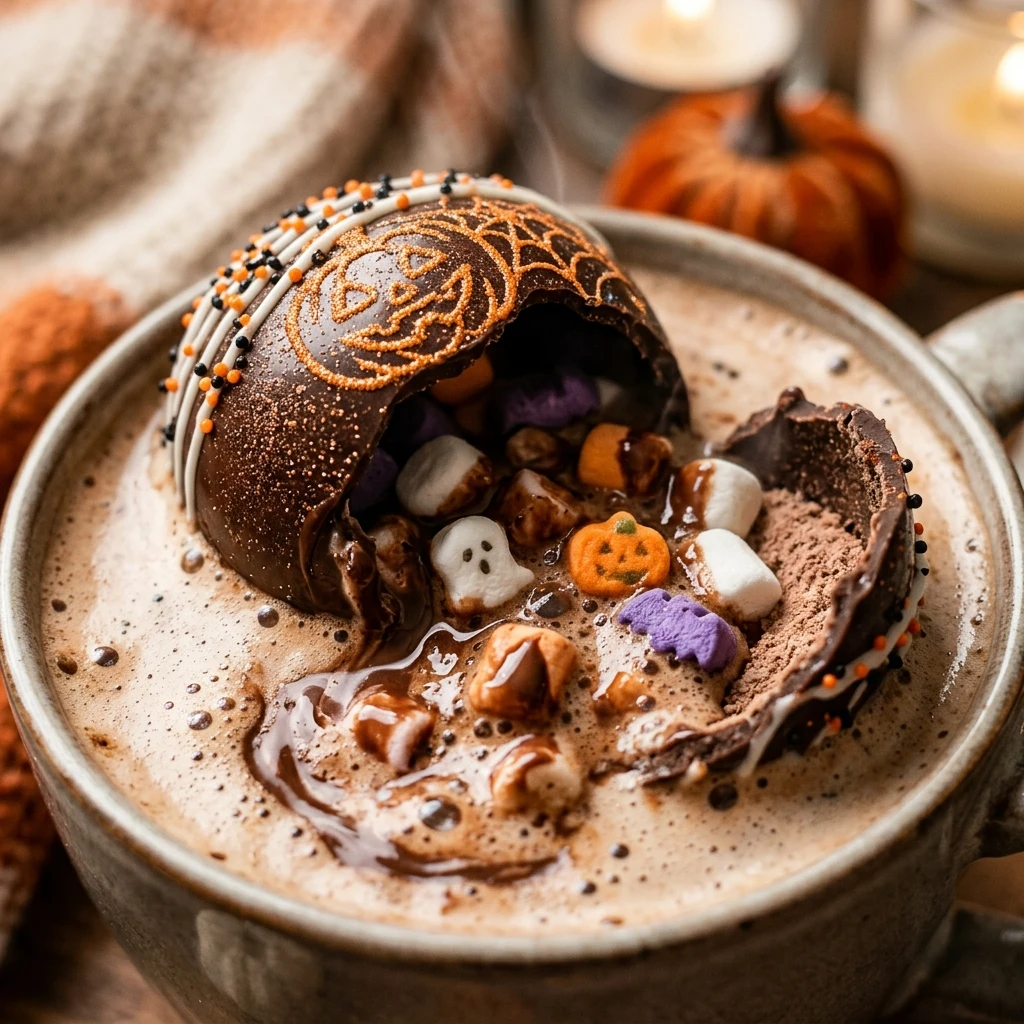

Halloween is the time for spooky surprises and delightful treats. These Halloween Hot Cocoa Bombs take the classic chocolate bomb trend and give it a creepy, festive makeover. Imagine a shiny chocolate sphere that “explodes” with cocoa and marshmallows when hit with hot milk—it is magic in a mug! These are perfect for cozy nights after trick-or-treating or as a centerpiece for your October party spread.
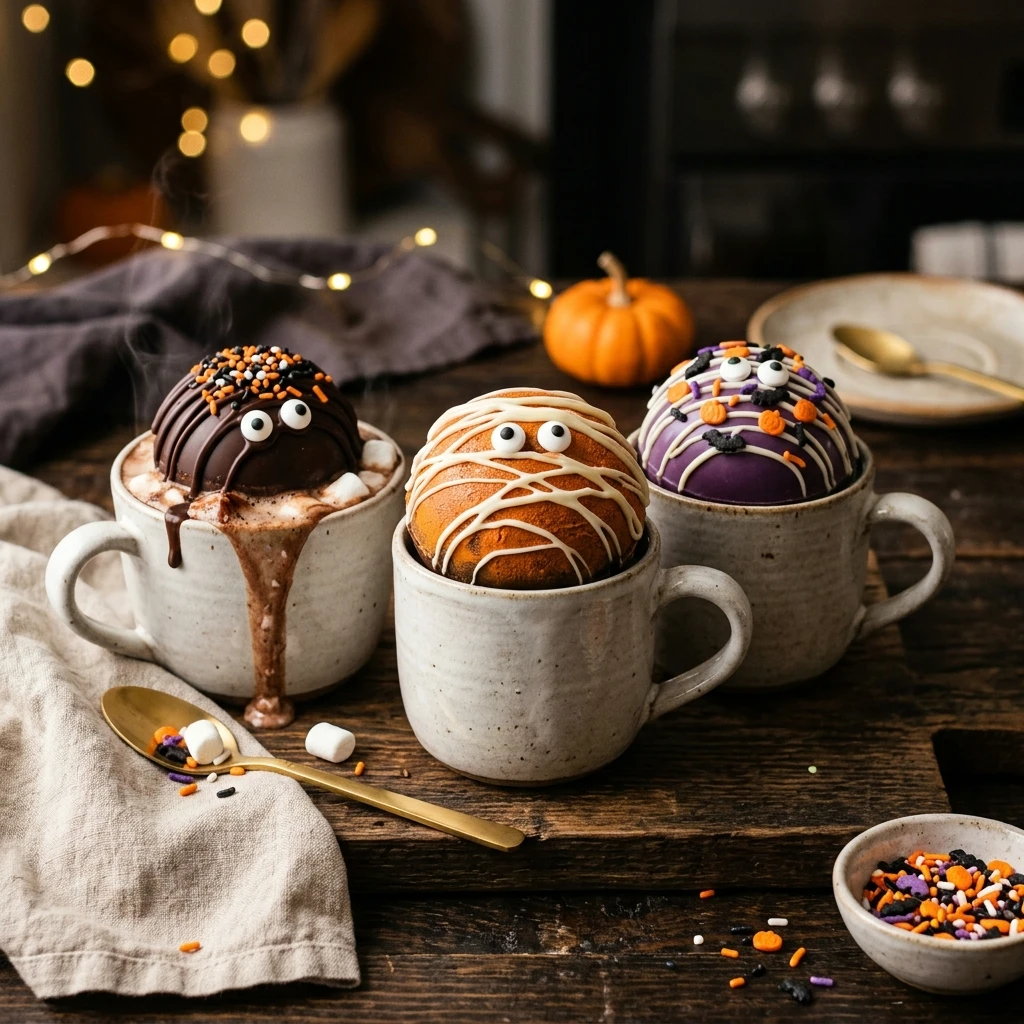
Making these bombs at home is a fun and creative project that kids will love to help with. You can customize the decorations to look like pumpkins, mummies, or even scary eyeballs. Not only do they look impressive, but they also create a rich and creamy cup of hot chocolate that far surpasses anything you can get from a standard packet. Get your molds ready and prepare for some delicious, edible Halloween sorcery.
Recipe Information
- Prep Time: 40 minutes
- Cook Time: 10 minutes
- Total Time: 50 minutes
- Servings: 6
- Difficulty Level: Medium
Nutrition Information
- Calories per serving: 285
- Protein: 3g
- Carbohydrates: 36g
- Fat: 16g
- Fiber: 2g
- Sugar: 29g
- Sodium: 80mg
Why Make This Halloween Hot Cocoa Bombs Recipe
These Halloween Hot Cocoa Bombs are the ultimate seasonal treat because they combine dessert and entertainment. Watching the chocolate shell melt away to reveal a burst of marshmallows and sprinkles is a thrill for people of all ages. They are much more interactive than a standard drink and add a touch of whimsy to your holiday celebrations.
Additionally, they make wonderful DIY gifts. You can wrap them in individual cellophane bags with a festive ribbon to hand out to friends, neighbors, or teachers. Because you are making them yourself, you have total control over the ingredients, allowing you to use high-quality chocolate and your favorite flavored cocoa mixes.
How to Make Halloween Hot Cocoa Bombs Recipe
Creating these chocolate spheres requires a little bit of patience and a silicone mold, but the process is straightforward once you get the hang of it. Follow these steps to ensure your shells are sturdy and your decorations are perfectly spooky.
Ingredients
- 12 oz high-quality semi-sweet chocolate chips or melting wafers
- 6 tablespoons premium hot cocoa mix
- 1/2 cup mini marshmallows
- 1/4 cup Halloween-themed sprinkles (orange, black, and green)
- 12-15 edible candy eyes
- 1/4 cup orange candy melts (for decoration)
- 1/4 cup green candy melts (for decoration)
Directions
Step 1: Melting the Chocolate
Place the chocolate chips or melting wafers in a microwave-safe bowl. Heat in 30-second intervals, stirring thoroughly between each session, until the chocolate is completely smooth and liquid. Be careful not to overheat it, as chocolate can burn easily.
Step 2: Coating the Molds
Using a spoon or a clean food-grade paintbrush, coat the inside of a sphere-shaped silicone mold with a layer of melted chocolate. Ensure the chocolate reaches all the way to the top edges. Place the mold in the freezer for 5-10 minutes to set. If the layer looks thin, apply a second coat and freeze again.
Step 3: Unmolding the Shells
Carefully pull the silicone mold away from the edges of the chocolate and gently push from the bottom to pop the half-spheres out. Handle them as little as possible to avoid melting them with your finger warmth or leaving fingerprints.
Step 4: Filling the Bombs
Place six of the chocolate halves on a clean surface. Fill each one with 1 tablespoon of hot cocoa mix, a few mini marshmallows, and a pinch of Halloween sprinkles. These will be the bottom halves of your bombs.
Step 5: Sealing the Spheres
Heat a small plate in the microwave for about 30 seconds until it is warm. Take an empty chocolate half and briefly press its rim onto the warm plate to melt the edge slightly. Immediately place it on top of a filled half and hold for a few seconds to seal the two together.
Step 6: Decorating for Halloween
Melt the orange and green candy melts in separate bowls. Drizzle the colored chocolate over the sealed bombs to create patterns. While the drizzle is still wet, attach the edible candy eyes or extra sprinkles to create monster faces or pumpkin designs.
How to Serve Halloween Hot Cocoa Bombs Recipe
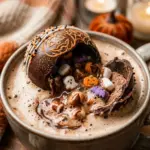
To enjoy your creation, place one Halloween Hot Cocoa Bomb into a large mug. Heat 8 to 10 ounces of milk or your favorite dairy-free alternative until it is very hot but not quite boiling. Slowly pour the hot milk directly over the top of the bomb. Watch as the chocolate shell melts and the marshmallows “explode” to the surface. Stir well with a spoon to ensure all the chocolate and cocoa mix are fully incorporated.
How to Store Halloween Hot Cocoa Bombs Recipe
Store your finished cocoa bombs in an airtight container in a cool, dry place. They will remain fresh for up to two weeks at room temperature. Do not store them in the refrigerator, as the cold can cause the chocolate to “bloom” (develop white streaks) or become sticky due to condensation. If you are preparing these in advance for a party, keep them away from direct sunlight or heat sources.
Expert Tips for Perfect Halloween Hot Cocoa Bombs Recipe
For the cleanest look, wear food-safe gloves while handling the chocolate shells to prevent fingerprints. If you find it difficult to seal the bombs with a warm plate, you can also use a small amount of melted chocolate in a piping bag to “glue” the two halves together. Always use a high-quality chocolate that contains cocoa butter for the best melting experience and a shiny finish.
Delicious Variations
You can easily adapt this recipe to create different characters. For a “Mummy” bomb, use white chocolate shells and drizzle more white chocolate across them in a bandage pattern, leaving a small gap for eyes. For a “Toxic Slime” bomb, use green candy melts for the shell and fill with white cocoa mix dyed with green food coloring. You can also add a pinch of pumpkin spice or peppermint extract to the cocoa mix inside for different flavor profiles.
Frequently Asked Questions
Q: Can I use water instead of milk?
Yes, you can use hot water, but using milk results in a much creamier and richer hot chocolate experience.
Q: What size mold should I use?
A 2.5-inch (6cm) diameter silicone sphere mold is the standard size for hot cocoa bombs and fits perfectly in most mugs.
Q: Why did my chocolate bomb break when I took it out of the mold?
This usually means the chocolate layer was too thin. Make sure to apply a slightly thicker layer around the rim of the mold where the two halves meet.
Q: Can I make these vegan?
Absolutely! Use dairy-free chocolate chips, vegan hot cocoa mix, and vegan marshmallows. Serve with oat or almond milk.
Q: How far in advance can I make these?
You can make them up to two weeks in advance as long as they are stored in a cool, dry environment in an airtight container.
Conclusion
Halloween Hot Cocoa Bombs are a festive and delicious way to celebrate the spookiest time of year. They bring a sense of wonder to your kitchen and provide a decadent treat that everyone will enjoy. Whether you are making them for your family or as a special gift, these chocolatey surprises are sure to be the highlight of your Halloween festivities. Grab your favorite mug and get ready to enjoy a hauntingly good drink!
Halloween Hot Cocoa Bombs Recipe
- Cook Time: 50 minutes
- Total Time: 50 minutes
- Diet: Vegetarian
Ingredients
- 12 oz high-quality semi-sweet chocolate chips or melting wafers
- 6 tablespoons premium hot cocoa mix
- 1/2 cup mini marshmallows
- 1/4 cup Halloween-themed sprinkles (orange, black, and green)
- 12–15 edible candy eyes
- 1/4 cup orange candy melts (for decoration)
- 1/4 cup green candy melts (for decoration)
Instructions
- Place the chocolate chips or melting wafers in a microwave-safe bowl. Heat in 30-second intervals, stirring thoroughly between each session, until the chocolate is completely smooth and liquid. Be careful not to overheat it, as chocolate can burn easily.
- Using a spoon or a clean food-grade paintbrush, coat the inside of a sphere-shaped silicone mold with a layer of melted chocolate. Ensure the chocolate reaches all the way to the top edges. Place the mold in the freezer for 5-10 minutes to set. If the layer looks thin, apply a second coat and freeze again.
- Carefully pull the silicone mold away from the edges of the chocolate and gently push from the bottom to pop the half-spheres out. Handle them as little as possible to avoid melting them with your finger warmth or leaving fingerprints.
- Place six of the chocolate halves on a clean surface. Fill each one with 1 tablespoon of hot cocoa mix, a few mini marshmallows, and a pinch of Halloween sprinkles. These will be the bottom halves of your bombs.
- Heat a small plate in the microwave for about 30 seconds until it is warm. Take an empty chocolate half and briefly press its rim onto the warm plate to melt the edge slightly. Immediately place it on top of a filled half and hold for a few seconds to seal the two together.
- Melt the orange and green candy melts in separate bowls. Drizzle the colored chocolate over the sealed bombs to create patterns. While the drizzle is still wet, attach the edible candy eyes or extra sprinkles to create monster faces or pumpkin designs.