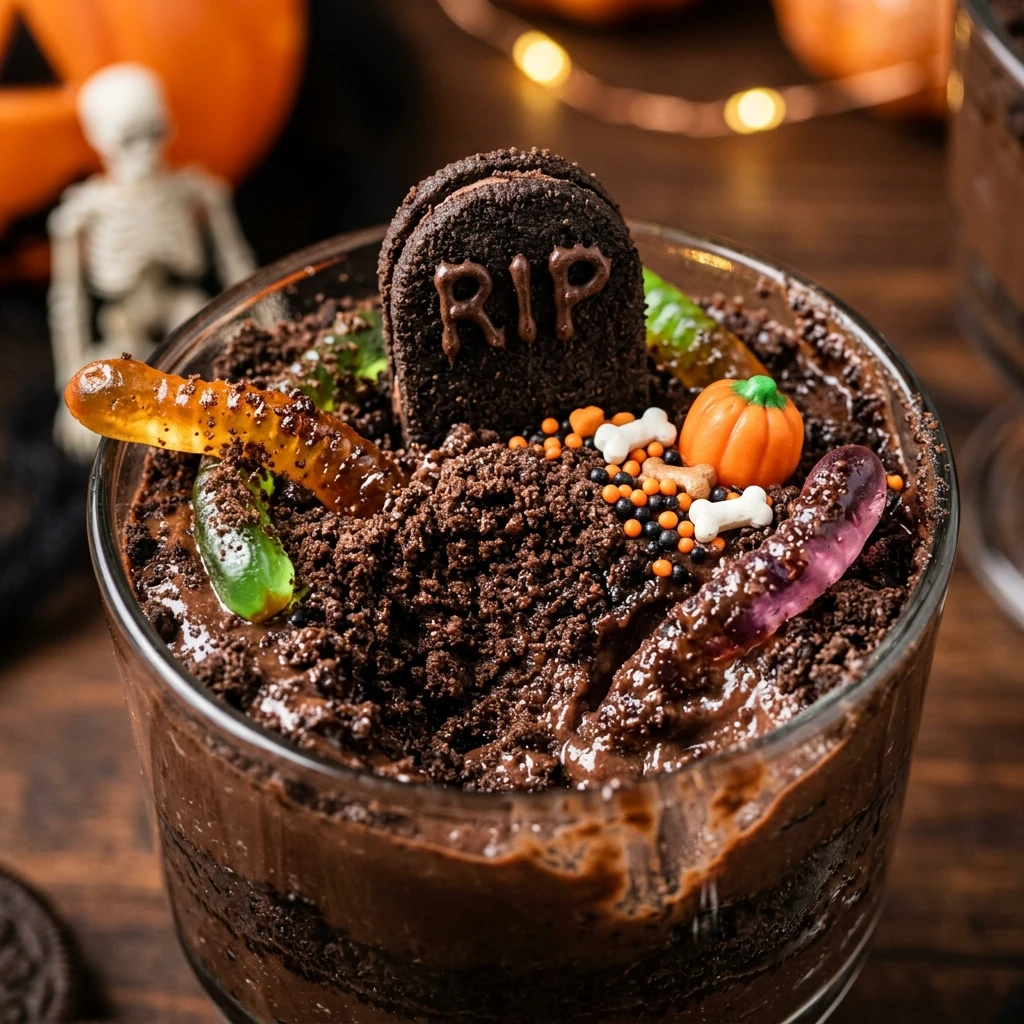

Get ready for the spookiest treat of the season with these Halloween Graveyard Dirt Cups. They are a classic party favorite that combines creamy chocolate pudding with crunchy cookie “dirt” for a dessert that looks just as good as it tastes. Whether you are hosting a large neighborhood bash or a small family gathering, these treats are always a hit with kids and adults alike.
The best part about this recipe is how easy it is to assemble. You do not need to be a professional baker to create a miniature spooky scene. With just a few simple ingredients and some creative decorating, you can transform ordinary pudding into a haunted graveyard that will be the centerpiece of your Halloween dessert table.
Recipe Information
- Prep Time: 20 minutes
- Cook Time: 0 minutes
- Total Time: 20 minutes
- Servings: 12
- Difficulty Level: Easy
Nutrition Information
- Calories per serving: 310 kcal
- Protein: 4g
- Carbohydrates: 48g
- Fat: 12g
- Fiber: 1g
- Sugar: 34g
- Sodium: 390mg
Why Make This Halloween Graveyard Dirt Cups For Party Recipe
This recipe is the ultimate party food because it is completely no-bake. During the busy Halloween season, having a dessert that does not require oven time is a huge win. You can whip up a large batch in minutes, leaving you more time to work on your costume or other party decorations. Plus, serving them in individual cups makes them easy for guests to grab and enjoy while mingling.
Beyond the convenience, these dirt cups are incredibly customizable. You can let the kids help with the decorating, which makes for a fun holiday activity. From gummy worms to cookie tombstones, every cup can have its own unique personality. They are visually striking, delicious, and bring a touch of nostalgic fun to any celebration.
How to Make Halloween Graveyard Dirt Cups For Party Recipe
Creating these festive treats is a simple process of layering and decorating. Follow these easy steps to build your own edible graveyard.
Ingredients
- 1 package (3.9 oz) Instant Chocolate Pudding mix
- 2 cups cold whole milk
- 1 container (8 oz) whipped topping, thawed
- 1 package (14.3 oz) chocolate sandwich cookies (like Oreos)
- 24 gummy worms
- 12 Milano-style oval cookies (for tombstones)
- Black decorating gel or edible ink marker
- Candy pumpkins or spooky sprinkles (optional)
Directions
Step 1: Crush the Cookies
Place the chocolate sandwich cookies into a large resealable plastic bag. Use a rolling pin or the back of a large spoon to crush them into fine crumbs that look like soil. Set these aside in a small bowl.
Step 2: Prepare the Pudding
In a large mixing bowl, whisk together the instant chocolate pudding mix and the cold milk for about two minutes. Let it sit for five minutes until it begins to thicken and set.
Step 3: Fold in the Fluff
Gently fold the thawed whipped topping into the thickened pudding. Use a spatula to mix until the color is uniform and the texture is light and fluffy. This creates a mousse-like base for your graveyard.
Step 4: Layer the Cups
Spoon a small amount of the crushed cookie “dirt” into the bottom of 12 clear plastic cups. Top the cookies with a generous layer of the pudding mixture, filling the cups about three-quarters of the way full.
Step 5: Create the Surface
Sprinkle a thick layer of the remaining cookie crumbs over the top of the pudding in each cup. This creates the final look of fresh graveyard earth.
Step 6: Decorate the Tombstones
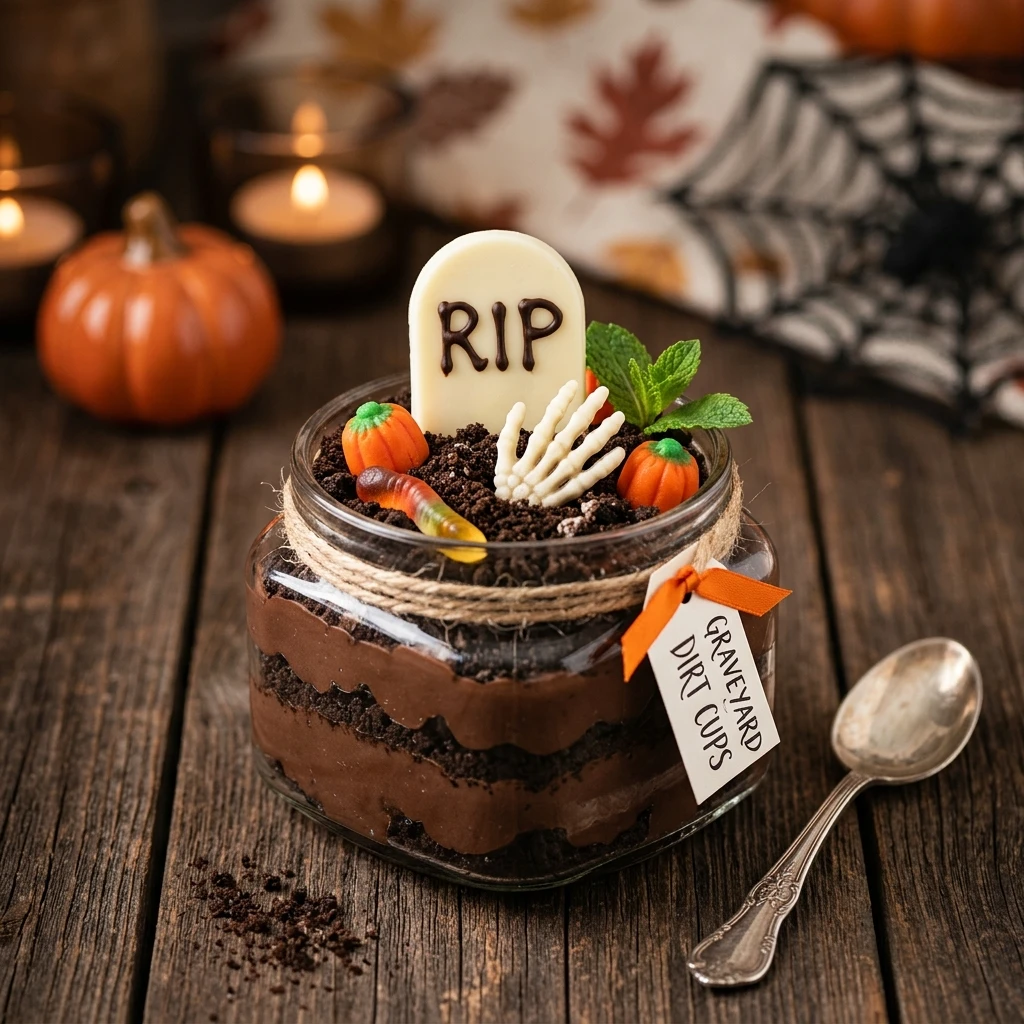
Use the black decorating gel or an edible marker to write “R.I.P.” or draw small crosses on the Milano cookies. Press one cookie tombstone into the back of each cup so it stands upright.
Step 7: Add Finishing Spooky Touches
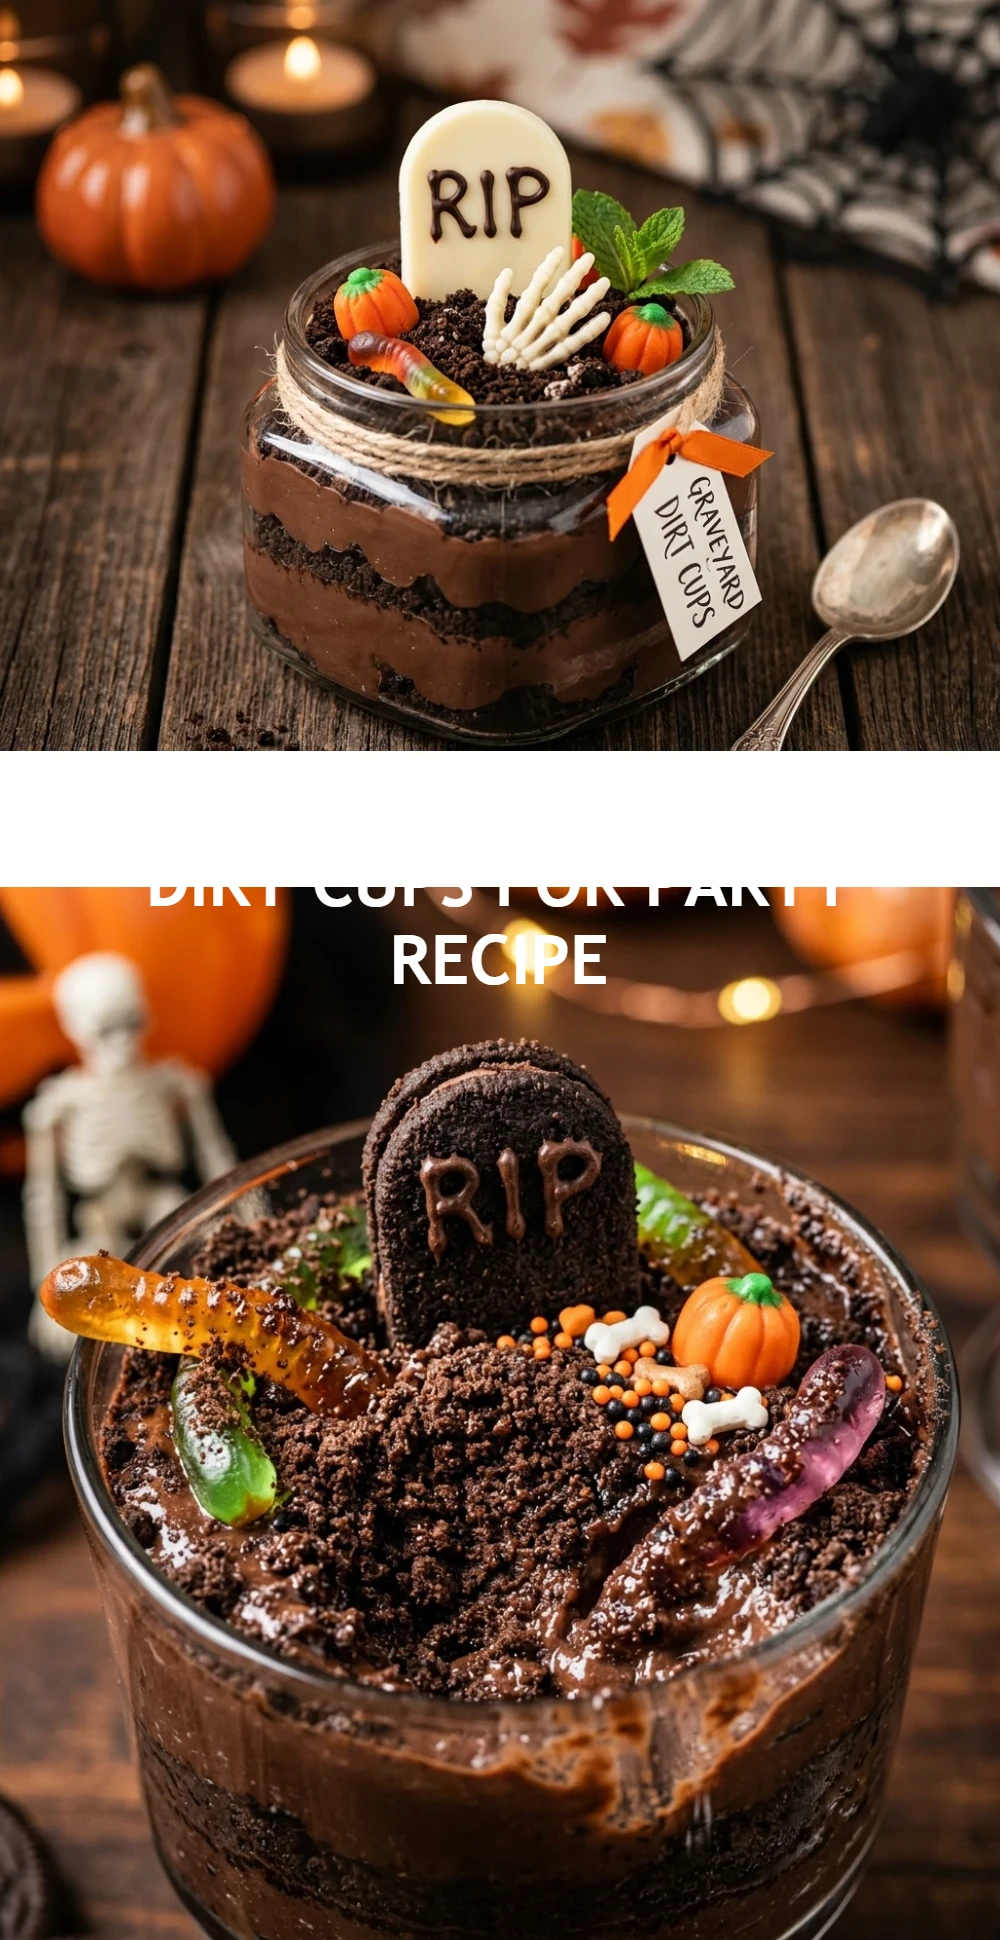
Tuck a few gummy worms into the “dirt” so they look like they are crawling out. Add a candy pumpkin or some spooky sprinkles to finish the scene. Chill in the refrigerator until ready to serve.
How to Serve Halloween Graveyard Dirt Cups For Party Recipe
Serve these chilled directly from the refrigerator. To make them look even more impressive on a party table, arrange them on a large tray covered with faux spider webs or orange fairy lights. You can also provide small wooden spoons tied with black and orange ribbons to keep the theme consistent. For an extra touch, place a few larger plastic skeletons around the tray for a truly haunted vibe.
How to Store Halloween Graveyard Dirt Cups For Party Recipe
These dirt cups should be stored in the refrigerator. If you are making them ahead of time, it is best to add the cookie tombstones and gummy worms just before serving, as the cookies can soften if they sit in the moist pudding for too long. Covered with plastic wrap, the pudding and “dirt” base will stay fresh for up to 3 days in the fridge.
Expert Tips for Perfect Halloween Graveyard Dirt Cups For Party Recipe
For the best texture, ensure your milk is very cold when mixing the pudding. This helps it set quickly and firmly. If you want a darker “dirt” look, use dark chocolate sandwich cookies. When crushing the cookies, leave a few larger chunks to mimic rocks in the soil. If you find your tombstones are tipping over, try cutting a small slit in the pudding with a knife first to help secure the cookie in place.
Delicious Variations
You can easily switch up this recipe to suit different tastes. Try using vanilla or butterscotch pudding for a different flavor profile, though chocolate looks most like real dirt. For a “toxic waste” version, use lime-flavored gelatin instead of pudding and add neon green gummy worms. You can also make a “marshmallow ghost” version by topping the cups with a large marshmallow that has eyes drawn on with edible ink.
Frequently Asked Questions
Q: Can I use homemade pudding instead of instant?
Yes, you can use homemade chocolate pudding. Just ensure it is completely cooled and chilled before folding in the whipped topping and layering with the cookies.
Q: How can I make this recipe dairy-free?
Use a dairy-free instant pudding mix, almond or oat milk (use less milk than the package calls for to ensure it sets), and a vegan-friendly whipped topping and sandwich cookies.
Q: Can I make these in a large bowl instead of individual cups?
Absolutely! You can layer the ingredients in a large glass trifle bowl to create one giant graveyard. This is a great option for larger parties where guests can scoop their own servings.
Q: What if I cannot find Milano cookies?
Any oval or rectangular cookie will work. Nutter Butters or even rectangular graham crackers can be decorated to look like tombstones.
Q: How far in advance can I assemble these?
You can prepare the pudding and cookie layers up to 24 hours in advance. However, wait to add the “tombstone” cookies and candy decorations until 1-2 hours before the party to prevent them from getting soggy.
Conclusion
Halloween Graveyard Dirt Cups are the perfect combination of spooky fun and delicious flavor. They are simple to prepare, budget-friendly, and always bring a smile to your guests’ faces. By following this recipe, you will have a festive treat that captures the spirit of Halloween in every bite. Enjoy making these creepy-crawly desserts for your next big haunt!
Halloween Graveyard Dirt Cups For Party Recipe

- Cook Time: 20 minutes
- Total Time: 20 minutes
- Diet: Vegetarian
Ingredients
- 1 package (3.9 oz) Instant Chocolate Pudding mix
- 2 cups cold whole milk
- 1 container (8 oz) whipped topping, thawed
- 1 package (14.3 oz) chocolate sandwich cookies (like Oreos)
- 24 gummy worms
- 12 Milano-style oval cookies (for tombstones)
- Black decorating gel or edible ink marker
- Candy pumpkins or spooky sprinkles (optional)
Instructions
- Place the chocolate sandwich cookies into a large resealable plastic bag. Use a rolling pin or the back of a large spoon to crush them into fine crumbs that look like soil. Set these aside in a small bowl.
- In a large mixing bowl, whisk together the instant chocolate pudding mix and the cold milk for about two minutes. Let it sit for five minutes until it begins to thicken and set.
- Gently fold the thawed whipped topping into the thickened pudding. Use a spatula to mix until the color is uniform and the texture is light and fluffy. This creates a mousse-like base for your graveyard.
- Spoon a small amount of the crushed cookie “dirt” into the bottom of 12 clear plastic cups. Top the cookies with a generous layer of the pudding mixture, filling the cups about three-quarters of the way full.
- Sprinkle a thick layer of the remaining cookie crumbs over the top of the pudding in each cup. This creates the final look of fresh graveyard earth.
- Use the black decorating gel or an edible marker to write “R.I.P.” or draw small crosses on the Milano cookies. Press one cookie tombstone into the back of each cup so it stands upright.
- Tuck a few gummy worms into the “dirt” so they look like they are crawling out. Add a candy pumpkin or some spooky sprinkles to finish the scene. Chill in the refrigerator until ready to serve.