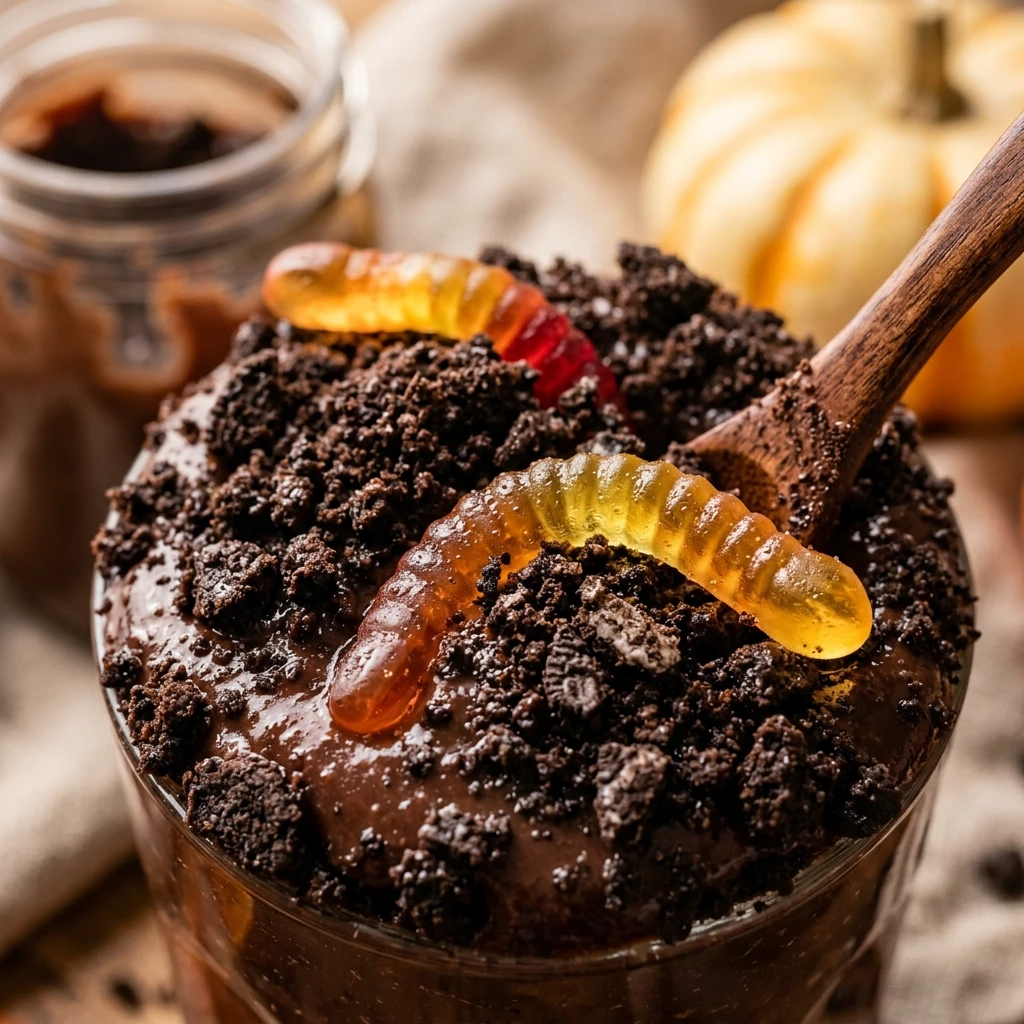

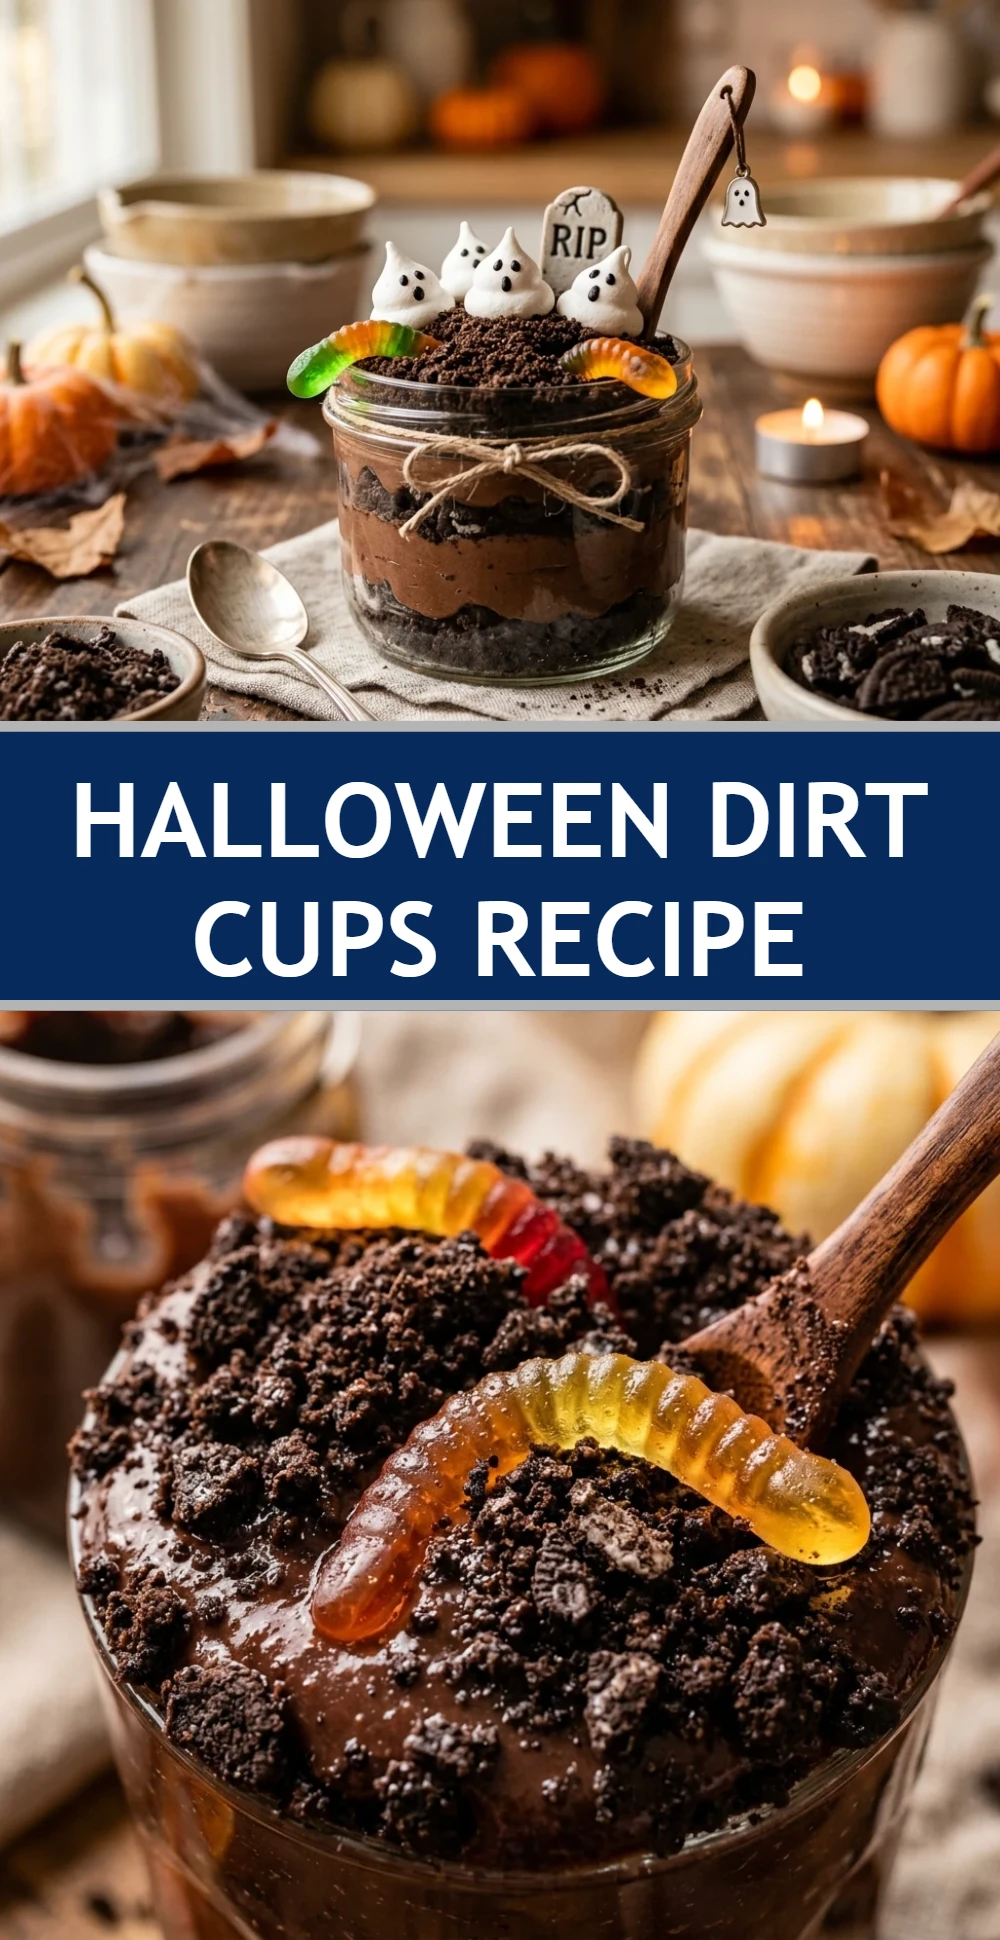
Halloween is the perfect time to get creative in the kitchen, and nothing says spooky fun quite like a classic dirt cup. This Halloween Dirt Cups Recipe is a nostalgic treat that combines creamy chocolate pudding, crunchy cookie “dirt,” and whimsical candy decorations. It is a no-bake dessert that looks impressive but takes very little effort to put together.
Whether you are hosting a neighborhood costume party or looking for a fun activity to do with your kids, these individual dessert cups are always a hit. They are portable, portion-controlled, and endlessly customizable. Everyone loves digging through the chocolatey layers to find a gummy worm or a hidden candy surprise.
Recipe Information
- Prep Time: 20 minutes
- Cook Time: 0 minutes
- Total Time: 20 minutes
- Servings: 8 servings
- Difficulty Level: Easy
Nutrition Information
- Calories per serving: 340 kcal
- Protein: 4g
- Carbohydrates: 52g
- Fat: 14g
- Fiber: 2g
- Sugar: 38g
- Sodium: 420mg
Why Make This Halloween Dirt Cups Recipe
This recipe is a must-have for your October festivities because it requires absolutely no oven time. When your kitchen is busy with other party prep, having a delicious dessert that stays in the fridge is a total lifesaver. It is also a fantastic way to get children involved in the kitchen. They can help crush the cookies, stir the pudding, and decorate the “graveyards” with their favorite spooky candies.
Beyond being easy, these dirt cups are a crowd-pleaser for all ages. The combination of smooth pudding and whipped topping creates a light, mousse-like texture that balances perfectly with the dark chocolate cookie crumbs. It is a fun, interactive dessert that doubles as a festive decoration for your Halloween dessert table.
How to Make Halloween Dirt Cups Recipe
Making these spooky treats is as simple as layering a few pantry staples to create a graveyard-themed masterpiece. Follow these easy steps to build your own delicious dirt cups.
Ingredients
- 1 package (approx. 14.3 oz) chocolate sandwich cookies (like Oreos)
- 2 packages (3.9 oz each) instant chocolate pudding mix
- 3 cups cold whole milk
- 1 container (8 oz) whipped topping, thawed
- 1 package gummy worms
- Halloween-themed candies (candy pumpkins, bone sprinkles, etc.)
- Rectangular cookies (for tombstones)
Directions
Step 1: Prepare the Cookie Crumbs
Place the chocolate sandwich cookies into a large gallon-sized freezer bag. Use a rolling pin or a heavy spoon to crush them until they look like fine potting soil. You can leave a few larger chunks for “rocks” if you like. Set these aside in a bowl.
Step 2: Mix the Pudding
In a large mixing bowl, whisk together the two packages of instant chocolate pudding mix and the cold milk. Continue whisking for about 2 minutes until the mixture begins to thicken. Let it sit for 5 minutes to set completely.
Step 3: Fold in the Whipped Topping
Gently fold the thawed whipped topping into the set chocolate pudding using a rubber spatula. Mix until no white streaks remain and the mixture is light and fluffy. This creates the “mud” layer of your cups.
Step 4: Layer the Cups
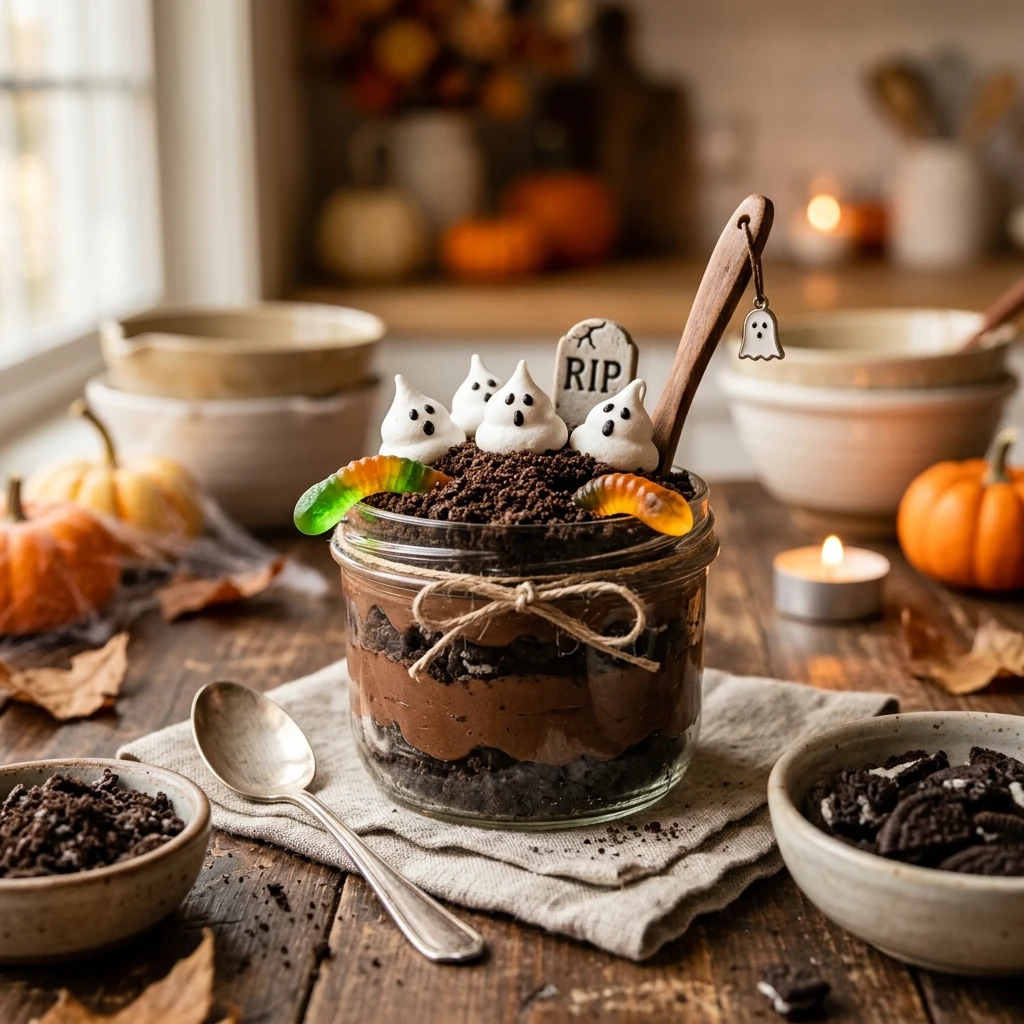
Take 8 clear plastic cups (9-ounce size works best). Start by placing a tablespoon of cookie crumbs at the bottom of each cup. Add a generous layer of the pudding mixture, followed by another layer of cookie crumbs. Repeat the layers until the cups are nearly full, ending with a thick layer of cookie crumbs on top.
Step 5: Decorate the Graveyard
Now comes the fun part! Place a rectangular cookie into the back of each cup to act as a tombstone. Add a few gummy worms crawling out of the “dirt” and place a candy pumpkin or bone sprinkles on top. Chill in the refrigerator for at least an hour before serving.
How to Serve Halloween Dirt Cups Recipe
Serve these cups chilled directly from the refrigerator. For the best presentation, use clear plastic or glass cups so guests can see the layers of “mud” and “dirt.” You can place the cups on a large tray covered with orange and purple cloth to enhance the Halloween vibe. Hand them out with small spoons, and watch the kids enjoy discovering the hidden gummy worms inside.
How to Store Halloween Dirt Cups Recipe
You can store these dirt cups in the refrigerator for up to 3 days. It is best to cover the tops with plastic wrap to keep the pudding from drying out. Note that the cookie crumbs may soften slightly the longer they sit in the fridge, but they will still taste delicious. For the best texture, wait to add the “tombstone” cookies until right before serving so they stay crunchy.
Expert Tips for Perfect Halloween Dirt Cups Recipe
To get the finest “dirt” texture, you can use a food processor to pulse the cookies instead of crushing them by hand. This creates a very uniform, soil-like appearance. Also, ensure your milk is very cold when mixing the pudding; this helps the instant mix set properly and creates a much better consistency for layering.
Delicious Variations
If you want to change things up, try using vanilla pudding dyed green with food coloring to look like “sludge” or “swamp water.” You can also use golden sandwich cookies to create a “sand” version for a different theme. For a more adult version, you can add a splash of Irish cream or coffee liqueur to the pudding mixture before folding in the whipped topping.
Frequently Asked Questions
Q: Can I use homemade pudding instead of instant?
Yes, you can use homemade chocolate pudding. Just make sure it is completely cooled and chilled before you fold in the whipped topping and begin layering.
Q: How far in advance can I make these?
You can assemble the pudding and cookie layers up to 24 hours in advance. However, wait to add the gummy worms and tombstone cookies until you are ready to serve so they don’t get soggy.
Q: Can I make this recipe dairy-free?
Yes, use a dairy-free instant pudding mix (check labels carefully), almond or oat milk (use less milk than the package calls for to ensure it sets), and a vegan whipped topping alternative.
Q: What else can I use for the “tombstones”?
Milano cookies or oval-shaped butter cookies work perfectly. You can even use a tube of black decorating gel to write “RIP” on them for an extra spooky touch.
Q: Is there a way to make this lower in sugar?
You can use sugar-free chocolate pudding mix and a sugar-free whipped topping. You can also look for reduced-sugar chocolate sandwich cookies to lower the overall sugar content.
Conclusion
This Halloween Dirt Cups Recipe is the ultimate festive treat for your spooky celebrations. It is simple to make, budget-friendly, and brings a smile to everyone’s face. With layers of creamy chocolate and crunchy cookie “dirt,” it is a classic dessert that never goes out of style. Enjoy making these with your family and creating wonderful Halloween memories!
Halloween Dirt Cups Recipe
- Cook Time: 20 minutes
- Total Time: 20 minutes
- Diet: Vegetarian
Ingredients
- 1 package (approx. 14.3 oz) chocolate sandwich cookies (like Oreos)
- 2 packages (3.9 oz each) instant chocolate pudding mix
- 3 cups cold whole milk
- 1 container (8 oz) whipped topping, thawed
- 1 package gummy worms
- Halloween-themed candies (candy pumpkins, bone sprinkles, etc.)
- Rectangular cookies (for tombstones)
Instructions
- Step 1: Prepare the Cookie Crumbs. Place the chocolate sandwich cookies into a large gallon-sized freezer bag. Use a rolling pin or a heavy spoon to crush them until they look like fine potting soil. You can leave a few larger chunks for “rocks” if you like. Set these aside in a bowl.
- Step 2: Mix the Pudding. In a large mixing bowl, whisk together the two packages of instant chocolate pudding mix and the cold milk. Continue whisking for about 2 minutes until the mixture begins to thicken. Let it sit for 5 minutes to set completely.
- Step 3: Fold in the Whipped Topping. Gently fold the thawed whipped topping into the set chocolate pudding using a rubber spatula. Mix until no white streaks remain and the mixture is light and fluffy. This creates the “mud” layer of your cups.
- Step 4: Layer the Cups. Take 8 clear plastic cups (9-ounce size works best). Start by placing a tablespoon of cookie crumbs at the bottom of each cup. Add a generous layer of the pudding mixture, followed by another layer of cookie crumbs. Repeat the layers until the cups are nearly full, ending with a thick layer of cookie crumbs on top.
- Step 5: Decorate the Graveyard. Now comes the fun part! Place a rectangular cookie into the back of each cup to act as a tombstone. Add a few gummy worms crawling out of the “dirt” and place a candy pumpkin or bone sprinkles on top. Chill in the refrigerator for at least an hour before serving.