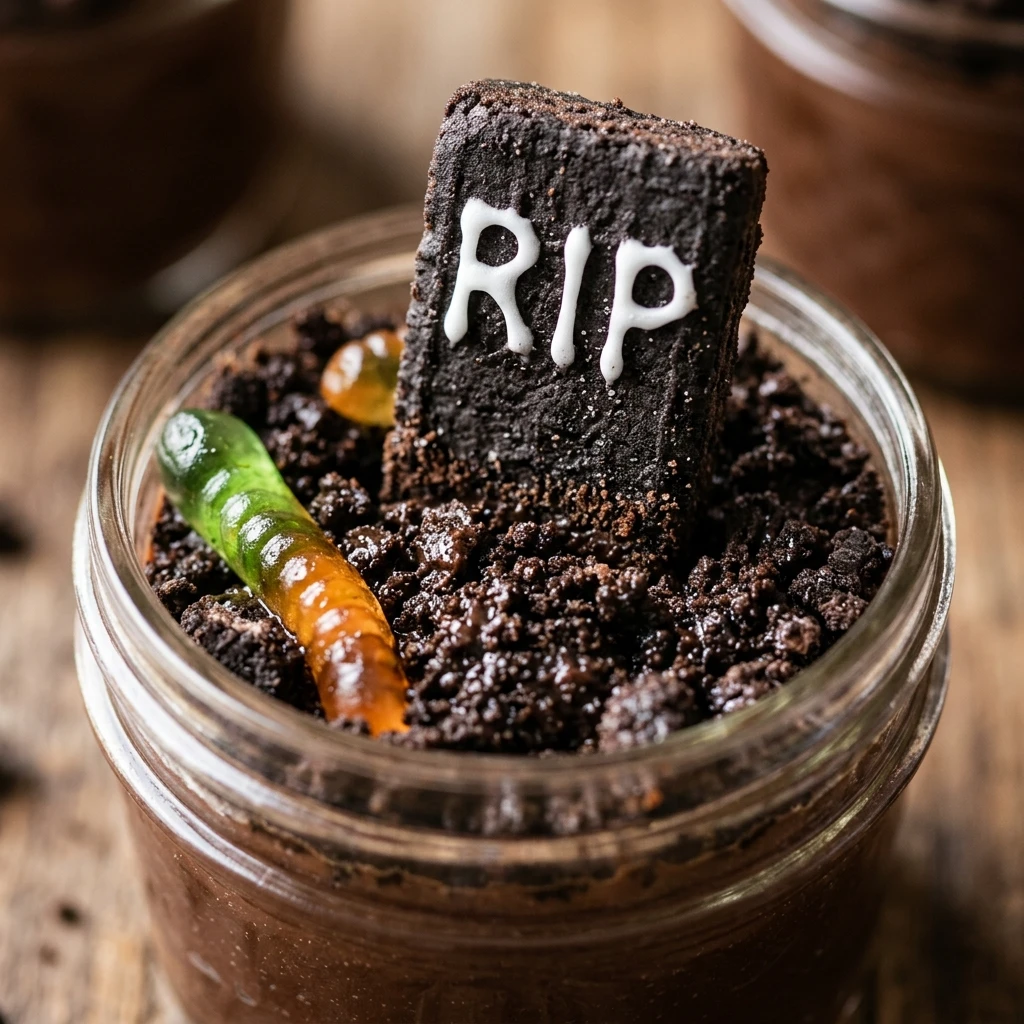

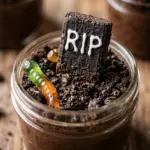
These Graveyard Pudding Cups are the ultimate spooky treat for your next Halloween gathering. Combining rich, creamy chocolate pudding with “dirt” made from crushed chocolate cookies, these individual desserts are as fun to make as they are to eat. They are a classic childhood favorite that brings a touch of whimsical macabre to any dessert table.
Whether you are hosting a large costume party or simply looking for a festive activity to do with the kids, these pudding cups are the perfect solution. They require no baking and can be customized with various candies to create a miniature haunted scene in every cup. Get ready to dig into a dessert that is hauntingly delicious!
Recipe Information
- Prep Time: 20 minutes
- Cook Time: 0 minutes
- Total Time: 20 minutes
- Servings: 6
- Difficulty Level: Easy
Nutrition Information
- Calories per serving: 285 kcal
- Protein: 4g
- Carbohydrates: 48g
- Fat: 10g
- Fiber: 2g
- Sugar: 35g
- Sodium: 420mg
Why Make This Graveyard Pudding Cups Recipe
This recipe is a winner because it strikes the perfect balance between convenience and creativity. Since it uses instant pudding and store-bought cookies, you can whip up a batch in less than half an hour. It is a fantastic “no-bake” option for busy hosts who want a high-impact dessert without spending hours in the kitchen.
Furthermore, these cups are incredibly kid-friendly. Children love the process of crushing the cookies to make “dirt” and placing gummy worms to look like they are crawling out of the ground. It is an interactive food craft that results in a tasty reward, making it a staple for October festivities.
How to Make Graveyard Pudding Cups Recipe
Assembling these spooky treats is straightforward and fun. Just follow these simple steps to layer your chocolatey graveyard and bring your edible cemetery to life.
Ingredients
- 1 package (3.9 oz) instant chocolate pudding mix
- 2 cups cold whole milk
- 15 chocolate sandwich cookies (like Oreos), crushed into fine crumbs
- 6 oval-shaped shortbread cookies (like Milano cookies) for tombstones
- 1/4 cup black decorating gel or melted dark chocolate
- 12 gummy worms
- Optional: Candy pumpkins or green-tinted shredded coconut for “grass”
Directions
Step 1: Prepare the Chocolate Pudding
In a medium mixing bowl, whisk together the instant chocolate pudding mix and the cold milk for about 2 minutes. Let the mixture sit for 5 minutes until it is soft-set and creamy.
Step 2: Create the Edible Dirt
Place the chocolate sandwich cookies in a large plastic zip-top bag. Use a rolling pin or the back of a heavy spoon to crush the cookies until they resemble fine soil or dirt. Set these aside in a small bowl.
Step 3: Decorate the Tombstones
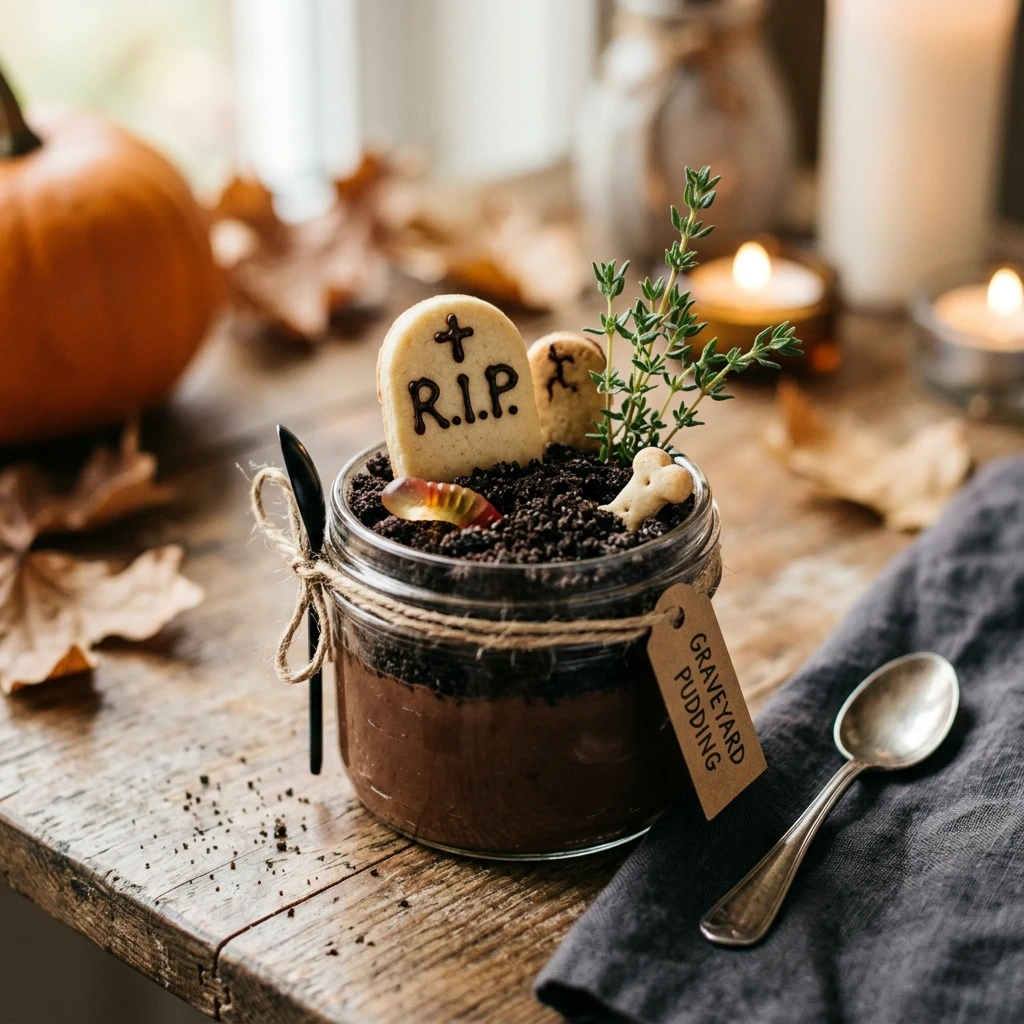
Take your oval shortbread cookies and use the black decorating gel or melted chocolate to write “RIP” or draw small crosses on the top half of each cookie. Let the decorations dry for a few minutes so they don’t smudge during assembly.
Step 4: Layer the Pudding Cups
Spoon the prepared chocolate pudding into six clear plastic cups, filling them about three-quarters of the way full. Smooth the tops with the back of a spoon. Sprinkle a generous layer of the crushed cookie “dirt” over the top of the pudding in each cup.
Step 5: Assemble the Graveyard Scene
Press one decorated tombstone cookie into the back of each cup so it stands upright. Arrange two gummy worms in each cup, poking them into the cookie crumbs so they appear to be crawling out. Add any optional candy pumpkins or green coconut “grass” to finish the look.
How to Serve Graveyard Pudding Cups Recipe
These cups look best when served in clear glasses or transparent plastic cups so the layers of “mud” and “dirt” are visible. Serve them chilled. For a party, you can arrange all the cups on a dark platter or a faux-stone tray to enhance the graveyard theme. If you are serving them at a sit-down dinner, provide small spoons so guests can get a bit of every layer in each bite.
How to Store Graveyard Pudding Cups Recipe
If you have leftovers, cover the cups tightly with plastic wrap and store them in the refrigerator for up to 3 days. However, be aware that the cookie “tombstones” and the “dirt” layers may soften over time as they absorb moisture from the pudding. For the best texture, it is recommended to add the cookie decorations just before serving.
Expert Tips for Perfect Graveyard Pudding Cups Recipe
To get the best results, use whole milk for the pudding to ensure a rich, thick consistency. When crushing the cookies, don’t worry about making them perfectly uniform; a few larger chunks can look like “rocks” in the dirt. If your tombstone cookies won’t stay upright, try cutting a small slit in the pudding with a knife first or leaning them against the side of the cup. For an extra eerie effect, chill the pudding thoroughly before adding the crumbs to prevent them from sinking too quickly.
Delicious Variations
You can easily switch up this recipe to suit different tastes. Try using vanilla pudding with a drop of green food coloring for a “swamp” look, or butterscotch pudding for a different flavor profile. If you want a more “grown-up” version, use a dark chocolate mousse instead of instant pudding. For a gluten-free version, simply use gluten-free chocolate sandwich cookies and shortbread. You can also add “ghosts” made from large marshmallows or a dollop of whipped cream.
Frequently Asked Questions
Q: Can I make these pudding cups the night before?
You can prepare the pudding and put it in the cups a day ahead, but wait to add the cookie crumbs and tombstone decorations until shortly before serving so they stay crunchy.
Q: What can I use instead of Milano cookies for the tombstones?
Any rectangular or oval cookie will work. Graham crackers cut into rectangles or even plain butter cookies are great alternatives.
Q: Can I use cooked pudding instead of instant?
Yes, cooked pudding works perfectly fine. Just make sure it is completely cooled and chilled before you start layering the cookie crumbs on top.
Q: How do I make the crushed cookies look more like real dirt?
Mix in a few cocoa puffs or small chocolate chips to add variety in texture and color, making the “soil” look more realistic.
Q: Are these pudding cups portable for a school party?
Yes, they are very portable. If you are transporting them, use cups with lids and wait to stick the tombstones in until you arrive at the party location to prevent them from falling over.
Conclusion
Graveyard Pudding Cups are a delightful, stress-free way to bring some Halloween spirit into your home. They are visually striking, delicious, and a total hit with guests of all ages. By following this simple guide, you can create a festive dessert that looks like it took hours of effort but only took minutes. Enjoy your spooky snacking!
Graveyard Pudding Cups Recipe
- Cook Time: 20 minutes
- Total Time: 20 minutes
- Diet: Vegetarian
Ingredients
- 1 package (3.9 oz) instant chocolate pudding mix
- 2 cups cold whole milk
- 15 chocolate sandwich cookies (like Oreos), crushed into fine crumbs
- 6 oval-shaped shortbread cookies (like Milano cookies) for tombstones
- 1/4 cup black decorating gel or melted dark chocolate
- 12 gummy worms
- Optional: Candy pumpkins or green-tinted shredded coconut for “grass”
Instructions
- In a medium mixing bowl, whisk together the instant chocolate pudding mix and the cold milk for about 2 minutes. Let the mixture sit for 5 minutes until it is soft-set and creamy.
- Place the chocolate sandwich cookies in a large plastic zip-top bag. Use a rolling pin or the back of a heavy spoon to crush the cookies until they resemble fine soil or dirt. Set these aside in a small bowl.
- Take your oval shortbread cookies and use the black decorating gel or melted chocolate to write “RIP” or draw small crosses on the top half of each cookie. Let the decorations dry for a few minutes so they don’t smudge during assembly.
- Spoon the prepared chocolate pudding into six clear plastic cups, filling them about three-quarters of the way full. Smooth the tops with the back of a spoon. Sprinkle a generous layer of the crushed cookie “dirt” over the top of the pudding in each cup.
- Press one decorated tombstone cookie into the back of each cup so it stands upright. Arrange two gummy worms in each cup, poking them into the cookie crumbs so they appear to be crawling out. Add any optional candy pumpkins or green coconut “grass” to finish the look.